When you think about vintage chocolate chip cookies, you can't help but appreciate their rich history and enduring appeal. Originating from Ruth Wakefield's Toll House Inn in the 1930s, these cookies have transformed into a staple at family gatherings and holiday celebrations. Their unique combination of textures and flavors has inspired countless adaptations, yet the classic recipe remains a favorite. If you're curious about what makes these cookies so special and how you can recreate that nostalgic charm in your own kitchen, there's more to uncover.
Key Takeaways
- Vintage chocolate chip cookies originated in the 1930s at the Toll House Inn, known for their rich, dense texture and buttery flavor.
- The recipe features key ingredients like butter, sugars, eggs, and semi-sweet chocolate chips, creating a classic American treat.
- Baking instructions include creaming butter and sugars, adding eggs and vanilla, and folding in chocolate chips before baking at 350°F.
- Traditional cookies are high in calories, but modern adaptations include healthier alternatives like whole wheat flour and reduced sugar options.
- The popularity of chocolate chip cookies has influenced global baking trends, leading to countless variations and inspired creations.

Amazon Basics Basket Coffee Filters for 8-12 Cup Coffee Makers, White, 200 Count, Packaging May Vary
- Package Quantity: 200 white basket filters
- Compatibility: Fits 8-12 cup coffee makers
- Filtration Quality: Excellent sediment removal
As an affiliate, we earn on qualifying purchases.
History

While you might enjoy a warm chocolate chip cookie today, it's fascinating to think about its origins. Ruth Wakefield created the first chocolate chip cookie in the 1930s at the Toll House Inn, originally calling them "chocolate crunch cookies." She used chopped chocolate bars, as semi-sweet chocolate chips hadn't yet been invented.
Nestlé introduced those chips in 1940, and their popularity soared during the 1930s, turning chocolate chip cookies into a staple in American baking.
Vintage chocolate chip recipes often featured variations like oatmeal and peanut butter, highlighting evolving tastes.
With butter, granulated sugar, and those delightful semi-sweet chocolate chips, chocolate chip cookies have cemented their place in dessert culture and continue to be a beloved treat in households everywhere.
Recipe

Vintage Chocolate Chip Cookies
Indulging in vintage chocolate chip cookies is like taking a nostalgic journey back to the 1930s when Ruth Wakefield first crafted this beloved treat at the Toll House restaurant.
These cookies have remained a staple in many households, cherished for their delightful combination of buttery goodness and rich chocolate flavor. Over the years, variations of the classic recipe have emerged, but the essence of the chocolate chip cookie remains unchanged: a perfect balance of sweetness, chewiness, and a hint of nostalgia.
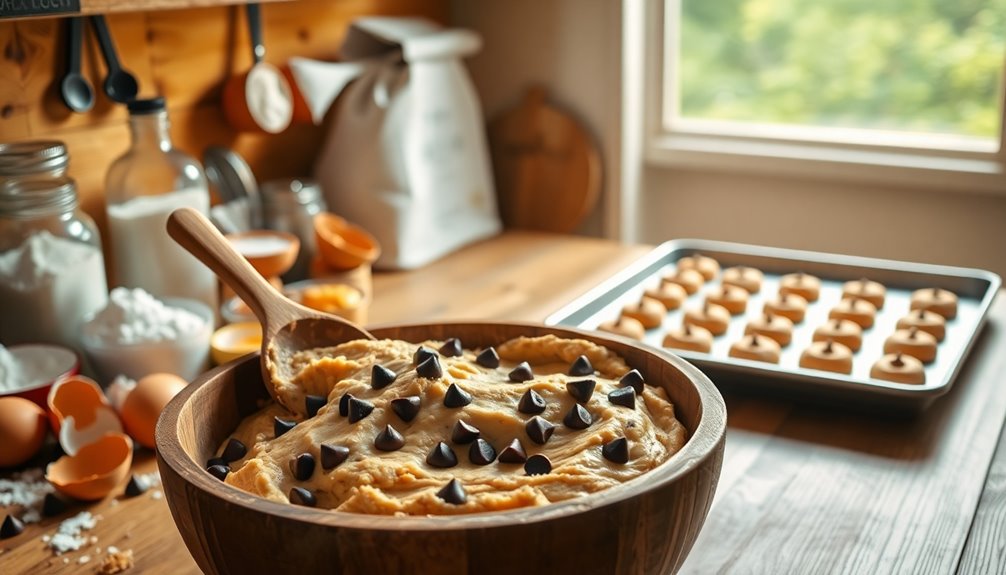
To recreate the magic of those early recipes, gather some simple ingredients that have stood the test of time. The foundation of this cookie lies in the perfect mixture of sugars and butter, which provides that iconic texture and flavor.
Whether you're baking them for a family gathering or simply to satisfy a sweet tooth, these cookies are sure to bring joy to everyone who tastes them.
Ingredients:
- 1 cup of butter, softened
- ¾ cup granulated sugar
- ¾ cup brown sugar, packed
- 2 large eggs
- 1 teaspoon vanilla extract
- 2 ¼ cups all-purpose flour
- 1 teaspoon baking soda
- ½ teaspoon salt
- 2 cups chocolate chips
Instructions:
In a large mixing bowl, cream together the softened butter, granulated sugar, and brown sugar until the mixture is light and fluffy.
Beat in the eggs one at a time, followed by the vanilla extract. In a separate bowl, whisk together the flour, baking soda, and salt. Gradually add the dry ingredients to the wet mixture, stirring until combined.
Finally, fold in the chocolate chips. Preheat your oven to 375 degrees Fahrenheit, drop rounded tablespoons of dough onto ungreased baking sheets, and bake for 9 to 11 minutes or until golden brown around the edges.
Allow the cookies to cool on the baking sheets for a few minutes before transferring them to wire racks.
Extra Tips:
For the best results, ensure your butter is at room temperature before starting; this will help create a smoother batter.
If you prefer a chewier cookie, consider chilling the dough for about 30 minutes before baking to let the flavors meld and to prevent spreading.
Experimenting with different types of chocolate chips—such as dark chocolate or even a mix of semi-sweet and milk chocolate—can also elevate the flavor profile.
Lastly, remember that every oven is different, so keep a close eye on your cookies and adjust baking times as necessary to achieve your desired level of doneness.
Enjoy your baking!
Cooking Steps
To get started on your vintage chocolate chip cookies, preheat your oven to 350°F.
Next, mix your dry ingredients thoroughly before adding the wet ones gradually to create a smooth dough.
Don't forget to fold in those chocolate chips for that perfect burst of flavor!
Step 1. Preheat Oven to 350°F

Preheating your oven to 350°F (175°C) is crucial for baking the perfect vintage chocolate chip cookies. This temperature ensures even baking, giving you a crispy exterior and a chewy interior that defines a classic chocolate chip cookie.
Before you start, position the oven rack in the center for optimal heat circulation. Allow the oven to fully heat for about 10-15 minutes; this prevents uneven baking and helps your cookies rise properly.
While waiting, prepare your baking sheets by leaving them ungreased or lining them with parchment paper to avoid sticking.
Step 2. Mix Dry Ingredients Thoroughly

While you're waiting for the oven to heat, it's essential to mix the dry ingredients thoroughly to set a strong foundation for your vintage chocolate chip cookies.
Start by sifting together 225g of plain flour, ½ tsp of baking soda, and ¼ tsp of salt in a medium bowl. This ensures even distribution and prevents clumping.
Whisk the mixture to aerate the flour, creating a lighter texture in your cookie dough. Remember to measure ingredients precisely; even small discrepancies can impact your cookies' structure and taste.
Fresh baking soda is crucial for the right rise.
Finally, incorporate the dry ingredients into the creamed butter and light brown sugar gradually, mixing until just combined to avoid overworking the dough.
Step 3. Add Wet Ingredients Gradually
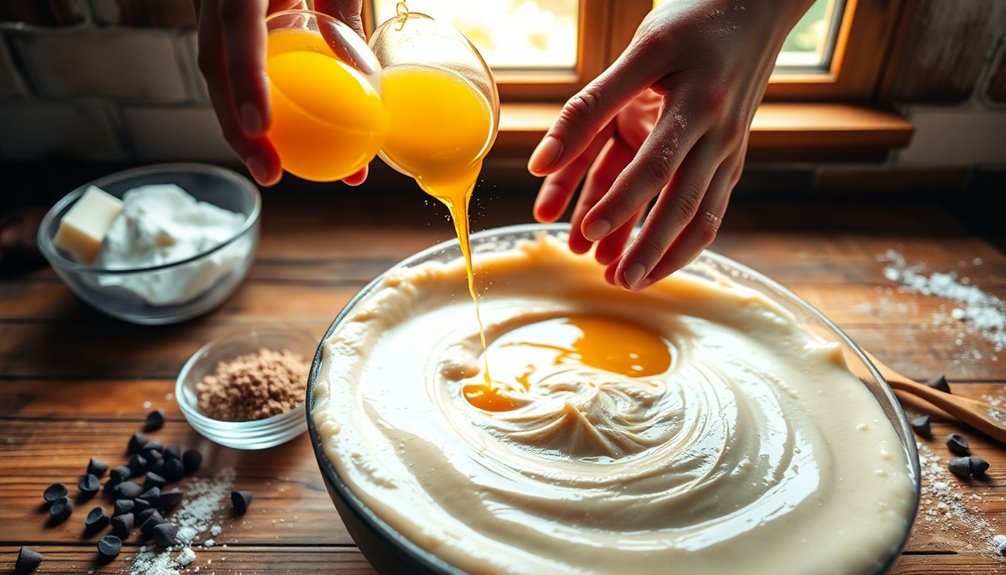
As you prepare to add the wet ingredients, start by incorporating the eggs and vanilla extract one at a time into the creamed butter and sugars. This step ensures even mixing and emulsification, which is crucial for your chocolate chip cookie recipe.
Mix thoroughly at medium speed for about 3 minutes to achieve a lighter texture in your dough. Once all the eggs and vanilla are well combined, you can gradually blend in the dry ingredients, including the baking powder and salt.
This gradual approach prevents overmixing, which can lead to tough cookies. After mixing, remember to chill the dough for at least 2 hours to allow the flavors to meld, resulting in delicious, chewy cookies.
Step 4. Fold in Chocolate Chips

Now that your dough is ready, gently fold in the chocolate chips using a spatula or wooden spoon. You'll want at least 2 cups of chocolate chips, ideally a mix of semisweet chocolate and chopped chocolate, to create a rich blend of textures and flavors.
As you fold in, aim for an even distribution without overmixing, so your cookies maintain that thick consistency. Stop mixing once the dry ingredients are just combined to avoid tough cookies.
To make your cookies even more appealing, reserve some chocolate chips to press into the tops of the dough balls before baking. This little touch adds extra chocolate and a beautiful finish to your vintage chocolate chip cookies!
Step 5. Chill Dough for 30 Minutes

Once you've folded in the chocolate chips, it's time to chill the dough for at least 30 minutes. This step is crucial because chilling the dough allows the fats to solidify, resulting in thicker cookies with a delightful chewy texture.
During this time, the flour hydrates fully, enhancing the overall flavor and preventing the cookies from spreading too much while baking. A chilled dough is easier to handle, making it simpler to scoop and shape uniform cookies.
To get the best results, cover the dough tightly with plastic wrap or store it in an airtight container to keep it from drying out. This chilling process not only improves texture but also develops a rich flavor in your finished cookies.
Final Thoughts
Although vintage chocolate chip cookie recipes might seem like a nostalgic throwback, they offer a delightful glimpse into the evolving flavors and baking practices of the past.
These recipes, ranging from the 1930s to the 1970s, highlight unique ingredients like oats, honey, and even peanut butter, showcasing the diverse tastes of each era.
You'll notice that many vintage recipes call for generous amounts of butter with sugar, resulting in cookies that are rich and dense—quite different from today's healthier adaptations.
Additionally, the historical context of these cookies reveals how their popularity surged after the introduction of semi-sweet chocolate morsels.