You can whip up a delightful scone recipe with just a few simple ingredients. Start by preheating your oven to 400°F. Mix all-purpose flour, sugar, baking powder, and salt in a bowl. Cut in cold butter until crumbly, then gradually incorporate milk or cream. Be gentle when kneading; you want a light, flaky texture. Shape your dough into triangles and bake for about 15-20 minutes. Feel free to add flavors like chocolate chips or fresh fruit for a twist. Serve warm with clotted cream and jam, and you’ll see how easy and rewarding homemade scones can be. There’s even more to explore! For a perfect breakfast spread, consider pairing your scones with a side of delicious scalloped potatoes. While you’re enjoying your freshly baked scones, you can easily prepare the scalloped potatoes cooking instructions for a hearty addition to your meal. Just slice the potatoes thinly, layer them with cheese and a creamy sauce, and bake until golden and bubbly for a comforting dish that complements the lightness of your scones beautifully.
Key Takeaways
- Combine all-purpose flour, sugar, baking powder, salt, and cold butter for a flaky texture in your scone dough.
- Gradually mix in milk or cream to avoid a sticky batter while kneading gently to maintain softness.
- Cut the dough into triangles for even baking and rise, ensuring uniformity in the final product.
- Experiment with flavors by adding fruit, chocolate chips, or herbs to create unique scone varieties.
- Bake at 400°F (200°C) for a delicious, warm treat best enjoyed with clotted cream and jam.
History

When you think about scones, it's fascinating to realize they've a rich history that dates back to the 1500s in Scotland.
Originally, these delightful pastries were made with oats, not flour, and cooked on a griddle over an open fire. As time passed, scones evolved, incorporating different ingredients like flour, baking powder, and butter, leading to the soft, crumbly texture we enjoy today.
By the 19th century, scones became a staple of afternoon tea, especially in England, where clotted cream and jam became popular accompaniments. Their cultural significance grew, symbolizing hospitality and tradition. Additionally, the evolution of scones mirrors the changes in cultural influences over time, reflecting how food can adapt to societal shifts.
Recipe

Scones are a delightful treat that can be enjoyed at breakfast, as a snack, or during afternoon tea. Originating from the UK, these light and fluffy baked goods are versatile, allowing for a variety of flavors and add-ins, from classic currants to modern twists like chocolate chips or fresh fruit. The key to achieving the perfect scone lies in handling the dough as little as possible, guaranteeing a tender texture that melts in your mouth.
Making scones at home is simple and rewarding. With just a few pantry staples, you can whip up a batch in no time. Whether you prefer them sweet or savory, scones are a fantastic way to impress friends and family or simply treat yourself. Enjoy them warm from the oven, paired with clotted cream and jam for a truly indulgent experience.
Ingredients:
- 2 cups all-purpose flour
- 1/4 cup granulated sugar
- 1 tablespoon baking powder
- 1/2 teaspoon salt
- 1/2 cup unsalted butter, cold and cubed
- 3/4 cup milk or heavy cream
- 1 large egg (optional for egg wash)
- Optional: 1 cup add-ins (chocolate chips, dried fruit, nuts, etc.)
To make the scones, preheat your oven to 400°F (200°C) and line a baking sheet with parchment paper. In a large mixing bowl, whisk together the flour, sugar, baking powder, and salt. Cut in the cold butter until the mixture resembles coarse crumbs.
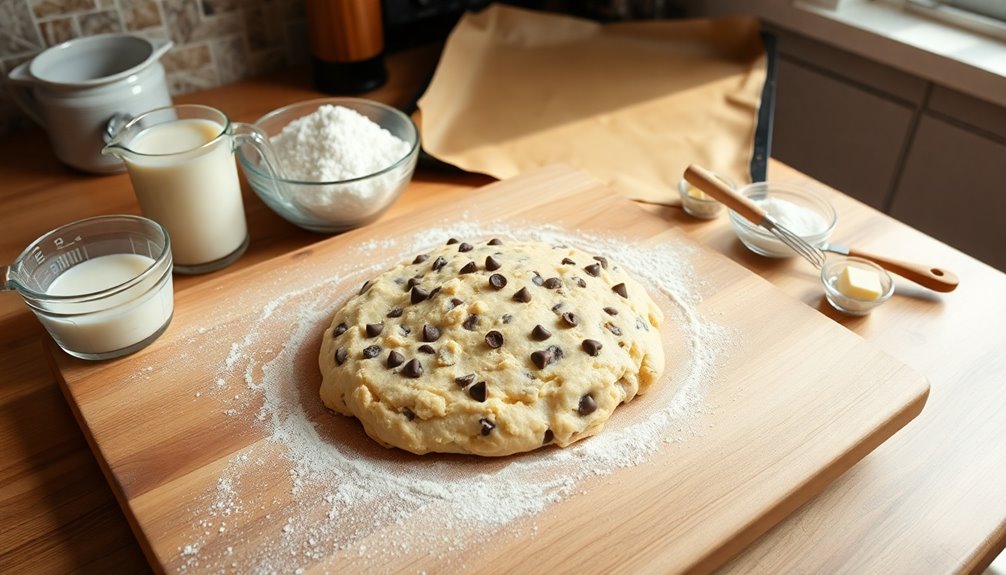
Stir in the milk or cream until just combined, then gently fold in any optional add-ins. Turn the dough out onto a lightly floured surface and pat it into a circle about 1-inch thick. Cut into wedges or use a round cutter to shape the scones. Place them on the prepared baking sheet, brush with an egg wash if desired, and bake for 15-20 minutes or until golden brown.
Extra Tips: For the best results, confirm your butter is very cold before incorporating it into the flour mixture. This helps create those signature flaky layers. Avoid overworking the dough; mix just until combined.
If you want to experiment with flavors, consider adding zest from citrus fruits, herbs, or spices to the dough. Scones are best enjoyed fresh but can be stored in an airtight container for up to two days or frozen for longer storage. Reheat them in the oven for a few minutes before serving to restore their fresh-baked goodness.
Cooking Steps
Now that you've gathered your ingredients, it's time to get cooking.
Start by preheating your oven to 400°F and mixing your dry ingredients thoroughly.
With everything ready, you'll gradually add the wet ingredients and knead the dough gently for the perfect texture.
Step 1. Preheat Oven to 400°F

Before diving into mixing your ingredients, you'll want to preheat your oven to 400°F. This step is essential for achieving that perfect scone texture.
While the oven heats up, you'll create a warm environment that helps the scones rise beautifully. Set your oven timer for a few minutes, just to make sure it reaches the right temperature before you pop your scones in.
It's a good idea to use an oven thermometer to check the accuracy, as not all ovens heat evenly. Once the oven's ready, you'll be set to bake those delicious scones to golden perfection.
Trust me, taking the time to preheat will make all the difference in your baking results!
Step 2. Mix Dry Ingredients Thoroughly

Once your oven is preheated, it's time to mix the dry ingredients thoroughly for your scone batter.
Start by gathering your flour, sugar, baking powder, and salt. In a large mixing bowl, whisk these dry ingredients together until they're well combined.
This step is essential, as it guarantees that the baking powder is evenly distributed, which helps your scones rise uniformly. If you're using any additional dry ingredients, like spices or dried fruit, mix them in at this stage as well.
Make certain there are no lumps in the flour, as they can affect the texture of your scones. Take your time with this step; a well-mixed dry blend sets the foundation for perfectly fluffy scones.
Step 3. Add Wet Ingredients Gradually
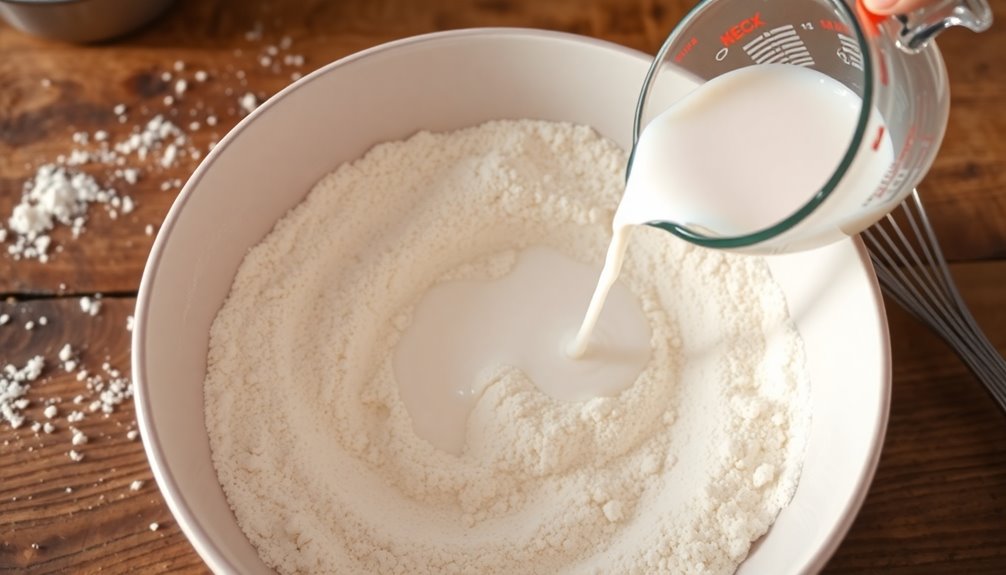
As you're ready to bring your scone batter to life, gradually add the wet ingredients to your dry mixture.
Start with a small amount, mixing gently to combine. This helps you control the moisture level and prevents the batter from becoming too sticky.
Continue adding the wet ingredients in small increments, stirring lightly after each addition. You'll notice the dry ingredients absorbing the liquid, creating a soft dough.
Be careful not to overmix; you want to keep the texture light and airy. If you find the batter too dry, add a splash more wet ingredients.
Once everything's incorporated, you'll be ready for the next step in creating delicious scones that everyone will love.
Step 4. Knead Dough Gently for Texture

With your wet and dry ingredients combined into a soft dough, it's time to knead the mixture gently.
Turn the dough out onto a lightly floured surface and use your hands to fold the dough over itself. Press down with the palms of your hands, then fold it again.
Repeat this process just a few times, being careful not to overwork the dough. You want to create a soft texture, not a tough one. Kneading too much can lead to dense scones, which isn't what you're aiming for.
As you work, keep the surface and your hands lightly floured to prevent sticking. The goal is to incorporate everything while maintaining that tender, fluffy quality in your final scones.
Step 5. Cut Dough Into Triangles

Now that you've gently kneaded your dough, it's time to cut it into triangles.
Start by placing the dough on a lightly floured surface. Pat it down into a circle, about an inch thick. Using a sharp knife or a bench scraper, slice the dough into quarters.
Then, take each quarter and cut it into two or three triangles, depending on how large you want them. Make sure your cuts are clean to help the scones rise evenly.
Once you've cut all the triangles, transfer them to a baking sheet lined with parchment paper. Brush the tops with a little milk or egg wash for a golden finish.
Now you're ready to bake your delicious scones!
Final Thoughts

While you may be tempted to rush through the scone-making process, taking your time can truly elevate the final product. Each step, from mixing the ingredients to cutting the dough, plays an essential role in achieving that perfect texture.
Remember to handle the dough gently; overworking it can lead to tough scones. Baking at the right temperature guarantees they rise beautifully and develop a golden crust.
Once they're out of the oven, let them cool slightly before serving. Enjoy them plain, or with clotted cream and jam.
Scones are all about balance and flavor, so don't hesitate to experiment with different add-ins like fruits or nuts. You'll find that patience and creativity will yield delightful results every time.
Frequently Asked Questions
Can I Substitute Gluten-Free Flour in Scone Recipes?
Absolutely, you can substitute gluten-free flour in your recipes!
Just keep in mind that not all gluten-free flours behave the same way. You might want to use a blend designed for baking, which often includes xanthan gum to mimic gluten's structure.
It's also a good idea to adjust liquid ingredients slightly, as gluten-free flour can absorb more moisture.
Experimenting will help you find the perfect texture and flavor you enjoy!
How Should I Store Leftover Scones?
To store leftover scones, you'll want to let them cool completely first.
Once they're cool, wrap them tightly in plastic wrap or place them in an airtight container. You can keep them at room temperature for up to two days, but if you want them to last longer, pop them in the fridge for about a week.
For longer storage, freeze them, and just reheat when you're ready to enjoy!
What Are Common Variations for Scone Flavors?
When you think about flavor variations, the possibilities are endless! You can experiment with classic choices like blueberry or cranberry, or get creative with lemon zest and poppy seeds.
If you prefer something richer, try adding chocolate chips or chunks of dried fruit. For a savory twist, consider cheese and herbs.
Don't shy away from mixing in spices like cinnamon for a warm touch. Your taste buds will thank you for exploring these delicious options!
Can I Freeze Unbaked Scones?
Yes, you can freeze unbaked scones!
Just shape the dough into individual scones and place them on a baking sheet lined with parchment paper. Freeze them for a couple of hours until they're solid, then transfer them to a freezer-safe bag or container.
When you're ready to bake, there's no need to thaw; just add a few extra minutes to the baking time. Enjoy fresh scones whenever you want!
What Is the Best Way to Reheat Scones?
To reheat scones effectively, preheat your oven to 350°F (175°C).
Place the scones on a baking sheet lined with parchment paper. If they're a bit dry, you can lightly brush them with melted butter or sprinkle a few drops of water on top.
Heat them for about 5-10 minutes, or until they're warmed through and slightly crispy.
This method helps maintain their texture and flavor, making them delightful to enjoy again!