Isn't it fascinating how a simple combination of flour, water, salt, and time can transform into a loaf of sourdough bread? You might think the process is daunting, but once you understand the essentials, it becomes a rewarding experience. Crafting your own sourdough not only connects you to centuries of tradition but also allows you to experiment with flavors and textures. As you consider the steps involved, you'll find there's more to the art of sourdough than meets the eye. What's the secret behind achieving that perfect crust and tangy flavor?
Key Takeaways
- Combine high-protein bread flour, filtered water, salt, and an active sourdough starter in a bowl to create the dough mixture.
- Knead the dough for 10-15 minutes until it becomes smooth and elastic, ensuring good gluten development.
- Allow the dough to rise at room temperature for 4-12 hours, aiming for a 50-75% increase in size.
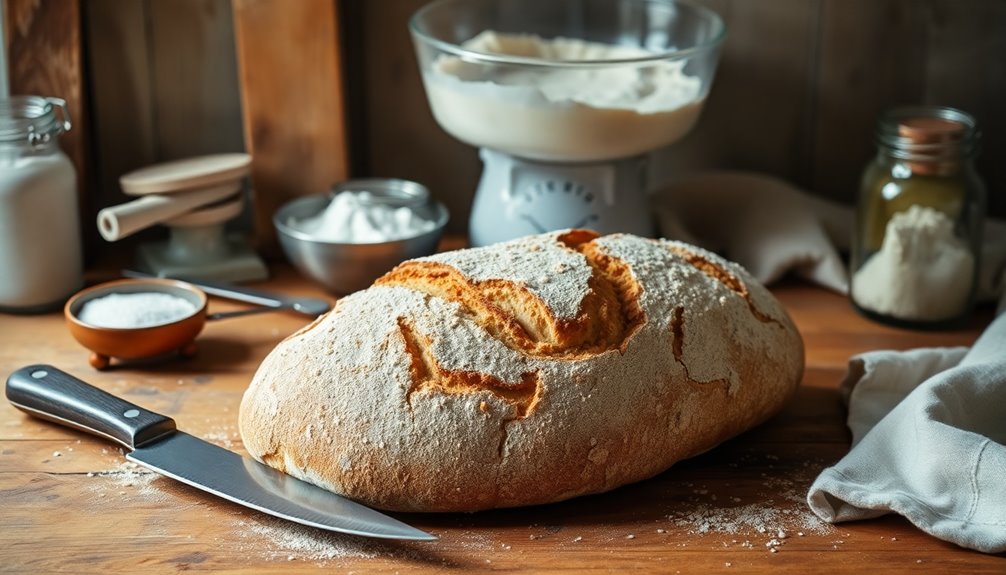
- Preheat the oven to 450°F (232°C), score the loaf, and bake for 30-45 minutes until golden brown and hollow-sounding.
- Cool the bread on a wire rack for at least 1 hour before slicing to maintain texture and flavor.
Top picks for "sourdough bread recipe"
As an affiliate, we earn on qualifying purchases.
History

Sourdough bread, recognized as one of the oldest forms of bread, has roots that trace back to ancient Egypt around 1500 BC.
This timeless staple relied on fermentation, utilizing wild yeast and lactic acid bacteria naturally present in the environment. Before the introduction of commercial yeast in the 19th century, sourdough was the primary method for leavening bread.
As you explore this bread's history, you'll discover how different regions developed unique sourdough cultures, leading to distinct flavor profiles and textures, like the tangy San Francisco sourdough.
Recently, sourdough's artisan qualities and health benefits have sparked a resurgence, especially during home baking trends seen during the COVID-19 pandemic, inviting you to connect with a rich culinary tradition.
Recipe

Sourdough Bread Recipe
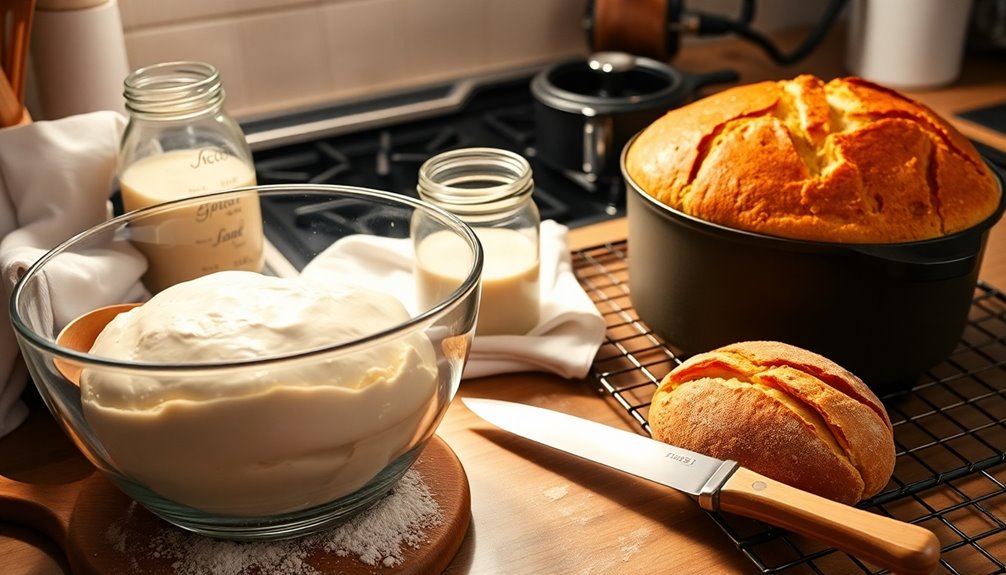
Making sourdough bread at home isn't only a rewarding experience but also results in a delicious loaf that's far superior to store-bought bread. The key to a successful sourdough loaf lies in the quality of your sourdough starter and the patience you put into the fermentation process.
This recipe will guide you through the steps to create a crusty, flavorful bread with a chewy crumb that's perfect for sandwiches or enjoyed on its own. Before you begin, ensure you have an active sourdough starter, as this will be the foundation of your bread.
The fermentation time allows the dough to develop its unique flavor profile, and the stretch and fold technique helps create the structure needed for a great rise. With a bit of time and care, you'll be able to bake a beautiful sourdough loaf that fills your home with the warm, inviting smell of freshly baked bread.
Ingredients:
- 100 g active sourdough starter
- 375 g warm water
- 500 g bread flour
- 12 g fine sea salt
Instructions:
In a large mixing bowl, combine the active sourdough starter with warm water, mixing until well blended. Gradually add in the bread flour and salt, stirring until a rough dough forms.
Let the dough rest for 30 minutes, then perform a series of 4-5 stretch and folds every 30 minutes for the next 2 hours to strengthen the gluten. Once bulk fermentation is complete, shape the dough and place it in a proofing bowl lined with a towel dusted with rice flour.
Cover and refrigerate for 12-48 hours to enhance the flavor and texture. Preheat your oven to 550°F (290°C) with a Dutch oven inside. Carefully transfer the dough onto a piece of parchment paper, score the top with a sharp knife, and bake covered for 30 minutes.
Reduce the temperature to 400°F (200°C) and bake for an additional 10-15 minutes until golden brown. Allow the bread to cool on a wire rack for at least 1 hour before slicing.
Extra Tips:
For best results, make sure your sourdough starter is bubbly and active before beginning the recipe. The longer the dough ferments in the refrigerator, the more complex flavors it will develop, so don't hesitate to experiment with the timing.
Additionally, using a kitchen scale for measuring ingredients ensures accuracy, leading to consistent results. When scoring the dough, don't be afraid to make a deep cut, as this will help the bread expand properly in the oven.
Enjoy your homemade sourdough bread!
Cooking Steps
Let's get started with the cooking steps for your sourdough bread.
First, you'll want to feed your starter to ensure it's active and ready to work its magic.
After that, you'll mix and knead your dough until it's smooth and elastic, setting the stage for a delicious loaf.
Step 1. Feed Your Starter First
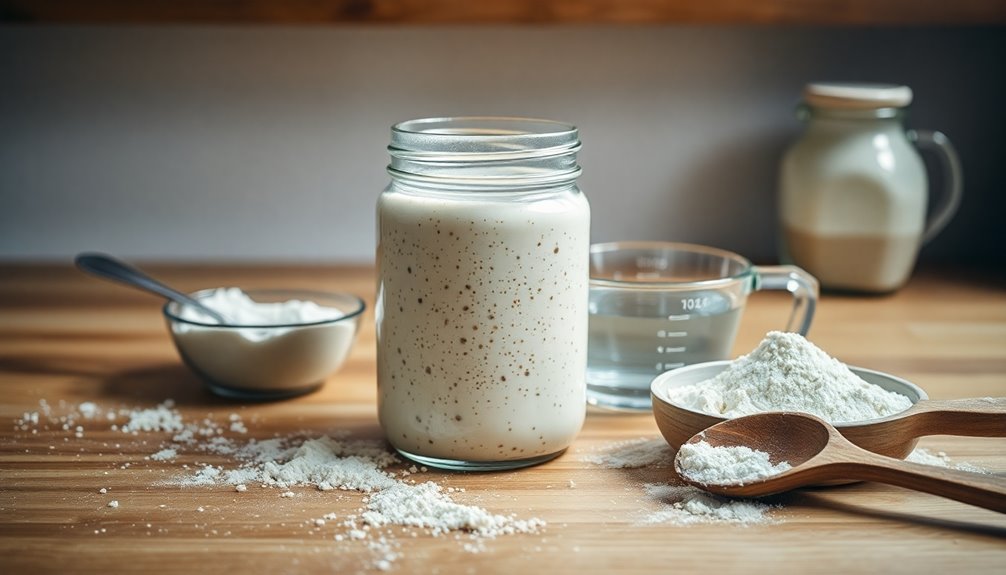
Before diving into your baking adventure, it's essential to feed your starter to ensure it's active and ready.
Start by removing half of your sourdough starter (about 100 g) and discard it to maintain a healthy balance. Next, feed the starter with equal weights of flour and water—100 g each.
Mix the flour and water together until you reach a thick, pancake-like batter consistency. Cover the bowl with a cloth or plastic wrap, allowing it to rise at room temperature.
In 4-12 hours, your starter should double in size and become bubbly. To check its readiness, perform the Float Test: drop a teaspoon of the starter into water. If it floats, you're set for your sourdough bread recipes!
Step 2. Knead Until Smooth and Elastic

With your starter ready and bubbling, it's time to focus on kneading the dough until it's smooth and elastic.
Begin by placing the dough on a lightly floured work surface. Use the heel of your hand to push the dough away, then fold it back over itself, rotating it a quarter turn after each push.
Continue this kneading process for about 10-15 minutes to develop the gluten properly. If the dough feels sticky, dust your hands and the surface with a bit of flour, but don't overdo it, as too much can dry out your loaf.
Once it looks smooth, perform the windowpane test to ensure it's ready. Adjust your technique based on the dough's hydration level if needed.
Step 3. Stretch and Fold Dough

After the initial 30-minute rest, you can start the stretch and fold process to strengthen your dough. This technique is crucial for gluten development, allowing the dough to hydrate fully.
Every 30 minutes, perform the stretch and fold 4-5 times, gently pulling the dough up and folding it over itself. As you do this, notice the dough becoming smoother and more elastic, indicating progress.
Aim for a bulk fermentation period of 2-6 hours, adjusting based on room temperature. You'll know it's time to move on when the dough shows a volume increase of at least 50% and has bubbles on the surface.
Remember to wet your hands to prevent sticking while handling the dough.
Step 4. Bulk Fermentation Process

Once you've completed the stretch and fold process, the bulk fermentation begins. This stage typically lasts 4-6 hours at room temperature, during which your dough should increase in size by 50-75%.
Pay attention to temperature; warmer conditions can speed up fermentation, while cooler ones may require longer fermentation time. Throughout this period, perform stretch and folds every 30 minutes to enhance the gluten structure, creating an airy and chewy texture.
Watch for visual cues like bubbles on the surface and a noticeable rise, indicating active fermentation. Once you see these signs, your dough is ready for the second rise, which can happen at room temperature or in the refrigerator overnight for added flavor.
Step 5. Shape the Dough Neatly
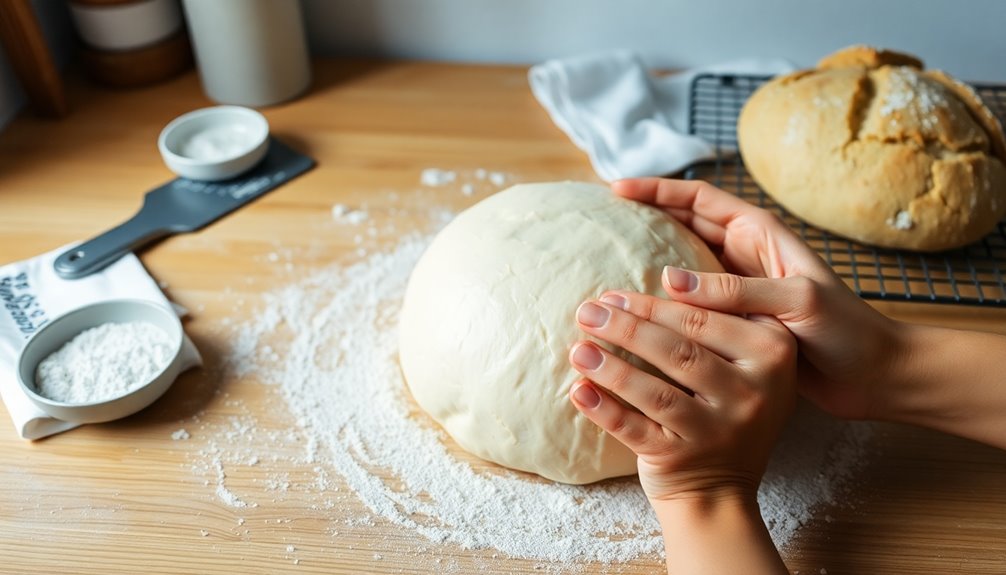
Carefully shape the dough to ensure it maintains its structure and airiness.
Start by lightly flouring your work surface to prevent sticking. Gently flatten the dough into a rectangle, preserving the air bubbles from fermentation.
Fold the edges towards the center, creating surface tension, then flip the dough seam-side down.
Now, use your hands to push and pull the dough into a tight ball, tucking the edges underneath while maintaining tension on the surface.
Once shaped, place the dough in a floured proofing basket seam-side up. This allows it to rest and rise, preparing it for baking.
Final Thoughts

While baking sourdough bread may seem daunting at first, the process becomes rewarding as you master the techniques. Start with a bubbly sourdough starter for optimal leavening.
Allow your dough to undergo bulk fermentation for 4-6 hours, using stretching and folding every 30 minutes to build strength. As you let it rise, pay attention to its texture and feel.
Before baking, don't forget to score the dough, which helps control its expansion in the oven. Aim for the ideal internal temperature while baking sourdough bread to achieve that perfect crust.
After baking, cooling your loaf on a wire rack for at least an hour is essential, ensuring the perfect texture and preventing a gummy interior. Enjoy your delicious creation!