Did you know that the origins of gravy trace back to ancient Rome, where it was used to enhance flavor in various dishes? Mastering a good gravy can elevate your meals, but the process often intimidates cooks. You might think it's all about the ingredients, but technique plays a crucial role in achieving that perfect consistency and rich flavor. What if there are unexpected twists or secret ingredients that could transform your gravy from ordinary to extraordinary? Let's explore how you can elevate your gravy game.
Key Takeaways
- Start with equal parts unsalted butter and all-purpose flour to create a smooth roux for thickening the gravy.
- Gradually whisk in broth while stirring continuously to prevent lumps from forming.
- Simmer the mixture, stirring frequently, until it reaches your desired thickness.
- Adjust the seasoning with salt and optional herbs or spices to enhance the flavor.
- Leftover gravy can be stored in an airtight container for up to 4 days or frozen for 3 months.
History
Gravy's history dates back to medieval Europe, where cooks would make it from the flavorful juices of roasted meats, thickening it with flour or breadcrumbs.
The term "gravy" comes from the French word "gravé," which refers to these delicious meat juices.
By the 19th century, gravy found its way into American cuisine, particularly in the South, where it often accompanies biscuits and fried foods.
As convenience foods emerged in the 20th century, instant gravy mixes became popular, allowing home cooks to prepare it without drippings.
You'll also discover various regional variations, such as sausage gravy, made with breakfast sausage, and brown gravy, typically served with roast meats.
Gravy truly reflects the evolution of cooking across cultures and time.
Recipe
Gravy is a classic accompaniment that elevates a wide variety of dishes, from roasted meats to mashed potatoes. Its rich, savory flavor can bring warmth and comfort to any meal, making it a staple in many households.
This simple gravy recipe isn't only quick to prepare but also allows for customization based on your taste preferences. With just a few basic ingredients, you can create a delicious sauce that complements your favorite entrees.
To begin making your gravy, you'll create a roux, which serves as the base for thickening your sauce. By combining equal parts of butter and flour, you'll achieve a smooth consistency that forms the foundation of your gravy.
Once the roux is ready, you'll gradually whisk in hot stock, stirring continuously to ensure a lump-free mixture. This versatile recipe can be adjusted to suit your flavor preferences by adding herbs and spices.
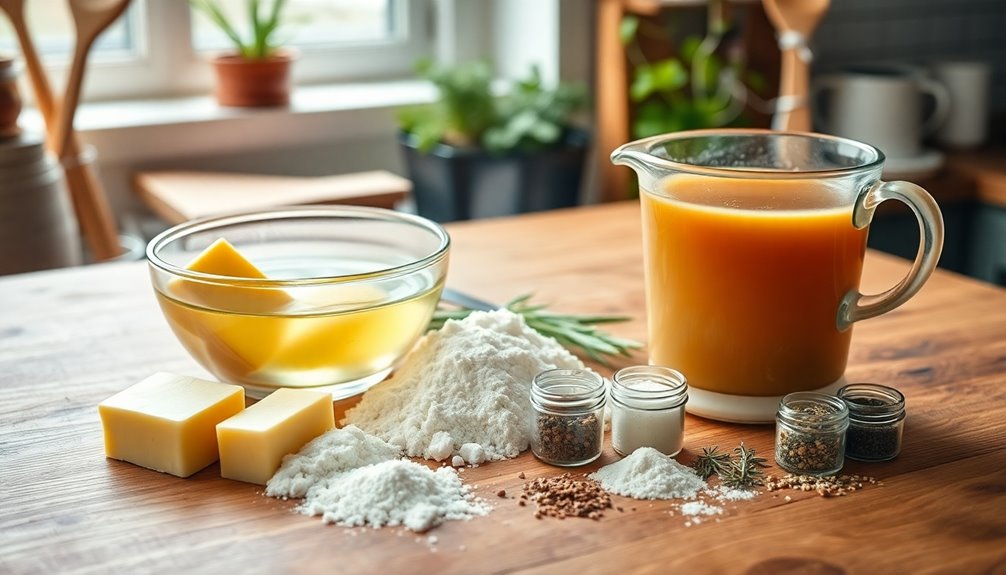
Ingredients:
- 2 tablespoons unsalted butter
- 2 tablespoons all-purpose flour
- 1 cup hot chicken, beef, or vegetable stock
- Seasonings (onion powder, garlic powder, thyme, rosemary – optional)
Cooking Instructions:
In a saucepan, melt the butter over medium heat until it's fully melted and begins to bubble.
Whisk in the flour to create a roux, cooking for about 1-2 minutes until lightly golden. Gradually add the hot stock while continuously whisking to prevent lumps from forming.
Continue to cook the mixture, stirring frequently, until the gravy thickens to your desired consistency.
Extra Tips:
For an extra depth of flavor, consider deglazing the pan with a splash of wine or adding pan drippings from roasted meats.
If your gravy comes out too thick, simply whisk in a bit more stock until you reach your preferred thickness.
Remember that leftover gravy can be stored in an airtight container for up to 4 days in the refrigerator or frozen for up to 3 months, making it an easy make-ahead option for busy meal preparations.
Cooking Steps
Before you start cooking, gather all your ingredients to make the process smoother.
You'll whisk together the flour and butter to form a roux, then gradually add the broth while stirring continuously.
Finally, simmer the mixture until it thickens, and don't forget to adjust the seasoning to your taste!
Step 1. Gather All Ingredients First
To whip up a delicious gravy, start by gathering all your essential ingredients. You'll need unsalted butter, all-purpose flour, and chicken stock or any broth of your choice.
Measure out equal parts of butter and flour, typically 2 tablespoons each, to create the roux that forms the base of your gravy. Keep a measuring cup handy to ensure you have enough hot stock to achieve your desired consistency.
Don't forget optional seasonings like onion powder, garlic powder, thyme, and rosemary to enhance the flavor.
Once everything's ready, grab a whisk to combine the melted butter and flour smoothly, which will help you avoid lumps as gravy thickens. You're now set for the next steps!
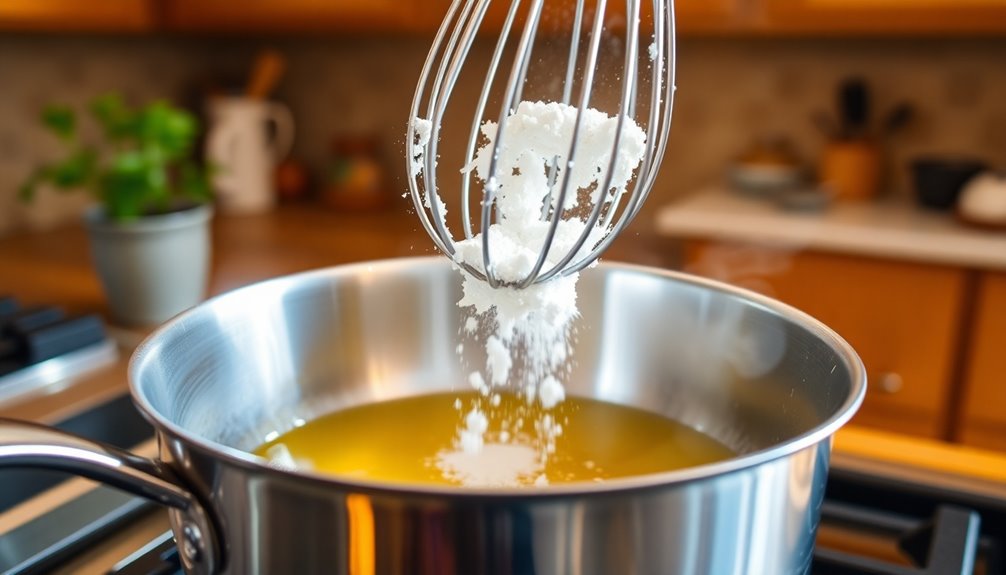
Step 2. Whisk Flour and Butter Together

With all your ingredients gathered, it's time to whisk the flour and butter together.
Start by melting unsalted butter in a saucepan over medium heat until it's completely liquefied, making sure it doesn't brown. Gradually whisk in an equal amount of all-purpose flour to create a roux.
Keep stirring for about 1 minute to eliminate any raw flour taste. You want the roux to achieve a smooth, golden consistency, which means it's ready for the next steps.
Make sure you maintain a steady whisking motion to prevent lumps from forming. Cook the roux just long enough to develop flavor without letting it darken too much, as this will set the foundation for your delicious gravy.
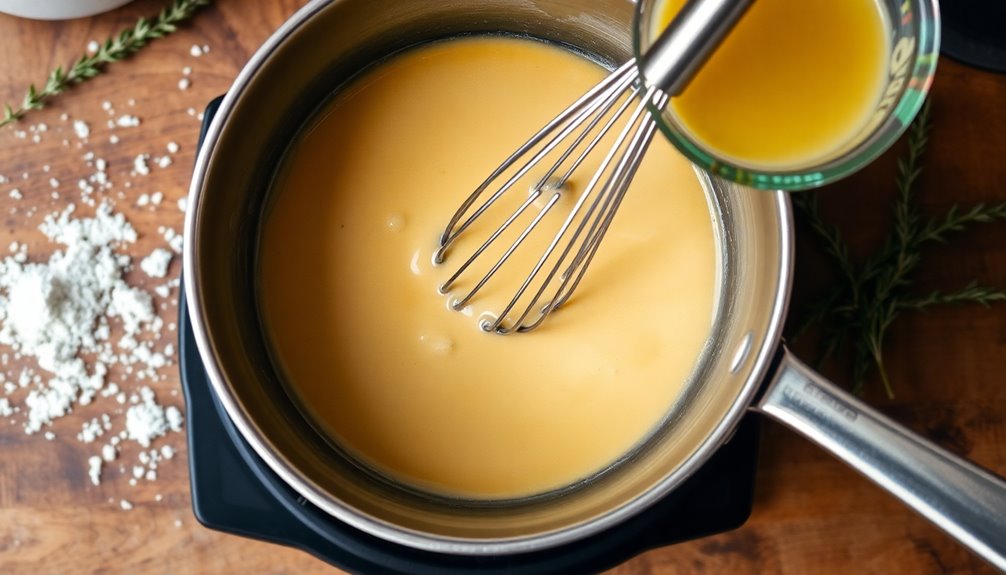
Step 3. Add Broth Gradually, Whisking Continuously
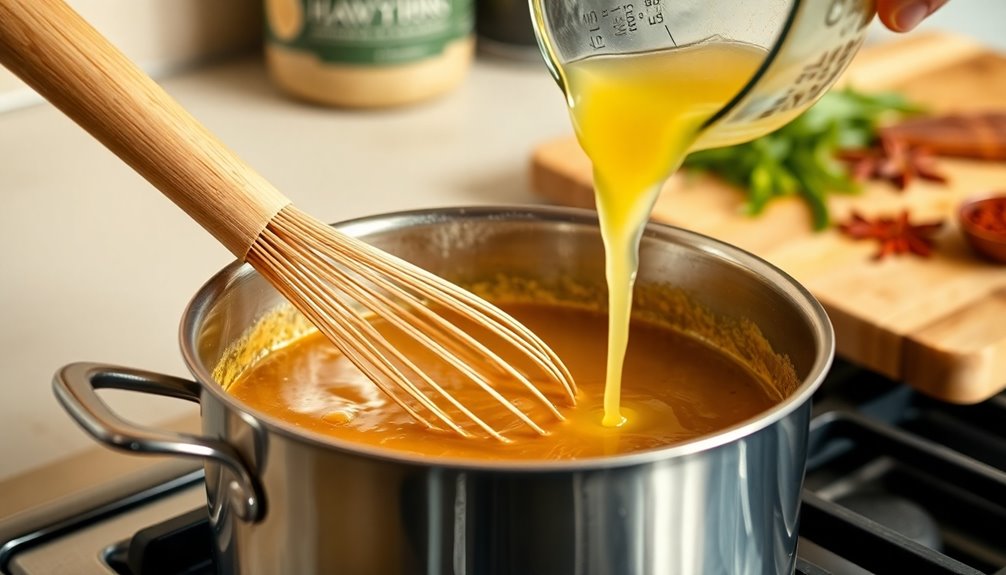
As you prepare to add broth to the roux, it's crucial to do so gradually while whisking continuously. Start by adding a small amount of broth, fully incorporating it before adding more. This method helps prevent lumps and ensures a smooth gravy.
As you whisk, maintain a steady stirring motion to achieve a uniform texture and facilitate the thickening process. Once you've incorporated all the stock, bring the mixture to a boil. Keep whisking to maintain that consistency, then reduce to a simmer.
This step allows the gravy to thicken properly, enhancing its flavor and richness. Remember, patience is key to creating the perfect gravy, so take your time during this crucial phase!
Step 4. Simmer Until Thickened

Once you've brought the mixture to a boil, let it simmer for about a minute, stirring frequently to keep the consistency even and smooth.
This step is crucial for activating the thickening properties of the flour, allowing your gravy to thicken properly. As you simmer, monitor the texture closely; if it gets too thick, you can gradually whisk in more stock or water to achieve your desired consistency.
Keep the heat at a gentle simmer to avoid burning or lumps forming in the mixture. Remember, the gravy will continue to thicken as it cooks, so adjust the heat as necessary.
Once you're satisfied with the thickness, you can taste the gravy and decide when to season it with salt and pepper.
Step 5. Season to Taste With Salt
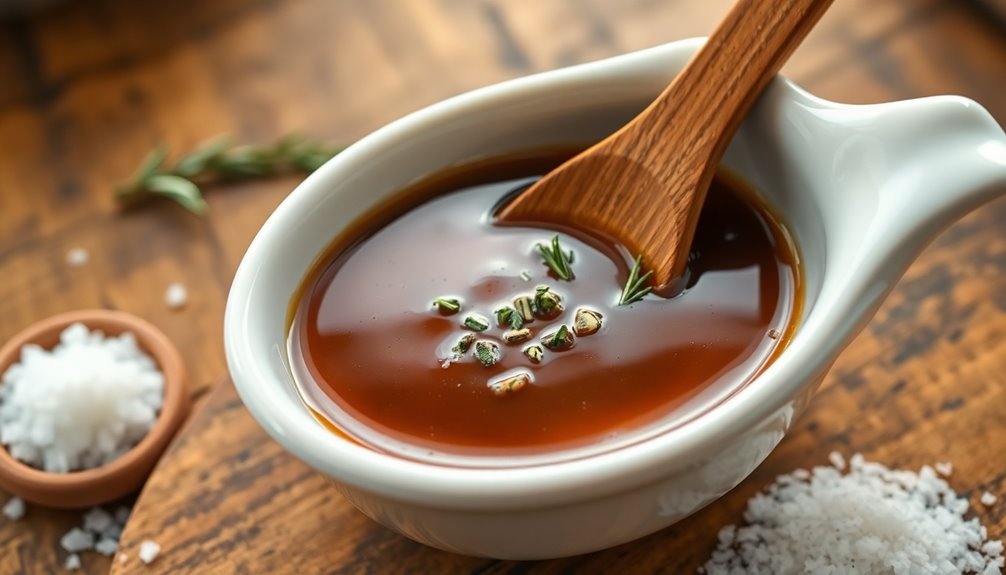
While the gravy simmers and thickens, it's essential to season it with salt to enhance the overall flavor.
Start with a small amount of kosher salt, as it's easier to add more later than to fix an overly salty gravy. Taste frequently during cooking, especially after adding bouillon or stock, since these may already contain sodium.
Remember, the richness of your gravy can intensify as it thickens, so adjusting the seasoning towards the end is crucial.
Keep in mind that too much salt can overpower the delicate balance of flavors, while the right amount will elevate your dish.
Final Thoughts
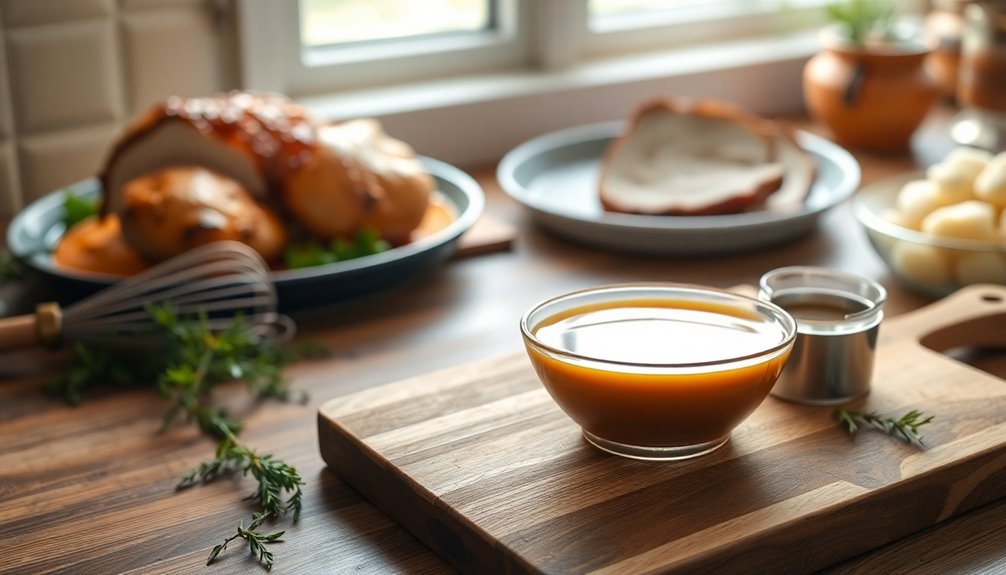
Gravy is a versatile addition to your meals, and with just a few simple ingredients, you can whip up a delicious sauce in under 10 minutes.
This quick and easy gravy recipe uses unsalted butter to enhance flavor without excess salt. Start by melting butter in a medium saucepan, then whisk in flour to form a roux. Gradually add stock to thicken the gravy, adjusting the consistency as needed.
Feel free to incorporate customized seasonings like onion or garlic powder for extra flavor.
Don't forget, leftover gravy can be stored in an airtight container for up to 4 days or frozen for 3 months, making it a convenient option for future meals.
Enjoy your homemade gravy!

In the vast and diverse world of coffee, coffee alternatives, and tea, Olivia has found her calling. As an author and a dedicated coffee and tea aficionado, her work for Cappuccino Oracle reflects her profound love and understanding of the intricate complexities found within these beverages. Olivia’s passion for the subject serves as both a catalyst for her creativity and a connection point with her audience.