
Making the perfect pie crust is like crafting a masterpiece that could rival the Mona Lisa. You might think it's just a simple mix of flour and butter, but the nuances in technique can make or break your dessert. By keeping your ingredients cold and your approach gentle, you can achieve that coveted flaky texture. So, what are the essential steps you need to follow to ensure your crust turns out just right? Let's explore the key elements that can elevate your pie game.
Key Takeaways
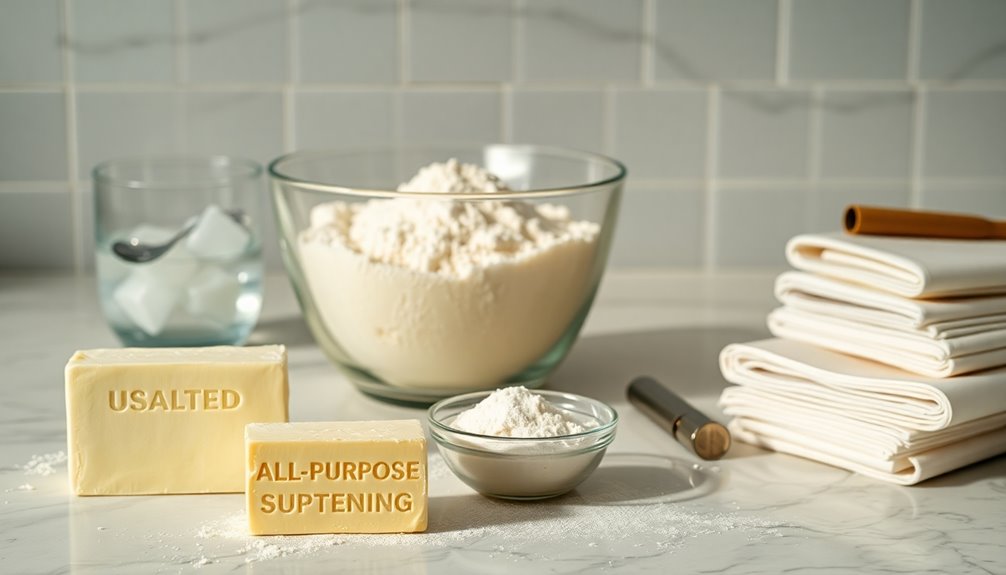
- Combine 2 ½ cups all-purpose flour, 1 cup chilled unsalted butter, 1 tsp salt, and optional 2 tbsp sugar for a classic pie crust.
- Cut cold butter into flour until it resembles coarse meal, keeping some pea-sized butter pieces for flakiness.
- Gradually add 6-8 tablespoons of ice water to bind the ingredients without overworking the dough.
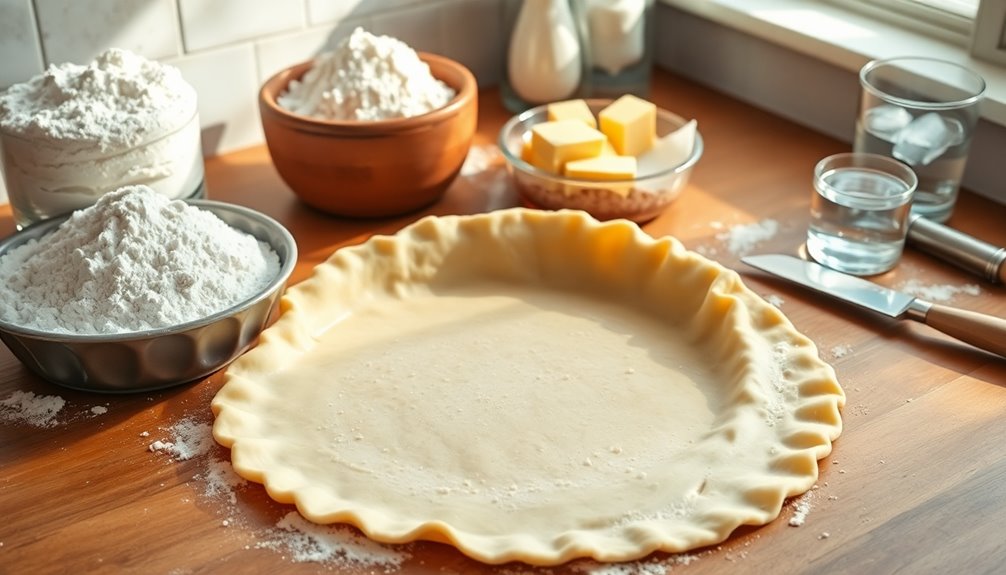
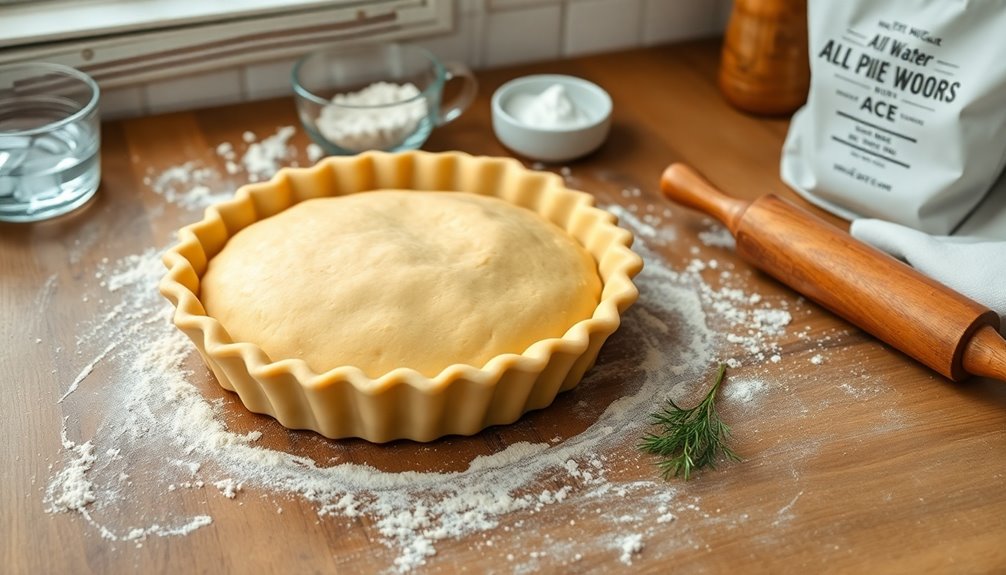
- Roll out the chilled dough to ¼ inch thickness, transfer to a pie dish, and trim the excess with a 1-inch overhang.
- Pre-bake at 375°F for 15-20 minutes with pie weights for a perfectly golden crust.

CROSSON ETL listed Commercial Double Deck 16 inch Countertop Electric Pizza Oven with pizza stone, Multipurpose Indoor Pizza oven for Restaurant use,120V/3200W
SAFE TO USE : ETLus and ETLsanitation certified,safety and sanitation becomes a sure thing.
As an affiliate, we earn on qualifying purchases.
History
The history of pie crust is fascinating, as it traces back to ancient civilizations where the Egyptians crafted the first known pies around 2500 BC, using oats or barley with sweet fillings like honey and fruits.
In medieval Europe, pie crusts evolved significantly, incorporating various meats and fruits, with the first sweet pies, or "pyes," emerging in 14th-century England.
By the 17th century, the use of butter became popular, particularly in France, where techniques for creating flaky layers with chilled fats were refined.
The American pie tradition blossomed in the 19th century, introducing beloved fruit-based pies like apple pie.
Today, pie crust recipes showcase a rich diversity of fats, flours, and preparation methods, reflecting unique regional preferences. For instance, some regions favor the use of lard or butter for a flaky texture, while others might incorporate oils for a more tender crust. Additionally, the choice of flour can vary, with whole wheat or almond flour becoming popular alternatives for those seeking a healthier option. Alongside these variations, many recipe collections feature specific pecan pie baking instructions, highlighting the importance of precise measurements and techniques to achieve that perfect balance of flavor and texture in every slice.

PIEZANO 12 Inch Electric Indoor Pizza Oven Heats up to 800˚F - Pizza Maker with Ceramic Stone for Crispy Crust Pizza, Cooks in Under 6 Minutes, Countertop, Dual Heat Control, Peels & Scraper Included
DELICIOUS HOMEMADE PIZZA: Experience the taste of pizzeria-style pies right from home. Bake your personalized version on the...
As an affiliate, we earn on qualifying purchases.
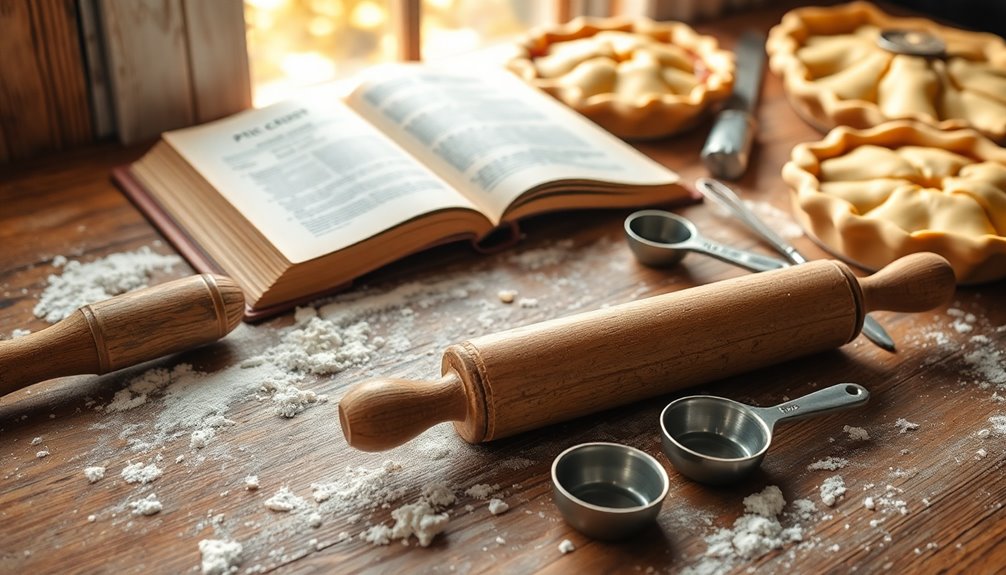
Recipe
Making a classic pie crust from scratch is a rewarding experience that elevates your desserts to a whole new level. The foundation of any great pie lies in its crust, which should be flaky, tender, and flavorful. This simple recipe combines the perfect balance of all-purpose flour, chilled unsalted butter, and vegetable shortening to create an ideal base for sweet or savory fillings. The key to success is in the technique: handling the dough with care and ensuring that all ingredients are kept cold.
To achieve the best texture, it's essential to incorporate the fat into the flour gently, avoiding overmixing. This will give your crust that desired flaky texture that melts in your mouth. After rolling out the dough, don't forget to chill it before baking, as this helps it maintain its shape. Blind baking the crust ensures that it doesn't puff up or become soggy, allowing you to enjoy a perfectly baked pie every time.
Ingredients:
- 2.5 cups all-purpose flour
- 6 tablespoons chilled unsalted butter
- 2/3 cup chilled vegetable shortening
- 1 teaspoon salt
- 1/2 cup ice water
To prepare the pie crust, start by combining the all-purpose flour and salt in a large mixing bowl. Cut in the chilled unsalted butter and vegetable shortening using a pastry cutter or your fingers until the mixture resembles coarse crumbs. Gradually add the ice water, mixing just until the dough begins to come together. Be careful not to overwork the dough.
Once formed, shape the dough into a disc, wrap it in plastic wrap, and refrigerate for at least 2 hours. After chilling, roll out the dough on a floured surface to your desired thickness and fit it into your pie dish. For recipes requiring a fully baked crust, preheat your oven to 375°F (190°C) and blind bake the crust for 15-20 minutes using pie weights to prevent puffing.
Extra Tips:
For the best results, ensure that all your fat components are very cold before mixing. If you find the dough too crumbly, you can add a bit more ice water, one tablespoon at a time, until it holds together better.
Chilling the dough not only helps prevent shrinkage but also enhances the flavor as it rests. Additionally, if you're making a sweet pie, consider adding a tablespoon of sugar to the flour mixture for a touch of sweetness in the crust.

CHEFMAN Indoor Pizza Oven - Makes 12 Inch Pizzas in Minutes, Heats up to 800°F - Countertop Electric Pizza Maker with 5 Touchscreen Presets, Pizza Stone and Peel Included - Stainless Steel
RAPID COOKING: Our electric indoor outdoor pizza oven is perfect for countertop use, quickly cooking up restaurant-quality pizza...
As an affiliate, we earn on qualifying purchases.
Cooking Steps
To get started on your pie crust, you'll want to chill your ingredients for about 30 minutes.
Next, cut the cold butter into the flour until the mixture looks like coarse meal.
Finally, add ice water gradually to form the dough into a disk before wrapping it in plastic wrap and refrigerating.
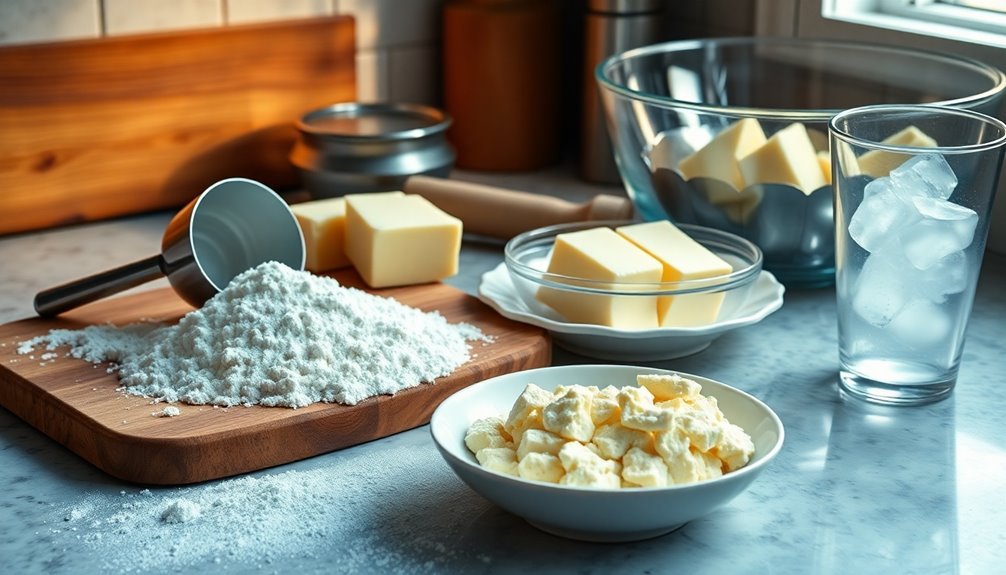
Step 1. Chill Ingredients for 30 Minutes
Chilling your ingredients for at least 30 minutes is essential for a flaky pie crust. Start by placing your butter and shortening in the refrigerator or freezer to keep them firm.
Don't forget to refrigerate your dry ingredients, like flour and salt, to further maintain a cold temperature. This helps prevent the fats from melting too soon during mixing.
When you're ready, gradually add ice water to bind the ingredients together without activating the gluten too much.
After mixing, let the dough rest in the refrigerator for at least 2 hours. This step enhances texture and makes it easier to roll out, giving you a perfect foundation for your delicious pie.
Enjoy the process!
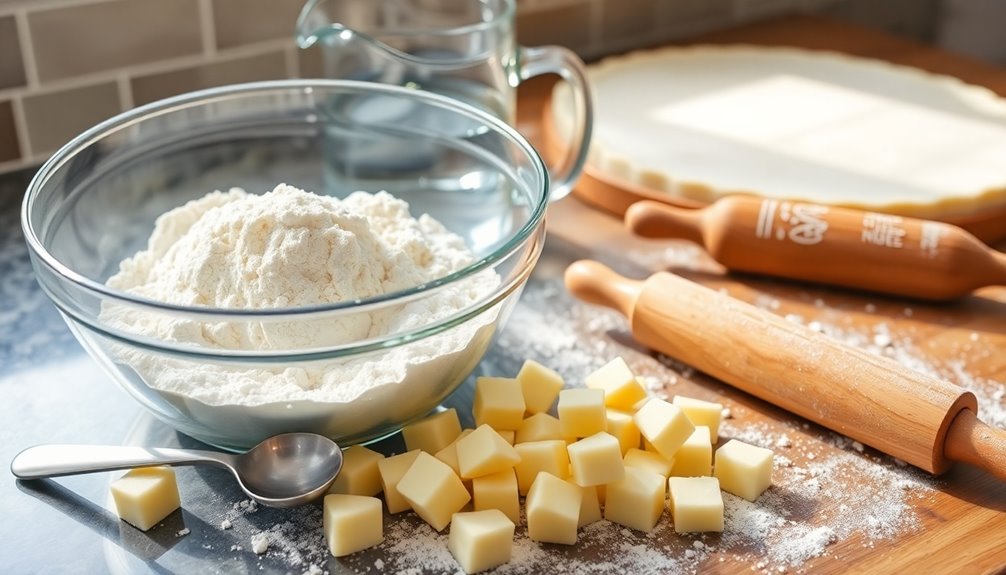
Step 2. Cut Butter Into Flour
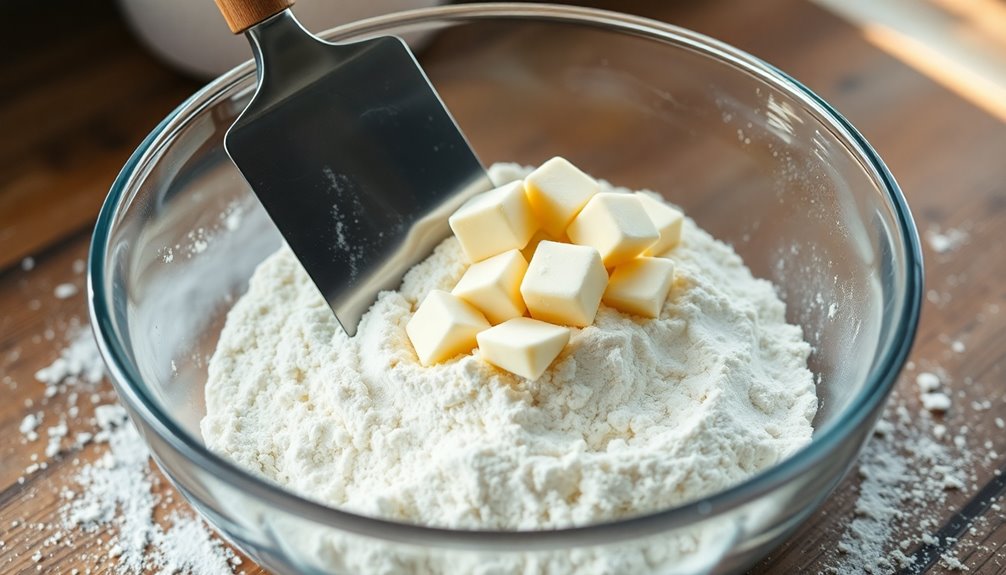
Cutting cold, unsalted butter into flour is a crucial step for achieving a flaky pie crust. Start by cutting the butter into small cubes, about 1/2-inch, to ensure even distribution.
Use a pastry cutter, fork, or food processor to mix the butter into the flour and salt until the mixture resembles coarse crumbs, which should take about 2-3 minutes. Aim to keep some pea-sized pieces of butter visible; these create steam during baking, enhancing the crust's flakiness.
Remember to keep the butter cold throughout the process, and if it softens, pop the mixture in the fridge briefly. Finally, be careful not to overwork the dough, as this can lead to a tough texture from excessive gluten development.
Step 3. Add Ice Water Gradually

Once you've achieved the right texture with the butter and flour, it's time to add ice-cold water gradually.
Start by adding one tablespoon of cold water at a time, aiming for a total of 5 to 8 tablespoons. This helps the dough hold together without becoming overly wet. The cold water keeps the fats chilled, which is crucial for creating a flaky crust.
Mix gently until the dough holds together, but be careful not to overwork it, as this can develop gluten and lead to a tough crust.
If the dough feels crumbly or too dry after your initial water addition, continue to add ice water gradually until you reach your desired texture.
Step 4. Form Dough Into Disk
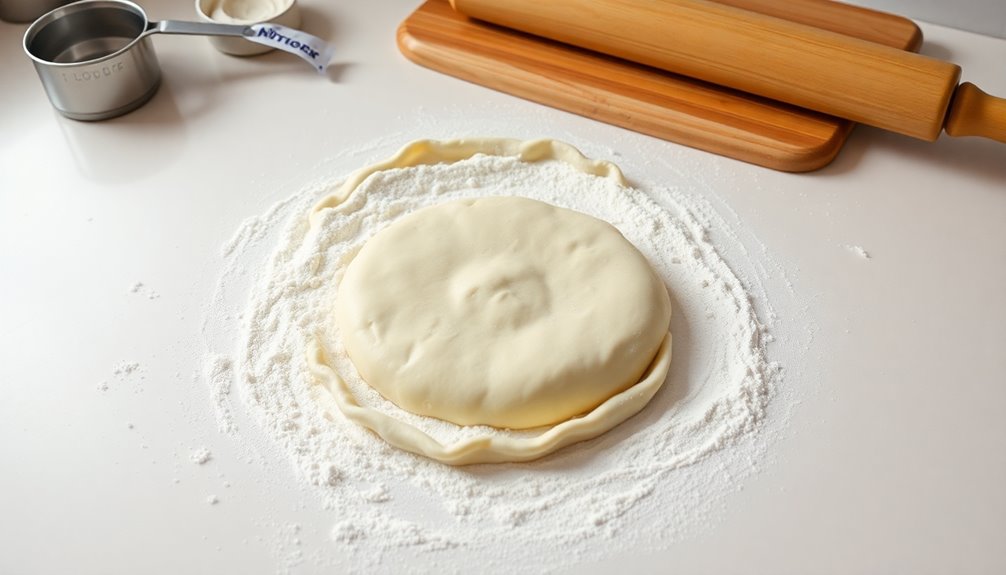
After you've mixed the pie crust ingredients, gather the dough into a ball without kneading it to keep that desirable flakiness.
Next, divide the dough ball into two equal portions if you're making two single crusts or one double crust. Ensure each portion is uniform for even cooking.
Flatten each portion into a disk shape, about 1 inch thick; this will make rolling out easier later.
Once shaped, wrap each disk tightly in plastic wrap or parchment paper to prevent drying out.
Refrigerate the wrapped disks for at least 1 hour. Chilling the dough allows the fats to solidify, enhancing the crust's flakiness when baked.
You'll be well on your way to a perfect pie crust!
Step 5. Wrap Dough in Plastic Wrap

To keep your pie dough fresh and ready for use, tightly wrap each disk in plastic wrap. This prevents exposure to air, which can dry out your pie crust dough and negatively affect its texture.
Once wrapped, refrigerate the dough for at least 1 hour; this chilling period solidifies the fats, enhancing flakiness in your final crust.
If you're preparing in advance, the wrapped dough can be stored in the freezer for up to 3 months, ensuring freshness.
When you're ready to bake, simply thaw the frozen dough in the refrigerator overnight or at room temperature for about 5 minutes. This way, your dough remains pliable and easy to work with when rolling out for your pie.

CHEFMAN Indoor Pizza Oven - Makes 12 Inch Pizzas in Minutes, Heats up to 800°F - Countertop Electric Maker with 5 Touchscreen Presets, Pizza Stone and Peel Included - Stainless Black
RAPID COOKING: Our electric indoor outdoor pizza oven is perfect for countertop use, quickly cooking up restaurant-quality pizza...
As an affiliate, we earn on qualifying purchases.
Final Thoughts
While perfecting your pie crust may take some practice, the rewards are well worth the effort. An all-butter pie crust can elevate your desserts, creating a tender crust that melts in your mouth.
Remember to chill your ingredients and add ice water into the dough for the best texture. When you roll out pie, ensure you don't overwork the dough together to avoid toughness.
Blind bake pie crusts using pie weights to achieve a golden-brown finish. If you make extra, don't hesitate to freeze pie crusts; they'll retain quality for up to 3 months.
Finally, don't forget to crimp the edges for a beautiful presentation. With these tips, you'll consistently create delicious homemade pie crusts!