Did you know that nearly 70% of home bakers prefer sourdough for its unique flavor and texture? If you're looking to create your own starter, you'll need to understand the delicate balance of ingredients and time involved. This isn't just about mixing flour and water; it's a nurturing process that captures the wild yeast and bacteria essential for fermentation. So, what's the best approach to ensure your starter thrives and contributes to a successful loaf? Let's explore the steps that lead to a robust sourdough starter.
Key Takeaways
- Combine 60g whole wheat flour and 60g filtered water in a clean jar to start fermentation on Day 1.
- Cover the jar loosely to allow airflow while preventing contaminants from entering.
- Feed the starter daily by discarding half and adding 60g unbleached flour and 60g water from Days 3 to 7.
- Look for signs of activity, such as bubbling and doubling in size, to indicate a healthy starter.
- Perform the float test; if the starter floats, it's ready for use in baking.
Top picks for "sourdough starter recipe"
As an affiliate, we earn on qualifying purchases.
History

Sourdough bread-making has roots that stretch back to ancient civilizations, with evidence suggesting it first emerged in Egypt around 1500 BC.
The Egyptians accidentally discovered the natural fermentation process when they left flour and water exposed, allowing wild yeast and lactic acid bacteria to flourish. This ancient technique became essential as a leavening agent in many cultures, including the Romans, who baked in communal ovens.
During the Gold Rush in the 1840s, miners carried sourdough starters for baking in remote locations, solidifying its place in history.
Today, sourdough's resurgence in artisanal bread-making highlights its rich heritage and the health benefits linked to fermentation, making it a beloved choice for many home bakers.
Recipe

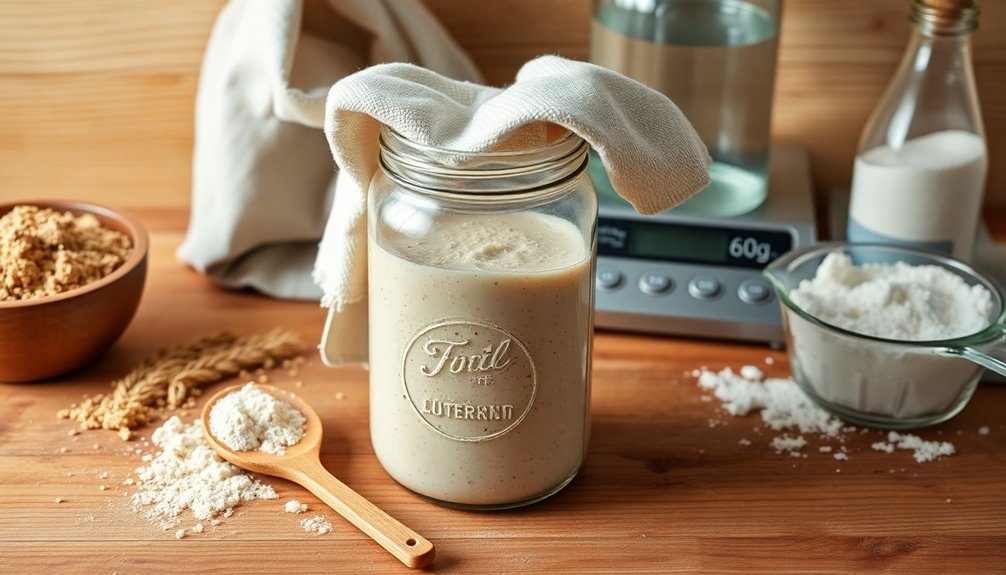
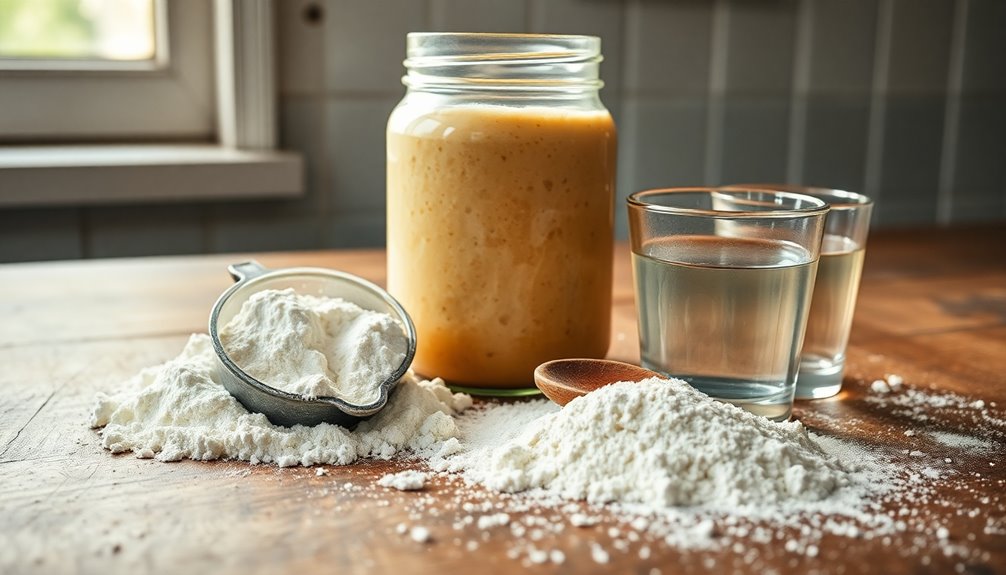
To create a vibrant sourdough starter, begin on Day 1 by combining 60g of whole wheat flour with 60g of filtered water in a clean jar. Stir the mixture until well combined and cover it loosely with a cloth or lid to allow air to flow in while keeping unwanted contaminants out. This initial blend is crucial for encouraging wild yeast and beneficial bacteria to thrive.
Over the next few days, you'll nurture this mixture, feeding it regularly to cultivate a robust starter that can be used for baking delicious sourdough bread.
From Days 3 to 7, you'll need to establish a feeding routine to help your starter grow. Each day, discard half of the starter (about 120g), then add 60g of unbleached all-purpose or bread flour along with 60g of filtered water. Stir well and cover loosely again.
As the days progress, you should notice the starter doubling in size and developing bubbles, indicating active fermentation. By Day 7, your starter should be ready for baking, but it can take up to 14 days for some starters to fully mature.
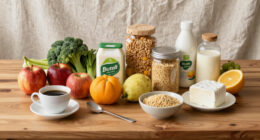
Ingredients:
- 60g whole wheat flour
- 60g filtered water
- 60g unbleached all-purpose or bread flour (for feedings)
- 60g filtered water (for feedings)
To prepare your sourdough starter, begin by mixing the whole wheat flour and filtered water in a jar on Day 1. Cover loosely and let it sit at room temperature.
On Days 3 to 7, each day discard half of the starter and feed it with the specified amounts of unbleached flour and water, stirring well after each feeding. Monitor the starter for signs of bubbling and doubling in size, which indicates it's becoming active and healthy.
Extra Tips: Remember to perform the float test to check if your starter is ready for baking. If a spoonful floats in a glass of water, it's a good sign that your starter is active.
Additionally, place your starter in the refrigerator if you're not using it daily, and be sure to feed it at least once a week to maintain its vitality. Keep in mind that the temperature of your environment can affect fermentation rates, so be patient and adjust feeding schedules as needed. Happy baking!
Cooking Steps
To kick off your sourdough starter, you'll mix equal parts flour and water and let it sit overnight.
The next day, you'll add more flour and water to keep it growing.
As you continue this process, gradually increase the flour and don’t forget to add a pinch of salt for flavor. Once the dough reaches the desired consistency, let it rest for about 15 minutes to allow the gluten to relax. For the perfect filling, follow the birria taco cooking instructions to ensure the meat is tender and infused with rich spices, making every bite a delightful experience. After preparing the filling, shape your tacos and cook them on a hot skillet until golden brown and crispy.
Step 1. Mix Equal Parts Flour, Water
When you're ready to create your sourdough starter, mixing equal parts flour and water is essential for kicking off the fermentation process. Start with 60 grams of whole wheat flour and 60 grams of water. This combination provides the nutrients necessary to feed the yeast.
Stir the mixture well to incorporate air; this promotes yeast activity, creating a dynamic environment for fermentation. After the first day, you'll need to maintain your starter by discarding half and continuing with daily feedings.
Replace the discarded portion with equal parts unbleached all-purpose flour and water. Stick to this routine ideally every 24 hours, transitioning to every 12 hours as your starter becomes more active and bubbly.
Enjoy the process!
Step 2. Let It Sit Overnight

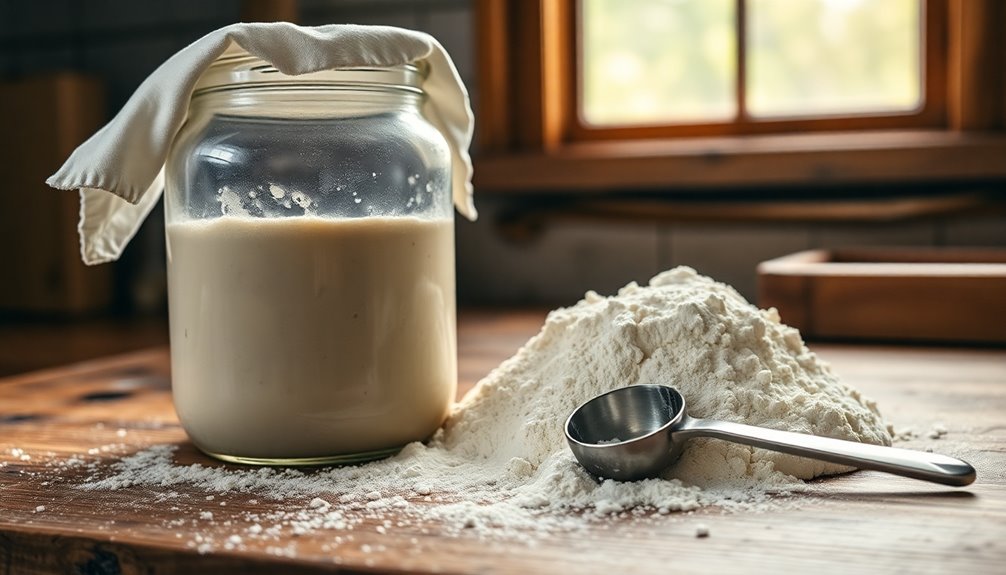
After mixing your sourdough starter ingredients, cover the container loosely with a breathable cloth or lid, allowing airflow while keeping contaminants at bay.
Let it sit overnight at room temperature, ideally around 75°F (24°C) to encourage optimal fermentation.
The next morning, check for any signs of bubbles or activity; these indicate that wild yeast and bacteria are beginning their work.
If you see bubbles, that's a good sign, and you can move on to the next feeding step. If not, just give it another day.
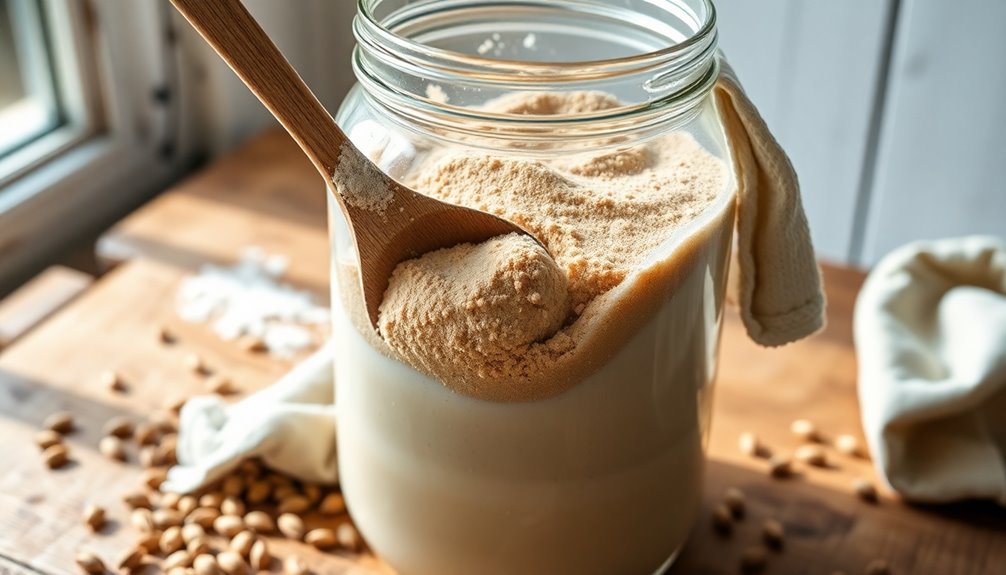
Step 3. Add More Flour and Water
As your sourdough starter begins to show signs of activity, it's time to nurture it with regular feedings. To maintain a healthy sourdough starter, you'll want to feed your starter daily.
Start by discarding half of the starter, then add more flour and water—specifically, 60 grams of high-quality flour, like unbleached all-purpose or bread flour, and 60 grams of room temperature water.
Mix thoroughly to incorporate air, achieving a smooth consistency. Cover it loosely and allow it to ferment at room temperature.
Monitor the temperature closely; your active sourdough starter should double in size and show bubbles within a few hours, indicating optimal yeast activity.
This routine is essential during the first two weeks for continued health and vitality.
Step 4. Add More Flour Gradually
Once your sourdough starter is bubbling and doubling in size, you can start adding more flour gradually.
Begin with equal parts flour and water—about 60 grams each—and as the starter becomes more active, increase the flour amount.
Feeding every 12 hours during this active phase promotes healthy fermentation and develops a robust culture.
Consider using a mix of whole wheat and all-purpose flour to enhance yeast activity and flavor complexity.
Always monitor the starter's behavior; if it continues to double in size and shows consistent bubbling, you can adjust the flour amount accordingly.
This careful approach ensures your sourdough starter remains manageable and vibrant, ready to create delicious bread.
Step 5. Add a Pinch of Salt
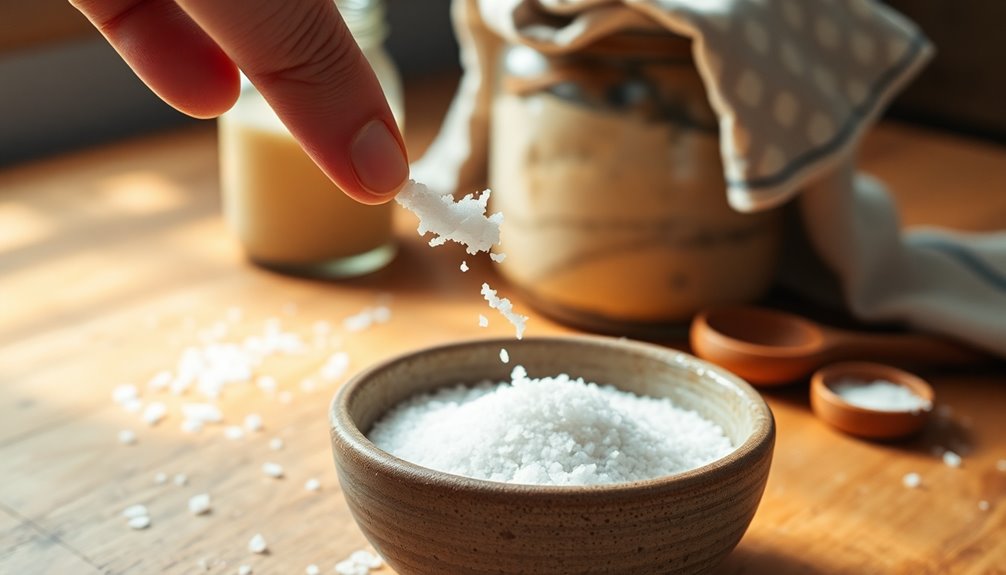
While your sourdough starter is fully active, adding a pinch of salt can significantly enhance the flavor and strengthen the gluten structure. Aim for about 1% of the total flour weight, mixing it into the dough during the final stages of preparation.
This timing is crucial, as adding salt too early can inhibit yeast growth. Ensure the salt's evenly distributed to avoid any high-salinity spots that could harm yeast activity.
Salt regulates fermentation speed, allowing for a controlled dough rise and improved flavor development during the baking process.
Final Thoughts

Creating a sourdough starter can be a rewarding journey, especially when you see it come to life. Over 7 to 14 days, you'll perform regular feedings and monitor for signs of activity, ensuring your starter thrives.
Start with whole wheat flour and water to kickstart fermentation, then switch to all-purpose flour for daily feedings. Look for signs of readiness: your starter should double in size, bubble, and have a tangy aroma.
Remember, discarding a portion during feedings helps maintain a healthy balance of yeast and bacteria, preventing excessive acidity.
With proper care, your well-maintained sourdough starter can last for years, adding a complex flavor to your baked goods and enhancing your culinary skills.
Enjoy the process!