
You can easily whip up delicious scones at home using just a few simple ingredients. Start with 2 cups of all-purpose flour, 1/4 cup of sugar, and 1 tablespoon of baking powder. Cut in 1/2 cup of cold, cubed unsalted butter until it's crumbly, then mix in 1/2 cup of milk and 1 beaten egg until the dough forms. Gently shape it into rounds without twisting the cutter, and bake at 400°F (200°C) for about 15-20 minutes. These scones are perfect for breakfast or afternoon tea, and there's so much more you can do with them!
Key Takeaways
- Combine 2 cups all-purpose flour, 1/4 cup sugar, and 1 tablespoon baking powder for the dry mixture.
- Cut 1/2 cup cold, cubed unsalted butter into the dry ingredients until crumbly.
- Gradually mix in 1/2 cup milk and 1 large egg until a soft dough forms.
- Shape the dough into rounds and bake in a preheated oven at 400°F (200°C) for 15-20 minutes.
- Enjoy fresh scones, optionally with jam or cream, and store in an airtight container.
History

Scones have a rich and fascinating history that dates back to the early 16th century in Scotland.
You might be surprised to learn that these delightful treats originally started as a type of quick bread, made with oats and baked on a griddle.
Over time, recipes evolved, and scones began to incorporate wheat flour, baking powder, and various flavorings.
By the 19th century, they gained popularity in England, often served with clotted cream and jam during afternoon tea.
You can see how scones became an essential part of British culture.
Each region developed its own variations, reflecting local ingredients and traditions.
Recipe
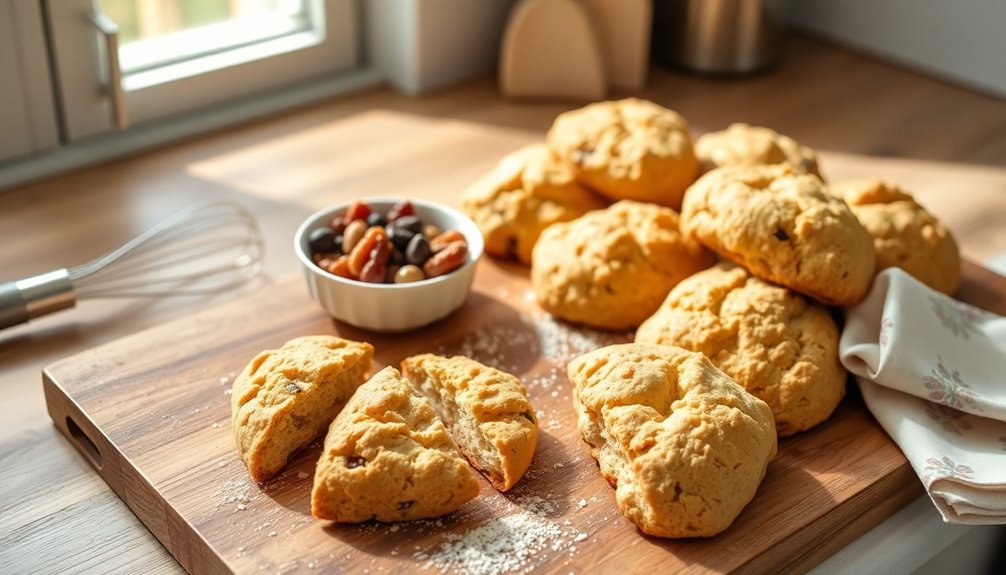
Scones are a delightful and versatile baked good that can be enjoyed at any time of the day. Whether you prefer them sweet or savory, they're perfect for breakfast, brunch, or an afternoon tea. With a crumbly texture and a slightly crisp exterior, scones are sure to impress your family and friends. This recipe will guide you through making classic scones that can be customized with your favorite add-ins, such as dried fruits or herbs.
To make these scones, you’ll need just a few simple ingredients that you probably already have in your kitchen. The key to achieving that perfect scone texture lies in handling the dough gently and not over-mixing. Once you have mastered the basic scone recipe, feel free to experiment with flavors and toppings to suit your taste. Let’s get started with the ingredients you’ll need! You’ll want to gather ingredients such as all-purpose flour, baking powder, sugar, salt, butter, and your choice of milk or cream. After measuring everything out, I’ll provide you with some scone baking instructions to ensure you achieve that delightful rise and crumbly texture. Remember, the joy of baking scones comes not only from following the recipe but also from infusing your unique flair into each batch!
Ingredients:
- 2 cups all-purpose flour
- 1/4 cup granulated sugar
- 1 tablespoon baking powder
- 1/2 teaspoon salt
- 1/2 cup unsalted butter, cold and cubed
- 1/2 cup milk
- 1 large egg
- Optional: 1/2 cup dried fruit or chocolate chips
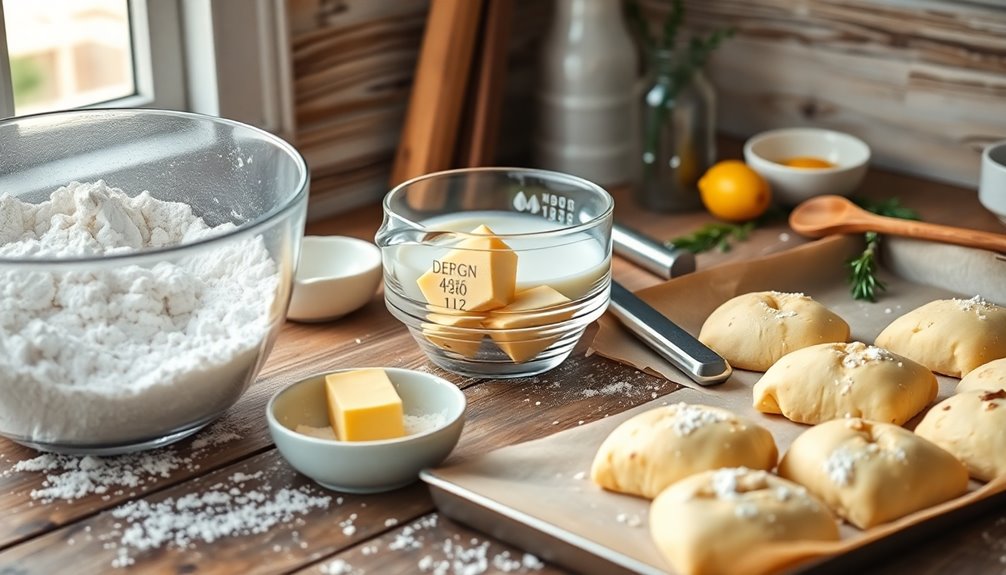
To prepare the scones, preheat your oven to 400°F (200°C) and line a baking sheet with parchment paper. In a large mixing bowl, combine the flour, sugar, baking powder, and salt. Add the cold, cubed butter and use a pastry cutter or your fingers to mix until the mixture resembles coarse crumbs.
In a separate bowl, whisk together the milk and egg, then pour into the dry ingredients. Gently mix until just combined, and fold in any optional add-ins. Turn the dough out onto a floured surface, pat it into a circle about 1-inch thick, and cut into wedges. Place the scones on the prepared baking sheet and bake for 15-20 minutes, or until golden brown.
When making scones, it's important to work quickly to keep the butter cold, as this helps create a flaky texture. If the dough feels too sticky, add a bit more flour, but avoid overworking it. For a nice finish, brush the tops of the scones with a little milk or an egg wash before baking.
Scones are best enjoyed fresh from the oven, but you can also store them in an airtight container for a couple of days. Reheat them in the oven to restore their original texture.
Cooking Steps
To get started on your scones, preheat your oven to 400°F so it's ready when you're done mixing.
Next, you'll want to mix the dry ingredients thoroughly before incorporating cold butter cubes for that perfect texture.
Finally, add milk gradually and shape the dough into rounds to create those delicious scones you're craving.
Step 1. Preheat Oven to 400°F

Before diving into making your scones, it's essential to preheat your oven to 400°F. This step guarantees that when your scones are ready to bake, they'll rise beautifully and develop that perfect golden crust.
Set your oven to the desired temperature and allow it to heat up while you prepare your ingredients. It might take around 10 to 15 minutes for the oven to reach the right heat, so use this time wisely.
Double-check that your oven rack is positioned in the center for even baking. Once the oven signals it's ready, you'll be all set to pop your scone mixture in.
Trust me, starting with a preheated oven makes a world of difference in the final result!
Step 2. Mix Dry Ingredients Thoroughly
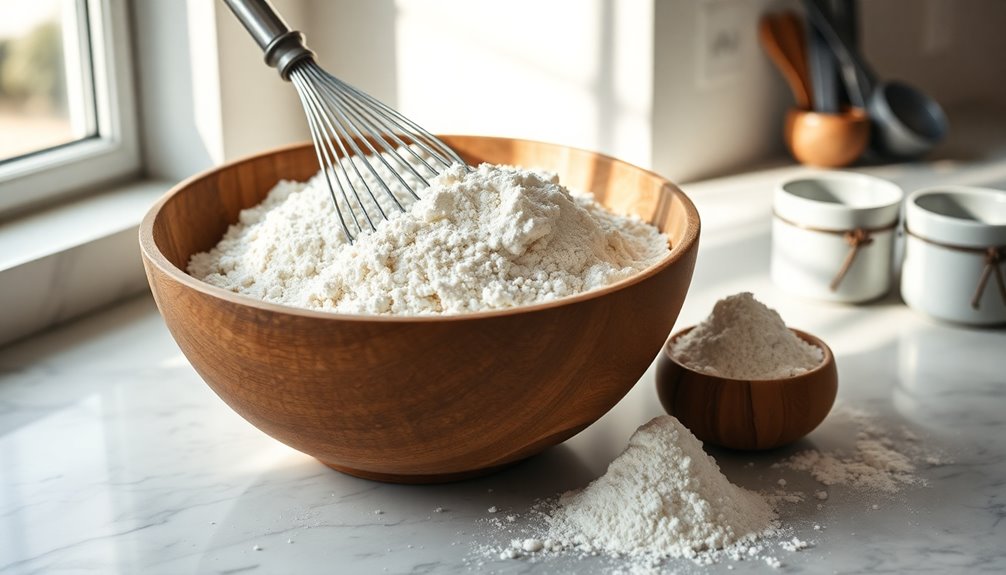
Gather all your dry ingredients in a large mixing bowl, making certain you have flour, baking powder, salt, and sugar ready.
Start by measuring the flour accurately, as it's vital for the right texture. Add the baking powder, which acts as the leavening agent, followed by the salt to enhance the flavor.
Finally, mix in the sugar for a hint of sweetness. Use a whisk or a fork to blend everything together thoroughly. This step's important because it guarantees even distribution of the leavening agent and prevents any clumps.
Take your time here; a well-mixed dry ingredient base sets the foundation for light, fluffy scones. Once you've achieved a uniform mixture, you're ready for the next step!
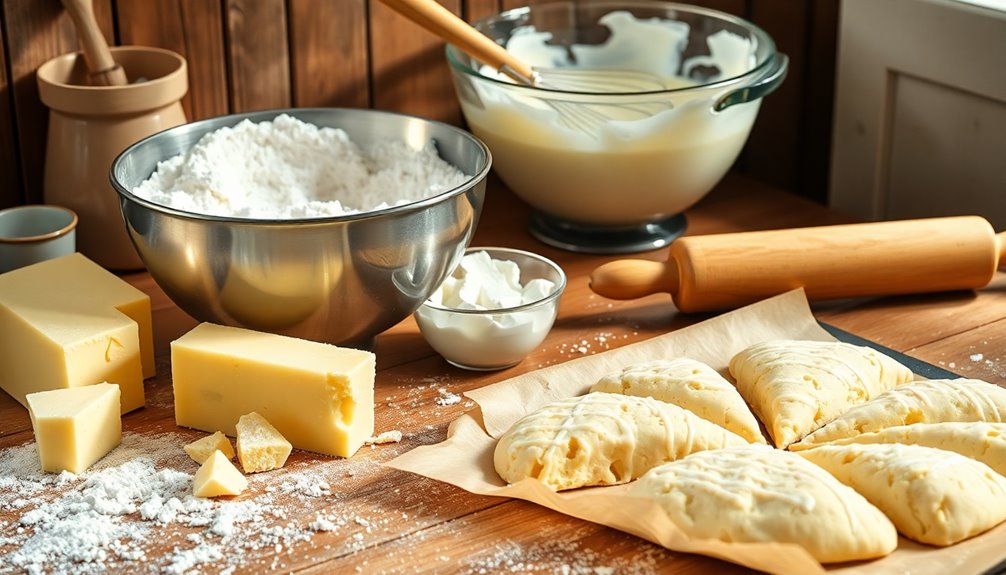
Step 3. Incorporate Cold Butter Cubes

Incorporating cold butter cubes is an essential step in achieving that perfect scone texture. Start by cutting your cold butter into small cubes, about half an inch in size. This helps maintain the cold temperature, which is vital for flaky layers.
Once your butter's ready, add it to the dry ingredients you mixed thoroughly. Using your fingertips or a pastry cutter, gently work the butter into the flour mixture. You want to create a crumbly texture, where some larger pieces remain visible.
Avoid overmixing, as this can lead to tough scones. The goal is to have a mixture that resembles coarse crumbs, which will provide that delightful flakiness once baked.
Get ready for the next step in creating your scones!
Step 4. Add Milk Gradually

As you move on to the next step, gradually adding milk is essential for achieving the right dough consistency.
Start by pouring a small amount of milk into the dry mixture. Stir gently with a spatula or a wooden spoon, ensuring you combine the ingredients without overworking the dough.
After mixing, assess the consistency. If it feels too dry, add a little more milk, one tablespoon at a time. Keep mixing until the dough comes together, but don't let it become sticky.
The goal is a soft, pliable dough that holds its shape without crumbling. Remember, you can always add more milk, but it's tough to fix an overly wet dough, so proceed with caution!
Step 5. Shape Dough Into Rounds

Now that your dough is ready, it's time to shape it into rounds. Lightly flour your work surface to prevent sticking.
Turn the dough out and gently pat it into a rectangle about 1-inch thick. Using a round cutter, press down to cut out circles, making sure not to twist the cutter—this helps the scones rise evenly.
Gather the scraps, knead them lightly, and cut out more rounds until all the dough is used. Place the rounds on a baking sheet lined with parchment paper, leaving space between them for expansion.
Brush the tops with milk or egg wash for a golden finish. Now you're all set for baking those delicious scones!
Final Thoughts

While you might feel tempted to rush through the baking process, taking your time with scones can make all the difference.
Enjoy the rhythm of measuring, mixing, and shaping your dough. Each step contributes to the texture and flavor, so don't skip the chilling or the gentle handling of the dough.
Remember, your scones will be light and fluffy if you treat them with care. Experiment with different flavors and add-ins; that's part of the fun!
Once they're baked, savor the moment as you enjoy the warm, flaky treats. Whether you serve them with clotted cream or jam, your scones will impress anyone lucky enough to taste them.
Happy baking, and don't forget to share your delicious creations!
Frequently Asked Questions
Can I Substitute Gluten-Free Flour for Regular Flour?
Yes, you can substitute gluten-free flour for regular flour in many recipes, but it might require some adjustments.
Gluten-free flours behave differently, so you may need to add a binding agent like xanthan gum or use a blend designed for baking.
Keep an eye on the texture and moisture level, as gluten-free mixtures can absorb more liquid.
Experimenting will help you find the right balance for your specific dish.
How Do I Store Leftover Scones?
To store leftover scones, let them cool completely first.
Then, wrap each scone individually in plastic wrap or aluminum foil to keep them fresh.
Place them in an airtight container or a resealable plastic bag to prevent moisture loss.
You can keep them at room temperature for up to two days.
For longer storage, consider freezing them.
Just thaw at room temperature or warm them in the oven when you're ready to enjoy!
Can I Freeze Baked Scones?
Absolutely, you can freeze baked scones! Just let them cool completely first.
Then, wrap each scone tightly in plastic wrap or aluminum foil. For added protection, place them in a freezer-safe bag or container.
When you're ready to enjoy them, simply take out the scones and let them thaw at room temperature. You can also warm them in the oven for a few minutes to restore their freshness.
Happy snacking!
What Are Common Flavor Variations for Scones?
When you think about flavor variations for scones, you've got plenty of delicious options. You can try adding fresh fruits like blueberries or strawberries for a sweet twist.
If you're in the mood for something savory, consider incorporating cheese and herbs. Chocolate chips or nuts can also bring a delightful crunch.
Don't forget about spices like cinnamon or nutmeg to elevate the flavor. Get creative, and enjoy experimenting with your favorite combinations!
How Can I Tell When Scones Are Done Baking?
To tell when your scones are done baking, keep an eye on their color and texture. They should be golden brown on top and firm to the touch.
You can also insert a toothpick in the center; if it comes out clean or with a few crumbs, they're ready.
Don't forget to trust your instincts—if they smell delicious and look right, you're likely on the path to perfect scones!