You can easily make Rice Krispie Treats with just a few ingredients. Start by melting 3 tablespoons of unsalted butter in a saucepan over low heat. Add 10 ounces of marshmallows and stir until smooth. Fold in 6 cups of Rice Krispies until they're fully coated. Press the mixture into a greased 9×13-inch baking dish and let it cool for about 30 minutes. For extra fun, consider adding chocolate chips or nuts. These treats are great for any occasion, reminding you of childhood. Stick around to find more tips and variations to elevate your treats!
Key Takeaways
- Melt 3 tablespoons of unsalted butter in a saucepan over low heat before adding marshmallows.
- Stir in 10 ounces of marshmallows until smooth, then fold in 6 cups of Rice Krispies.
- Press the mixture into a greased 9×13-inch baking dish and cool for 30 minutes.
- Optional: Add vanilla extract and a pinch of salt for enhanced flavor.
- Customize with mix-ins like chocolate chips or nuts for a personalized treat.

Ninja Crispi 4 in 1 Glass Air Fryer, 450°F, Non Toxic, 4QT and 6 Cup Containers with Lids, Dishwasher Safe, Cyberspace Gray, 1 Count, FN101GY
ALL-IN-ONE SYSTEM: Includes the Ninja Crispi PowerPod, 4-qt and 6-cup borosilicate glass containers, and 2 snap-lock storage lids...
As an affiliate, we earn on qualifying purchases.
History
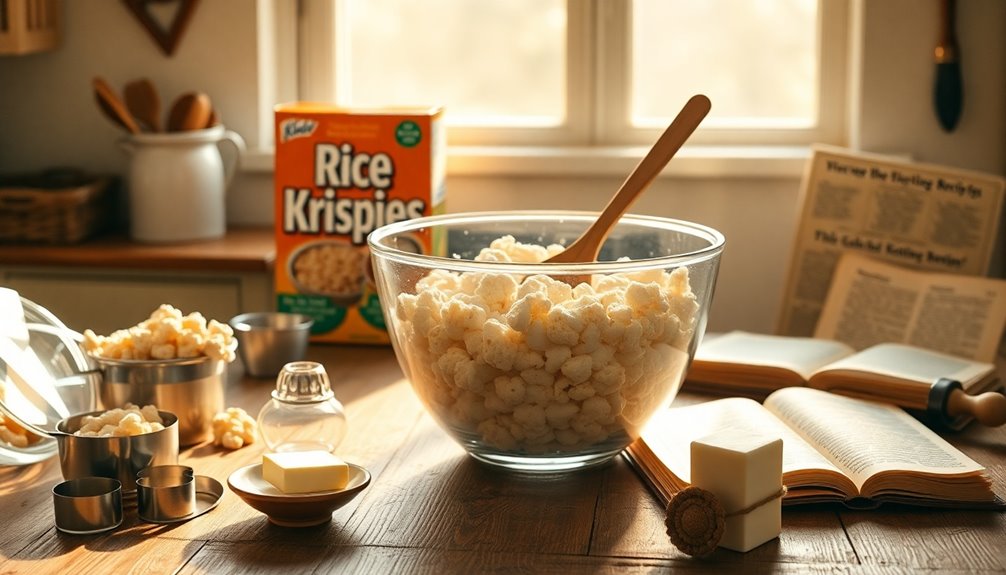
The history of Rice Krispie Treats dates back to the 1930s, when a simple recipe first appeared in a cereal company's publication. You might be surprised to learn that these delightful treats originated as a way to promote Rice Krispies cereal.
During World War II, they gained even more popularity as families sought easy-to-make, budget-friendly snacks. The combination of marshmallows, butter, and cereal became a staple in many households.
By the 1950s, Rice Krispie Treats were featured in various cookbooks and magazines, solidifying their place in American culture. Over the decades, you've likely seen countless variations, but the original recipe remains a nostalgic favorite.
It's a proof of how a simple idea can stand the test of time and bring joy to generations.
Recipe
Rice Krispie Treats are a classic no-bake dessert that aren't only simple to make but also incredibly delicious. With just a handful of ingredients, you can whip up a batch of these chewy, sweet treats in no time. They're perfect for parties, school lunches, or just a sweet snack at home.
The combination of marshmallows and crispy rice cereal creates a delightful texture that both kids and adults will love. Making Rice Krispie Treats is an enjoyable activity that can be done with family or friends. The best part is that the recipe is highly customizable; you can add in your favorite mix-ins like chocolate chips, sprinkles, or even peanut butter to elevate the flavor.
Once you try these homemade treats, you'll never want to go back to store-bought versions!
Ingredients:
- 3 tablespoons unsalted butter
- 10 ounces marshmallows (or 4 cups mini marshmallows)
- 6 cups Rice Krispies cereal
- 1 teaspoon vanilla extract (optional)
- A pinch of salt (optional)
Instructions:
In a large saucepan over low heat, melt the butter and add the marshmallows, stirring until completely melted and smooth. If you're using vanilla extract and salt, add them in at this stage for extra flavor.
Once the mixture is well combined, remove it from heat and quickly stir in the Rice Krispies cereal until fully coated. Transfer the mixture to a greased 9×13-inch baking dish and press it down evenly with a spatula or your hands. Allow the treats to cool completely before cutting them into squares.
Extra Tips:
To get the best results, make sure to use fresh marshmallows, as older ones can become hard and difficult to melt. For a fun twist, consider mixing in different ingredients like M&M's, nuts, or dried fruit before pressing the mixture into the pan.
If you want to make the treats extra special, drizzle melted chocolate on top once they're set. And remember, these treats can be stored at room temperature in an airtight container for several days, making them great for snacking throughout the week!
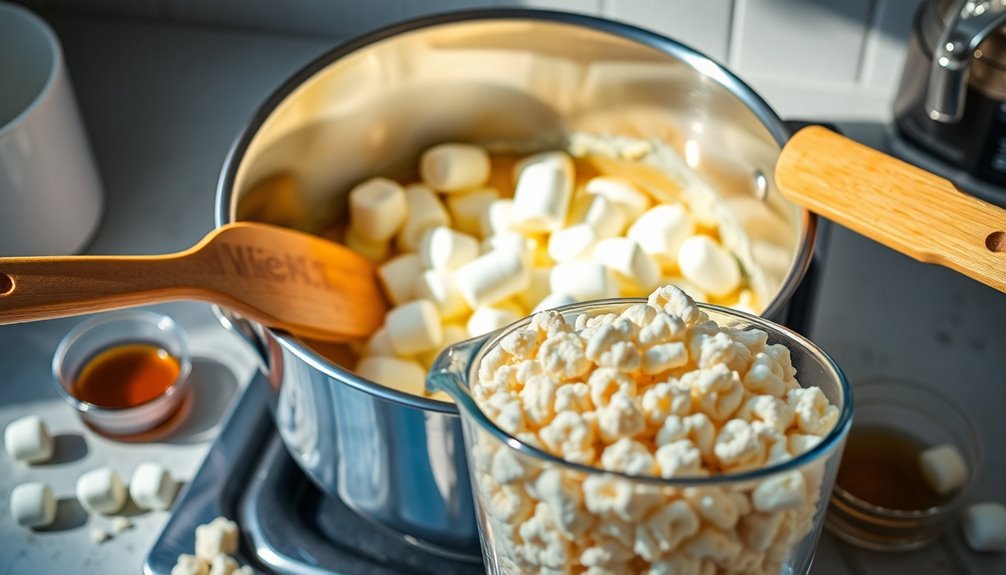
Cooking Steps

To make your Rice Krispie treats, you'll start by melting butter in a saucepan.
Once that's done, add the marshmallows to the mixture and stir until everything's combined.
After that, it's time to mix in the Rice Krispies and get ready to press the delicious blend into a pan.
Step 1. Melt Butter in Saucepan
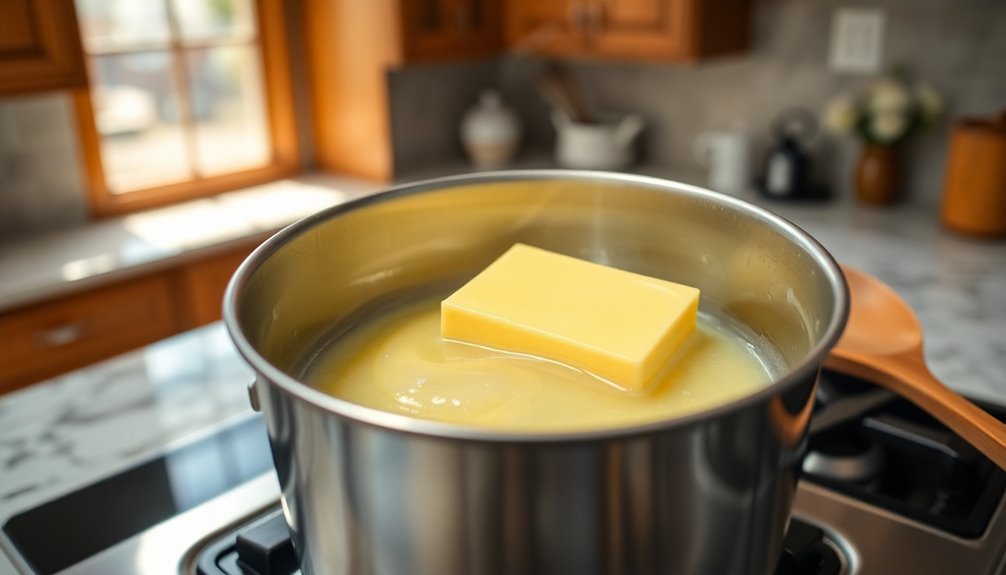
Start by placing a medium saucepan over low heat and adding the butter.
As the butter begins to melt, keep an eye on it to prevent burning. Stir the butter occasionally with a spatula or wooden spoon to guarantee it melts evenly.
This gentle heat allows the butter to become liquid without browning, which is important for the texture of your Rice Krispie treats.
Once the butter is fully melted and smooth, you're ready to move on to the next step.
Make sure to scrape down the sides of the saucepan to incorporate any bits that might stick.
This step creates a rich, buttery base that'll enhance the flavor of your treats.
Enjoy this process; it sets the foundation for your delicious dessert!
Step 2. Add Marshmallows to Mixture
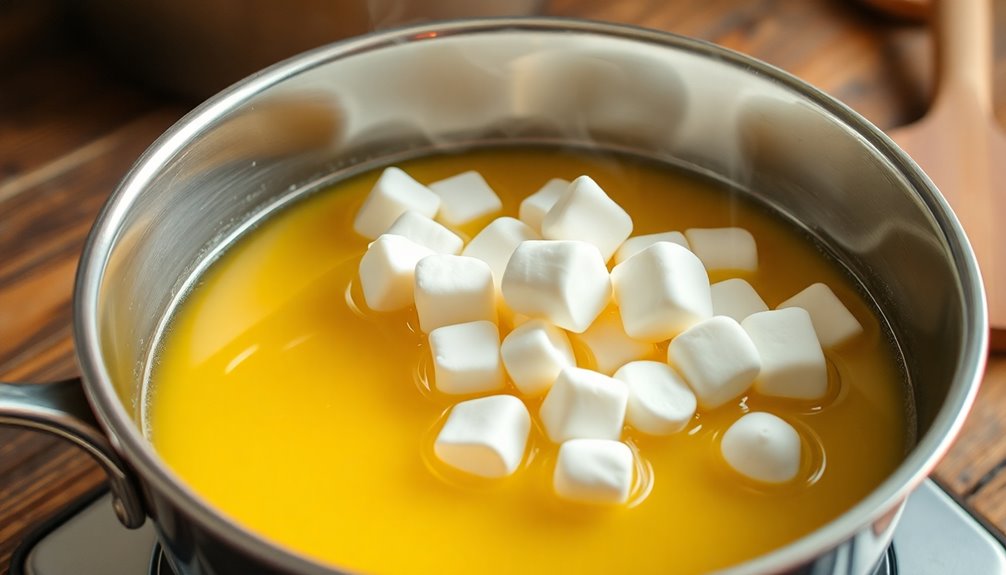
With the butter fully melted, it's time to add the marshmallows to the saucepan.
Pour in a bag of mini marshmallows, making certain they're evenly distributed over the melted butter.
Stir gently with a wooden spoon or spatula, allowing the marshmallows to start melting into the buttery goodness.
Keep the heat on low to prevent burning, and continue stirring until the mixture becomes smooth and creamy.
You want to make sure there are no lumps of marshmallow left; patience is key here!
Once you achieve a glossy texture, remove the saucepan from the heat.
This step is essential, as it sets the stage for the perfect Rice Krispie treats.
Now you're ready for the next delicious step!
Step 3. Stir in Rice Krispies
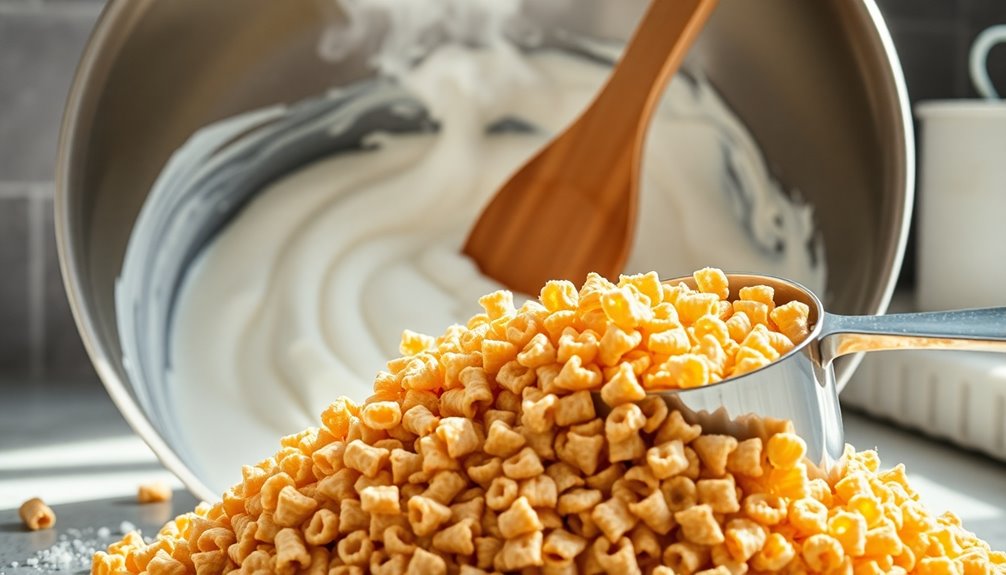
Gently fold the Rice Krispies into the melted marshmallow mixture, ensuring every crunchy piece gets coated in that gooey goodness.
Use a spatula to lift and turn the mixture, making sure not to crush the cereal. You want to maintain that delightful texture while achieving an even distribution.
Keep folding until you see no dry spots; the marshmallow should envelop each Rice Krispie. This step is essential, as it creates that perfect balance of flavors and textures.
If you find the mixture getting too sticky, lightly grease your spatula with butter or cooking spray.
Once everything is combined, you'll be ready for the next step in your Rice Krispie treats adventure. Enjoy the satisfying process!
Step 4. Press Mixture Into Pan

Now it's time to transfer your delicious Rice Krispie mixture to a prepared pan. Grab a spatula or wax paper to help you spread the mixture evenly.
Start by spooning the mixture into the pan, making sure to distribute it across the surface. Once you've got it all in, press down firmly but gently. You want the mixture to be compact, so it holds together well once set, but avoid squishing it too hard.
If you're using wax paper, place it over the mixture to protect your hands while pressing. Keep smoothing and pressing until the top is level and even.
This step is essential for creating those perfect treats, so take your time to get it just right!
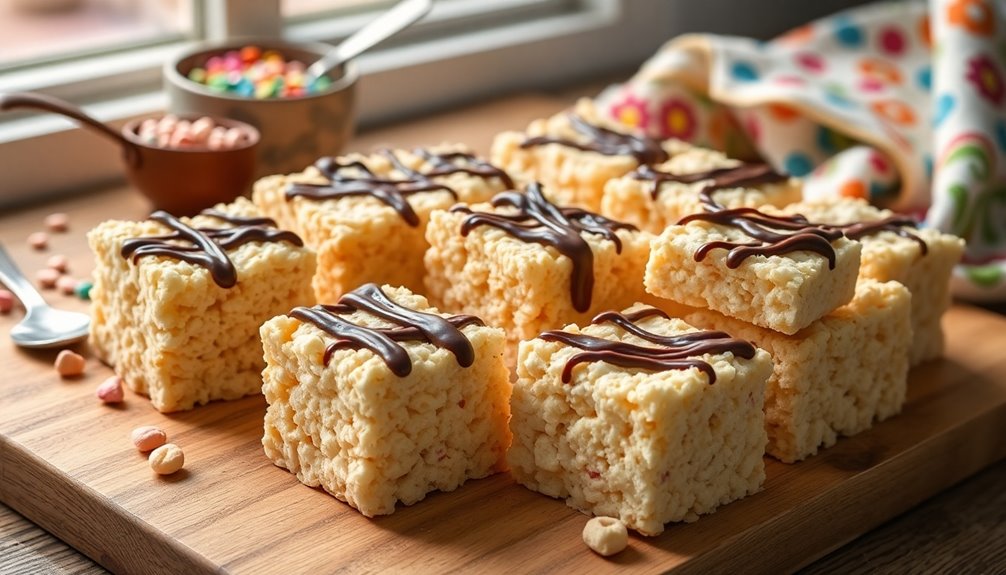
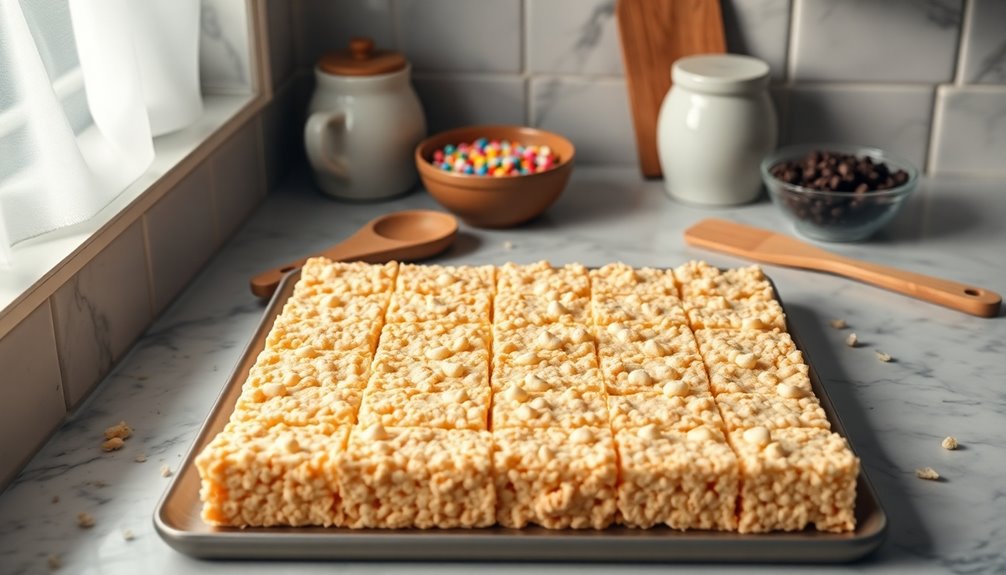
Step 5. Cool and Cut Treats
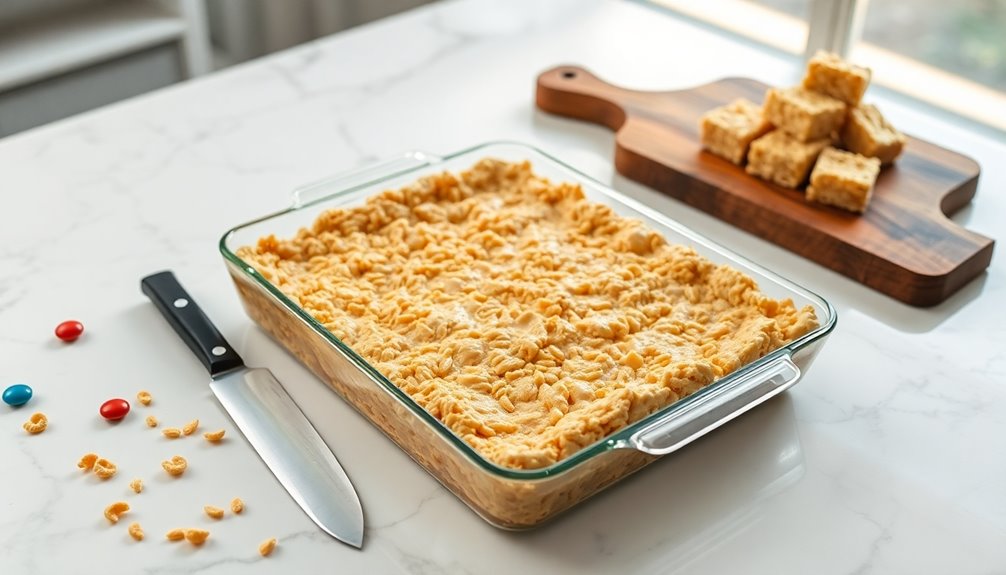
Once the Rice Krispie treats have cooled in the pan for about 30 minutes, it's time to cut them into squares.
First, grab a sharp knife and lightly grease it with butter or cooking spray to prevent sticking.
Gently lift the edges of the treats from the pan using a spatula, ensuring they don't break apart.
Start cutting into squares or rectangles, depending on your preference. Aim for uniform sizes for easy serving.
If you like, you can even use cookie cutters for fun shapes!
Once cut, you can serve them immediately or store them in an airtight container.
Enjoy your delicious treats while they're fresh, or share them with family and friends!
Final Thoughts
As you reflect on making Rice Krispie Treats, it's clear that this simple recipe brings joy to both the baker and those who indulge in the sweet, gooey results.
You've created something that transcends age, evoking nostalgia and satisfaction with each bite. Whether it's for a special occasion or a casual snack, these treats are always a hit.
Plus, the ease of preparation means you can whip them up anytime you need a quick dessert. Don't forget to experiment with add-ins like chocolate chips or sprinkles to personalize your creation.
Frequently Asked Questions
Can I Use Gluten-Free Cereal for Rice Krispie Treats?
Absolutely, you can use gluten-free cereal to make your treats! Just check the label to verify it's certified gluten-free.
Many brands offer delicious options that'll work perfectly. You'll get that same crispy texture while keeping things safe for those with gluten sensitivities.
Experiment with different flavors and textures to find your favorite combination.
How Long Do Rice Krispie Treats Last at Room Temperature?
At room temperature, your treats typically last about 2 to 3 days if stored in an airtight container.
If you want to extend their shelf life, consider refrigerating them, which can keep them fresh for up to a week.
Just remember, if they start to harden or lose their chewiness, it might be time to toss them.
Enjoy your delicious creations while they're at their best!
Can I Freeze Rice Krispie Treats for Later Use?
Yes, you can freeze them for later use! Just wrap them tightly in plastic wrap or aluminum foil to prevent freezer burn, then place them in an airtight container.
When you're ready to enjoy them, let them thaw at room temperature for a few hours. They'll maintain their texture and flavor.
Just remember that freezing might make them a bit softer, so enjoy them fresh when you can!
What Variations Can I Make to the Classic Recipe?
You can easily switch things up with a few fun variations!
Try adding peanut butter for a nutty twist or mix in chocolate chips for extra sweetness.
You can also toss in mini marshmallows or sprinkles for a colorful touch.
If you want a unique flavor, consider using flavored gelatin or crushed cookies.
Don't hesitate to experiment with different cereals, too; it'll give your treats a whole new texture and taste!
Are Rice Krispie Treats Safe for Kids With Nut Allergies?
Yes, Rice Krispie treats can be safe for kids with nut allergies, but you need to check the labels.
Make sure the ingredients, especially the marshmallows and cereal, are nut-free and produced in a nut-free facility.
It's also wise to avoid cross-contamination by keeping your kitchen and utensils clean.
Always consult with a pediatrician or allergist if you're uncertain about specific brands or potential allergens.
Safety first!