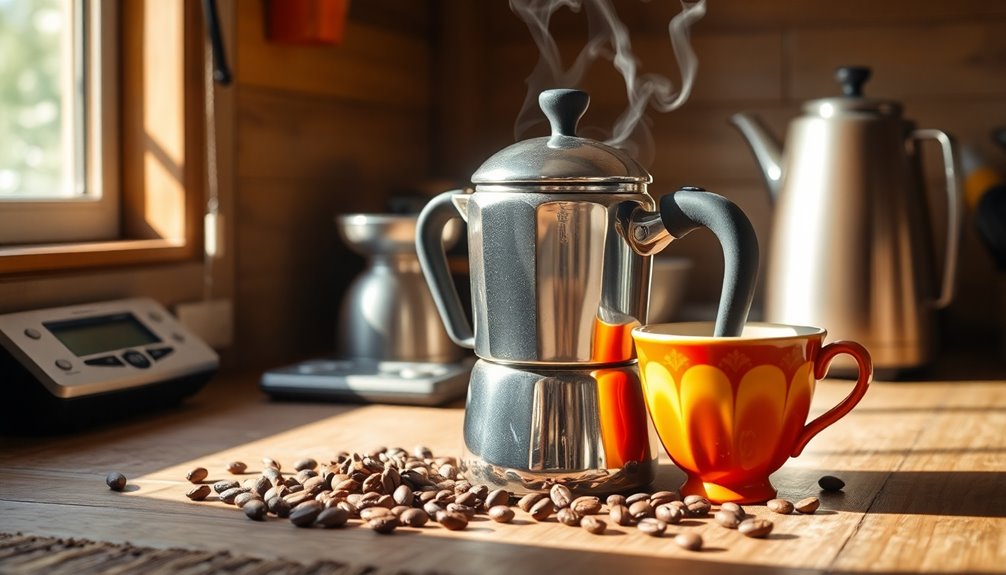
Brewing coffee with a Moka pot is simple and satisfying. Start by choosing quality Arabica or Robusta beans, then grind them to a medium-fine consistency. Clean your pot thoroughly and fill the bottom chamber with water up to the safety valve. Add the ground coffee to the filter basket, leveling it without compressing. Assemble the pot and place it on medium heat. Keep an ear out for gurgling sounds that signal it's almost ready. Once the coffee lightens, remove it from heat and enjoy your brew. There's a lot more to explore about perfecting your Moka pot technique!
Key Takeaways
- Start with quality coffee by selecting Arabica beans for smoothness and checking for a recent roast date.
- Clean the Moka pot with warm water, then fill the bottom chamber with water up to the safety valve.
- Use a medium-fine grind for the coffee, maintaining a 1:7 water to coffee ratio for optimal flavor extraction.
- Preheat water to around 99 degrees C, place the pot on medium heat, and monitor for gurgling sounds to know when it's ready.
- After brewing, run the bottom chamber under cold water, pour into cups, and customize your coffee to taste.

Amazon Basics Basket Coffee Filters for 8-12 Cup Coffee Makers, White, 200 Count, Packaging May Vary
- Package Quantity: 200 white basket filters
- Compatibility: Fits 8-12 cup coffee makers
- Filtration Quality: Excellent sediment removal
As an affiliate, we earn on qualifying purchases.
Choosing Quality Coffee

When you're brewing coffee with a Moka pot, choosing quality coffee is essential for achieving the best flavor.
Start by selecting Arabica beans for their smooth, sweet, and complex flavor profiles, which include fruity and floral notes. If you prefer a stronger taste, Robusta beans can add a bold kick, but they're generally more bitter.
Pay attention to the origin of the beans, as factors like soil and climate impact their taste. Central American coffee offers mellow acidity, while African varieties are brighter and more floral. Additionally, consider the roast level when selecting your beans, as it influences the final flavor profile of your brew.
Always check for a recent roast date, opting for beans with high cupping scores above 80. This guarantees freshness and quality, setting the stage for a delightful brew.
Preparing the Moka Pot

Preparing the Moka pot is a straightforward process that sets the stage for a rich, flavorful coffee.
Start by cleaning the Moka pot thoroughly to prevent any old coffee residue from affecting the taste. Use warm water—no soap—to rinse all parts, and don't forget to remove the rubber gasket and filter plate for a thorough clean. If needed, a coffee-specific cleaner like Cafiza can help eliminate residual oils.
Once clean, unscrew the pot to separate the bottom from the top and remove the basket. Fill the bottom chamber with water up to the safety valve, then insert the filter basket and fill it with ground coffee, leveling it without compressing. Using boiling water instead of cold water is important for proper brewing temperature. Once everything is in place, screw the top back onto the bottom chamber tightly. Place the Moka pot on the stove over medium heat and wait for the coffee to start brewing and bubbling up into the top chamber. Keep an eye on it so that it doesn’t boil over. If you encounter any issues with your Moka pot, you can find Vertuo Nespresso reset instructions online or in the product manual to troubleshoot common problems.
You're now ready to brew!
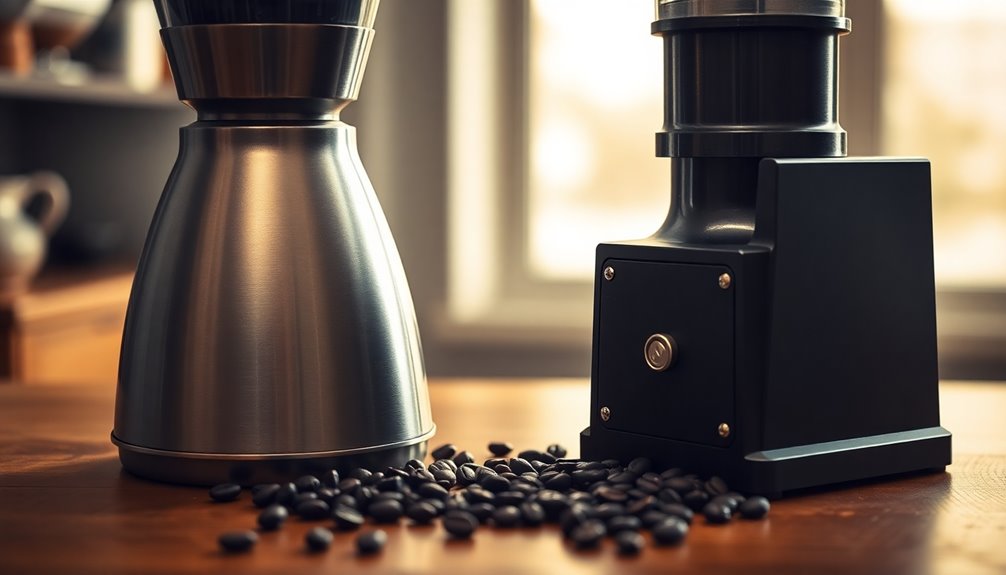
Grinding and Weighing Coffee

Now that your Moka pot is prepped, it's time to focus on grinding and weighing your coffee.
Start with a medium-fine grind; it should be slightly powdery but not too fine, falling between espresso and hand filter grinds. Avoid espresso-fine grinds to prevent clogging the filter screen. For the best consistency, use a burr grinder, although a handheld blade grinder can work in a pinch. Additionally, to achieve the optimal flavor, it's crucial to use a 1:7 water to coffee ratio.
Fill the filter basket completely with ground coffee, leveling it off with a knife for even distribution.
Don't pack or tamp the grounds; instead, shake the basket gently to settle them. Always aim to grind fresh beans just before brewing to capture the best flavor, ensuring you measure out the right amount for your perfect cup.
Assembling the Moka Pot

As you move to assemble the Moka pot, start by filling the bottom chamber with water. Make sure the water level stays below the steam release valve, about 1/2 inch from the top, to avoid any brewing issues. Then, insert the funnel-shaped metal filter into the bottom chamber and fill it with your favorite espresso grind coffee. Screw on the top chamber of the Moka pot tightly, and place it on the stove over medium heat. As the water heats up, it will create pressure that forces the water upwards through the coffee grounds, producing a strong and flavorful espresso. Once the top chamber is full, remove the Moka pot from the heat and use the freshly brewed espresso as the base for your homemade Americano recipe.
You can use cold or pre-boiled water, but be cautious with hot water. Next, fill the funnel or basket with coffee grounds, leveling them off without compressing.
Shake the basket gently to even out the grounds, ensuring the base is submerged in the water. Now, insert the funnel into the bottom chamber, making sure it fits snugly and no coffee grounds spill into the water. Additionally, remember that the pressure generated during brewing is essential for extracting flavor from the coffee grounds.
Finally, attach the top chamber securely, checking that the gasket and filter plate are in place to prevent leaks.
Heating and Brewing Process

Before you begin the brewing process, preheating your water is essential for achieving the best flavor.
Use a kettle to heat water to around 99 degrees C or until it boils, then remove it from heat. This helps prevent bitter coffee by not heating the grounds directly.
Fill the lower chamber of the Moka Pot with cold filtered water up to the safety valve.
Place the pot on medium heat, ensuring the handle is away from the flame to avoid damage.
As the water heats, pressure builds, pushing it through the coffee grounds.
Watch for a thick, brown liquid and listen for a gurgling sound, which signals it's time to remove the pot from the heat. Additionally, using proper water temperature aids in optimal extraction and enhances the flavor profile of your brew.
Stopping the Extraction

To guarantee your coffee tastes just right, knowing when to stop the extraction is essential.
Listen for the gurgling sound; this signals the end of the brewing process. Pay attention to the coffee stream—stop when it becomes thin and blond, and remove the Moka Pot when the stream lightens in color. Remember that the Moka pot relies on steam pressure to brew coffee, which is a critical factor in achieving the perfect cup. Additionally, the brewing temperature significantly affects flavor extraction and overall coffee quality.
Don't wait for all the water to pass, as this leads to over-extraction and bitterness. Pour your coffee quickly to halt the extraction and prevent burning from residual heat. If needed, you can use an ice bath, though quick pouring usually suffices.
Always verify the safety valve isn't covered, and remember to control your heat to avoid explosive or sluggish brewing.
Enjoy your perfect cup!
Serving Your Coffee

Serving your coffee right after brewing is essential for preserving its rich flavor and aroma.
Once you hear that gurgling sound, remove the Moka pot from heat and run the bottom chamber under cold water to stop the brewing process.
Let the coffee cool slightly to enhance its taste, then pour it into cups immediately to maintain the ideal temperature.
Be careful, as the Moka pot can be hot.
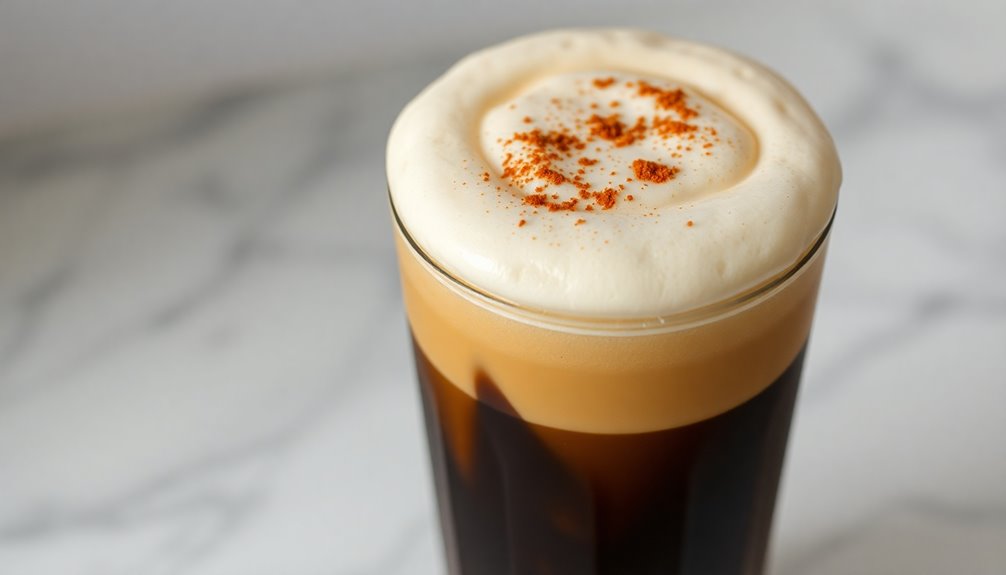
Customize your coffee by adding sugar, cream, or even mixing it with hot water for an Americano.
Serve it in your favorite mugs, and enjoy the velvety texture and intense flavor while it's warm.
Brewing with a Moka pot is a delightful way to enjoy coffee that many cherish.
Don't forget to share and savor the experience with others!
Tips for Perfect Brewing

Enjoying your coffee is just the beginning; perfecting the brewing process is where the magic happens.
Start with a medium-fine grind, using 15-17 grams of high-quality arabica coffee for a 4-cup Moka pot. Fill the bottom chamber with preheated water just below the safety valve. The Moka Pot brews coffee using steam pressure, which contributes to its rich flavor.
Assemble the pot by leveling the coffee grounds in the filter basket without compressing them. Heat the pot on moderate heat, ensuring the handle's safe from flames.
Listen for the gurgling sound as brewing begins, then reduce the heat. When the coffee stream turns a yellow honey color, remove it from the heat.
Finally, cool the bottom chamber to stop the brewing. Follow these tips for a perfect cup every time!
Frequently Asked Questions
Can I Use Flavored Coffee in a Moka Pot?
Sure, you can use flavored coffee in a Moka pot, but it mightn't yield the full flavor experience.
The Moka pot's unique extraction method can sometimes overshadow those extra flavors. If you decide to go for it, just keep in mind that the base coffee should still be of high quality.
Experiment with different blends, and see how the flavors come through. Enjoy your brewing journey and discover what works best for your taste!
How Do I Clean My Moka Pot Effectively?
To clean your Moka pot effectively, start by disassembling it and removing any coffee grounds.
Rinse all parts with hot water and use a soft sponge to eliminate residue.
For a deeper clean, mix vinegar with water, soak the parts, or heat the solution in the pot.
After rinsing thoroughly, dry each component completely before reassembling.
Store it disassembled to prevent mold, and check the gasket regularly for ideal performance.
What Is the Ideal Coffee-To-Water Ratio for Moka Pots?
The ideal coffee-to-water ratio for Moka pots usually falls between 1:10 and 1:12, depending on your taste.
If you want a stronger brew, aim for 1:10; for a lighter flavor, try a 1:12 ratio.
For a 3-cup Moka pot, you'd typically use about 13 grams of coffee with 170 grams of water.
Don't hesitate to experiment with these ratios until you find your perfect cup!
Can I Use a Moka Pot on an Induction Stove?
You can use a Moka pot on an induction stove, but it depends on the pot's material.
Most traditional Moka pots aren't compatible since they're often made of aluminum.
Look for a pot that has a magnetic base, usually stainless steel, and check for an induction symbol.
If your pot isn't compatible, you could use an induction adaptor or a ferrous frying pan to heat it instead.
How Long Does Brewed Coffee Last in the Moka Pot?
Brewed coffee in a Moka pot is best enjoyed immediately for that rich flavor.
If you leave it in the pot, it'll start losing quality after about 20-30 minutes. You might still be able to drink it up to four hours later, but expect a noticeable decline in taste.
For longer storage, transfer it to a sealed container and refrigerate, where it can last up to 3-4 days while maintaining some flavor.
Conclusion
Now that you know how to brew coffee with a moka pot, you're ready to enjoy a rich, flavorful cup right at home. Remember to choose quality coffee, grind it just right, and pay attention to the brewing process. With a little practice, you'll master the art of moka pot coffee in no time. So grab your favorite beans, follow these steps, and savor the delightful taste of your homemade brew. Enjoy every sip!