
You can whip up a delicious vanilla cake using simple ingredients. Start by preheating your oven to 350°F and greasing two 9-inch round cake pans. Cream together ½ cup of softened unsalted butter with 1 ½ cups of granulated sugar until fluffy. Beat in 3 eggs, then mix 2 cups of flour, 3 ½ tsp of baking powder, and a pinch of salt in another bowl. Gradually combine the dry and wet ingredients, adding 1 cup of whole milk for moisture. Bake for 25-30 minutes, and you'll have a classic treat ready to personalize. There's plenty more you can explore to enhance your cake!
Key Takeaways
- Preheat your oven to 350°F (175°C) and prepare two 9-inch round cake pans by greasing and flouring them.
- Cream together ½ cup of softened unsalted butter and 1 ½ cups of sugar until light and fluffy.
- Gradually mix in 3 large eggs and 1 cup of whole milk, alternating with 2 cups of all-purpose flour and 3 ½ tsp of baking powder.
- Pour the batter evenly into the prepared pans and bake for 25-30 minutes, or until a toothpick inserted comes out clean.
- Allow the cakes to cool for 10 minutes in the pans before transferring to wire racks to cool completely.
Top picks for "vanilla cake recipe"
Open Amazon search results for this keyword.
As an affiliate, we earn on qualifying purchases.
History

The history of vanilla cake is as rich and delightful as the dessert itself. You might be surprised to learn that cake-making dates back to ancient civilizations, where simple mixtures of flour and water were baked over fire.
As sugar became more accessible, cakes evolved, with the introduction of eggs and butter, leading to a lighter texture. By the 19th century, vanilla emerged as a popular flavor, thanks to advancements in cultivation and extraction.
The classic vanilla cake gained fame in American households, often served at celebrations and gatherings. Its versatility allowed it to pair with various frostings and fillings, making it a beloved staple.
Today, you enjoy this timeless treat, celebrating its delicious journey through history.
Recipe
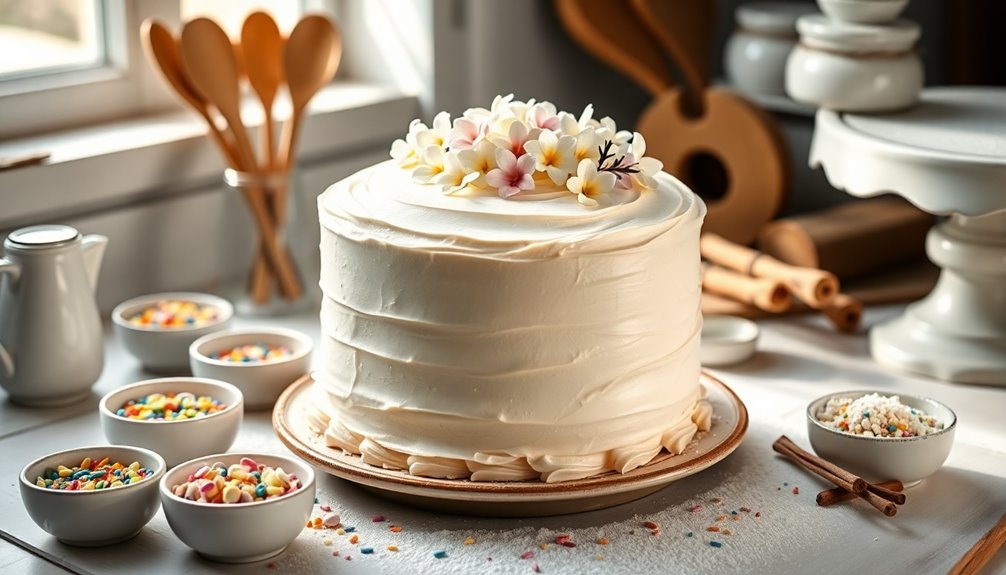
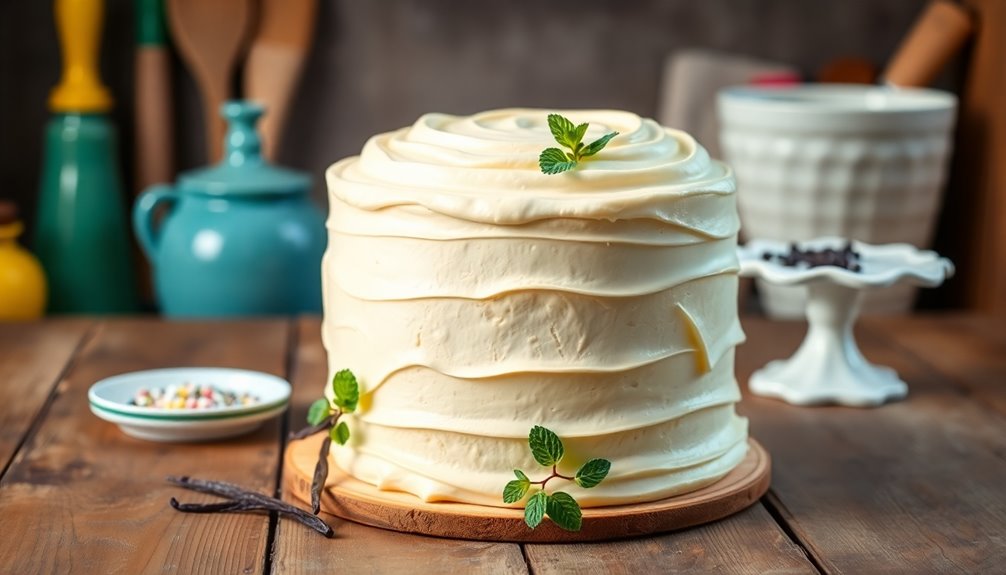
Vanilla cake is a classic dessert that's beloved for its simplicity and delicious flavor. This treat is perfect for a variety of occasions, from birthdays to afternoon tea. With its light, fluffy texture and sweet vanilla aroma, a homemade vanilla cake can easily become a family favorite.
Plus, it serves as a wonderful base for a myriad of frostings and fillings, allowing you to customize it to your liking. Making a vanilla cake from scratch is an incredibly rewarding experience. The process is straightforward, and with just a few basic ingredients, you can create a cake that rivals any bakery.
Whether you're a novice baker or a seasoned pro, this vanilla cake recipe will guide you through each step, guaranteeing that your cake is moist, flavorful, and utterly delightful. For an even more indulgent breakfast option, consider pairing a slice with a rich cinnamon sugar French toast for a delightful morning treat.
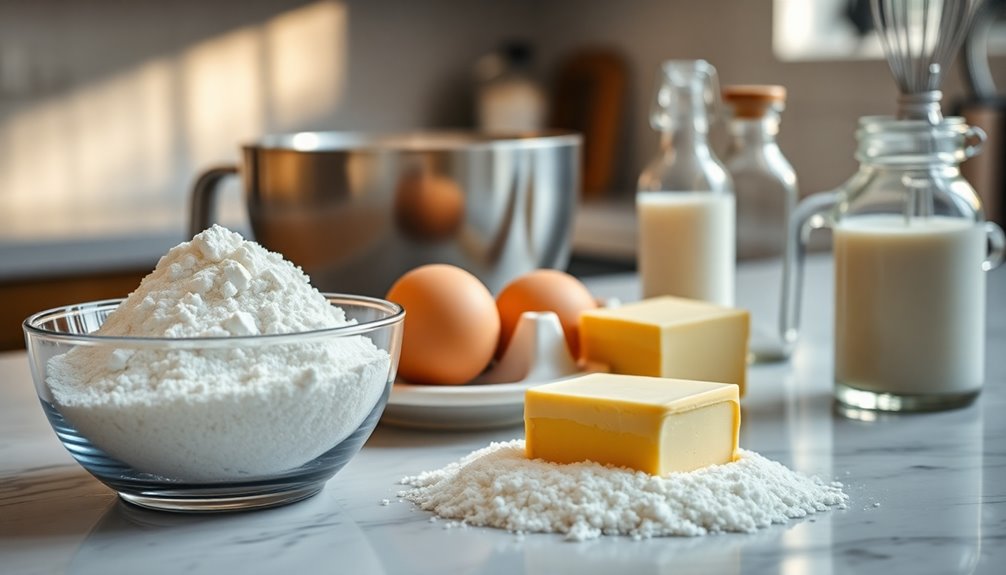
Ingredients:
- 2 cups all-purpose flour
- 1 ½ cups granulated sugar
- ½ cup unsalted butter, softened
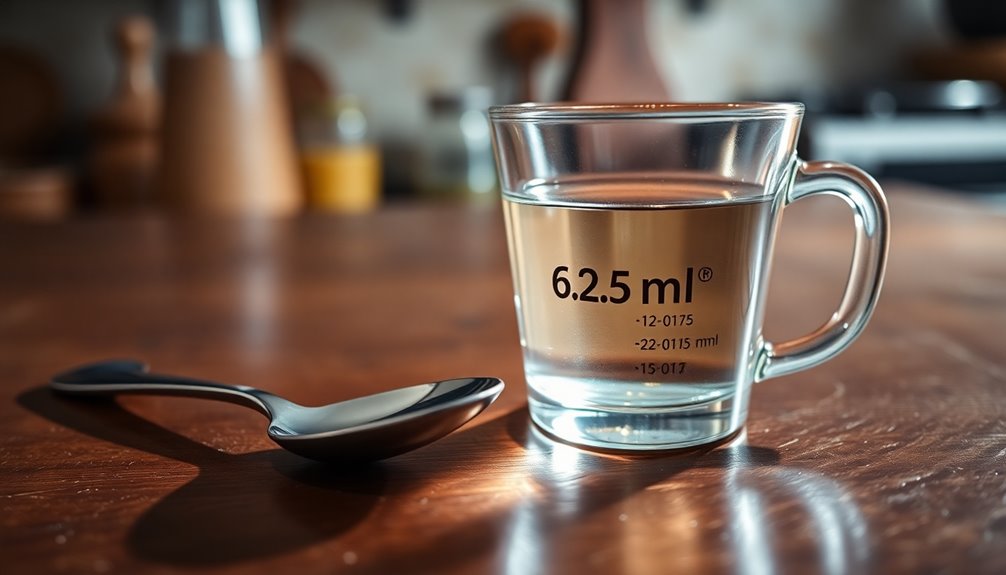
- 1 cup whole milk
- 3 ½ teaspoons baking powder
- 1 teaspoon vanilla extract
- ½ teaspoon salt
- 3 large eggs
Instructions:
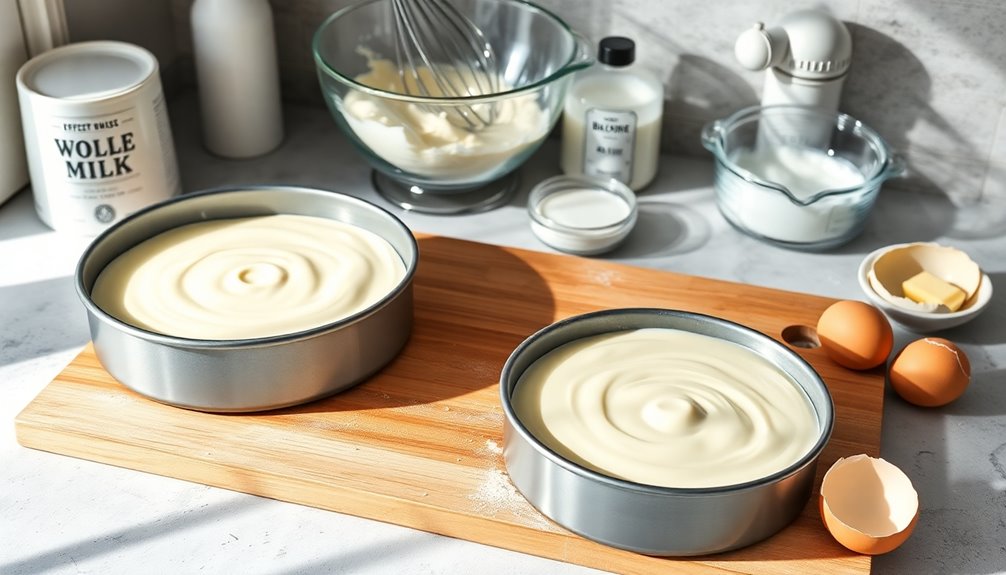
Preheat your oven to 350°F (175°C) and grease two 9-inch round cake pans. In a large mixing bowl, cream together the softened butter and granulated sugar until light and fluffy.
Add the eggs one at a time, mixing well after each addition, and then stir in the vanilla extract. In a separate bowl, whisk together the flour, baking powder, and salt. Gradually add the dry ingredients to the wet mixture, alternating with the milk, starting and ending with the flour mixture.
Mix until just combined, being careful not to overmix. Divide the batter evenly between the prepared cake pans and smooth the tops. Bake for 25 to 30 minutes, or until a toothpick inserted into the center comes out clean.
Let the cakes cool in the pans for 10 minutes before transferring them to a wire rack to cool completely.
Extra Tips:
For the best results, verify all your ingredients are at room temperature before you begin mixing. This helps create a smoother batter and contributes to the cake's fluffiness.
If you want to enhance the vanilla flavor, consider using vanilla bean paste instead of extract. Additionally, you can add a pinch of almond extract for a unique twist. Don't forget to level your cake layers before frosting to create a beautiful, even finish!
Cooking Steps
Now that you have your ingredients ready, it's time to get cooking!
Start by preheating your oven to 350°F to guarantee the perfect bake.
Next, you'll mix the dry ingredients together before gradually adding in the wet ones.
Step 1. Preheat Oven to 350°F
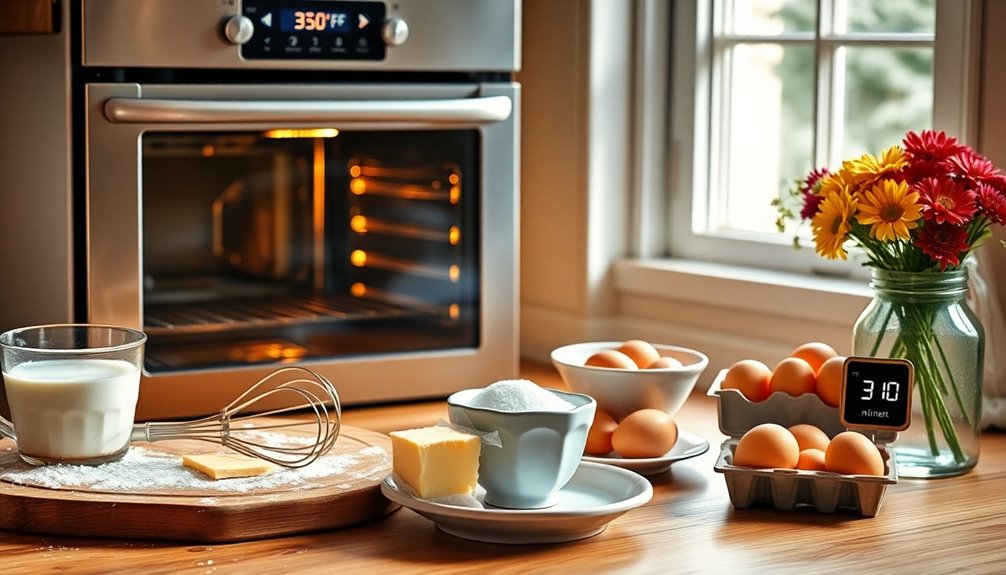
To kick off your vanilla cake preparation, preheating your oven to 350°F is essential. This step guarantees your cake bakes evenly and rises perfectly.
As soon as you turn on the oven, it starts warming up, so don't wait until your batter is ready to do this. It usually takes about 10-15 minutes for the oven to reach the right temperature, depending on your model.
While you're waiting, you can gather your ingredients and tools, creating a smooth workflow for the rest of the recipe.
Once the oven beeps or shows that it's reached 350°F, you'll be ready to pop your cake in. Getting this step right will help you achieve that delicious, fluffy vanilla cake you're aiming for!
Step 2. Mix Dry Ingredients Together
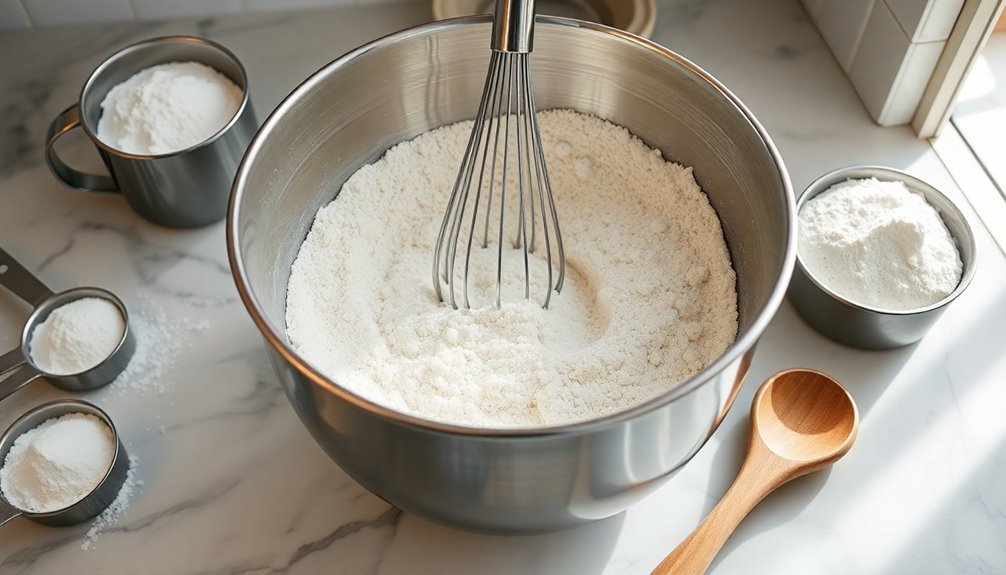
Start by combining the dry ingredients in a mixing bowl. Measure out the all-purpose flour, baking powder, and salt accurately.
Use a whisk to blend them together thoroughly, ensuring there are no lumps. This step's essential because it evenly distributes the leavening agent, which helps your cake rise properly.
If you’re adding any additional flavors, like vanilla powder or cocoa for a twist, mix those in too. Once everything’s well combined, you’ll create a light and airy mixture that sets the foundation for your cake. As you work on achieving the perfect batter, set aside some time to focus on the royal icing preparation steps. This will ensure that your decorations are just as impressive as the cake itself. Once the cake has baked and cooled, you can pipe the royal icing onto the surface, creating intricate designs that enhance both the flavor and visual appeal of your masterpiece.
Make sure there are no pockets of flour left untouched; this will prevent uneven texture in your cake. After this, you're ready to move on to the next step and add the wet ingredients.
Step 3. Add Wet Ingredients Gradually
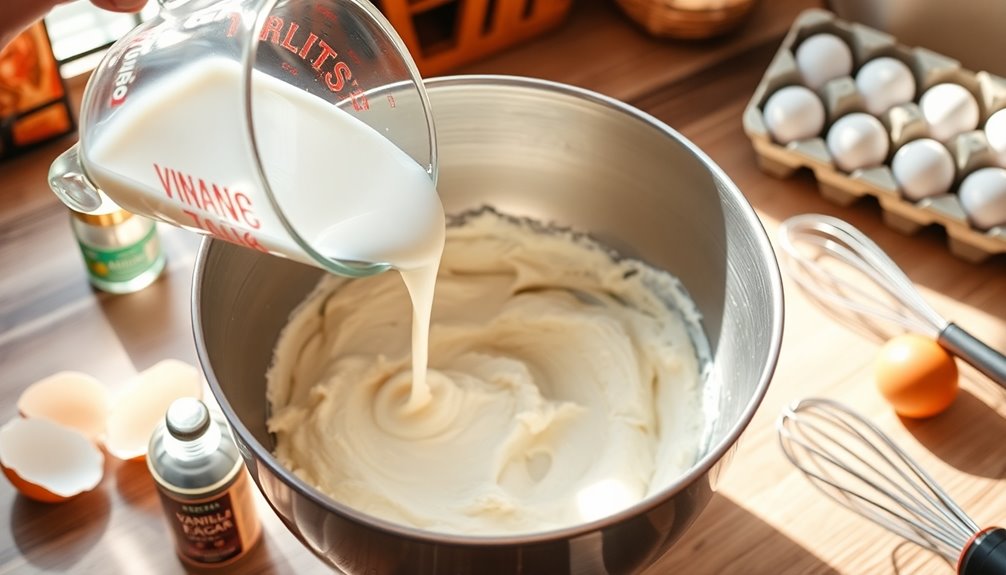
Gradually adding the wet ingredients is essential for achieving a smooth batter.
Start by pouring in your milk, vanilla extract, and eggs slowly, one at a time. This method helps combine everything evenly, preventing clumps and ensuring a uniform texture.
As you add the wet ingredients, mix gently on low speed to incorporate them without overworking the batter.
Take your time and scrape down the sides of the bowl as needed. If you rush this step, you might end up with a lumpy mixture that can affect your cake's final texture.
Aim for a creamy consistency, and once everything's well blended, you're ready to move on to the next steps in crafting your perfect vanilla cake!
Step 4. Fold in Chocolate Chips

Gently fold in the chocolate chips to your batter, ensuring they're evenly distributed without deflating the mixture.
Use a spatula or a wooden spoon for this step; this helps you maintain the cake's light and airy texture. Start by scooping from the bottom and bringing the batter over the chocolate chips.
Turn your bowl as you go, mixing slowly and carefully. You want to see the chocolate chips speckled throughout the batter, but don't overmix—it's okay to see a few streaks of flour remaining.
This technique keeps your cake fluffy while adding delightful bursts of chocolate. Once you've folded in the chips, you're ready for the next step in creating your perfect vanilla cake! Additionally, using a spatula or a wooden spoon will help you achieve the ideal texture, similar to how one would prepare a light quinoa dish.
Step 5. Pour Batter Into Pan
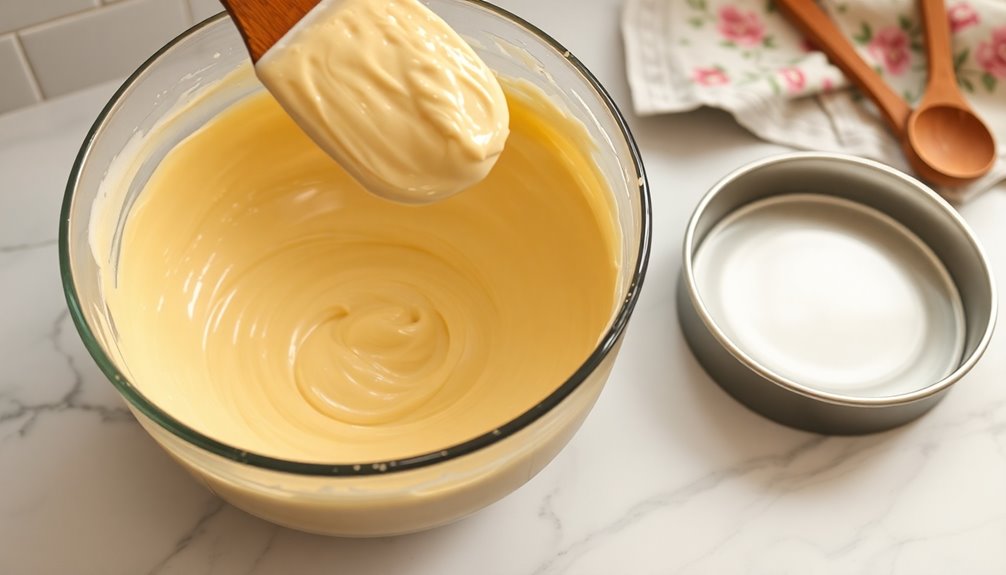
With a steady hand, pour the batter into your prepared cake pan. Make certain to scrape the sides of the mixing bowl to get every last bit of that delicious mixture.
As you pour, tilt the pan slightly to help the batter spread evenly. You want to avoid any air bubbles, so gently tap the pan on the countertop after pouring. This will help release any trapped air, guaranteeing a smooth, even cake.
If you're using multiple pans, divide the batter evenly to guarantee consistent baking. Once the batter is in the pan, smooth the top with a spatula for a perfect finish.
Now, you're ready to pop it in the oven and let the magic happen!
Final Thoughts
As you reflect on your vanilla cake baking journey, it's clear that this classic recipe not only delights the taste buds but also offers a fantastic canvas for creativity.
You can customize it with various flavors, fillings, and frostings, making it uniquely yours. Whether you keep it simple or go all out with decorations, each cake tells a story and brings joy to those who share it.
Remember, practice makes perfect, so don't be discouraged by any setbacks. Embrace the learning experience and enjoy the process.
In the end, the satisfaction of pulling a perfectly baked cake from the oven is unmatched.
So, gather your ingredients, summon your creativity, and let the baking adventures continue!
Happy baking!
Frequently Asked Questions
Can I Use Gluten-Free Flour for This Vanilla Cake?
Yes, you can use gluten-free flour in your baking!
Just remember that gluten-free flour might change the texture slightly, so it's a good idea to use a blend specifically designed for baking.
You might also want to add a binding agent, like xanthan gum, to help with structure.
Experimenting is key, so don't hesitate to adjust other ingredients if needed.
You'll find a balance that works for your taste and texture preferences!
How Do I Store Leftover Vanilla Cake?
To store leftover cake, you should wrap it tightly in plastic wrap or aluminum foil to keep it fresh.
If you've got more than a couple of slices, consider placing it in an airtight container.
Store it in the fridge for up to a week, or freeze it if you need longer storage.
Just remember to let it thaw in the fridge before enjoying it again for the best taste and texture!
What Are Some Popular Frosting Options for Vanilla Cake?
When you're choosing frosting options, consider what complements the cake best. Classic buttercream is always a hit, offering a sweet, creamy texture.
Cream cheese frosting adds a tangy twist, while whipped cream gives a light, airy finish.
If you're feeling adventurous, try a chocolate ganache for a rich contrast or a fruit glaze for a fresh touch.
Each option enhances the cake, so pick one that suits your taste and occasion!
Can I Add Fruit or Nuts to the Recipe?
Absolutely, you can add fruit or nuts to the recipe!
Chopped nuts like walnuts or pecans add a delightful crunch, while fresh or dried fruits like berries or bananas can infuse natural sweetness and moisture.
Just make sure to adjust the quantities so the batter maintains the right consistency.
You'll want to fold in these ingredients gently to keep the texture light and fluffy.
Enjoy experimenting with your unique flavors!
How Long Can I Freeze the Vanilla Cake?
You can freeze your cake for up to three months without losing flavor or texture.
Just make sure it's completely cooled before wrapping it tightly in plastic wrap and then aluminum foil. This prevents freezer burn and keeps it fresh.
When you're ready to enjoy it, let it thaw in the fridge overnight.
You'll be amazed at how well it retains its moistness and taste after being frozen!