Brining your turkey is essential for juicy, flavorful meat. For a basic brine, combine 1 cup kosher salt, 1/2 cup brown sugar, and 1 gallon of water. Add crushed garlic, optional citrus slices, and spices like rosemary and black pepper. Stir until the salt and sugar dissolve. Cool the mixture to below 40°F, then fully submerge your turkey in it for 12 to 24 hours in the fridge. After brining, rinse and pat the turkey dry for crispy skin. Follow these steps, and you'll achieve a magnificent feast, not to mention other helpful tips that can enhance your culinary experience.
Key Takeaways
- Combine 1 cup kosher salt, 1/2 cup brown sugar, and 1 gallon water in a large non-reactive container for your brine.
- Add crushed garlic and optional citrus slices, herbs, or spices to enhance the flavor of the brine.
- Cool the brine mixture to below 40°F (4°C) before submerging the turkey completely.
- Refrigerate the turkey in the brine for 12-24 hours, ensuring it's not brined for more than 24 hours to avoid excess saltiness.
- Rinse the turkey under cold water and pat it dry before roasting to achieve a crispy skin.
History

When you think about turkey brine, it's fascinating to realize how this method has evolved over centuries.
Originally, brining was a way to preserve meat, especially before refrigeration. Ancient civilizations, like the Romans and Egyptians, used salt and water to keep their food fresh.
As time passed, people discovered that brining not only preserved but also enhanced flavor and moisture. By the Middle Ages, brining became common in kitchens across Europe, with various spices added for taste.
Immigrants brought these techniques to America, where they adapted them to local ingredients.
Nowadays, turkey brining is a cherished tradition during holidays, combining age-old practices with modern flavors, ensuring your turkey turns out juicy and delicious every time.
Recipe

Brining a turkey is a time-honored technique that guarantees your bird remains juicy, flavorful, and tender throughout the roasting process. The salt in the brine helps to break down the proteins in the meat, allowing it to absorb moisture and flavors. This method is especially popular around Thanksgiving, but it can be used for any occasion when you want to elevate your turkey.
This turkey brine recipe is simple and can be customized to suit your taste preferences. By incorporating a variety of herbs and spices, you can create a brine that complements the natural flavors of the turkey without overpowering them. The key is to let the turkey soak long enough in the brine to absorb all the deliciousness, guaranteeing a mouthwatering meal that everyone will love.
Ingredients:
- 1 cup kosher salt
- 1/2 cup brown sugar
- 1 gallon water
- 4 cloves garlic, crushed
- 1 tablespoon whole black peppercorns
- 1 tablespoon dried thyme
- 1 tablespoon dried rosemary
- 1 tablespoon dried sage
- 1 cup apple cider vinegar
- Optional: 1 orange, sliced
- Optional: 1 lemon, sliced
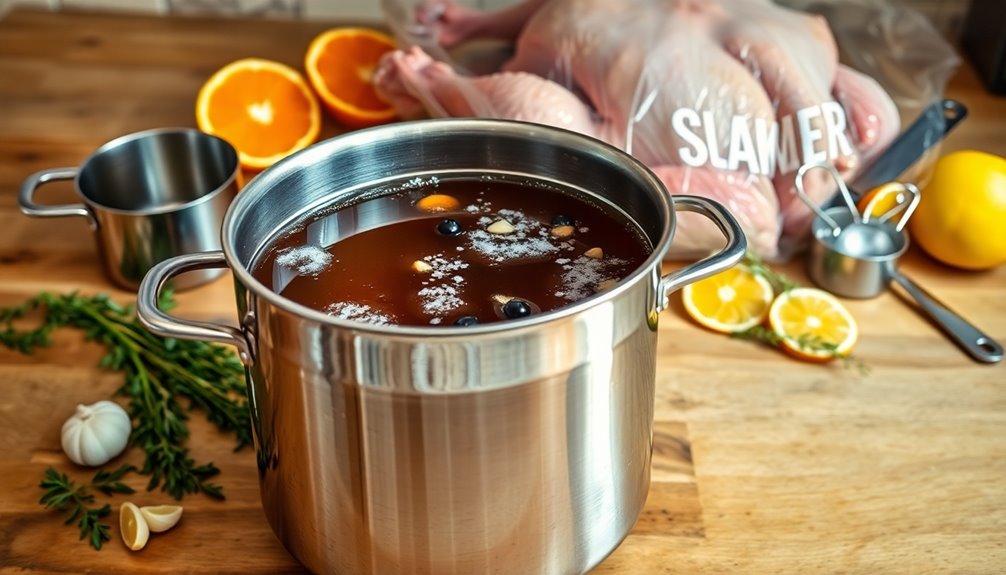
To prepare the brine, begin by combining the kosher salt, brown sugar, and water in a large pot over medium heat. Stir the mixture until the salt and sugar have fully dissolved.
Next, add the crushed garlic, black peppercorns, thyme, rosemary, sage, and apple cider vinegar. Bring the brine to a simmer for about 5 minutes to allow the flavors to meld together. Once ready, remove the pot from the heat and let the brine cool completely before using it to soak your turkey.
When brining your turkey, make certain that it's fully submerged in the brine solution. You can use a large container, a clean cooler, or a brining bag for this purpose. For best results, brine your turkey for at least 12 hours, but no more than 24 hours, depending on the size of the bird.
After brining, rinse the turkey under cold water to remove excess salt, and pat it dry with paper towels before roasting.
Extra Tips:
Make sure to plan ahead, as brining takes time. It's also essential to keep the turkey refrigerated while it brines to prevent bacterial growth.
If you're short on space, consider using a brining bag and placing it in a cooler filled with ice. Additionally, feel free to experiment with different herbs and spices based on your personal preferences or the flavor profiles you enjoy!
Cooking Steps
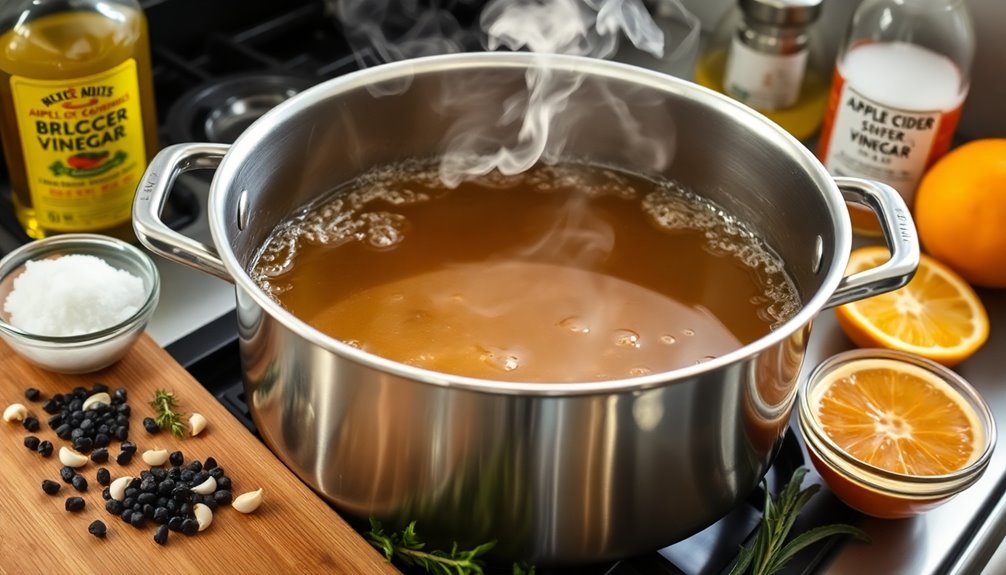
To get started on brining your turkey, you'll need to combine water and salt in a large pot.
Once that's done, add sugar and your favorite spices to enhance the flavor.
After cooling the brine mixture, you can submerge the turkey completely and refrigerate it for 12 hours.
Step 1. Combine Water and Salt
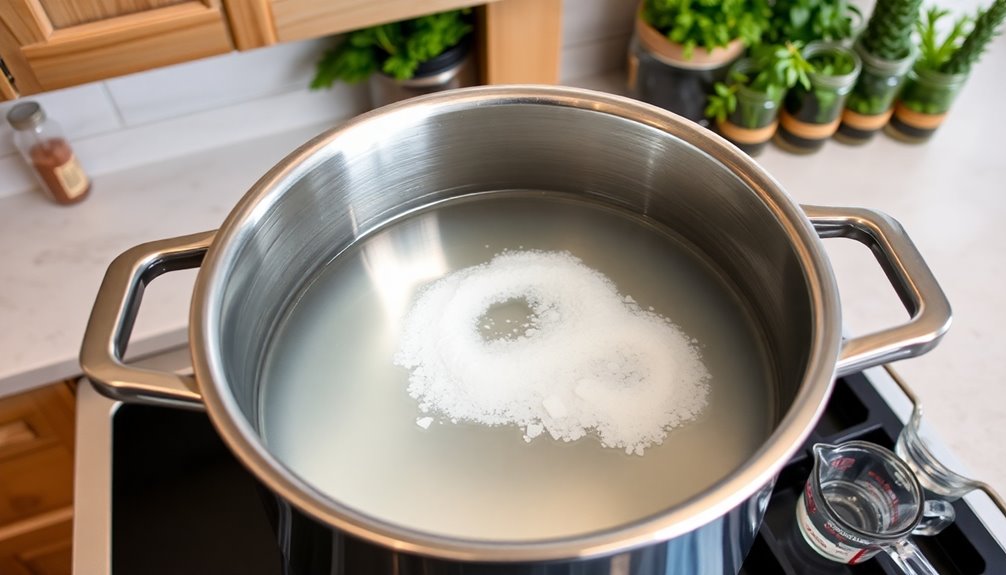
Start by measuring out one gallon of water and mixing it with one cup of kosher salt in a large pot.
Stir the mixture well until the salt completely dissolves. This step is essential because the salt enhances the turkey's flavor and helps it retain moisture during cooking.
If you notice any undissolved salt at the bottom of the pot, keep stirring until everything's blended smoothly. You want to create a brine that's evenly seasoned, so take your time here.
Once the salt's dissolved, you can let the mixture cool to room temperature. This will prevent cooking the turkey when you add it to the brine.
Now you're ready for the next step in preparing your delicious turkey brine!
Step 2. Add Sugar and Spices
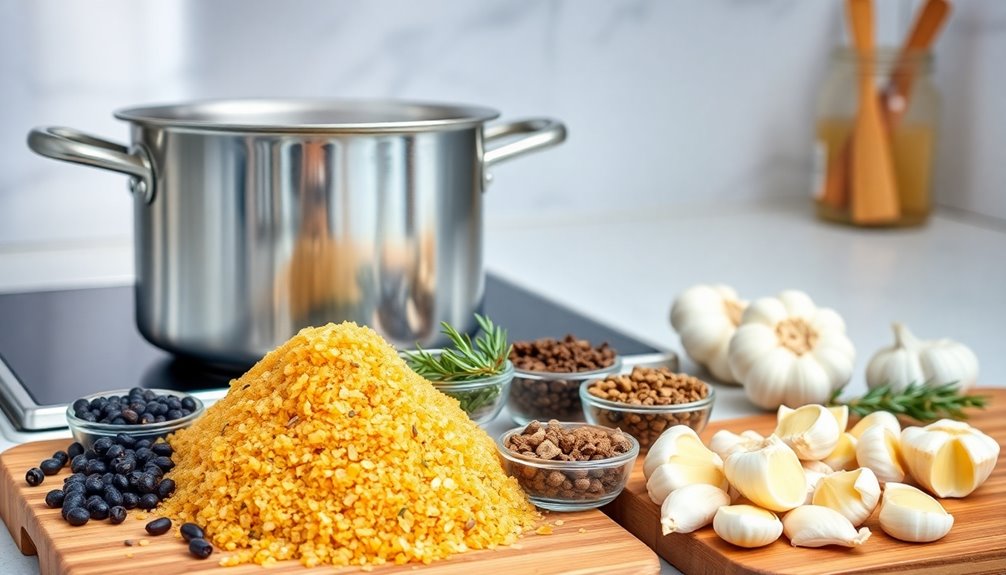
Once the salt is fully dissolved and the brine has cooled, it's time to enhance the flavor profile by adding sugar and spices.
Start by stirring in brown sugar, which adds sweetness and helps to balance the saltiness. You can use about one cup, depending on your taste preferences.
Next, toss in your favorite spices; think black peppercorns, garlic cloves, and fresh herbs like rosemary or thyme. If you want a little kick, consider adding red pepper flakes or a splash of hot sauce.
Mix everything together thoroughly, ensuring the sugar and spices are evenly distributed. This combination will give your turkey a delicious depth of flavor, making every bite unforgettable. Once your mixture is well-blended, it’s time to shape it into patties for your turkey burgers. For the best results, follow the turkey burger cooking instructions carefully, ensuring that each patty is cooked to a safe internal temperature while retaining its juiciness. Serve these delectable burgers on a toasted bun with your favorite toppings to elevate the experience even further.
Enjoy the process; your turkey will thank you!
Step 3. Cool the Brine Mixture
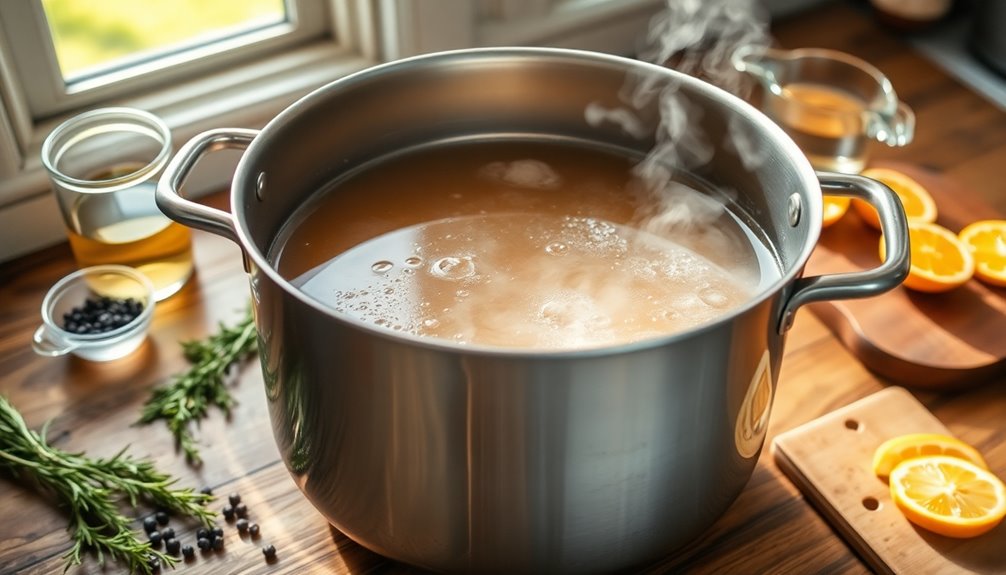
Cooling the brine mixture is essential for safety and flavor. Once you've combined all your ingredients, you'll want to bring the brine to a boil, stirring occasionally until the sugar and salt dissolve completely.
After boiling, remove it from the heat and let it sit at room temperature for about 30 minutes. This allows the flavors to meld. To cool it faster, pour the brine into a large, shallow container.
You can also add ice cubes to speed up the cooling process; just be mindful of the total volume. Aim for the brine to reach a temperature below 40°F (4°C) before you use it. This step guarantees your turkey brine is safe and ready for the next stage.
Step 4. Submerge the Turkey Completely
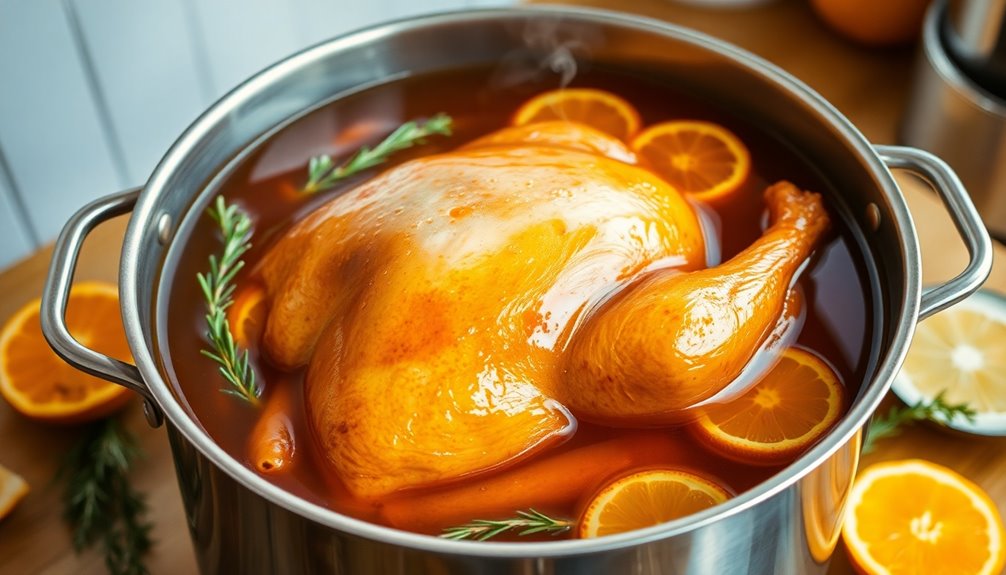
To guarantee your turkey absorbs all those delicious flavors, fully submerge it in the cooled brine. Choose a container large enough to hold both the turkey and the brine, like a stockpot or a large cooler.
Carefully place the turkey into the brine, making certain it's covered completely. If necessary, you can weigh it down with a plate or a clean rock to keep it submerged.
Make sure the brine reaches every nook and cranny, as this is essential for flavor penetration. Once it's submerged, double-check that the brine isn't too warm; it should be cool to the touch.
This step sets the stage for a succulent, flavorful turkey, so take your time and make certain it's all submerged properly!
Step 5. Refrigerate for 12 Hours
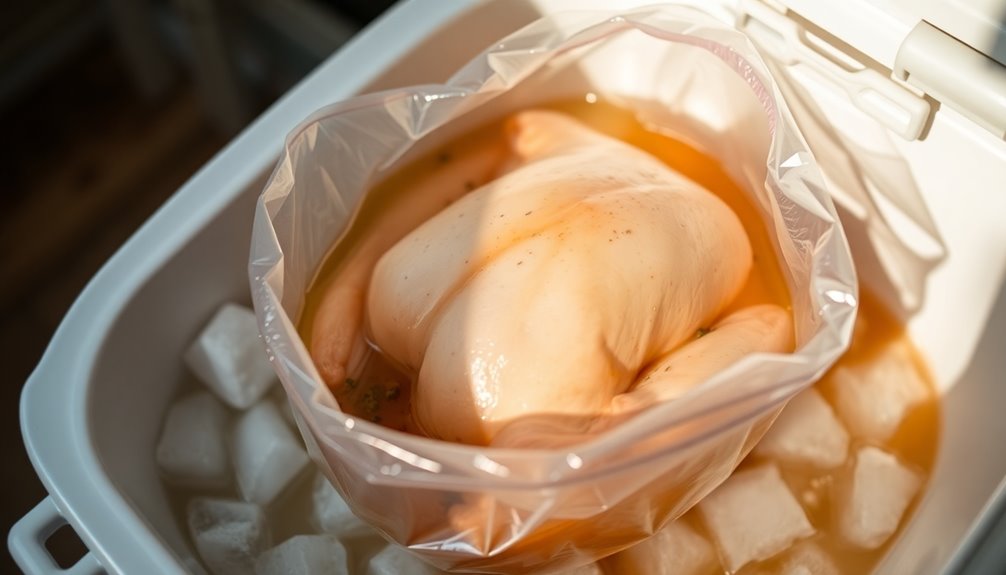
After you've confirmed the turkey is completely submerged in the brine, it's time to let the magic happen.
Place the container in the refrigerator, making sure it's at a safe temperature, ideally below 40°F. This chilling period is vital as it allows the flavors to penetrate the meat while keeping it safe from bacteria.
Set a timer for 12 hours; this will give the turkey enough time to absorb all that delicious brine goodness. If you can, flip the turkey halfway through to guarantee even brining.
Once the time's up, remove the turkey from the brine, rinse it under cold water to remove excess salt, and pat it dry.
Now you're ready for the next step in your turkey preparation!
Final Thoughts
As you prepare to serve your perfectly brined turkey, remember that the key to a memorable meal lies not just in the brine itself but in the care you put into the entire process.
From selecting the freshest ingredients to monitoring the brining time, each step contributes to the final dish. Don't rush; let the flavors meld and the turkey soak up that delicious brine.
When it's time to roast, keep an eye on the temperature, ensuring it cooks evenly for ideal juiciness.
And as you gather around the table, savor not just the turkey but the moments shared with loved ones.
With a little patience and attention, you'll create a feast that everyone will remember and enjoy. Happy cooking!
Frequently Asked Questions
Can I Use Table Salt Instead of Kosher Salt?
You can use table salt instead of kosher salt, but you'll need to adjust the amount.
Table salt is finer and denser, so it packs more salt into a given volume. Typically, you'd use about half the amount of table salt compared to kosher salt.
Just remember to measure carefully, as too much can make your dish overly salty. Always taste as you go to get the flavor just right!
How Long Can Brined Turkey Be Stored in the Fridge?
You can store brined turkey in the fridge for up to two days before cooking it.
It's important to keep it in an airtight container to prevent contamination and maintain freshness.
If you need to store it longer, consider freezing it instead.
Just remember, once you've thawed it, you should cook it right away.
Keeping these guidelines in mind will help guarantee your turkey stays safe and delicious for your meal.
Is It Safe to Brine a Frozen Turkey?
Yes, it's safe to brine a frozen turkey, but you've got to thaw it first.
Brining a frozen turkey won't work effectively because the salt won't penetrate the ice. Thaw it in the fridge, which can take a day or two, depending on its size.
Once it's fully thawed, you can soak it in your brine solution. Just remember to keep everything cold to guarantee food safety throughout the process!
What Are the Best Herbs to Add to the Brine?
When you're thinking about adding herbs to your brine, consider using fresh rosemary, thyme, and sage.
These herbs bring out amazing flavors and complement the meat beautifully. You might also enjoy adding garlic and bay leaves for an extra depth of taste.
Experiment with different combinations to find what suits your palate best. Just remember, a little goes a long way, so don't overdo it!
Happy cooking!
Can I Re-Use Turkey Brine for Other Meats?
You can definitely reuse brine for other meats, but it's important to be cautious.
If you've brined raw turkey, you should avoid reusing that brine without boiling it first to kill any bacteria. Once boiled, it can be used for chicken or pork.
Just keep in mind that the flavors might be stronger from the turkey, so adjust your seasoning if you're looking for a more subtle taste.


