Did you know that over 1 million Rice Krispie Treats are made each year in the United States alone? This beloved dessert, consisting of just three simple ingredients, has a rich history and endless customization possibilities. You might think it's just a straightforward recipe, but there are nuances to achieving that perfect texture and flavor balance. Let's explore not only the classic method, but also some creative variations you might not have considered.
Key Takeaways
- Melt 3 tablespoons of butter in a saucepan over low heat before adding marshmallows for a smooth mixture.
- Stir in 4 cups of mini marshmallows until fully melted and combined with the butter.
- Fold in 6 cups of Rice Krispies cereal, ensuring even coating without crushing the cereal.
- Press the mixture into a buttered 9×13-inch pan for an even layer and allow to cool.
- Cut into squares after cooling for 20-30 minutes, and enjoy or store in an airtight container.
Top picks for "rice krispie treat"
Open Amazon search results for this keyword.
As an affiliate, we earn on qualifying purchases.
History
Rice Krispie Treats have a fascinating history that dates back to the 1930s when the Kellogg Company first introduced them as a promotional tool for their Rice Krispies cereal.
The original recipe, published in "The Rice Krispies Treats Recipe Book" in 1941, called for marshmallows, creating a sweet, chewy snack that quickly gained popularity.
After World War II, these treats became a staple at children's parties and school events, loved for their simplicity and taste.
In the 1950s and 1960s, you might've noticed variations emerging, with peanut butter and chocolate joining the mix.
Today, Original Rice Krispies Treats continue to be a cherished dessert, inspiring countless adaptations and flavors enjoyed by families across generations.
Recipe
Rice Krispies Treats are a nostalgic and simple dessert that brings joy to both kids and adults alike. With their crispy texture and sweet marshmallow flavor, these treats are perfect for any occasion.
Whether you're hosting a party, packing lunch for the kids, or just looking for a quick snack, Rice Krispies Treats are an easy and satisfying choice that can be made in just minutes.
To make your Rice Krispies Treats, you'll need just three main ingredients, plus any fun mix-ins you choose to add. This versatile recipe allows you to customize your treats with different flavors or seasonal ingredients, making each batch unique. The best part is that this recipe comes together quickly, so you can have a delicious treat ready in no time.
Ingredients:
- 3 tablespoons butter
- 4 cups mini marshmallows
- 6 cups Rice Krispies cereal
- Optional mix-ins (e.g., peanut butter, chocolate chips, M&Ms, candy corn)
Cooking Instructions:
In a large saucepan over low heat, melt the butter and marshmallows together, stirring continuously until the mixture is smooth and well combined.
Remove from heat and add the Rice Krispies cereal, mixing thoroughly until the cereal is evenly coated. Transfer the mixture into a buttered 9×13-inch pan and press it down firmly with a spatula or your hands to create an even layer.
Allow the treats to cool for about 10 minutes before cutting them into squares or rectangles.
Extra Tips:
For the best results, make sure to use fresh marshmallows, as they'll provide the best texture and flavor in your treats.
If you prefer to prepare your Rice Krispies Treats in the microwave, simply combine the butter and marshmallows in a microwave-safe bowl and heat for 1-3 minutes, stirring until smooth before adding the cereal.
Store your treats in an airtight container at room temperature for up to 2 days, or in the refrigerator for up to 5 days to keep them fresh.
Enjoy experimenting with different mix-ins to create your own signature Rice Krispies Treats!
Cooking Steps
To make your Rice Krispie treats, you'll start by melting butter in a saucepan and adding marshmallows until they're completely gooey.
Next, stir in the Rice Krispies cereal so every piece gets coated in that delicious marshmallow mix.
Finally, press the mixture into a pan, let it cool, and cut it into squares for serving.
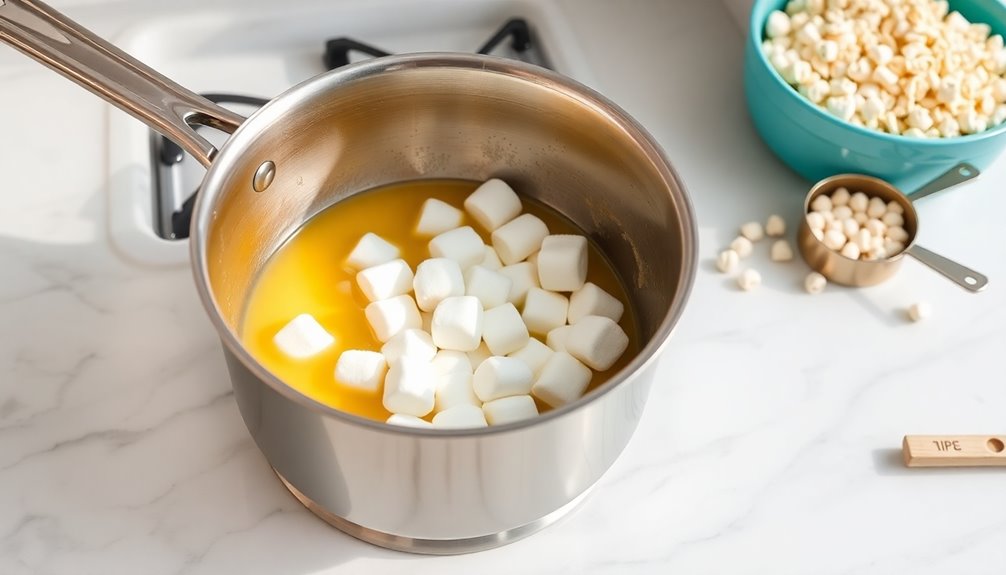
Step 1. Melt Butter in Saucepan
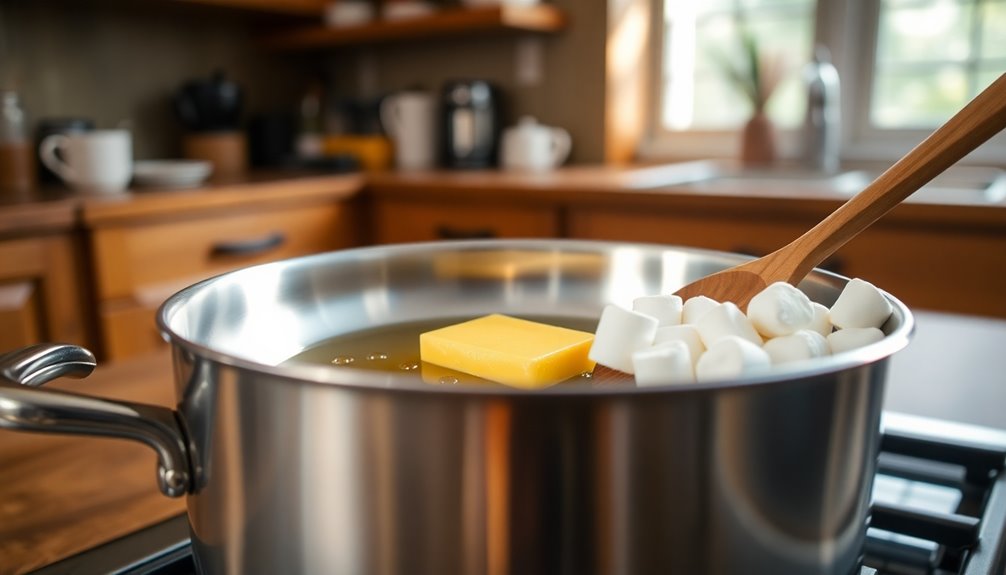
Begin by measuring out 3 tablespoons of butter and placing it in a large saucepan.
Set the heat to low to ensure the butter melts evenly without burning. As the butter begins to soften, stir it continuously.
This constant motion helps achieve a smooth consistency and prevents the butter from browning, which could alter the flavor of your Rice Krispie treats.
Keep an eye on it until it's fully melted, which should only take a minute or two.
Once the butter is melted to your satisfaction, you'll be ready to add the marshmallows.
This step is crucial for creating that gooey mixture that binds everything together in your delicious treats.
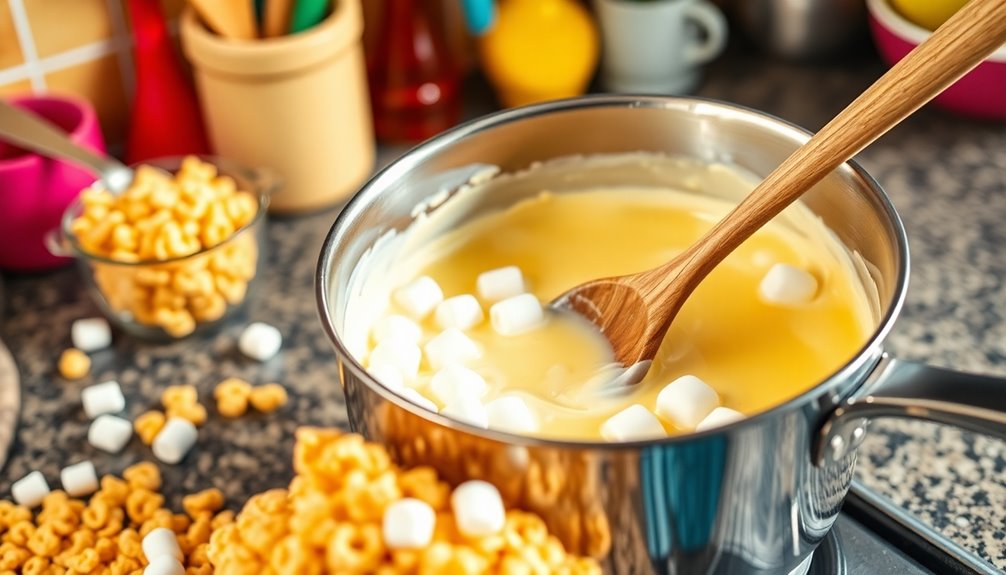
Step 2. Add Marshmallows Until Melted

Add your 10 oz. package of marshmallows to the melted butter in the saucepan, stirring continuously.
Keep the heat on low to prevent burning, and make sure the marshmallows blend well with the butter. As you stir, you'll notice the marshmallows starting to soften and melt.
Continue cooking for about 2 minutes, stirring constantly until the mixture is completely smooth. If you want to enhance the flavor, consider adding a splash of vanilla extract during this melting process.
Remember, fresh marshmallows work best for a smooth consistency; older ones mightn't melt as easily.
Stay vigilant while stirring to achieve that perfect, creamy texture necessary for your Rice Krispie treats.
Step 3. Stir in Rice Krispies Cereal
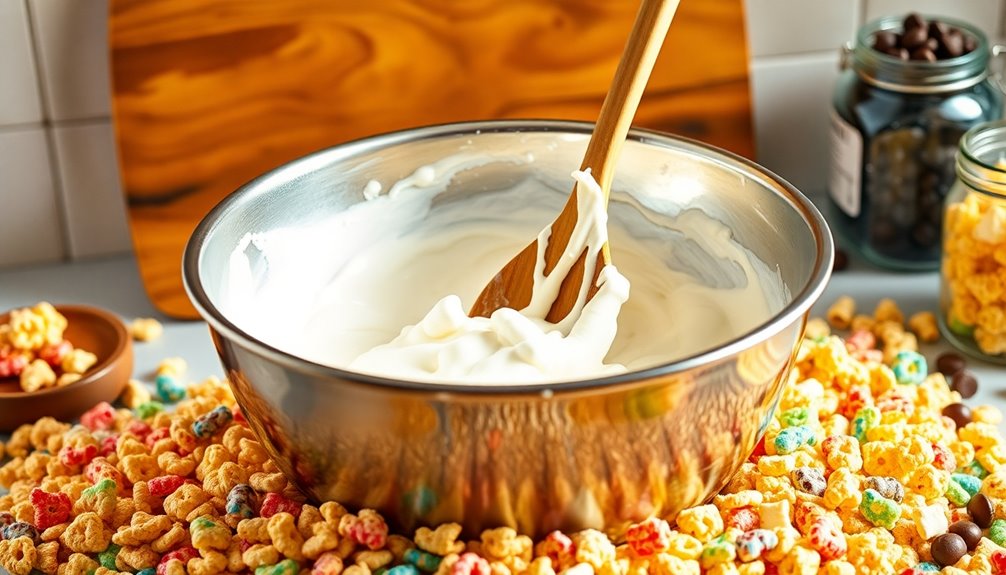
Gently fold in 6 cups of Kellogg's® Rice Krispies® cereal to the melted marshmallow mixture, ensuring each piece gets a nice coating.
Stir the Rice Krispies into the mixture evenly, taking care not to crush them. It's important to mix gently but thoroughly, so each piece is covered in the gooey goodness. A buttered spatula can help you achieve this, making it easier to incorporate the cereal without damaging it.
Once everything is well mixed, you'll want to ensure there are no dry spots. This step is crucial for the perfect texture in your treats.
Step 4. Press Mixture Into Pan
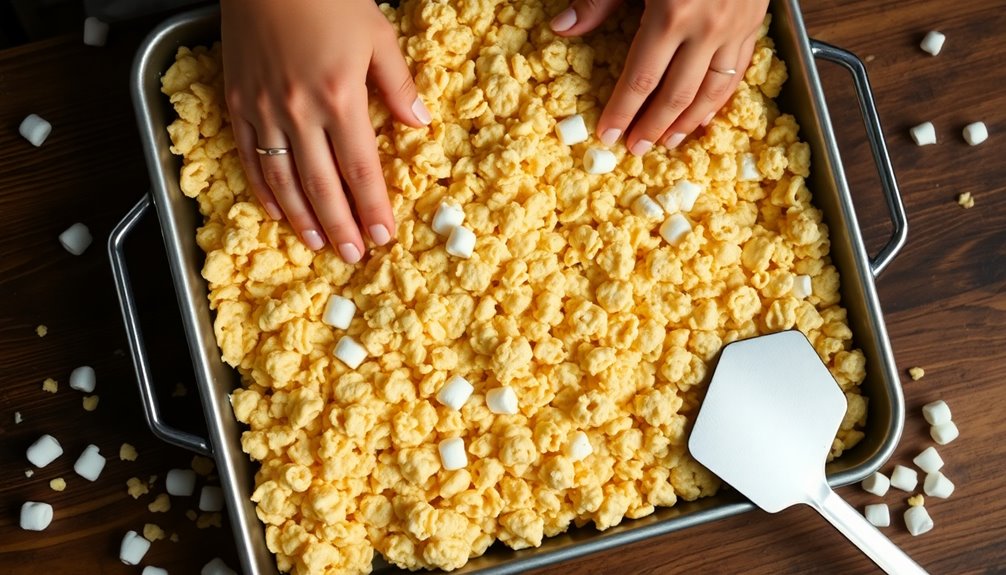
Once you've thoroughly mixed the Rice Krispies with the melted marshmallow and butter, it's time to transfer the mixture into a buttered 9×13-inch pan.
Grab a buttered spatula or a piece of waxed paper to help you press the mixture into the pan. Start by gently but firmly pressing the mixture down, ensuring it's evenly spread across the surface.
This step is crucial; if you compact it too much, your Rice Krispie Treats could end up hard. Make sure to smooth out the edges for a uniform look.
Once you're satisfied with how it looks, let the pressed mixture cool at room temperature for about 20 minutes before moving on to cutting.
Step 5. Cool and Cut Into Squares
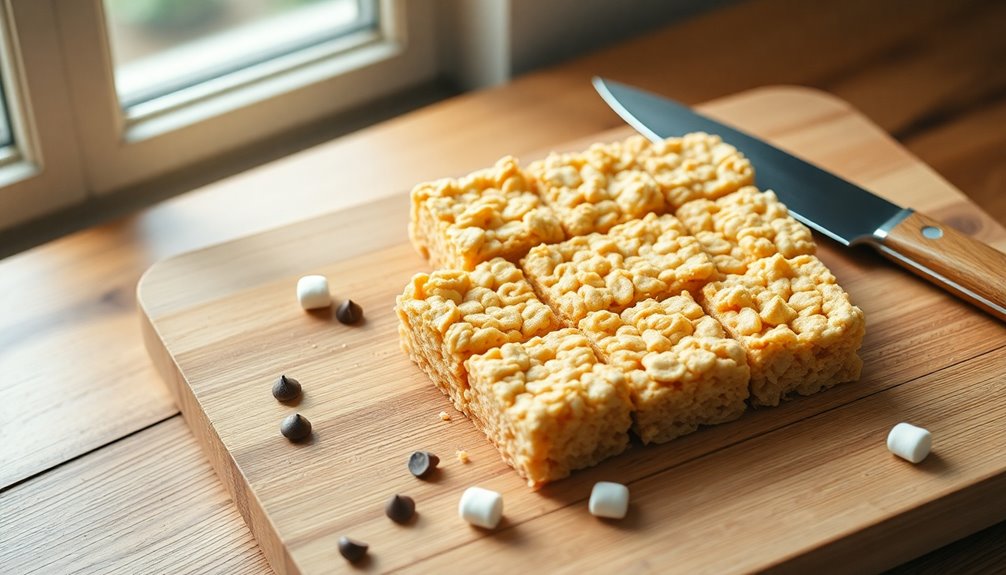
After allowing the Rice Krispie mixture to cool at room temperature for about 20-30 minutes, you can begin cutting it into squares.
Use a buttered spatula or waxed paper to press down the mixture firmly in the pan, which helps it hold its shape when you cut into squares.
To achieve clean edges, grab a sharp knife and lightly grease it to prevent sticking. Cut 2-inch squares for easy serving and enjoyment.
Once you've cut your treats, it's best to store them in an airtight container to maintain their texture and prevent them from becoming hard or sticky.
While they're delicious fresh, these treats are best served the same day for optimal taste and texture.
Enjoy!
Final Thoughts

While Rice Krispie Treats may seem simple, they hold a special place in many hearts due to their nostalgic charm and versatility.
These treats are incredibly easy to whip up, making them a go-to dessert for families and gatherings. With just butter, marshmallows, and Rice Krispies, you can create a delightful base, then get creative by adding chocolate chips, peanut butter, or seasonal decorations.
To keep your treats fresh, store them in an airtight container for up to five days in the fridge, or freeze them for up to six weeks.
No matter how you make them, Rice Krispie Treats can be tailored to suit your taste, ensuring they remain a cherished favorite for everyone. Enjoy!