To make a classic red velvet cake, gather 2 ½ cups of flour, 1 ½ cups of sugar, 1 cup of vegetable oil, and 1 cup of buttermilk. You'll also need 2 large eggs, 2 tablespoons of red food coloring, 2 tablespoons of cocoa powder, baking soda, vinegar, and vanilla. Preheat your oven to 350°F and mix dry and wet ingredients in separate bowls. Combine them, pour the batter into greased pans, and bake for 25-30 minutes. For frosting, cream together 8 oz of cream cheese and butter, add powdered sugar, and top your cake. There's so much more to explore!
Key Takeaways
- Preheat oven to 350°F (175°C) and prepare two 9-inch round cake pans by greasing and flouring them.
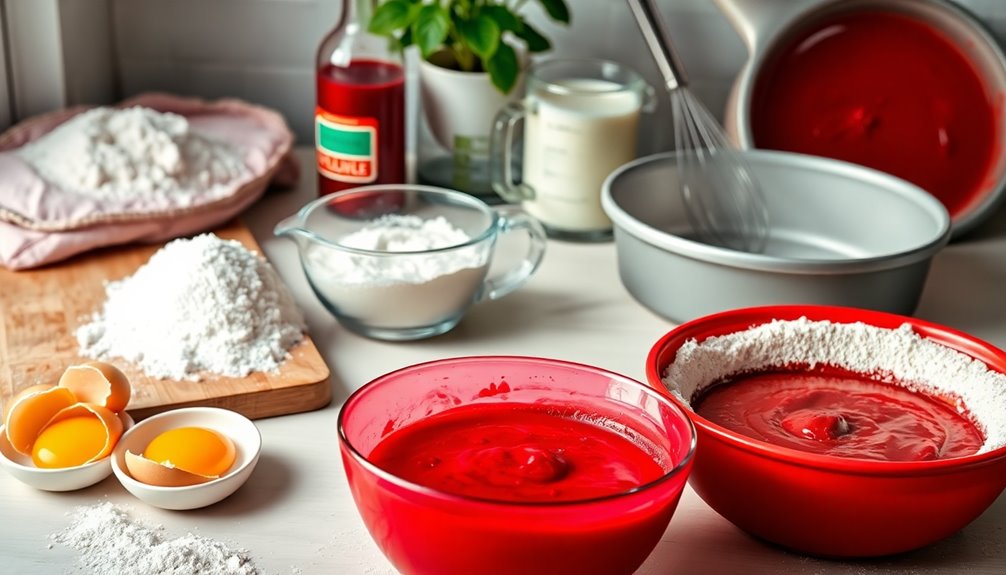
- Mix dry ingredients (flour, sugar, cocoa powder, baking soda, and salt) in one bowl and wet ingredients (buttermilk, eggs, oil, food coloring, vinegar, and vanilla) in another.
- Gradually combine the wet mixture into the dry ingredients until just mixed, then evenly distribute the batter into the prepared pans.
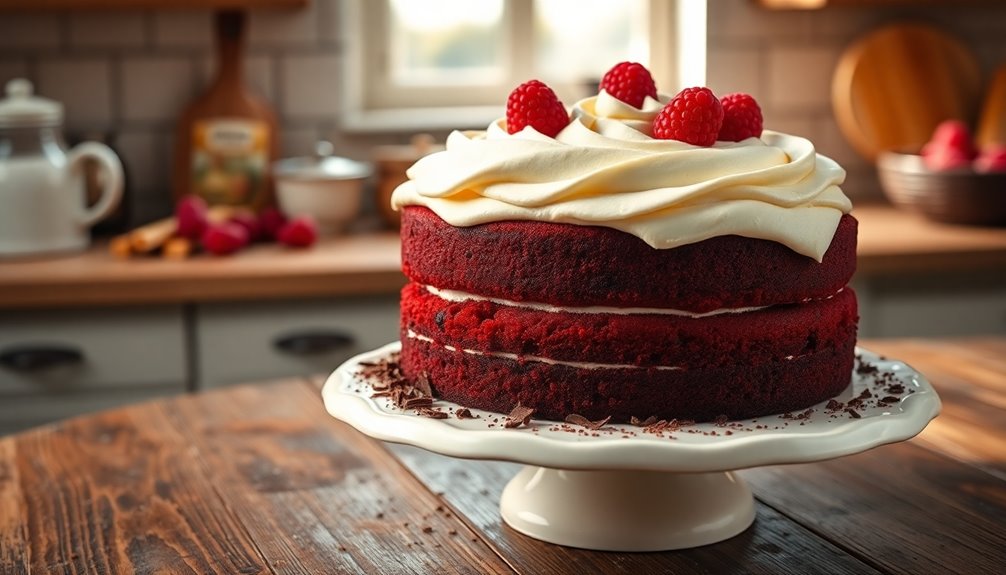
- Bake for 25-30 minutes, then cool the cakes before frosting with cream cheese frosting made from cream cheese, butter, powdered sugar, and vanilla extract.
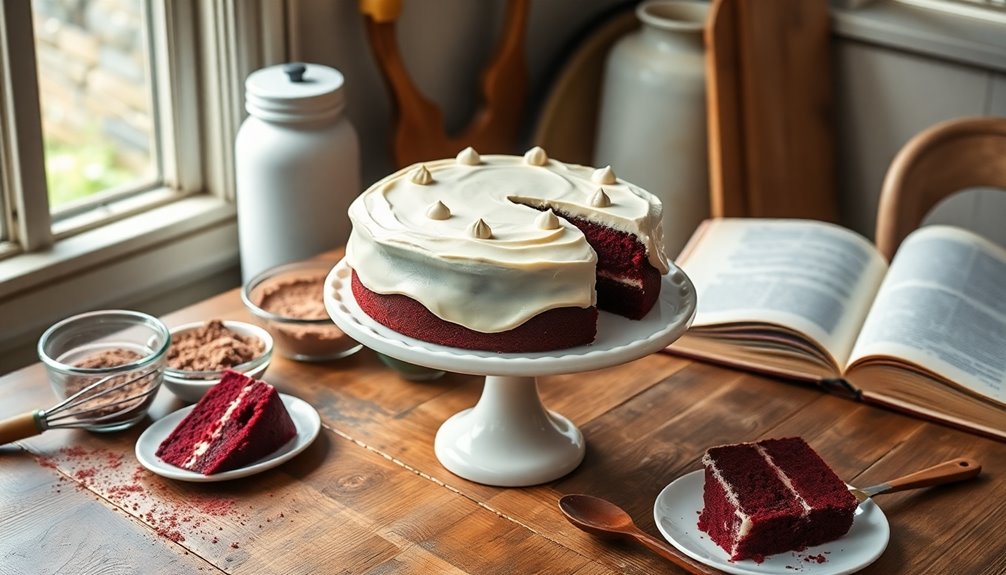
- Serve at room temperature, optionally garnished with chocolate shavings or fresh berries for added visual appeal.
Top picks for "velvet cake recipe"
Open Amazon search results for this keyword.
As an affiliate, we earn on qualifying purchases.
History
The history of red velvet cake is as rich and vibrant as its color, tracing back to the early 20th century.
You might be surprised to learn that its origins are debated, with some claiming it emerged from the kitchens of the Waldorf-Astoria Hotel in New York City. Others point to the Southern United States, where it became a staple at special occasions.
The cake's distinctive hue was initially a result of cocoa powder reacting with acidic ingredients, but food coloring later became a popular addition.
As you explore its past, you'll notice how red velvet cake has evolved, becoming a symbol of celebration and indulgence, gracing countless tables during holidays and weddings, cherished for its unique taste and striking appearance.
Recipe
Red velvet cake is a classic dessert known for its striking red color and rich, velvety texture. This cake is often paired with a tangy cream cheese frosting that perfectly complements its sweetness. Traditionally served during special occasions, its deep flavor and eye-catching appearance make it a favorite among many.
The unique combination of cocoa powder and buttermilk gives the cake its distinctive taste, while the red hue is achieved through the addition of red food coloring.
Making red velvet cake from scratch is a delightful experience that yields a moist and tender crumb. Whether you're baking for a birthday, anniversary, or simply to satisfy your sweet tooth, this recipe will guide you through the process. Once you master this cake, you'll want to share it with friends and family, as it's sure to impress with its flavor and presentation.
Ingredients:
- 2 ½ cups all-purpose flour
- 1 ½ cups granulated sugar
- 1 teaspoon baking soda
- 1 teaspoon salt
- 1 teaspoon cocoa powder
- 1 ½ cups vegetable oil
- 1 cup buttermilk, at room temperature
- 2 large eggs, at room temperature
- 2 tablespoons red food coloring
- 1 teaspoon vanilla extract
- 1 teaspoon white vinegar
Instructions:
Preheat your oven to 350°F (175°C) and grease and flour two 9-inch round cake pans.
In a large mixing bowl, sift together the flour, sugar, baking soda, salt, and cocoa powder. In another bowl, mix the vegetable oil, buttermilk, eggs, red food coloring, vanilla extract, and vinegar until well combined.
Gradually add the dry ingredients to the wet mixture, stirring until just combined. Divide the batter evenly between the prepared cake pans and bake for 25 to 30 minutes, or until a toothpick inserted into the center comes out clean.
Allow the cakes to cool in the pans for 10 minutes before transferring them to a wire rack to cool completely.
Extra Tips:
To achieve the best results, verify that all your ingredients are at room temperature, as this will help create a smoother batter and a more even bake.
When mixing, be careful not to overmix the batter, as this can lead to a denser cake. For added flavor, consider using a splash of almond extract in addition to the vanilla.
Finally, for a striking presentation, you can decorate your red velvet cake with chocolate shavings or fresh berries. Enjoy your baking! Additionally, consider pairing your red velvet cake with a delightful spiced fig coffee cake recipe for a complementary dessert option that will impress your guests. The warm spices and rich flavors of the coffee cake will provide a perfect contrast to the decadent sweetness of the red velvet. Whether served together at a gathering or enjoyed separately, these treats will elevate your baking experience to new heights!
Cooking Steps

Now that you've got your ingredients ready, it's time to start cooking your red velvet cake.
First, you'll want to preheat your oven to 350°F to get it nice and hot.
Then, let's mix the dry ingredients together before moving on to the wet ones.
Step 1. Preheat the Oven to 350°F
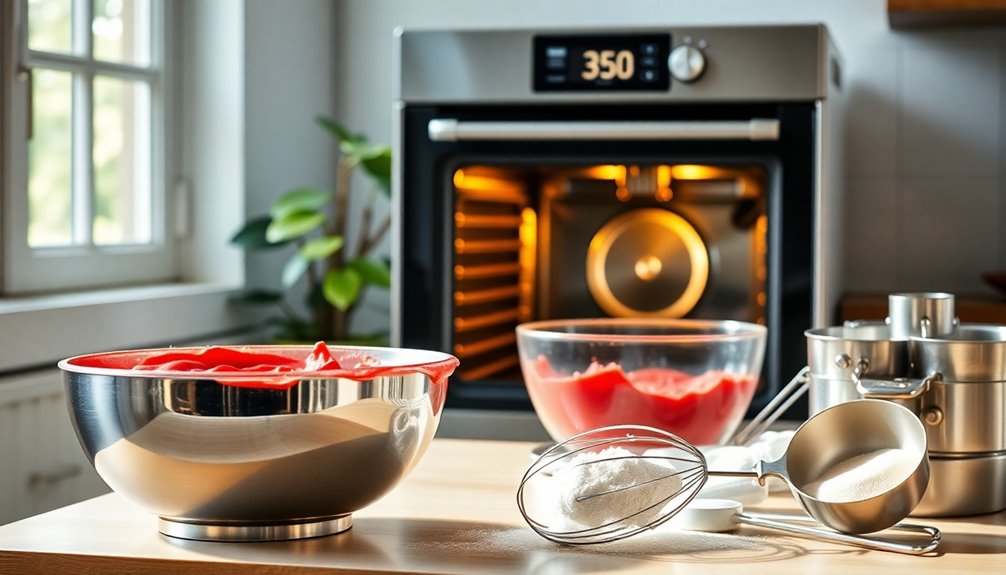
Before diving into mixing your ingredients, preheating your oven to 350°F is essential for achieving that perfect red velvet cake.
You want to make certain your oven reaches the right temperature before you place your cake in. This guarantees even baking, allowing your cake to rise beautifully and develop that signature texture.
Start by turning on your oven and adjusting the temperature dial to 350°F. If your oven has a digital display, just punch in the temperature and wait for it to heat up.
Keep an eye on the oven light or listen for the preheat beep, so you know when it's ready.
Once your oven reaches 350°F, you'll be all set to begin mixing your delicious cake batter!
Step 2. Mix Dry Ingredients Together
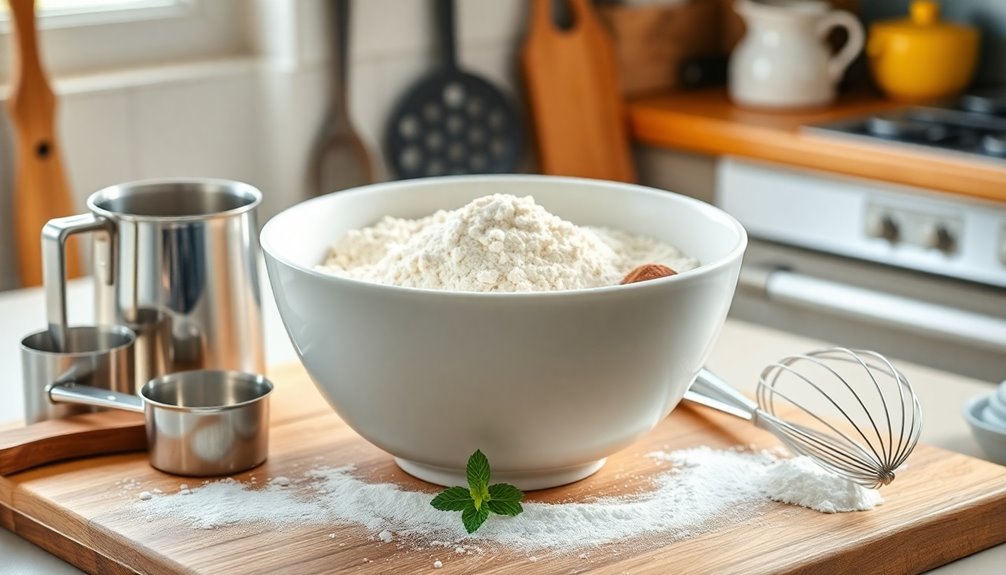
With your oven preheated to 350°F, it's time to gather your dry ingredients.
Start by measuring two cups of all-purpose flour and sifting it into a large mixing bowl. Then, add one and a half cups of granulated sugar, one tablespoon of cocoa powder, and a teaspoon of baking soda.
Don't forget to include half a teaspoon of salt for flavor. Whisk these ingredients together to guarantee they're well combined and free of lumps.
The cocoa powder will give your cake a rich color and flavor, while the baking soda helps it rise. Once everything's mixed, set the bowl aside.
You're now ready to move on to the next step in creating your delicious red velvet cake!
Step 3. Add Wet Ingredients Gradually

To create a moist and flavorful red velvet cake, gradually add your wet ingredients to the dry mixture.
Start by combining buttermilk, eggs, and vegetable oil in a separate bowl. Confirm everything is well-blended for an even consistency.
Then, slowly pour this mixture into your dry ingredients, stirring gently as you go. It's crucial to mix just until combined; overmixing can lead to a tough texture.
If you notice any dry pockets, gently fold them in without vigorous stirring. This method guarantees that the batter remains light and airy, which contributes to the cake's overall texture.
Once combined, you'll be ready to move on to the next step in your red velvet cake journey!
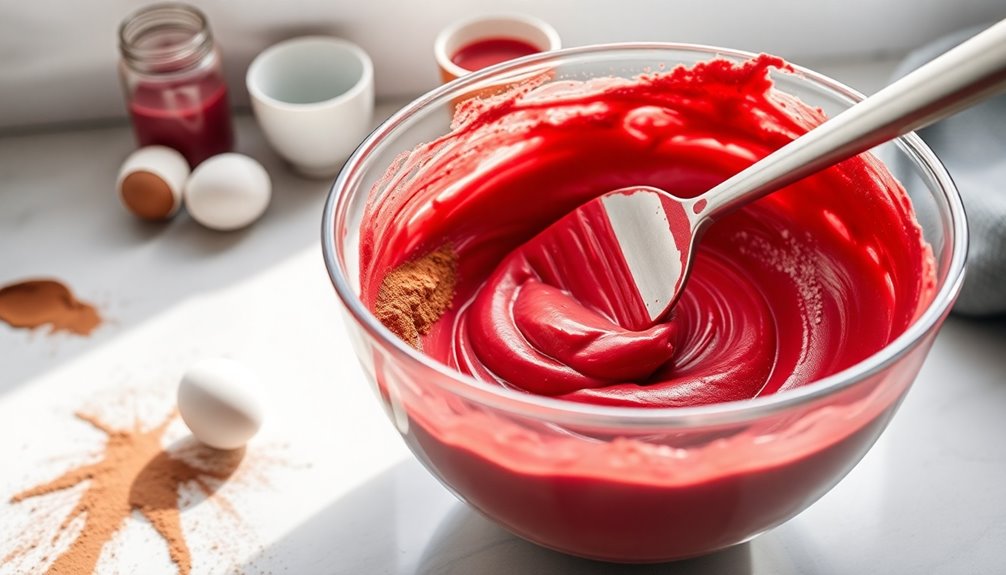
Step 4. Incorporate Food Coloring Thoroughly

As you blend your wet ingredients into the dry mixture, it's essential to incorporate the food coloring thoroughly to achieve that iconic red hue.
Start by adding the food coloring to your wet ingredients before mixing. This guarantees even distribution throughout the batter.
Use a whisk or spatula to combine everything, making sure to scrape the sides of the bowl to catch any stray color. If you notice uneven patches, don't hesitate to mix a bit longer until the color is uniform.
Remember, the goal is a vibrant, consistent red without streaks. Pay attention to the shade; you can always add more food coloring if needed.
Once you're satisfied with the color, you're ready to move on to the next step!
Step 5. Fold in the Cocoa Powder
Once you've achieved that perfect red color in your batter, it's time to fold in the cocoa powder.
Carefully sift the cocoa into the bowl to prevent clumps from forming. Using a spatula, gently incorporate the cocoa into your batter. You want to maintain that vibrant color, so be sure to fold rather than stir vigorously.
This technique helps keep the batter light and airy, ensuring your cake rises beautifully. Continue folding until you see no dry cocoa powder remaining, blending it evenly throughout the mixture.
Once it's all combined, you'll notice the rich chocolate flavor starting to develop. Now you're ready to proceed to the next step and pour your batter into the prepared pans. Enjoy the process!
Final Thoughts
While baking a red velvet cake may seem intimidating at first, it's an incredibly rewarding experience that can elevate any occasion.
You'll find that the vibrant color and rich flavor make it a showstopper at birthdays, anniversaries, or even casual gatherings.
Don't worry if it doesn't turn out perfectly the first time; practice makes progress. With each attempt, you'll refine your technique and adjust flavors to your liking.
Remember, it's about enjoying the process and sharing the results with loved ones.
So, gather your ingredients, put on your apron, and have fun!
You'll not only impress your friends and family but also create a delicious dessert that's bound to become a cherished recipe in your collection.
Happy baking!
Frequently Asked Questions
Can I Use a Gluten-Free Flour for This Recipe?
Absolutely, you can use gluten-free flour in your recipe!
Just make certain to opt for a blend that works well for baking, as it'll help maintain the texture and moisture.
You might also want to add a binding agent, like xanthan gum, to guarantee everything holds together.
Keep in mind that gluten-free flours can alter the flavor slightly, so be prepared for a unique twist in your final dish!
Enjoy experimenting!
What Is the Best Way to Store Leftover Red Velvet Cake?
To store leftover cake, you should wrap it tightly in plastic wrap or aluminum foil to keep it fresh.
If you've got a lot left, consider slicing it first for easier access.
Place the wrapped cake in an airtight container to prevent it from drying out.
You can store it at room temperature for a couple of days, or pop it in the fridge for longer freshness.
Just remember to let it come to room temperature before enjoying!
How Can I Make Red Velvet Cake Less Sweet?
To make your cake less sweet, start by reducing the sugar in the batter. You can cut it by about a quarter without drastically affecting the texture.
Incorporating ingredients like unsweetened cocoa powder or using cream cheese frosting instead of a sweet buttercream can also balance the sweetness.
Adding a pinch of salt enhances flavors, making the sweetness less pronounced.
Experiment a bit, and you'll find the perfect balance that suits your taste!
Can I Substitute Buttermilk With Regular Milk?
Yes, you can substitute buttermilk with regular milk, but it's better to add a little acidity to mimic buttermilk's tang.
Simply mix one cup of regular milk with a tablespoon of vinegar or lemon juice and let it sit for about five minutes. This creates a similar texture and flavor profile to buttermilk.
Just remember that the end result might be slightly different in taste, but it'll still work well in your recipe!
What Does Red Velvet Cake Taste Like Compared to Chocolate Cake?
When you taste red velvet cake, you'll notice its distinct flavor profile. It's rich, slightly tangy, and has a subtle cocoa taste, setting it apart from chocolate cake, which is more intensely chocolatey.
The buttermilk adds a creaminess and depth that enhances the overall experience. You'll also find a hint of vanilla, giving it a unique sweetness.