When you think about making naan, it's essential to consider the balance of ingredients and the method you choose. You'll find that the combination of all-purpose flour, yeast, and yogurt not only creates a delightful texture but also enhances the flavor profile significantly. As you prepare the dough and let it rise, you might wonder about the best cooking techniques to achieve that perfect puff and golden brown exterior. This opens up a world of possibilities, especially when paired with traditional dishes or contemporary twists. What's your next step in perfecting this beloved flatbread?
Key Takeaways
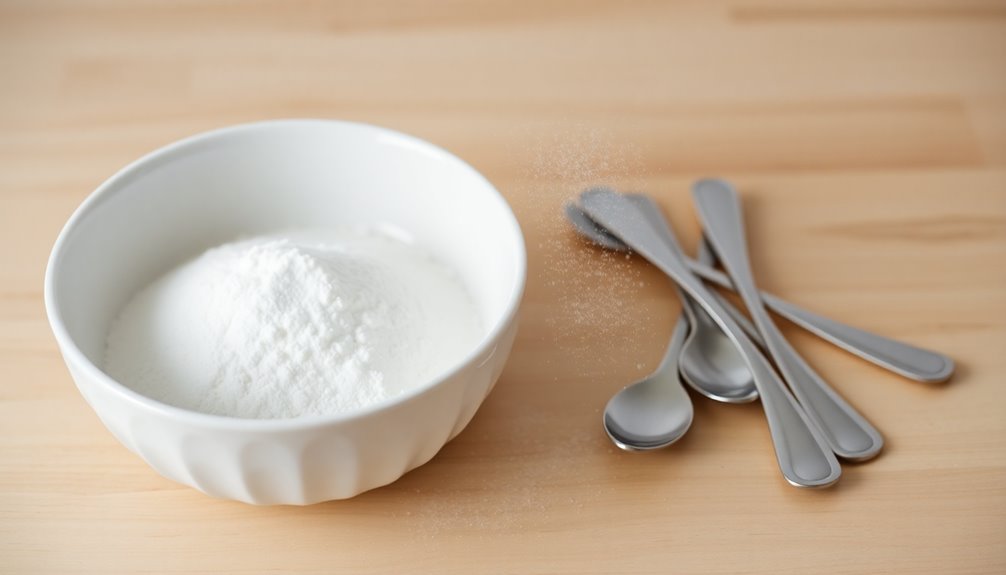
- Naan dough is made using all-purpose flour, active dry yeast, yogurt, sugar, and salt, kneaded to a smooth consistency.
- Let the dough rise for 1-2 hours until it doubles in size, then divide into balls and rest for 15 minutes.
- Roll the dough into oval shapes about ¼ inch thick before cooking.
- Preheat the oven to 500°F or use a tandoor, then cook the naan for 2-3 minutes until puffed and golden brown.
- Brush the cooked naan with melted butter or garlic butter and serve hot with curries or dips.
History

Naan has a rich history that traces its roots back to Persia, where it first emerged as a beloved flatbread before becoming a staple in Indian cuisine.
Traditionally, naan was leavened using a bread starter, but nowadays, you'll often find recipes that call for yeast or other leavening agents like baking powder.
The unique cooking method involves a tandoor oven, where naan is baked at high temperatures, reaching up to 900°F (482°C). This process gives it that signature soft, chewy texture and delightful smoky flavor.
As you explore South Asia, you'll discover various regional variations of naan that showcase local ingredients and distinct flavors.
Other common flatbreads, like chapati and roti, offer their own unique characteristics in Indian cuisine.
Recipe
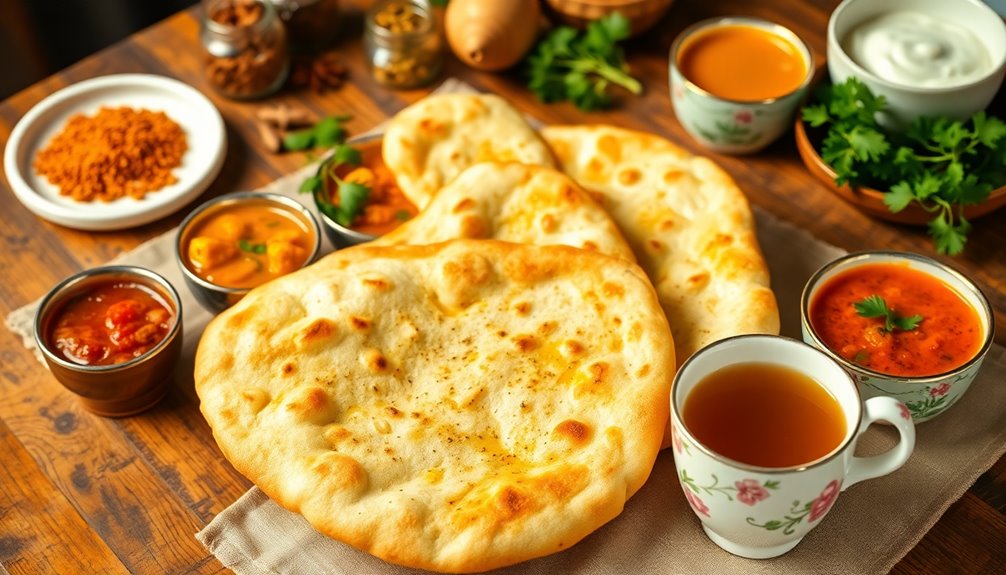
Naan is a delicious and versatile flatbread that hails from the Indian subcontinent. It's traditionally baked in a tandoor, but you can easily replicate the experience at home using a cast iron skillet. This recipe will guide you through making soft, pillowy naan that pairs wonderfully with your favorite curries, stews, or even enjoyed on its own. The use of yogurt in the dough gives naan its characteristic flavor and texture, making it a favorite among many.
Making naan from scratch may seem daunting, but with the right ingredients and a little patience, you can create a delightful bread that will impress your family and friends. This recipe yields six pieces of naan, perfect for sharing. Just remember to allow enough time for the dough to rise, and you'll be on your way to enjoying this traditional bread in no time. Additionally, serving your naan with a cup of herbal tea can enhance the overall dining experience.
Ingredients:
- 2 cups all-purpose flour
- 1 teaspoon active dry yeast
- 1 teaspoon sugar
- 1/2 teaspoon salt
- 1 cup plain yogurt
- Melted butter or garlic butter (for brushing)
Cooking Instructions:
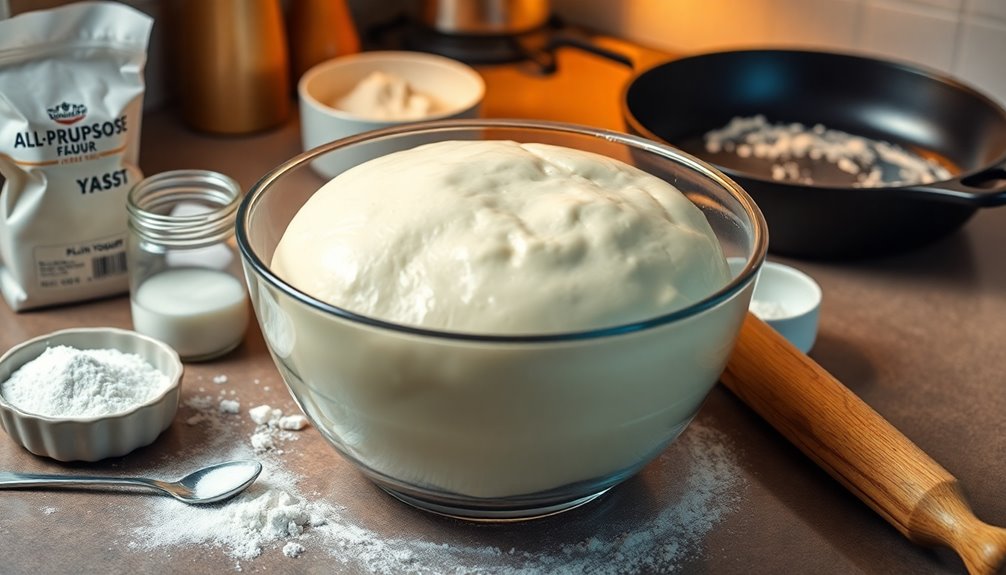
In a large mixing bowl, combine the all-purpose flour, active dry yeast, sugar, and salt. Gradually mix in the plain yogurt until a cohesive dough forms.
Knead the dough for about 3 minutes until it's smooth, then place it in a warm area and let it rise for 1 to 1.5 hours or until it doubles in size.
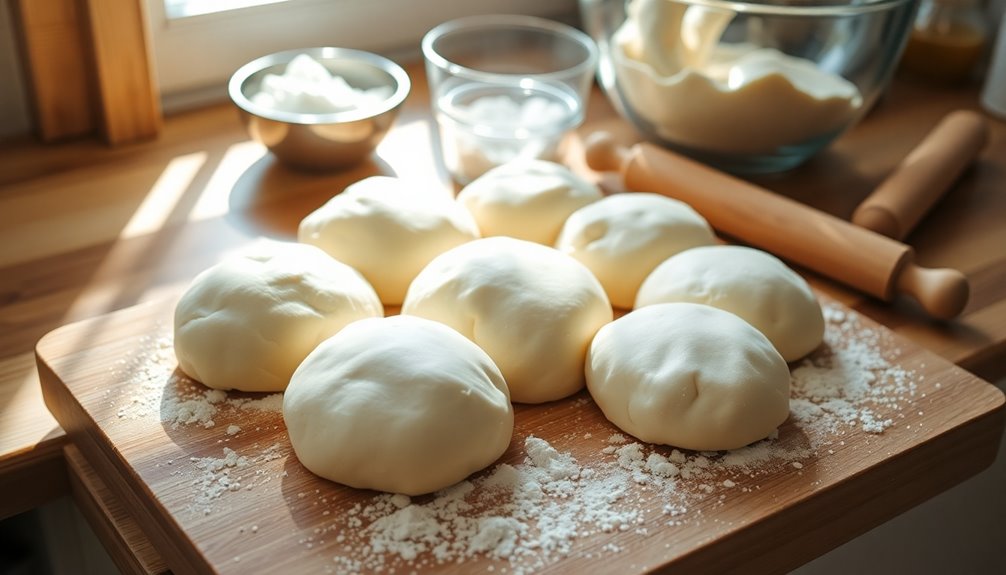
Once risen, divide the dough into 6 equal pieces and shape them into balls. Allow the dough balls to rest for an additional 15 minutes, covered with a cloth.
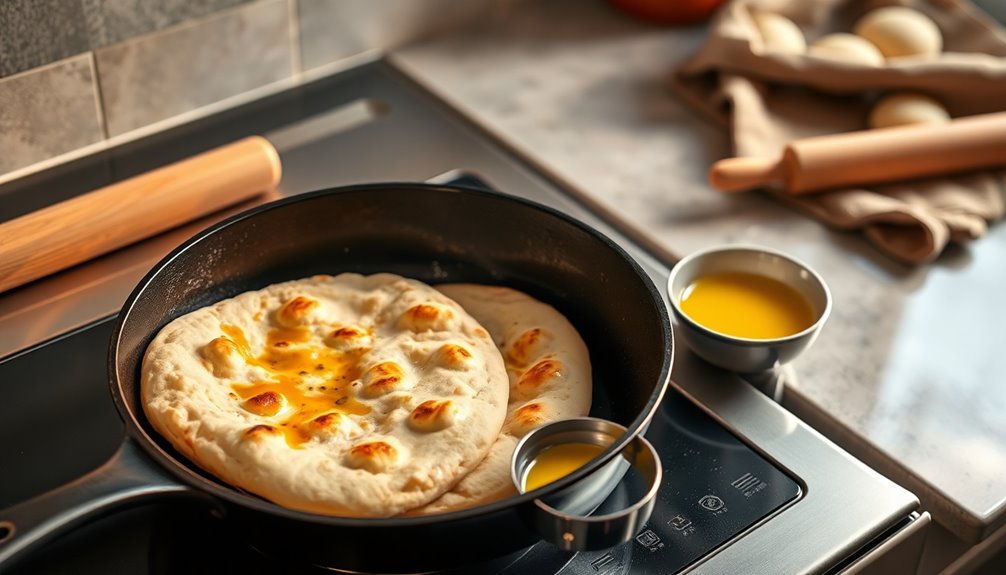
After resting, roll each ball into an oval shape about 1/4 inch thick. Preheat a cast iron skillet over medium-high heat and cook each naan for 2-2.5 minutes on each side, until golden brown and bubbly.
Brush the cooked naan with melted butter or garlic butter immediately after removing it from the skillet for extra flavor.
Extra Tips:
For the best results, ensure that your yogurt is at room temperature before mixing it into the dough; this will help with the rising process.
If you want to experiment with flavors, consider adding minced garlic or herbs to the dough or topping before cooking.
Also, preheating your skillet adequately is crucial for achieving the perfect texture and color on your naan.
If you have any leftovers, they can be stored in an airtight container for a couple of days or frozen for longer storage. Enjoy your homemade naan!
Cooking Steps
To get started on making delicious naan, mix warm water with yeast to activate it.
Then, add flour and salt before kneading the dough until it's smooth and elastic.
After that, let the dough rise for an hour to develop flavor and texture.
Step 1. Mix Warm Water and Yeast

Start by measuring out one cup of warm water, ideally around 110°F (43°C), to activate the yeast effectively.
Next, combine this warm water with a teaspoon of sugar; the sugar feeds the yeast, helping it bloom.
Add the yeast—whether instant or active dry—to the warm water and sugar mixture, then gently stir to combine.
Let the mixture sit for about 5-10 minutes. You'll notice it becoming foamy, which indicates that the yeast is active and ready to use.
This bloomed yeast mixture is crucial for achieving that desired fluffy texture in your naan dough.
Once it's ready, you're one step closer to creating delicious, homemade naan!
Step 2. Add Flour and Salt

Now that your yeast mixture is ready, measure out 2 cups of all-purpose flour and pour it into a large mixing bowl.
Add 1/2 teaspoon of salt to the flour, which enhances the naan's flavor. Mix the flour and salt thoroughly to ensure even distribution.
Once combined, gradually incorporate the wet ingredients into the flour mixture. It's important to combine them well, so the salt and flour blend for consistent flavor throughout the dough.
After mixing, your dough should be sticky but manageable. If it feels too wet or dry, adjust the flour slightly to achieve your desired consistency. This step is crucial for creating that perfect naan texture.
Step 3. Knead Until Smooth and Elastic

Knead the dough for about 8-10 minutes by hand or 5-7 minutes with a stand mixer until it's smooth and elastic.
You'll know you've achieved proper gluten development when the dough looks smooth and shiny. It should feel slightly tacky but manageable; if it sticks too much, add small amounts of flour to keep it free of dry patches.
Focus on folding and stretching the dough during this process, as it helps incorporate air, contributing to a fluffy texture in your naan.
Once you've kneaded the dough thoroughly, cover it with a damp cloth to prevent drying out.
Allow it to rest in a warm spot until it doubles in size, ensuring a perfect base for your naan.
Step 4. Let Dough Rise for 1 Hour

After kneading the dough until it's smooth and elastic, it's time to let it rise.
Place the dough in a warm, draft-free area and cover the dough with a damp cloth or plastic wrap. This helps prevent it from drying out during the rising process.
You'll want to let it rise for about 1 hour, or until it has doubled in size. This is crucial for achieving that desired fluffy texture.
During this time, the active dry yeast in your yeast mixture becomes active, producing carbon dioxide bubbles that create an airy structure.
Keep in mind that rising times can vary based on ambient temperature, so be patient and check if the dough springs back when gently pressed.
Step 5. Shape Into Individual Balls
Once the dough has risen and doubled in size, gently punch it down to release any excess air.
Now, divide the dough into six equal pieces, each around 100 grams. To shape each piece into a smooth ball, tuck the edges into the center and roll it on a lightly floured surface. This technique helps maintain the dough's moisture and elasticity.
Once you've shaped all the balls, lightly flour them again to prevent sticking. Cover the dough balls with a tea towel to let them rest for 15 minutes.
This resting period is essential for easier rolling later on, ensuring your naan turns out perfectly soft and fluffy.
Final Thoughts
While making naan might seem daunting at first, the rewarding experience of creating this beloved Indian flatbread is well worth the effort.
By following the right recipe and using bread flour, you'll achieve that soft and fluffy texture everyone loves. Don't forget to let your dough rise until it doubles in size, as this is crucial for that signature bubbly appearance.
Cooking naan in a preheated cast iron skillet or tandoor allows you to harness the heat needed for that perfect char.
Brushing your homemade naan with melted butter or garlic butter right after cooking elevates its flavor, making it irresistible alongside your favorite curries.
With proper storage, you can enjoy your naan for days, or even months, later!

In the vast and diverse world of coffee, coffee alternatives, and tea, Olivia has found her calling. As an author and a dedicated coffee and tea aficionado, her work for Cappuccino Oracle reflects her profound love and understanding of the intricate complexities found within these beverages. Olivia’s passion for the subject serves as both a catalyst for her creativity and a connection point with her audience.