You might think of classic scones as just another baked treat, but their role in British culture is far more significant than that. When you pair them with clotted cream and jam, you're not only enjoying a delicious snack but also participating in a centuries-old tradition. The debate over whether to spread the cream first or the jam adds layers to this simple pleasure, reflecting regional pride. As you explore the history and nuances of this beloved dish, you'll discover that there's much more to scones than meets the eye.
Key Takeaways
- Classic scones are best enjoyed fresh, warm from the oven, ideally the same day they are baked.
- Traditional toppings include clotted cream and strawberry jam, enhancing the scone's flavor and texture.
- The order of toppings often sparks debate, with Cornish style placing cream first and Devon style favoring jam first.
- Scones are easy to make with key ingredients like self-raising flour, cold butter, and warmed milk for a fluffy texture.
- For optimal enjoyment, scones can be frozen and reheated, maintaining their delicious taste for later indulgence.
As an affiliate, we earn on qualifying purchases.
History

Scones have a rich history that dates back to Scotland in the 1500s, where they were originally made with oats and cooked on a griddle.
The name "scone" likely comes from the "Stone of Scone," symbolizing Scottish royalty and highlighting its cultural significance.
By the early 19th century, scones gained popularity in England, particularly with the rise of afternoon tea, a tradition started by Anna Maria Russell, the Duchess of Bedford.
This led to the delightful combination of scones with clotted cream and jam, especially in Devon and Cornwall, where a playful debate exists over the proper order of spreading these toppings.
In 2016, the British Food Standards Agency recognized cream tea as part of the UK's cherished cultural heritage.
Recipe

Classic Scones Recipe
Classic scones are a delightful treat, perfect for afternoon tea or any time you crave something comforting and delicious. Their light, fluffy texture and subtle sweetness make them an ideal canvas for a variety of toppings, particularly clotted cream and strawberry jam.
The beauty of scones lies in their simplicity; with just a few key ingredients, you can whip up a batch that will impress your guests and satisfy your cravings. To achieve the perfect rise and texture, it's important to handle the dough gently and avoid overworking it. This ensures that your scones will be airy and tender.
Whether you enjoy them plain or with added flavors like sultanas or lemon zest, these scones will surely become a favorite in your household.
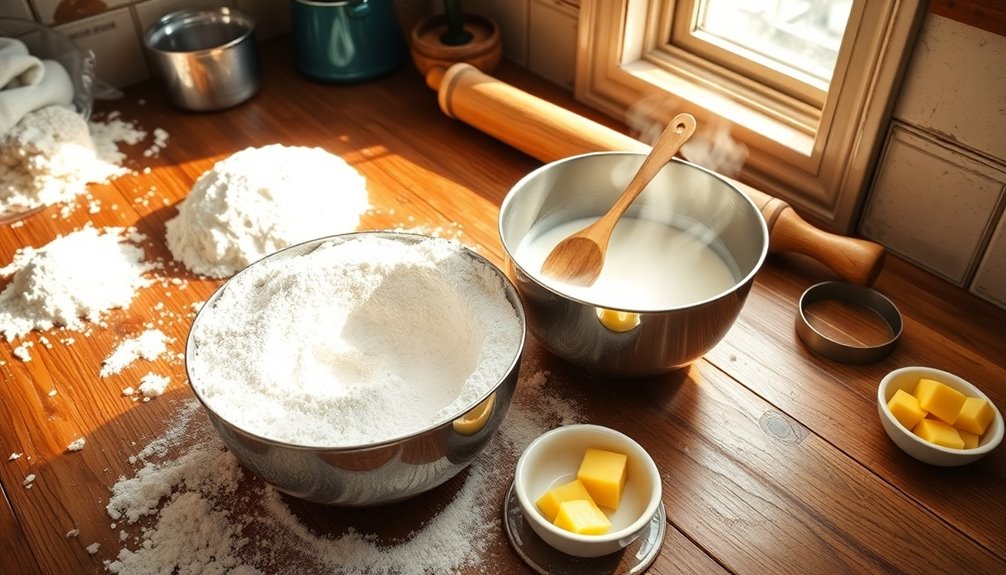
Ingredients:
- 225g self-raising flour
- 1/2 tsp salt
- 1 tsp baking powder
- 50g caster sugar
- 55g cold butter, cubed
- 150ml warm milk
- 1 tsp vanilla extract
- 1 tsp lemon juice
- Beaten egg (for brushing)
Instructions:
Begin by preheating your oven to 220°C (200°C fan/gas 7). In a large bowl, combine the self-raising flour, salt, baking powder, and caster sugar.
Rub in the cold butter until the mixture resembles breadcrumbs. In a separate bowl, mix the warm milk with the vanilla extract and lemon juice. Gradually add the milk mixture to the dry ingredients, stirring gently until a soft dough forms.
Turn the dough out onto a floured surface and shape it into a thick round, then use a floured cutter to cut out scones without twisting the cutter. Place the scones on a baking tray lined with parchment paper, brush the tops with beaten egg, and bake for about 10 minutes until they're golden brown.
Extra Tips:
For the best scones, make sure to use cold butter and handle the dough as little as possible to keep them light and fluffy.
If you want to add extra flavor, consider folding in some sultanas or lemon zest before shaping the dough. Enjoy the scones fresh from the oven for the best taste, and store any leftovers in an airtight container to maintain their texture.
If you have time, serve them warm with clotted cream and strawberry jam for a truly indulgent experience.
Cooking Steps
To start making your classic scones, preheat your oven to 220°C.
Next, mix your dry ingredients thoroughly and cut in cold butter until you achieve a crumbly texture.
Gradually add the milk and shape the dough into rounds for baking.
Step 1. Preheat Oven to 220°C
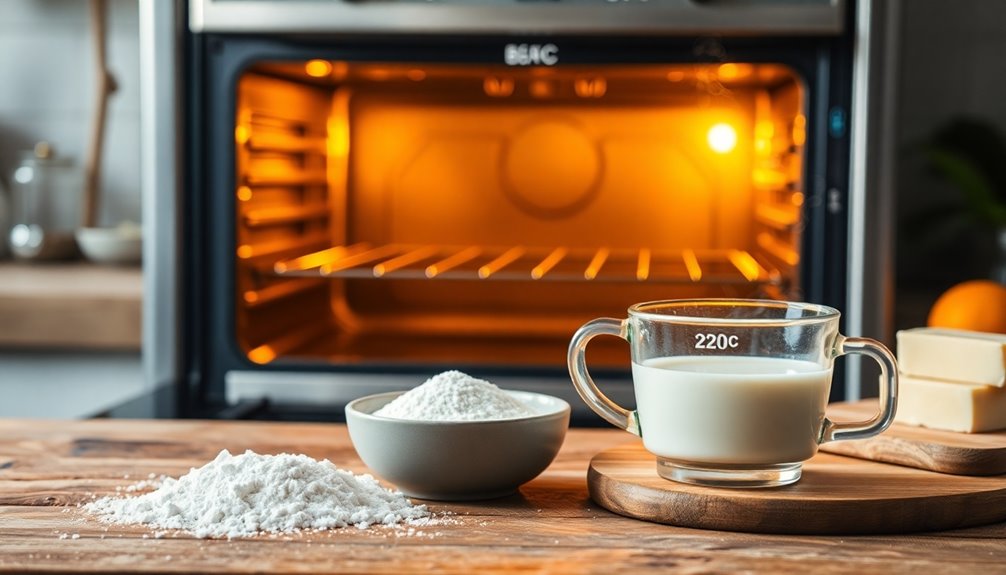
Preheating the oven to 220°C (or 200°C for fan ovens) is crucial for baking perfect scones. A hot oven is essential as it helps the scones rise quickly and achieve that beautiful golden brown color.
While the oven preheats, don't forget to place your baking tray inside. This step gives your scones an extra boost, enhancing their rise.
Allow the oven to fully preheat before you place the scones inside; this ensures even baking throughout.
Once they're in, check the scones after about 10 minutes to see if they've risen and turned golden brown. This attention to optimal baking conditions will help you create scones that are light, fluffy, and utterly delicious.
Step 2. Mix Dry Ingredients Thoroughly
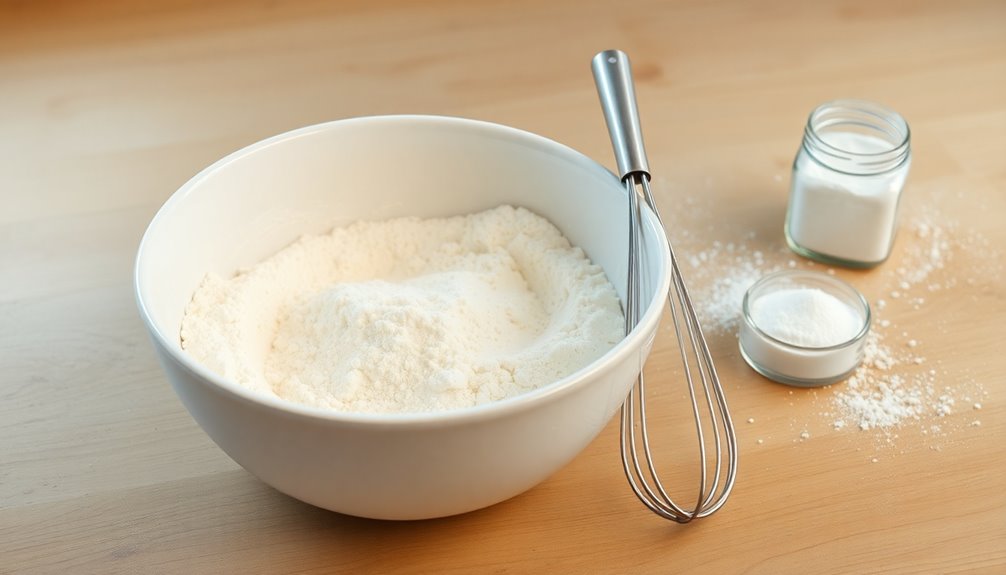
Once your oven's ready, it's time to focus on the dry ingredients. Start by combining self-raising flour, ¼ tsp salt, and baking powder in a bowl. This balanced mixture is essential for your scone recipe's structure.
To ensure your scones rise uniformly, mix thoroughly—this evenly distributes the baking powder. Next, stir in caster sugar to add sweetness, enhancing the flavor.
To achieve a light texture, use a whisk or fork to aerate the flour mixture, preventing clumping. The goal is to ensure all dry ingredients are well-combined before adding wet ingredients.
This step is crucial for creating scones that pair perfectly with clotted cream and sweet jam, making every bite delightful.
Step 3. Cut in Cold Butter

Add cold butter to your flour mixture, and using a pastry cutter or your fingertips, cut it in until the blend resembles coarse crumbs.
This step is essential for achieving a flaky texture in your scones. Make sure the butter is unsalted, as this gives you better control over the overall saltiness, which will be added separately.
Aim for pea-sized pieces of butter throughout the mixture; these will create pockets of steam during baking, promoting lift and flakiness.
Remember, incorporate the cold butter quickly and efficiently to avoid overworking the dough. Overmixing can lead to tough scones instead of the tender ones you desire.
Enjoy the process of crafting these delightful treats!
Step 4. Add Milk Gradually Until Mixed
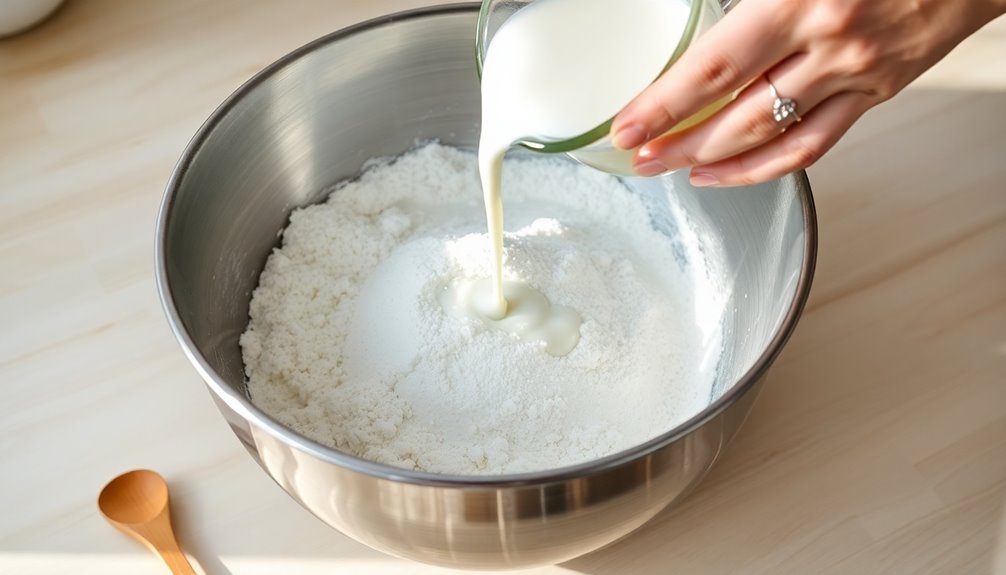
Pour the warmed milk mixture into the well you've created in the dry ingredients.
Now, add milk gradually, mixing gently with a knife or spatula to combine. You want to ensure the dough remains slightly sticky and moist for optimal texture.
Be careful not to overmix; just continue until no dry flour remains. If you feel the dough's too dry, add a little more milk, one tablespoon at a time. This way, you'll achieve the perfect consistency to create those delightful scones that pair beautifully with clotted cream.
Once mixed, transfer the dough promptly to a lightly floured surface to prevent it from becoming overly sticky or tough.
Enjoy the process, and get ready for delicious results!
Step 5. Shape the Dough Into Rounds
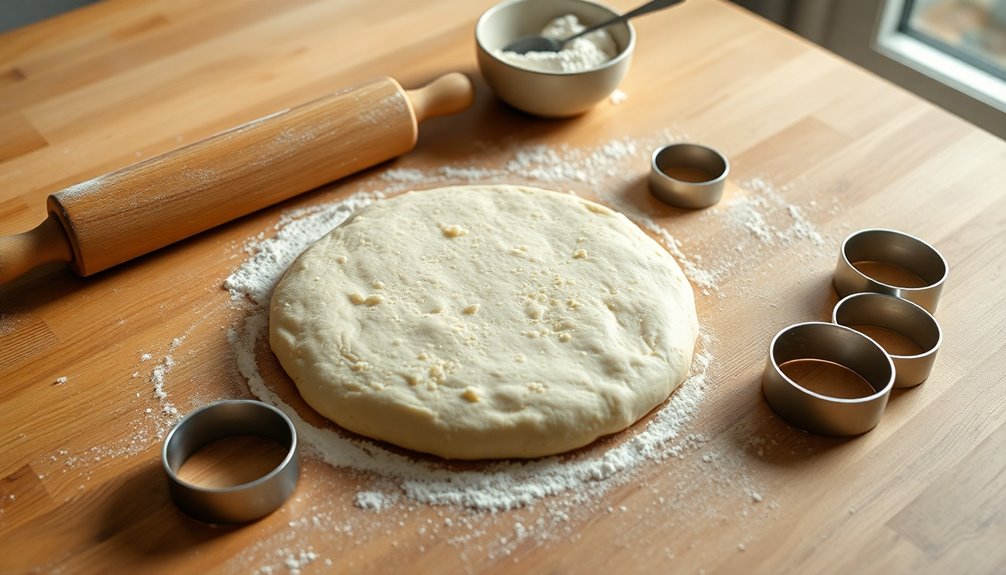
With the dough mixed to perfection, it's time to shape it into rounds. Transfer the sticky dough onto a lightly floured surface, then pat it into a round about 4cm thick.
Grab a smooth-edged biscuit cutter, about 5cm in diameter, and dip it in flour to prevent sticking. Cut out your rounds without twisting the cutter, as this can hinder their rise.
If you have leftover dough, gently press it together to form more scones. Once you've cut out all the rounds, arrange them on a hot baking tray to ensure they rise beautifully and achieve that golden color.
Serve your scones with clotted cream and jam first, a true classic delight!
Final Thoughts

As you savor your freshly baked scones, it's clear that they represent more than just a delicious treat; they embody a cherished tradition.
Enjoying English scones with jam and clotted cream during Afternoon Tea is a delightful experience that connects you to culinary heritage. The rich texture of clotted cream perfectly complements the light, flaky scones, creating an irresistible combination.
Whether you prefer the Cornish or Devon method, the joy of spreading jam and clotted cream on warm scones is universal.
Remember, freshly baked scones are best enjoyed the same day they're made, but you can freeze them once cool for later indulgence.
No matter how you customize them, the classic pairing remains the most beloved choice. Enjoy every bite!