
To make a luscious chocolate mousse, start by melting 200g of dark chocolate in a double boiler. Separate 3 large eggs, whipping the whites until stiff peaks form. Beat the yolks with 2 tablespoons of sugar until creamy. Gently fold the melted chocolate and 1 cup of whipped cream into the yolk mixture. Finally, combine everything delicately to keep its light texture. Chill in the fridge for at least 2 hours. Serve it in individual dishes, garnished with fresh berries or a mint leaf for a stunning finish. If you're keen to explore more tips and variations, just keep going!
Key Takeaways
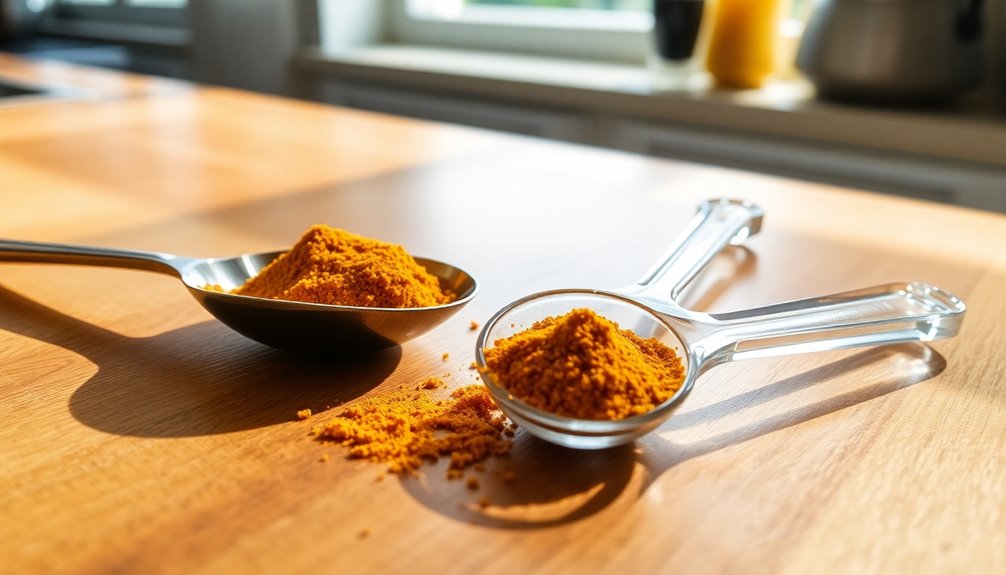
- Melt 200g dark chocolate gently in a double boiler until smooth for rich flavor.
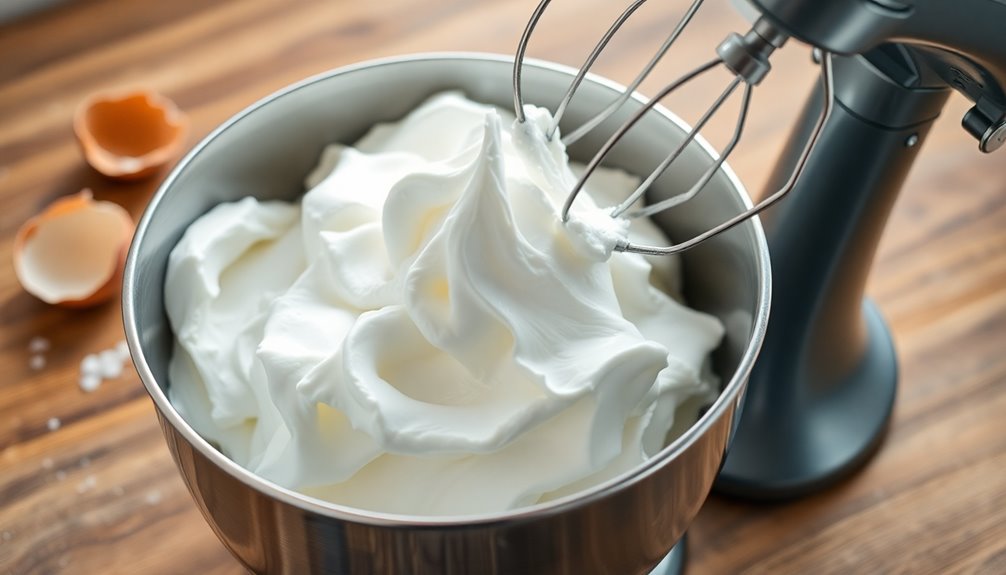
- Whip 3 large egg whites until stiff peaks form for a light texture.
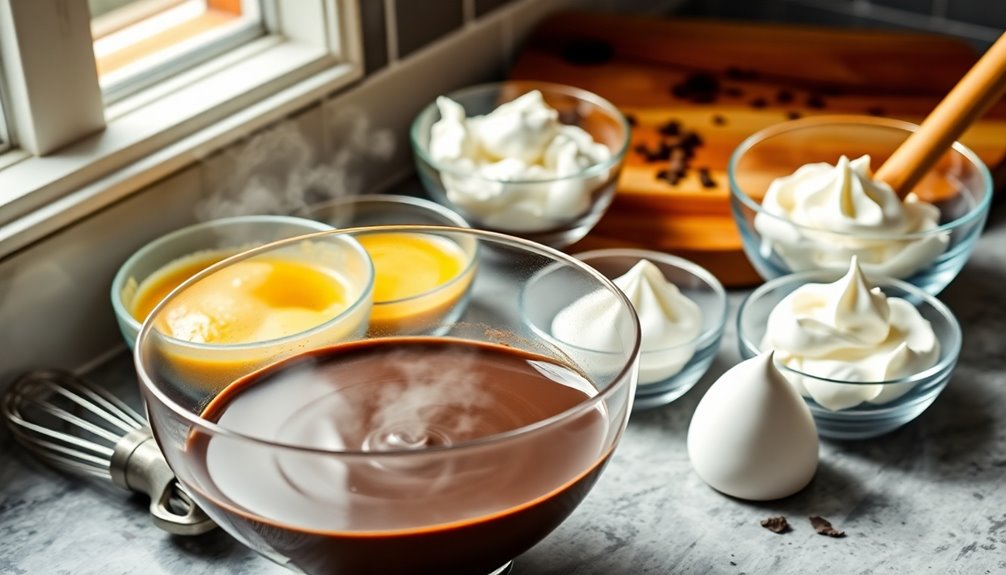
- Beat egg yolks with 2 tablespoons sugar until pale and creamy, then fold in whipped cream and melted chocolate.
- Transfer the mixture into serving dishes and refrigerate for at least 2 hours to set.
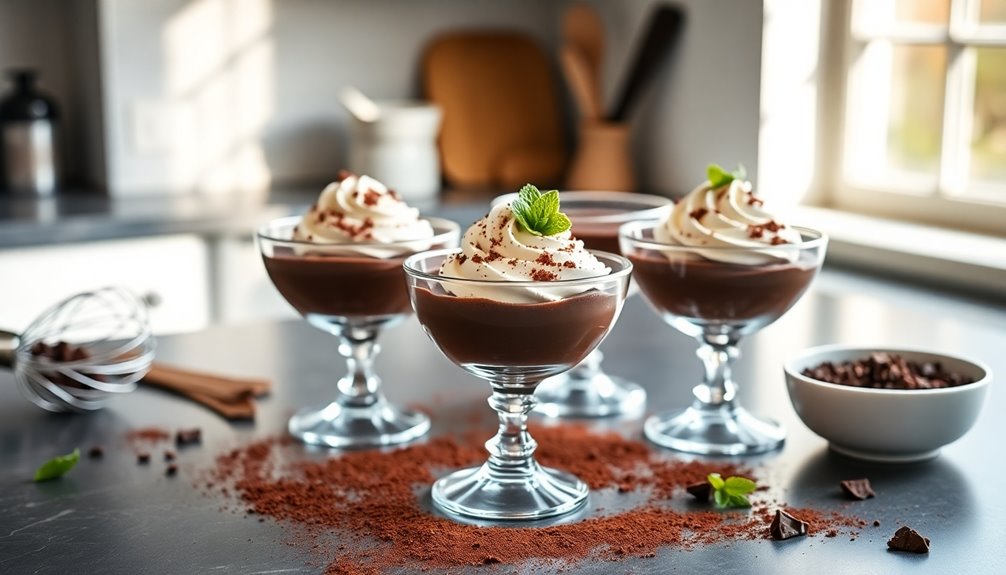
- Garnish with fresh berries or whipped cream for enhanced presentation and flavor.

YUSWKO Beige Handheld Milk Frother Wand for Coffee, Rechargeable Electric Whisk with 3 Heads 3 Speeds Drink Mixer Coffee Frother For Latte, Cappuccino, Hot Chocolate, Egg
☕【Environmentally friendly】Say goodbye to disposable batteries! Our milk frother adopts a USB charging design, which is more environmentally...
As an affiliate, we earn on qualifying purchases.
History

Chocolate mousse has a fascinating history that dates back to the 18th century when it first emerged as a luxurious dessert in France.
Originally, it was a rich, whipped chocolate mixture enjoyed primarily by the elite. You might find it interesting that the term "mousse" derives from the French word for "foam," reflecting its light, airy texture.
As time went on, recipes evolved, incorporating various ingredients like eggs and cream to enhance its flavor and consistency.
By the 19th century, chocolate mousse became popular across Europe, making its way into cafes and homes alike.
Today, it's a beloved treat worldwide, enjoyed at celebrations, dinner parties, or simply as a sweet indulgence.
Its rich history adds to the delight of savoring each spoonful.

Zulay Kitchen Powerful Milk Frother Wand With 2 Duracell Batteries - Ultra Fast Handheld Drink Mixer - Electric Whisk Foam Maker for Coffee, Lattes, Cappuccino, Matcha, Hot Chocolate & Creamer - Black
MAKE RICH, CREAMY FROTH IN SECONDS: We coffee lovers are serious when it comes to our coffee. The...
As an affiliate, we earn on qualifying purchases.
Recipe

Chocolate mousse is a luxurious and indulgent dessert that's perfect for any occasion. This creamy, airy treat is made with high-quality chocolate, eggs, and a touch of cream, creating a rich yet light texture that melts in your mouth. Whether you're planning a dinner party, celebrating a special event, or just treating yourself, chocolate mousse is sure to impress.
Making chocolate mousse is surprisingly simple, requiring only a few ingredients and minimal effort. The key to achieving a light and fluffy texture lies in incorporating air into the mixture, which is done by whipping the cream and egg whites separately. This recipe will guide you through the process, ensuring that you create a delightful dessert that everyone will love.
Ingredients:
- 200g dark chocolate (70% cocoa)
- 3 large eggs, separated
- 2 tablespoons sugar
- 1 cup heavy cream
- 1 teaspoon vanilla extract
- A pinch of salt
To make the chocolate mousse, start by melting the dark chocolate in a heatproof bowl over a pot of simmering water, making sure the bowl doesn't touch the water. Once melted, remove from heat and let it cool slightly.
In a separate bowl, whisk the egg yolks with the sugar until pale and creamy, then stir in the melted chocolate and vanilla extract. In another bowl, whip the heavy cream until soft peaks form, and gently fold it into the chocolate mixture.
In yet another bowl, beat the egg whites with a pinch of salt until stiff peaks form, then carefully fold them into the chocolate mixture until fully combined. Spoon the mousse into serving dishes and refrigerate for at least 2 hours before serving.
For the best chocolate mousse experience, use high-quality chocolate, as it considerably enhances the flavor. Make sure to separate the egg whites and yolks carefully, as any yolk in the whites can prevent them from whipping properly. Additionally, allow the chocolate to cool slightly before mixing it with the egg yolks to avoid cooking them.
You can also customize your mousse by adding flavors like espresso, orange zest, or a splash of liqueur for an extra twist.

SIMPLETaste Milk Frother Handheld Battery Operated Electric Foam Maker, Drink Mixer with Stainless Steel Whisk and Stand for Cappuccino, Bulletproof Coffee, Latte
Make Creamy Froth Quickly: If you love your morning coffee filled with froth and foam, the portable Handheld...
As an affiliate, we earn on qualifying purchases.
Cooking Steps
Now that you have your ingredients ready, it's time to get cooking!
You'll start by melting the dark chocolate gently, then whip the egg whites until they're stiff.
After that, you’ll fold in the whipped cream to create that light, airy texture that makes chocolate mousse so irresistible. Make sure to gently incorporate the whipped cream using a spatula, being careful not to deflate the mixture. This step is crucial for achieving that perfect balance of richness and fluffiness that defines a classic mousse. For those looking for guidance, the whipped cream cooking instructions will help ensure you achieve the ideal consistency for your dessert.
Step 1. Melt Dark Chocolate Gently
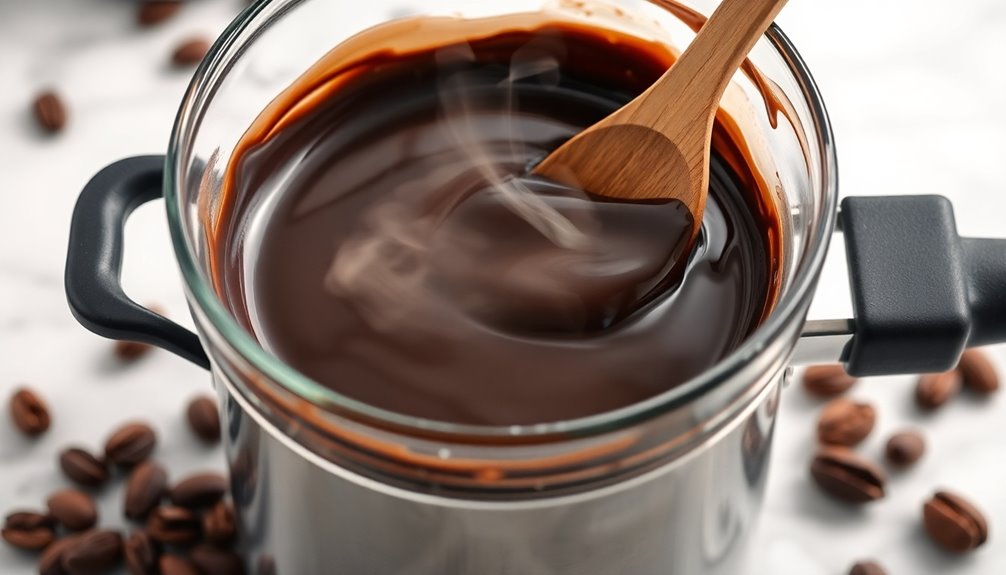
To achieve a smooth and silky chocolate mousse, melting dark chocolate gently is essential. Start by breaking your chocolate into small, even pieces to guarantee it melts uniformly.
You can use a double boiler or a microwave for this task. If you opt for the microwave, heat the chocolate in short bursts of 15 to 20 seconds, stirring in between to prevent overheating.
If you're using a double boiler, place the chocolate in a heatproof bowl over simmering water, stirring frequently. Keep the heat low and be patient; this process helps retain the chocolate's rich flavor and glossy texture.
Once melted, let it cool slightly before incorporating it into your mousse mixture for the best results. Enjoy your silky creation!
Step 2. Whip Egg Whites Stiffly
Begin by cracking your eggs and separating the whites from the yolks, ensuring no yolk sneaks into the whites.
Place the egg whites in a clean, dry mixing bowl. Using an electric mixer, start beating the whites on medium speed until they become frothy. Gradually increase the speed to high and continue beating until soft peaks form. This means that when you lift the beaters, the peaks should gently fold over.
Next, add a pinch of salt and a tablespoon of sugar, then beat until stiff peaks form. The egg whites should stand up straight when you lift the beaters.
This process is essential for a light and airy mousse, so take your time to achieve the perfect texture.
Step 3. Fold in Whipped Cream

Gently fold the whipped cream into the stiff egg whites, taking care not to deflate the mixture.
Use a spatula to scoop from the bottom and lift the mixture over itself. This technique guarantees you maintain the airy texture essential for a light mousse.
Continue this motion, rotating the bowl as you go, until no streaks remain. You want a uniform, creamy blend that still holds some volume.
Be patient; it might take a minute or two to achieve the perfect consistency. If you over-mix, the mousse will lose its fluffiness.
Once combined, you'll notice the mixture is light and smooth, setting the stage for the next steps in creating your delicious chocolate mousse.
Enjoy the process!
Step 4. Chill Mousse Before Serving
After you've folded in the whipped cream, the next step is chilling the mousse.
Transfer the mixture into individual serving dishes or a large bowl. Cover them tightly with plastic wrap to prevent any odors from the fridge from affecting the mousse's delicate flavor.
Place the dishes in the refrigerator and let them chill for at least two hours. This allows the mousse to set properly, developing its rich texture and flavor.
If you're short on time, you can chill it for a minimum of one hour, but longer is better for best results. Just be sure to keep an eye on it so it doesn't freeze.
Once chilled, your mousse will be ready to impress!
Step 5. Serve With Fresh Berries

To elevate your chocolate mousse experience, consider serving it with fresh berries. The tartness of berries like raspberries, strawberries, or blueberries beautifully contrasts the rich, creamy texture of the mousse.
Start by washing the berries thoroughly and patting them dry with a paper towel. For an artistic touch, slice larger berries in half and arrange them on top of the mousse in individual serving dishes.
You can also create a vibrant berry compote by gently cooking the berries with a dash of sugar and a squeeze of lemon juice—this adds a delightful sauce to drizzle over your mousse. Pairing it with Dirt Cups can provide a fun contrast in dessert styles, enhancing your dessert spread.
Finally, garnish with a mint leaf for color. Enjoy this perfect pairing to impress your guests!
Casimhu 4-in-1 Milk Frother, Electric Milk Frother and Steamer with LED Touch Screen, Ceramic Lining Bottom, Milk Warmer 13.52oz for Lattes, Cappuccinos, and Macchiatos at Home, White
Coffeehouse Style at Home: Our 4-in-1 milk frother gives you thick, light, cold, or warm foam with a...
As an affiliate, we earn on qualifying purchases.
Final Thoughts

Making chocolate mousse is a delightful experience that combines simple ingredients with a touch of culinary magic.
When you whip up this treat, you're not just creating a dessert; you're crafting a moment of indulgence. Whether it's for a special occasion or just a cozy night in, this mousse is sure to impress.
Remember, the key to a great mousse lies in the quality of your chocolate and the technique used to fold in the whipped cream.
Don't hesitate to experiment with flavors like orange zest or coffee for a unique twist. Serve it chilled, and enjoy the rich, velvety texture that melts in your mouth.
You'll find that chocolate mousse isn't just a dessert; it's an experience worth savoring.
Frequently Asked Questions
Can I Use Dark Chocolate Instead of Milk Chocolate?
Yes, you can definitely use dark chocolate instead of milk chocolate!
Dark chocolate will give your dish a richer, more intense flavor. Just keep in mind that it's less sweet, so you might want to adjust the sugar in your recipe.
If you love a deeper taste, dark chocolate is a great choice. Experiment with different cocoa percentages to find the balance that suits your palate best!
Enjoy the process!
How Long Does Chocolate Mousse Last in the Fridge?
If you're wondering how long your dessert will stay fresh, chocolate mousse typically lasts about 3 to 5 days in the fridge.
Make sure you store it in an airtight container to keep it from absorbing other odors.
If you notice any discoloration or off smells, it's best to toss it out.
Enjoy your mousse while it's still creamy and delicious for the best experience!
Is Chocolate Mousse Gluten-Free?
When you're wondering if a dessert is gluten-free, it's important to check its ingredients.
Chocolate mousse typically doesn't contain gluten, as it's primarily made from chocolate, eggs, and cream.
However, always read labels or ask about specific brands, since some may include additives or flavorings with gluten.
If you're making it from scratch, you can guarantee it's gluten-free by using certified gluten-free chocolate and other safe ingredients.
Enjoy your treat worry-free!
Can I Make Chocolate Mousse in Advance?
Yes, you can make chocolate mousse in advance!
It actually benefits from chilling in the fridge for a few hours or even overnight, allowing the flavors to meld beautifully.
Just make sure to cover it tightly with plastic wrap or transfer it to an airtight container to prevent any absorption of odors from your fridge.
When you're ready to serve, just give it a gentle stir and enjoy the creamy delight!
What Can I Substitute for Eggs in Chocolate Mousse?
If you're looking to substitute eggs, you've got a few options. Silken tofu is a great choice; just blend it until smooth.
Aquafaba, the liquid from canned chickpeas, can replace egg whites effectively—three tablespoons equal one egg.
You could also use unsweetened applesauce or mashed bananas for a different texture and flavor.
These alternatives keep your dish creamy and delicious while catering to dietary restrictions. Enjoy experimenting!