
To master the art of stovetop espresso, start with a Moka pot. Fill the bottom chamber with cold, filtered water up to the safety valve. Use freshly roasted Arabica beans, grinding them to a medium-fine consistency. Load the coffee grounds without pressing them down, then securely screw the top and place it on medium heat. Listen for the hissing sound—it means your coffee is brewing. Once the top chamber fills and the hissing stops, you're ready to serve a rich, concentrated brew. Keep exploring the tips and techniques to elevate your stovetop espresso game even further.
Key Takeaways
- Choose high-quality, freshly roasted Arabica beans and use a medium to medium-fine grind for optimal flavor extraction in your Moka pot.
- Fill the bottom chamber with filtered water just below the safety valve for ideal brewing conditions.
- Level the coffee grounds in the filter basket without pressing to avoid bitterness and ensure even extraction.
- Monitor brewing closely; listen for the hissing sound and remove the pot when the top chamber is full and the sound stops.
- Experiment with brewing times and additives like milk or spices to customize your stovetop espresso experience.

CASABREWS CM5418 Espresso Machine 20 Bar, Compact Espresso Maker with Steam Milk Frother, Stainless Steel Coffee Machine with 34oz Removable Water Tank for Cappuccino, Small Latte Machine, Silver
Make Your Favorite Espresso Coffee At Home: The CASABREWS coffee machine with milk frother allows you to prepare...
As an affiliate, we earn on qualifying purchases.
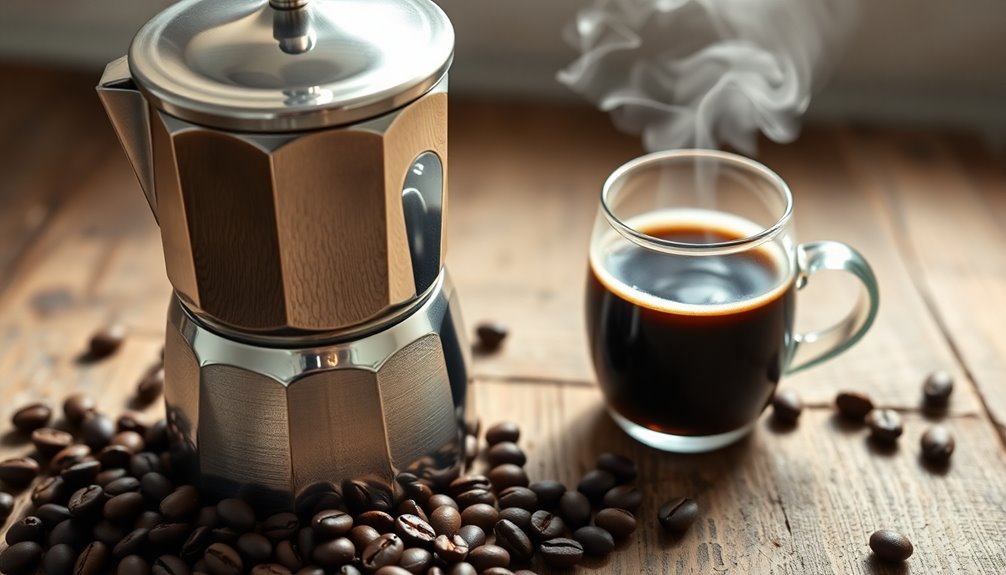
Understanding the Moka Pot

Understanding the Moka Pot is essential for brewing rich, flavorful espresso at home. Start by filling the bottom chamber with water, reaching up to the safety valve.
Next, place the coffee basket on top and fill it with freshly ground coffee, ensuring an even surface without tamping. Screw the top chamber tightly to create a seal.
When you place the Moka pot on a stovetop burner over medium heat, watch closely to avoid overheating. As the water heats, it'll force its way through the coffee grounds, producing a hissing sound that lets you know the brewing's in progress. The Moka pot is a cost-effective alternative to electric espresso machines, allowing you to enjoy delicious coffee without the higher price tag.
Once the top chamber fills and the hissing stops, remove the pot from the heat for a perfect espresso experience.

SHARDOR Espresso Machine 20 Bar, Professional Espresso Machine with Milk Frother and Touchscreen, Expresso Coffee Machines with Adjustable Temperature,for Cappuccino, Latte, Stainless Steel, Silver
Professional 20 Bar Pressure System: This semi-automatic espresso maker has a 20-bar pump and a powerful 1350W motor,...
As an affiliate, we earn on qualifying purchases.
Preparing the Water

To brew a great espresso with your Moka pot, preparing the water properly is key. Start by filling the lower chamber with warm or hot filtered or spring water, making sure it's just below the safety valve to prevent any mishaps. The ideal brewing temperature is around 93°C / 200°F, but since stovetops lack precise settings, aim for low-medium heat. Filling the pot with hot water helps kickstart the brewing process at a higher temperature, ensuring better extraction. Additionally, using filtered water can significantly enhance the overall flavor of your coffee. When heating, center the Moka pot on your heat source, adjusting for smaller pots to avoid flames licking the sides. Once brewing's done, cool the bottom chamber under cold water to halt the process and maintain the coffee's quality and flavor.

KitchenAid Fully Automatic Espresso Machine KF6, KES8556PL, Porcelain White
Create personalized drinks with a touch of a button and choose from 15 recipe options like Espresso, Americano,...
As an affiliate, we earn on qualifying purchases.
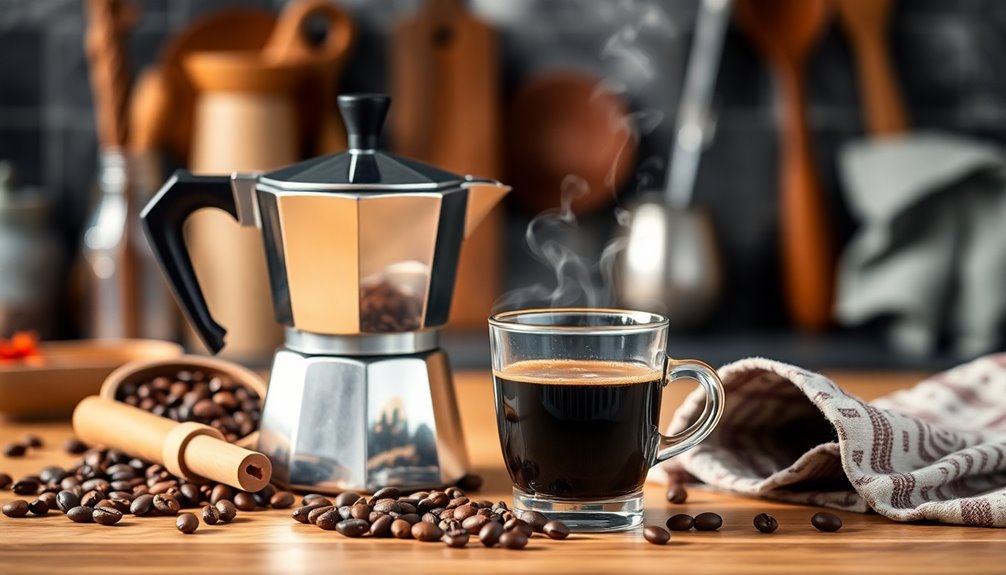
Selecting the Coffee

Selecting the right coffee is essential for achieving the best flavor in your stovetop espresso. Start with high-quality, freshly roasted beans, as they provide the richest taste and aroma. Proper airflow around the brewing unit can also enhance the overall extraction process.
Arabica beans are often recommended, but feel free to explore blends that suit your palate. When it comes to roast levels, dark and extra dark roasts are ideal for bold flavors, while medium roasts can work if you prefer something less intense.
Light roasts usually result in overly bright or acidic tastes, so it's best to avoid them. Remember to maintain a medium to coarse grind for even extraction, adjusting based on your roast choice. Additionally, using freshly ground coffee ensures optimal extraction and flavor.
This careful selection will greatly enhance your overall coffee experience.

Café Bellissimo Semi Automatic Espresso Machine with Grinder & Milk Frother | Copper Accents | WiFi App Control | Large 95oz Tank | Matte White
WIFI CONNECTED WITH DRINK CUSTOMIZATION TECHNOLOGY - Equip your kitchen with a smart espresso machine that syncs with...
As an affiliate, we earn on qualifying purchases.
Loading the Coffee Grounds

After you've chosen your coffee, the next step is loading the coffee grounds into the basket of your stovetop espresso maker. Aim for a medium to medium-fine grind—this balance prevents over-extraction and bitterness. Using a coarse grind can lead to watery coffee, so it's essential to find the right texture.
Fill the basket to the top, but be careful not to overfill it. Use a knife to level the grounds without tamping them down, and gently shake the basket to smooth everything out.
Make sure no grounds are stuck on the ridges where the pieces screw together, as this can cause blockages. For a standard Moka pot, use about 20-22 grams of coffee, adjusting based on your taste preferences.
Consistency is key for uniform flavor, so measure your coffee each time.
Assembling the Moka Pot
Assembling your Moka Pot is a straightforward process that sets the stage for brewing rich, flavorful coffee.
Start by disassembling the pot into its three main components: the bottom boiler, the middle coffee funnel, and the top coffee chamber.
Check the silicone seal on the top chamber and confirm it's kink-free.
Next, fill the bottom chamber with filtered water up to the safety valve.
Place the coffee funnel inside, making sure it's submerged.
Screw the top chamber onto the bottom tightly, confirming the gasket and filter plate are properly attached.
Finally, double-check that all parts are aligned and secure, preventing leaks and confirming even brewing. Additionally, ensure that the water level in the lower chamber does not exceed the safety valve height to maintain safe operation.
You're now ready for the next step in your coffee-making journey!
Heating Techniques

How do you guarantee your Moka pot brews the perfect espresso?
Start by filling the bottom chamber with cold water, stopping just below the steam valve. Use medium to low-medium heat to prevent burning the coffee. Make sure the flame doesn't exceed the pot's diameter; a heat diffuser can help with this.
Preheating the Moka pot for a few minutes before adding water and coffee grounds minimizes temperature fluctuations, leading to consistent extraction. Aim for water temperatures between 195°F and 205°F for ideal flavor. Avoid overheating, which can result in bitterness. The Moka Pot is known for its ability to produce a strong, concentrated flavor profile that rivals coffee shop espresso.
Once brewing starts, turn off the heat as soon as you hear gurgling to prevent over-extraction and maintain a smooth, flavorful espresso.
Brewing Indicators

While brewing with a Moka pot, paying attention to specific indicators can greatly enhance your espresso experience.
Start by filling the bottom chamber with cold, filtered water up to the safety valve. This guarantees ideal pressure and prevents excessive build-up.
For coffee grounds, use a medium-fine grind and fill the filter basket to the top, leveling the grounds without pressing them down. The use of steam pressure instead of high-pressure pumps is a defining characteristic of stovetop espresso.
Securely assemble the pot by tightly screwing the top chamber onto the bottom.
Listen for the distinctive gurgling sound, which indicates your brew is almost done. Remove the pot from heat immediately to avoid scalding.
Finally, watch for the water moving slowly into the upper chamber—your coffee is ready when no more coffee is released from the filter basket.
Serving Suggestions
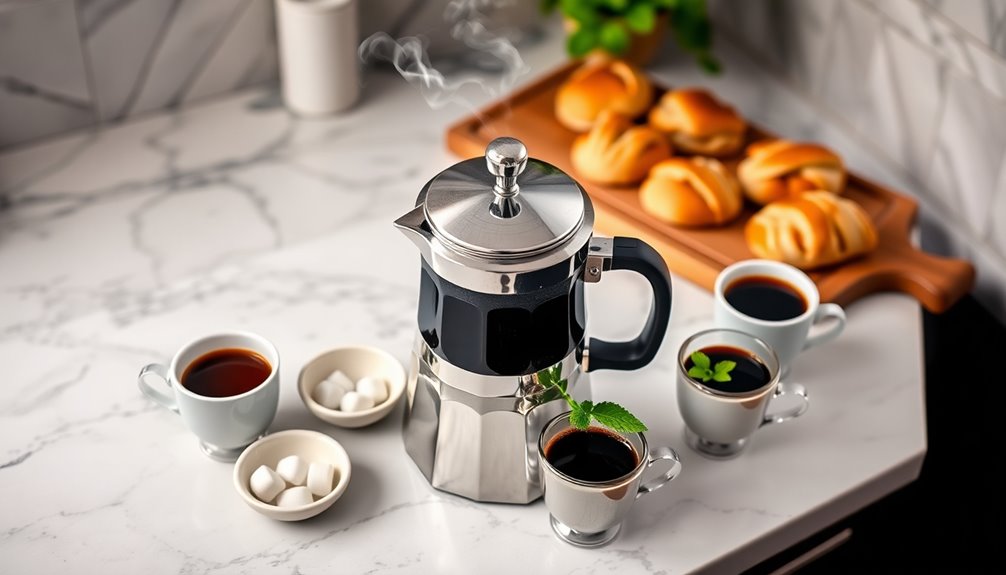
When you're ready to enjoy your Moka pot espresso, there are plenty of serving suggestions to elevate your experience.
For a latte, combine your espresso with heated and frothed milk, using a 2:1 espresso-to-milk ratio for a creamy texture. You might also consider adding a few drops of peppermint oil for a refreshing twist.
Prefer an Americano? Simply mix your brewed espresso with boiling water, adjusting the water to match your preferred strength.
You can also explore cappuccinos by adding steamed milk and foam, or a macchiato with a dollop of frothed milk on top. The Moka Pot is a fantastic option for those who enjoy strong coffee similar to espresso.
Feeling adventurous? Try cold drinks like espresso con panna or iced lattes.
Don't forget to enhance flavors with quality beans and fresh, filtered water for an exceptional taste.
Enjoy experimenting!
Frequently Asked Questions
Can I Use Flavored Coffee in a Moka Pot?
Yes, you can use flavored coffee in a Moka pot!
Just keep in mind that the results may vary based on the flavorings you choose. High-quality flavored beans can produce a decent cup, but be cautious as some flavors might get muted during brewing.
Make sure to follow standard brewing guidelines, maintain the right coffee-to-water ratio, and monitor the process closely to avoid bitterness or over-extraction.
Enjoy experimenting!
How Do I Clean My Moka Pot Properly?
To clean your Moka pot properly, start by disassembling it into its parts.
Discard any coffee grounds and rinse everything with hot water.
Use a soft sponge or brush to scrub away any residue, then dry each piece thoroughly.
For deep cleaning, soak the parts in a vinegar solution or brew a mixture through the pot.
Always avoid soap and store it disassembled to keep it in great condition and prevent mold.
What Is the Ideal Coffee-To-Water Ratio?
The ideal coffee-to-water ratio for a Moka pot is generally 1:10 by weight.
For example, if you're using a 1-cup Moka, you'll need about 6 grams of coffee for 60 mL of water.
You can adjust this ratio based on your taste—add more coffee for a bolder flavor or reduce it for a lighter brew. For a stronger brew, you can also increase the steeping time. Experiment with different ratios and steeping times to find the perfect combination for your palate. Additionally, consider the size of your mug or Starbucks cup sizes when determining the ratio of coffee to water. Different sized cups will require different amounts of coffee to achieve the desired strength.
Experiment with different beans and measurements to find what suits your palate best!
Can I Use a Moka Pot on an Induction Stove?
You can use a Moka pot on an induction stove, but not all are compatible.
Look for Moka pots made of magnetic materials, like stainless steel. Check for the induction symbol on the bottom or use a magnet to test.
If you only have an aluminum Moka pot, consider using an induction adapter or a stainless steel pan to heat it.
Just remember, these alternatives might take longer to heat up.
How Long Does Brewed Espresso Last in the Pot?
Brewed espresso doesn't last long in the pot. You should ideally consume it right after brewing for the best flavor.
If you leave it in the pot, it can start to lose its freshness and taste within 20-30 minutes. After that, it may become bitter and stale.
To enjoy the rich flavor, pour it into a cup and drink it promptly, or consider storing any leftovers properly in the fridge.
Conclusion
Now that you've mastered the art of stovetop espresso with your Moka pot, you're ready to impress friends and family with your brewing skills. Remember to experiment with different coffee selections and water temperatures to find your perfect cup. Enjoy the rich, aromatic flavors that come from your efforts, and don't hesitate to share your newfound knowledge. After all, the joy of brewing is just as important as the coffee itself. Happy brewing!