
Mastering milk frothing elevates your coffee game, making it café-worthy at home. Start with fresh, cold whole milk for the best results. You'll need a steam wand, ideally positioned just off-center in your jug to create a vortex. Purge the wand first to prevent water from interfering, then heat the milk to 60-65°C for peak froth. A steady motion is key—go for microfoam, and don't forget to tap and swirl for a glossy finish. Avoid common mistakes like overheating milk or using expired products. Stick around for expert tips that will refine your frothing technique even further.
Key Takeaways
- Choose fresh, high-quality milk with a protein content of 3.3-3.6g/100g; whole milk or barista oat milk works best for frothing.
- Purge the steam wand before and after use to ensure optimal performance and prevent milk buildup.
- Position the steam wand correctly in the jug to create a vortex, enhancing aeration and achieving smooth microfoam.
- Heat milk to 60-65°C (140-150°F) for best results; use a thermometer to avoid overheating and scalding.
- Tap the jug on the counter post-frothing and swirl the milk for a glossy finish and to eliminate large bubbles.

Amazon Basics Basket Coffee Filters for 8-12 Cup Coffee Makers, White, 200 Count, Packaging May Vary
- Package Quantity: 200 white basket filters
- Compatibility: Fits 8-12 cup coffee makers
- Filtration Quality: Excellent sediment removal
As an affiliate, we earn on qualifying purchases.
Equipment and Preparation

When you're ready to froth milk, having the right equipment is essential for achieving the best results.
You'll need a coffee machine with a steam arm, a straight-sided or belly jug, and a contactless digital thermometer. If you prefer an alternative method, a handheld frother works well too. For nice latte art, consider using a latte pitcher. Air fryers can also be used to heat milk if you want to try a different technique.
Always use fresh, cold milk—whole milk provides a creamier texture, while specific brands of alternative milks can froth well too. This is because whole milk froths better due to its fat content, contributing to creaminess.
Pour the milk into your jug, filling it one-third to half full for proper expansion. Using about 6 ounces of milk per cup of coffee is a good rule.
Remember to keep everything clean and monitor the milk's temperature during frothing!
Purging the Steam Wand
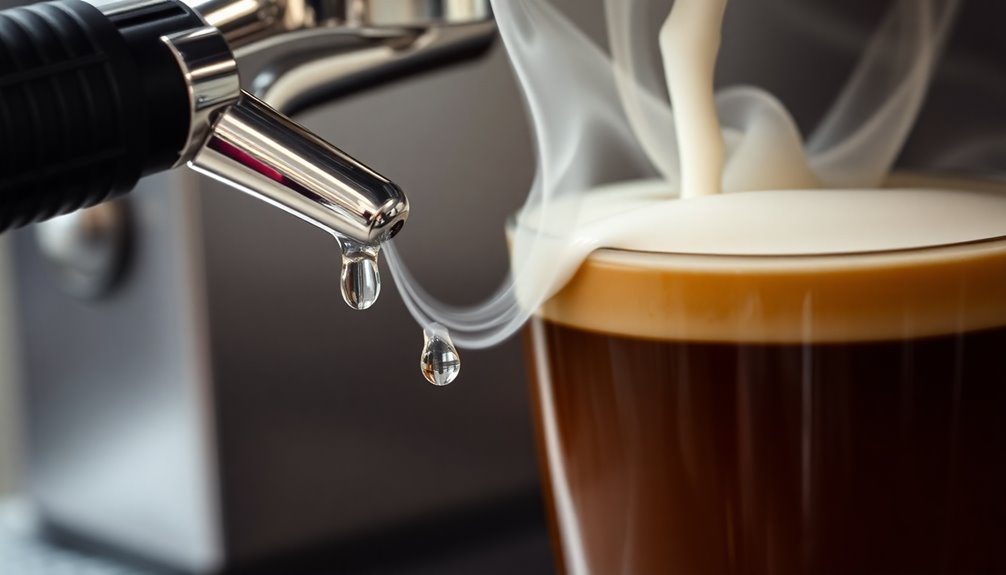
Purging the steam wand is an essential step in the milk frothing process that greatly enhances your results. By purging, you remove condensate and guarantee you get drier steam, preventing any water from affecting your milk's texture and taste.
Always purge before and after steaming—just open the steam valve for a few seconds to clear any unwanted residue. A longer purge at the start of the day helps eliminate cooled steam that has turned to water. Regular purging keeps the wand clean, prevents clogging, and reduces the risk of rancid milk buildup. Neglecting this step can lead to bacterial growth and a decrease in steam power, ultimately impacting the quality of your beverages. Maintaining a clean steam wand ensures optimal performance and enhances the overall experience of your beverage preparation.
Positioning the Steam Wand

After ensuring the steam wand is clear of any water and residue, the next step is to position it correctly in the milk jug.
Place the wand in the bottom right or left quadrant of the jug, just below the surface of the milk to avoid splashing. Angle the wand slightly to encourage proper aeration and create a vortex. A good rule of thumb is to position it halfway between the center and the wall of the pitcher. Correct steam wand positioning is crucial for achieving a smooth, bubble-free texture.
Hold the jug with your dominant hand for stability while using your non-dominant hand to control the wand. This setup will help you maintain a consistent vortex, essential for incorporating air and achieving that perfect microfoam.
Frothing Techniques

Frothing milk can elevate your coffee experience, and mastering a few techniques can make all the difference. One of the most popular methods for frothing milk is using a handheld milk frother or steam wand. By creating a smooth and creamy microfoam, you can elevate the texture and flavor of your coffee. This is especially important when making specialty drinks like lattes, cappuccinos, or condensed milk coffee. With a little practice, you can perfect the art of frothing milk and take your coffee game to the next level.
Start by heating your milk to about 150 degrees Fahrenheit, ensuring it's hot but not simmering. Use a clean frother—whether handheld, electric, or a French press. Whole milk yields the best results due to its higher fat content, resulting in a creamier foam.
For handheld frothers, move it up and down for about 20 seconds. Electric frothers require you to select the desired setting and let it do the work. If you're using a French press, pump it with quick plunges for about 30 seconds.
After frothing, tap your container on the counter to break large bubbles, and pour the frothed milk immediately for the best texture.
Enjoy your perfectly frothed milk!
Texturing the Milk

Texturing milk is essential for creating that velvety microfoam that enhances your coffee drinks. Position the steam wand just below the milk's surface, angled slightly to aerate properly. You'll hear a 'chirping' sound when you've found the right spot. Gradually increase steam pressure as the milk expands, keeping a steady stream to avoid large bubbles. Aim for tiny bubbles for a creamy texture—over-aerating leads to a less desirable foam. To create a whirlpool effect, tilt the jug slightly, helping to break down bubbles for denser foam. Remember that repeated practice is key to mastering the milk texturing process. Fill your jug with cold milk, leaving space for expansion, and don't forget to tap the base after steaming to eliminate surface bubbles. Enjoy your perfectly textured milk!
Optimal Milk Temperature
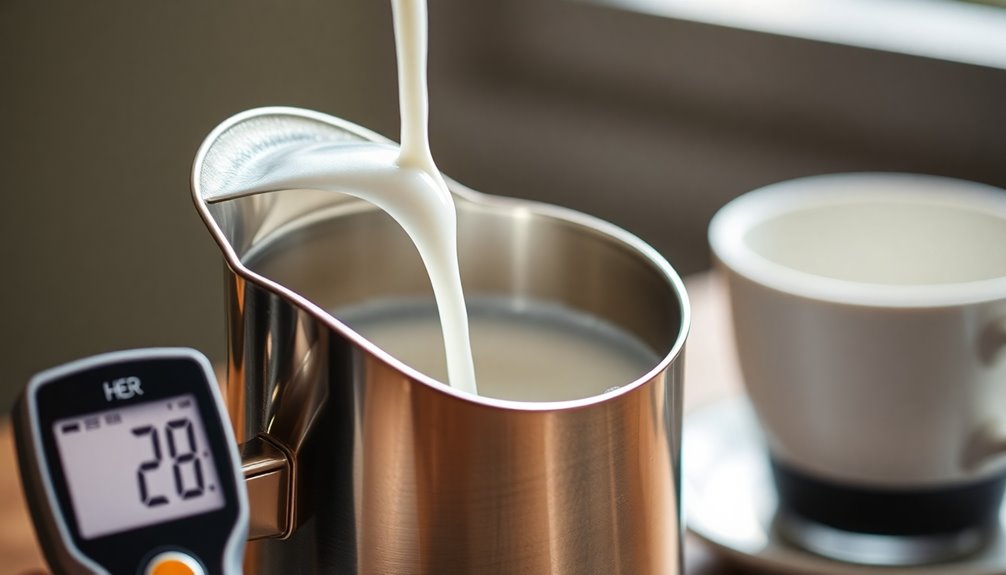
Achieving the perfect milk temperature is essential for crafting delicious coffee drinks. The ideal range for frothing milk is between 140°F (60°C) and 155°F (68°C). If you exceed 160°F (71°C), you risk scorching the milk, resulting in an unpleasant taste.
Keeping the temperature between 55°C (131°F) and 65°C (149°F) not only prevents destabilizing the foam but also enhances sweetness, as lactose breaks down into sweeter compounds. Use a milk thermometer to avoid overheating, and stop steaming when the pitcher feels uncomfortably warm. This way, you'll guarantee smooth, stable foam with the right balance of proteins and fats, creating a delightful texture for your coffee creations. Consistency in temperature is key to achieving high-quality foam every time, and maintaining the optimal frothing temperature will ensure the best results in your milk frothing endeavors.
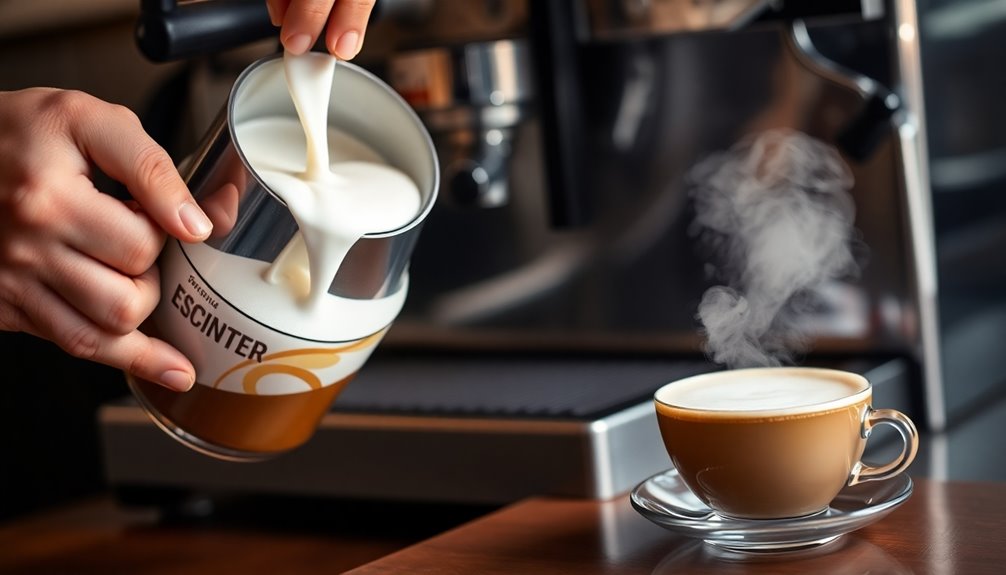
Final Steps and Cleanup

Once you've finished frothing your milk, it's crucial to focus on the final steps and cleanup to guarantee both your drink and equipment remain in top shape.
First, turn off the steam wand and gently tap the pitcher on the countertop to eliminate large bubbles. Swirl the milk for a glossy texture, ensuring uniformity throughout. Good microfoam has a rich, sweet taste and a thick consistency, integrating with milk rather than sitting on top.
Wipe down the steam wand and purge it to remove any residual milk, keeping it clean and functional.
For your frother, unplug it and let it cool before disassembling it. Clean detachable parts in warm, soapy water and rinse thoroughly.
For stubborn residues, soak the components in a vinegar solution.
Finally, give everything a test run with water to verify it's ready for your next frothing session.
Common Mistakes to Avoid
While frothing milk can seem straightforward, several common mistakes can sabotage your efforts and compromise the quality of your drink.
First, pay attention to your steam wand positioning; holding it too low won't incorporate enough air, while too high creates a mess. Aim for just below the surface for ideal results.
Next, always purge and clean your steam wand to avoid introducing water into the milk or creating blockages, as purging the steam wand is essential to remove residual water before steaming.
Monitor your milk temperature closely, as overheating can scald it, ruining the foam.
Finally, control your milk movement; excessive agitation disrupts the balance and leads to unusable foam. Aim for a steady roll and a gentle hiss to achieve the perfect froth.
Tips for Perfect Froth

To create the perfect froth, you need to focus on the right combination of milk, temperature, and technique.
Start with fresh dairy milk that has a protein content between 3.3 to 3.6 grams per 100 grams for stability. If you prefer plant-based options, try barista oat milk for its creamy texture. Freshness of milk directly impacts the frothing quality and should be used within its expiration date.
Use cold milk, ideally around 4 degrees Celsius, and a steam wand. Purge the steam arm and fill your jug one-third to half full. Position the steam wand just below the surface at an angle, introducing vapor until you hear a 'chirping' sound.
Heat the milk to 60-65°C (140-150°F), then tap the pitcher to eliminate bubbles, swirl for a glossy finish, and pour with control.
Frequently Asked Questions
What Type of Milk Froths Best for Lattes and Cappuccinos?
If you want the best froth for lattes and cappuccinos, whole milk is your go-to. Its high fat content creates a rich, creamy texture that produces smooth microfoam.
If you prefer a lighter option, 2% milk still delivers a velvety froth without being too heavy.
For non-dairy choices, oat milk works well—just choose barista-formulated brands.
Avoid skim or UHT milk, as they won't give you the desired creamy texture you're aiming for.
How Can I Froth Milk Without a Steam Wand?
You can froth milk without a steam wand using several methods.
Try shaking heated milk in a tightly sealed jar for a quick froth. Alternatively, whisk it vigorously or use an electric mixer for a more consistent texture.
A French Press or pump frother also works well, allowing you to create foam suitable for latte art.
Finally, consider a handheld frother or automatic device for convenience and ease.
Enjoy your frothy creations!
Can I Use Non-Dairy Milk for Frothing?
Absolutely, you can use non-dairy milk for frothing!
Just keep in mind that different types froth differently. Almond milk creates dense microbubbles, while soy milk whips up quickly into a pillowy foam.
Coconut milk froths well with its high fat content, but avoid the canned variety.
Oat milk needs careful temperature control to maintain its texture.
Experiment with these options to find your favorite non-dairy froth that suits your taste!
How Do Different Milk Fats Affect Frothing Results?
Different milk fats greatly impact your frothing results.
When you use whole milk, its higher fat content creates a creamier, thicker foam, while lower-fat options like skim produce a frothier but drier texture.
Non-dairy milks vary widely in fat content, so you'll need to adjust your technique accordingly.
Balancing fats and proteins is essential; too much fat can destabilize your foam, while the right combination will enhance its stability and texture.
What Should I Do if My Froth Is Too Dry?
If your froth's too dry, start by adjusting the steam wand's position.
Make sure it's just below the milk's surface to introduce the right amount of air.
Aerate for only 3-5 seconds; over-aeration can lead to dryness.
Also, check your milk temperature; it should be between 140-155°F.
Finally, use fresh, cold whole milk, as it froths better than low-fat varieties.
Keep practicing, and you'll achieve a creamier texture!
Conclusion
Now that you've got the tips and techniques for mastering milk frothing, it's time to put them into practice. Remember to keep your equipment clean, monitor your milk's temperature, and avoid common mistakes. With a little patience and experimentation, you'll create delicious, café-quality froth right at home. So grab your milk, fire up that steam wand, and enjoy the delightful results of your efforts in every cup! Happy frothing!