
You can create a delicious icing to enhance your baked goods with just a few simple ingredients. Start with unsalted butter that's softened to room temperature, and sift powdered sugar to keep it smooth. Beat in vanilla extract and gradually mix in milk until you reach your desired consistency. Adjust thickness as needed by adding a bit more milk. Feel free to get creative with flavors and colors by using extracts or gel food coloring. With a little practice, you'll master various icing styles. Stick around, and you'll discover even more tips for perfecting your icing skills!
Key Takeaways
- Classic icing typically includes unsalted butter, powdered sugar, vanilla extract, milk, and salt for flavor and texture.
- Begin by sifting powdered sugar to ensure a smooth consistency for your icing.
- Gradually incorporate milk to achieve your desired icing thickness and texture.
- Experiment with flavor extracts and food coloring to personalize your icing.
- Practice different icing techniques, such as buttercream or royal icing, to enhance your baking creativity.

Gevi 20 Bar Espresso Coffee Machine with Burr Grinder Set | 35 Precise Grind Settings | Milk Frother for Latte Cappuccino | Professional Home Barista Kit | Gift for Coffee Lovers
【PROFESSIONAL 20 BAR PRESSURE SYSTEM】 With a 20-bar professional Italian pump, the Gevi espresso machine with grinder provides...
As an affiliate, we earn on qualifying purchases.
History
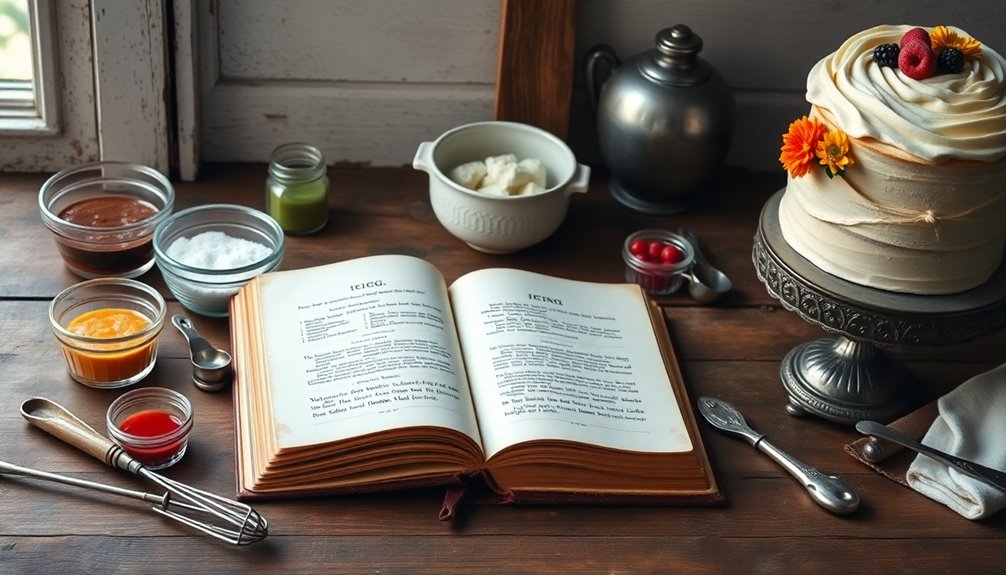
Icing has a rich history that dates back to ancient civilizations, where sweeteners like honey and sugar were used to enhance desserts.
You might be surprised to learn that the earliest forms of icing weren't as refined as what you enjoy today. They often involved simple mixtures that added texture and sweetness to baked goods.
As time passed, cultures around the world developed their own variations, using local ingredients and techniques.
By the Middle Ages, icing became more complex, with the introduction of egg whites and powdered sugar, creating the glossy finishes we admire now.
This evolution continued into the modern era, where icing transformed into an art form, allowing you to express creativity in your baking like never before.

Goldleaf Barista Coffee Log Book - Professional Coffee Tasting Journal & Brewing Guide for Advanced Home Brewers & Café Teams | Track Roast, Method & Flavor Profiles
BUILT FOR COFFEE PROFESSIONALS - Designed for baristas, roasters, and serious brewers to log origin, roast, grind, and...
As an affiliate, we earn on qualifying purchases.
Recipe

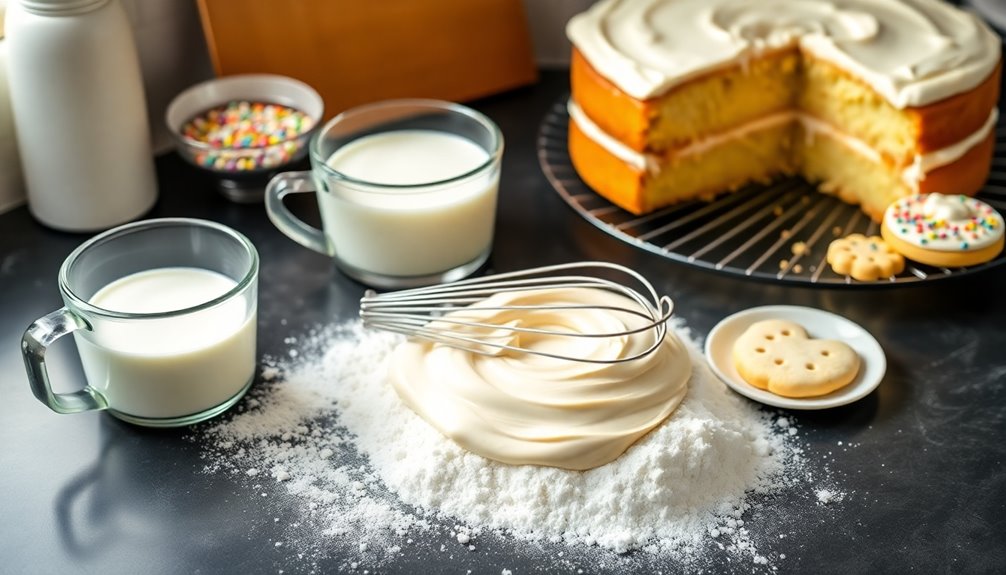
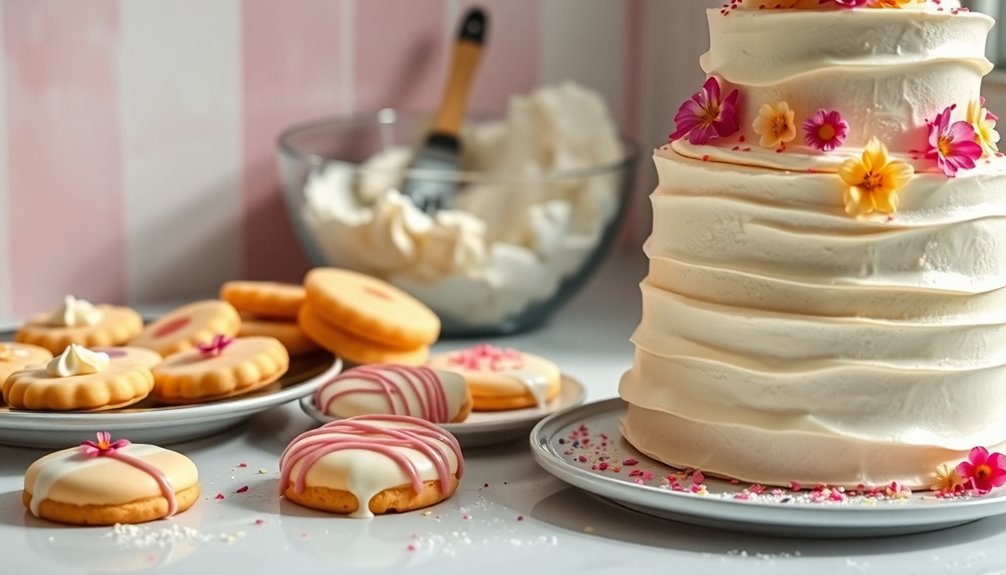
Icing is a delightful and versatile topping that can elevate any baked good, from cakes to cookies. Whether you're aiming for a classic buttercream or a simple glaze, mastering icing can add a professional touch to your desserts. This icing recipe is easy to follow and can be customized to match the flavor and style of your baked creations.
The beauty of icing is that it not only enhances the appearance of your treats but also adds a sweet, creamy flavor that complements the dish perfectly.
To get started, you'll need a few basic ingredients that you likely already have in your pantry. The great thing about this icing recipe is its adaptability; you can adjust the sweetness, flavor, and consistency to suit your preferences.
Whether you want a thick, spreadable icing or a thinner glaze that drips beautifully over your cake, this recipe provides a solid foundation for all your icing needs.
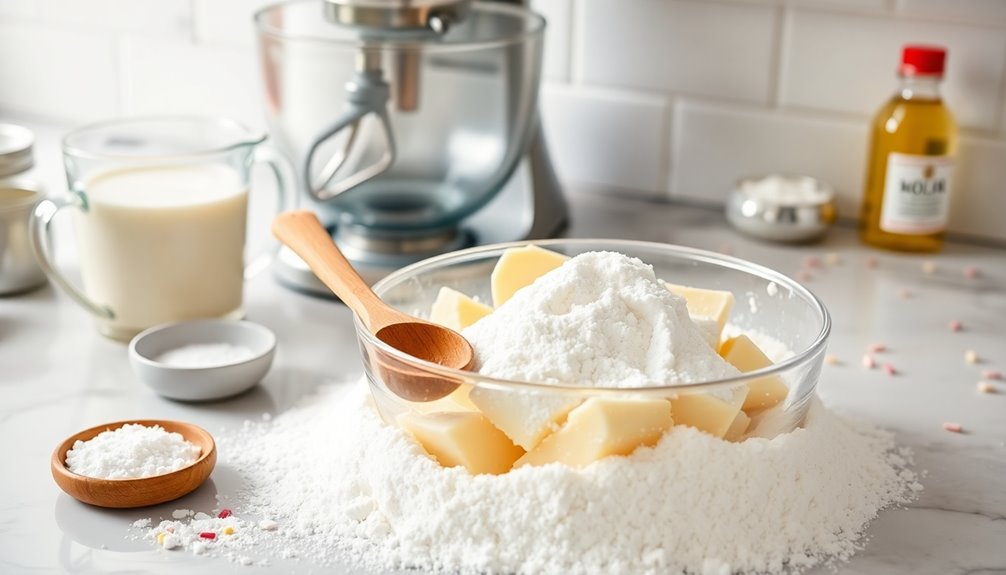
Ingredients:
- 1 cup unsalted butter, softened
- 4 cups powdered sugar
- 1 teaspoon vanilla extract
- 2-4 tablespoons milk (or heavy cream)
- A pinch of salt
In a large mixing bowl, beat the softened butter until it's creamy and smooth. Gradually add the powdered sugar, mixing on low speed until well combined.
Once incorporated, add the vanilla extract and a pinch of salt. Slowly pour in the milk, one tablespoon at a time, until the desired consistency is reached. For a thicker icing, use less milk; for a thinner glaze, add more.
Beat the mixture on high speed for about 2-3 minutes until it's fluffy and light.
When making icing, be mindful of the temperature of your ingredients. Verify the butter is softened to room temperature for easy blending, and if you're using milk or cream, it's best if they're also at room temperature.
Additionally, you can experiment with flavors by adding different extracts, such as almond or lemon, or incorporating food coloring to match your theme.
Remember to taste as you go, so you can find the perfect balance of sweetness and flavor for your icing.

OSLYSOF Funny Barista Definition Kitchen Towels, Barista Gifts Dish Tea Towels for Kitchen Decor, Coffee Lover Gifts Hand Towels for Coffee Bar Station Decor, 16x24 Inch
Perfect Size:16x24 inches optimal size, easily drapes over oven handles while providing ample coverage for wiping surfaces,
As an affiliate, we earn on qualifying purchases.
Cooking Steps
To create your icing, start by sifting the powdered sugar thoroughly—this helps achieve a smooth texture.
Next, you'll add the vanilla extract gradually and beat in the milk slowly to get the right consistency.
If needed, you can adjust the thickness with more milk and add food coloring sparingly for that perfect finish.
Step 1. Sift Powdered Sugar Thoroughly
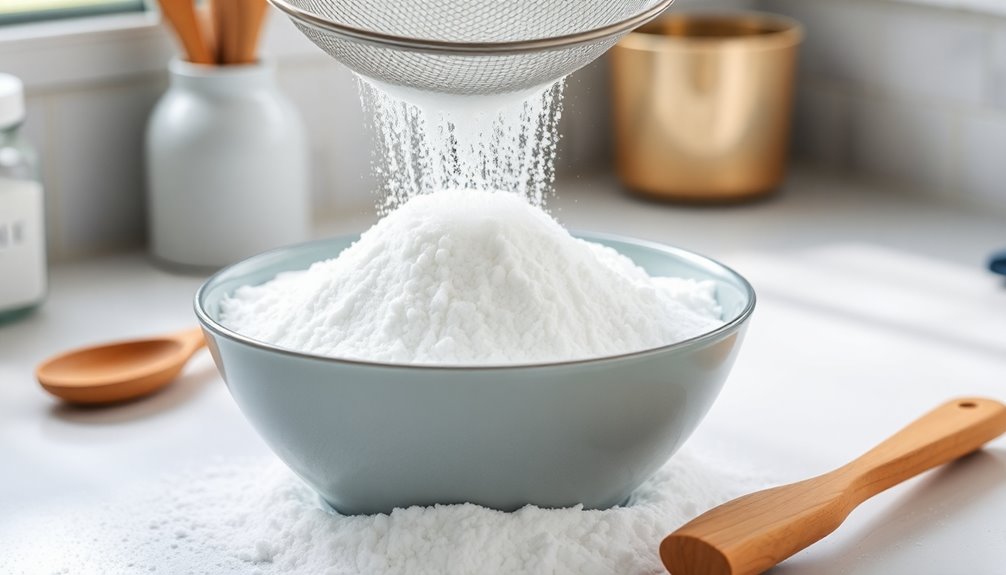
Before you start mixing your icing, make sure to sift the powdered sugar thoroughly. This step's essential for achieving a smooth and lump-free icing.
Take a fine-mesh sieve or a sifter, and measure out the powdered sugar you need. Hold the sieve over a large bowl, then gently shake or tap it to let the sugar fall through.
As you sift, any clumps will break apart, ensuring your icing comes together seamlessly. If you notice any stubborn lumps, press them through the sieve with a spoon.
Once you've sifted the entire amount, you're ready to proceed. This simple act makes a big difference in texture, giving your icing that professional finish you're aiming for.
Step 2. Add Vanilla Extract Gradually

Once you've sifted the powdered sugar, it's time to enhance your icing's flavor with vanilla extract.
Start by measuring out about a teaspoon of pure vanilla extract. Instead of dumping it all in at once, add it gradually. This helps you find the perfect balance of flavor.
Pour a small amount into the bowl, then mix it thoroughly with the powdered sugar. Taste the icing after each addition. If you want a stronger vanilla flavor, continue adding a few drops at a time until you reach your desired taste.
Step 3. Beat in Milk Slowly
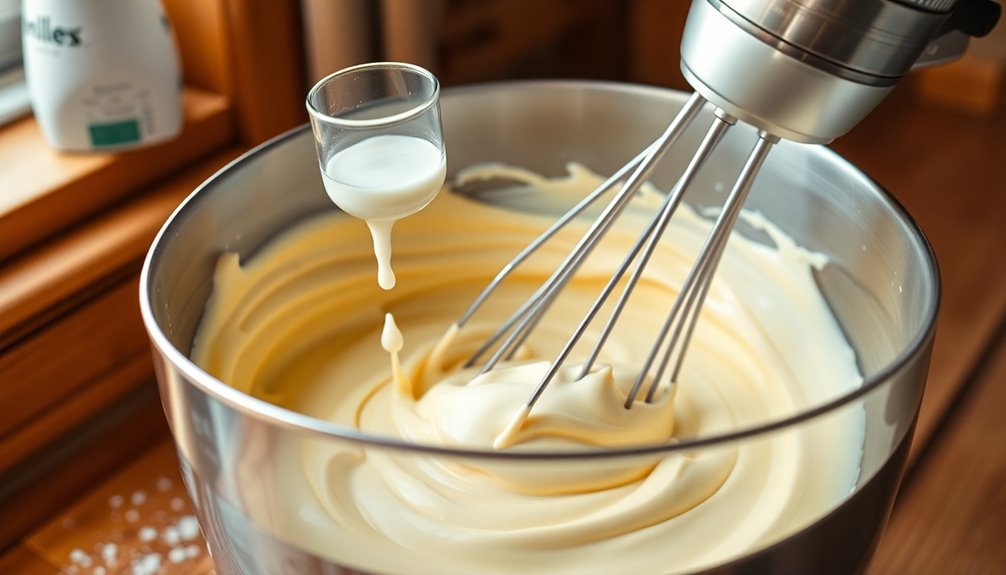
As you continue to perfect your icing, it's important to beat in the milk slowly for the right consistency.
Start by adding just a tablespoon of milk at a time. Use your mixer on a low speed to gently incorporate the milk into the icing. This helps you avoid overloading the mixture, which can make it too runny.
Pay attention to how the icing thickens and smooths out as you mix. If the icing looks too thick, you can add a little more milk, but remember to do it gradually.
Mixing slowly guarantees you maintain control over the texture. Once you achieve a creamy, spreadable consistency, you're ready to move on to the next step in your icing process.
Step 4. Adjust Consistency With More Milk
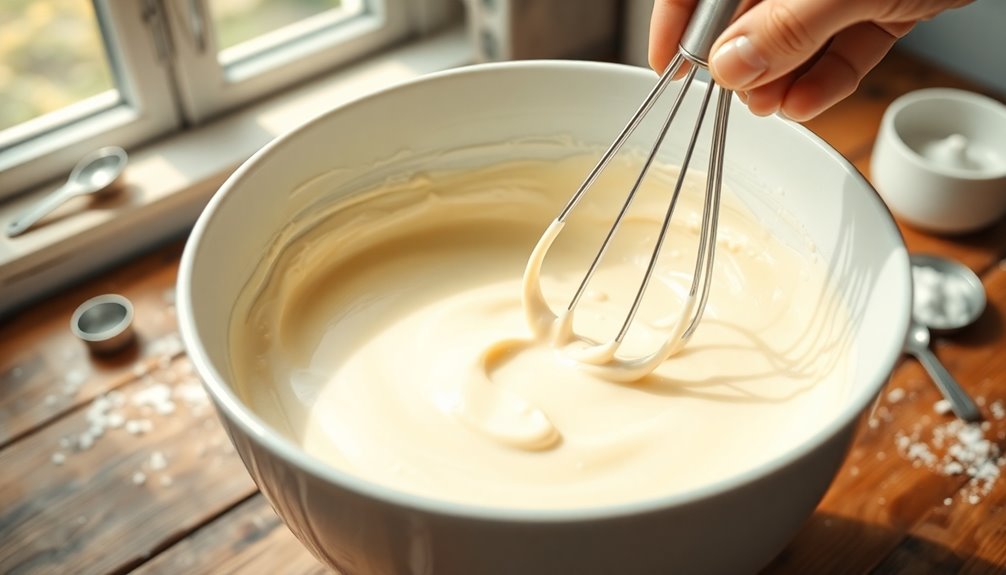
How do you know when your icing needs a little more milk? If it feels too thick or doesn't spread easily, adding more milk is your solution.
Start by drizzling in a teaspoon of milk at a time while mixing. This gradual approach helps you achieve the perfect consistency without overdoing it. You want your icing to be smooth and pliable, not runny.
As you mix, observe how it flows off your spatula or whisk; it should fall slowly but still hold its shape. If it's still too stiff, add another teaspoon of milk.
Keep going until you reach that ideal consistency, allowing for easy spreading or piping. Don't rush; achieving the right texture makes all the difference!
Step 5. Add Food Coloring Sparingly
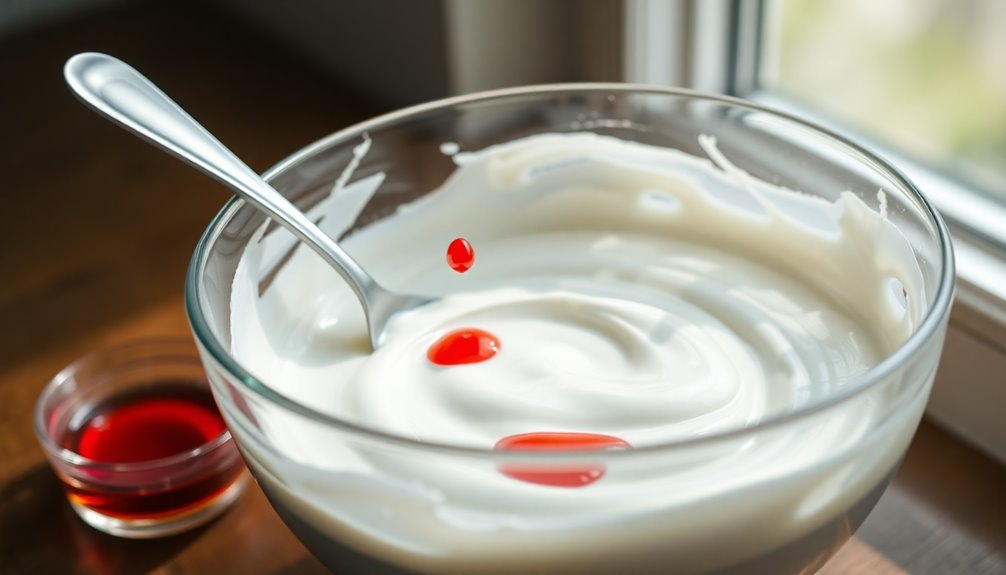
After achieving the right consistency for your icing, it's time to add some color.
Start by choosing your food coloring; gel or paste works best for vibrant hues without altering the icing's texture. Use a toothpick or a small dropper to add color, and remember, a little goes a long way. You can always add more, but it's tough to lighten a shade once it's too dark.
Mix thoroughly after each addition, ensuring the color distributes evenly. If you want to create multiple shades, divide your icing into smaller bowls before adding different colors. This way, you can customize each batch as needed.
With a careful approach, your icing will be both beautiful and delicious!

Retro Coffee Chart Canvas Wall Art Vintage Cafe Painting Espresso Machine Poster for Baristas Home Cafes Coffee Lover Art Trendy Kitchen Prints Vintage Aesthetic Paintings for Kitchen 16x24in No Frame
ARTWORK SIZE:The canvas size is 16 X 24 inch (40 x 60 cm),print poster is a kind of...
As an affiliate, we earn on qualifying purchases.
Final Thoughts
Whether you're a seasoned baker or just starting out, making icing can elevate your desserts to a whole new level.
It's a simple yet effective way to add flavor and visual appeal to your treats. Remember to experiment with different flavors and colors to find what you love most.
Don't shy away from mixing up textures, too; whether you prefer a smooth buttercream or a glossy royal icing, each brings something unique to the table.
Keep practicing, and don't be afraid to make mistakes—they're part of the learning process.
With a bit of creativity and patience, you'll soon master the art of icing, impressing friends and family with your delicious, beautifully decorated desserts.
Enjoy the journey!
Frequently Asked Questions
Can I Use Powdered Sugar Instead of Granulated Sugar?
Absolutely, you can use powdered sugar instead of granulated sugar in many recipes.
Powdered sugar is finer and dissolves quickly, which can give a smoother texture to your dish.
Just keep in mind that it contains a bit of cornstarch to prevent clumping, which might slightly alter the final result.
If you're looking for a sweeter flavor and a fluffier texture, powdered sugar could be a great choice for your baking needs!
How Long Does Icing Last at Room Temperature?
Icing can last at room temperature for about two to three days, depending on its ingredients.
If it contains dairy or perishable items, it's best to refrigerate it.
However, if you've made a simple icing with powdered sugar and water, you can safely leave it out for a short period.
Just keep it covered to prevent it from drying out.
Always trust your senses; if it smells or looks off, don't use it!
Can I Color My Icing With Food Dye?
Absolutely, you can color your icing with food dye! Just pick your favorite gel or liquid food coloring, and add it to your icing gradually.
Mix well until you achieve the desired shade. If you want vibrant colors, opt for gel dyes since they're concentrated and won't alter the icing's consistency much.
What Tools Do I Need to Apply Icing?
To apply icing effectively, you'll need a few essential tools.
Grab a piping bag or a zip-top bag with the corner snipped off for precise application. A variety of piping tips can help create different designs, so consider having several on hand.
A spatula or offset spatula is great for spreading icing smoothly. Don't forget to keep a clean cloth nearby for any messes that might occur while you work.
Happy decorating!
How Can I Make My Icing Thicker or Thinner?
To adjust the thickness of your mixture, you can easily add more or less of your liquid ingredient.
If you want it thicker, mix in powdered sugar gradually until you reach your desired consistency. For a thinner texture, incorporate small amounts of milk or water.
Remember to mix thoroughly between adjustments to guarantee a smooth blend. Experiment a bit to find what works best for your specific needs!