
Funeral potatoes are a comforting casserole that's perfect for any gathering. To make this dish, mix a 30-ounce bag of frozen hash browns with a 10.5-ounce can of cream of chicken soup, 16 ounces of sour cream, and 2 cups of shredded cheddar cheese. Spread your mixture in a greased baking dish and top it with crushed cornflakes for crunch. Bake at 350°F for 45-55 minutes until it's bubbly and golden brown. Let it cool for about 10 minutes before serving. This dish not only brings warmth but also helps create lasting memories—find out how to switch things up for your next event!
Key Takeaways
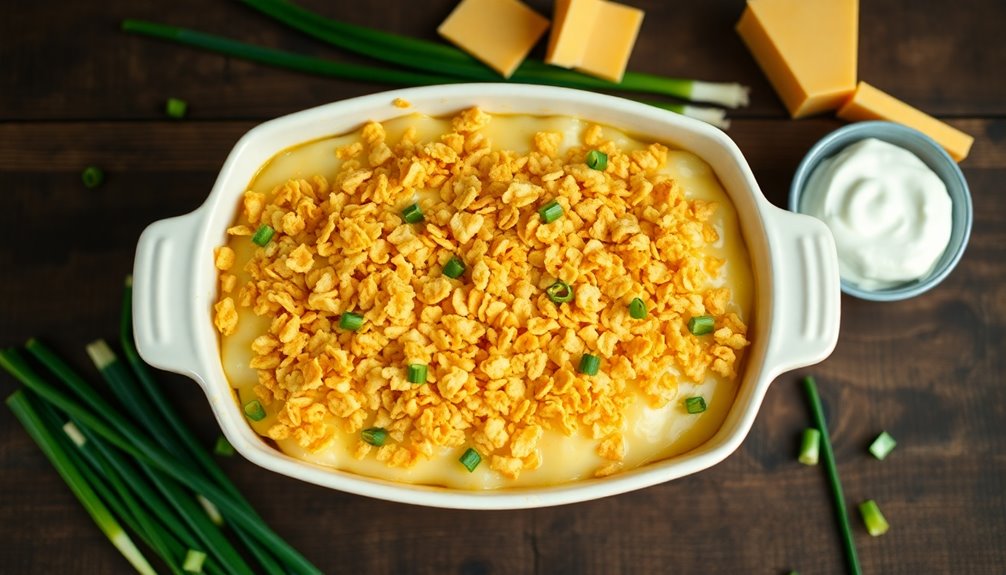
- Funeral potatoes, also known as cheesy potatoes, consist of hash browns, cream of chicken soup, sour cream, and cheddar cheese.
- The dish is topped with crushed cornflakes or potato chips for added crunch.
- Preheat your oven to 350°F (175°C) before preparing the casserole.
- Bake the mixture for 45-55 minutes until it is bubbly and golden brown on top.
- Allow the dish to cool for 10 minutes before serving for the best texture and flavor.
Top picks for "funeral potato recipe"
Open Amazon search results for this keyword.
As an affiliate, we earn on qualifying purchases.
History

Funeral potatoes, a beloved comfort food, have roots in the American West, particularly among the Mormon community.
You might find it surprising that this dish originally served as a warm, hearty offering at post-funeral gatherings. The recipe's simplicity made it easy for friends and family to prepare and share during times of grief.
As you dig deeper into its history, you'll discover that it combines elements of convenience and community support, reflecting a tradition of caring for one another.
Over time, funeral potatoes have evolved, becoming a staple at potlucks, holidays, and family gatherings.
Despite its somber origins, this dish has transformed into a cherished comfort food that brings people together, celebrating both life and memory in every creamy, cheesy bite.
Recipe
Funeral potatoes, also known as cheesy potatoes or potato casserole, are a beloved comfort food often served at gatherings and potlucks. This creamy, cheesy dish features hash browns, a rich, savory sauce, and a crunchy topping, making it a crowd-pleaser for any occasion. Originally associated with funeral receptions, it has become a staple in many households, cherished for its delicious flavor and ease of preparation.
Making funeral potatoes is a simple process that requires minimal ingredients and time, making it perfect for busy cooks. This dish can be prepared ahead of time and baked just before serving, allowing you to spend more time with your guests. Comforting and satisfying, funeral potatoes are sure to please even the pickiest eaters at your table.
Ingredients:
- 1 (30 oz) bag frozen hash browns
- 1 (10.5 oz) can cream of chicken soup
- 1 (16 oz) container sour cream
- 2 cups shredded cheddar cheese
- 1/2 cup melted butter
- 1 cup crushed cornflakes (or potato chips)
- Salt and pepper to taste
- Optional: chopped green onions for garnish
Instructions:
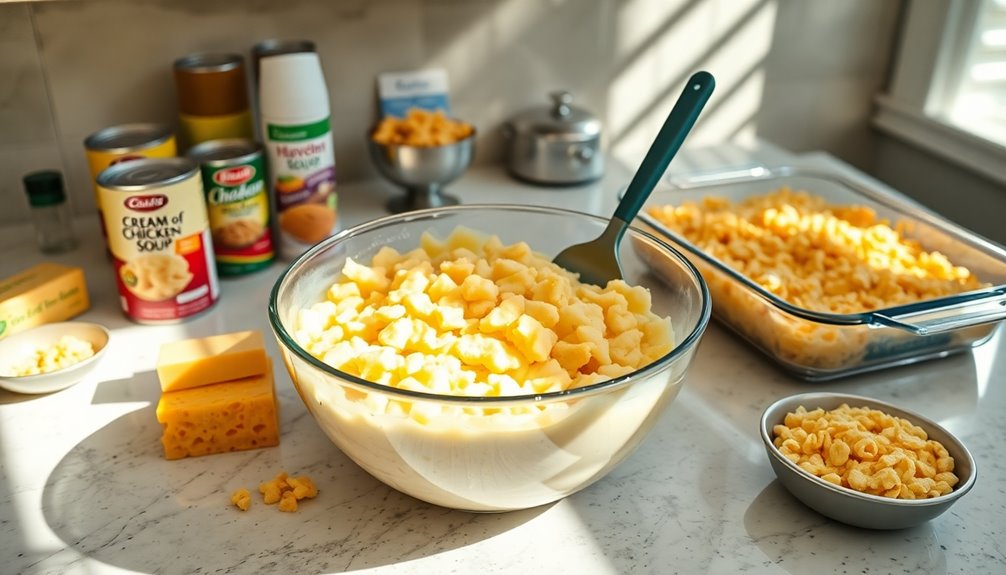
Preheat your oven to 350°F (175°C). In a large mixing bowl, combine the frozen hash browns, cream of chicken soup, sour cream, 1.5 cups of shredded cheddar cheese, and melted butter. Stir until all ingredients are well incorporated, then season with salt and pepper to taste.
Transfer the mixture to a greased 9×13 inch baking dish and spread it evenly. Top with the remaining 0.5 cup of shredded cheddar cheese and the crushed cornflakes for added crunch. Bake in the preheated oven for 45-55 minutes, or until the casserole is bubbly and golden brown on top.
Extra Tips:
For a little extra flavor, consider adding diced cooked ham or cooked bacon to the mixture before baking. You can also experiment with different types of cheese, such as Monterey Jack or pepper jack, for a twist on the classic recipe.
If you'd like to prepare the dish ahead of time, assemble it in the baking dish, cover it with aluminum foil, and refrigerate for up to 24 hours before baking. Just remember to add a few extra minutes to the baking time if you're starting from cold. Enjoy this delightful dish at your next family gathering!
Cooking Steps
To get started, preheat your oven to 350°F.
While that's warming up, mix all your ingredients in a bowl until everything's well combined.
Once mixed, add the topping mixture evenly before baking for 30 minutes.
Step 1. Preheat Oven to 350°F

Before you plunge into making your delicious funeral potatoes, preheating the oven to 350°F is vital for guaranteeing they cook evenly.
It's a simple yet important step that sets the stage for a perfect dish. Take a moment to adjust your oven settings and allow it to reach the desired temperature.
While it's heating up, you can gather your ingredients and prep your workspace. This way, once the oven is ready, you can dive straight into the mixing process without any delays.
Remember, starting with a properly preheated oven helps achieve that golden, crispy top and guarantees the inside is cooked through.
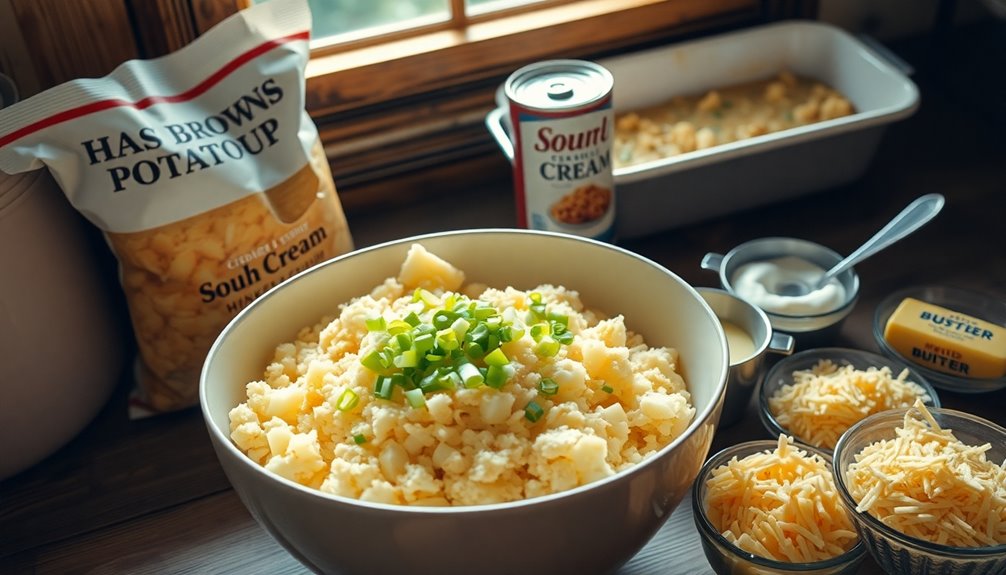
Step 2. Mix Ingredients in Bowl
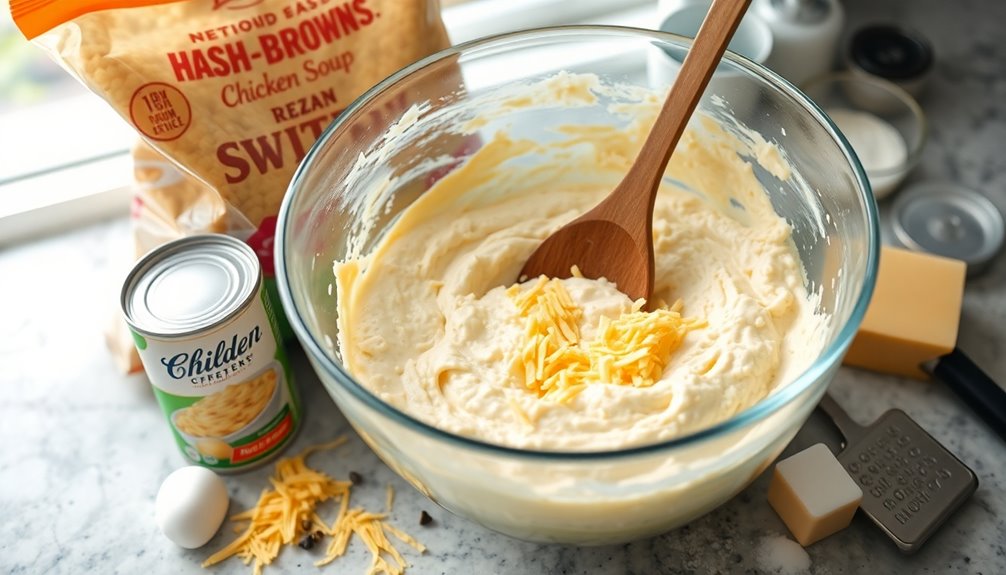
With the oven preheated to 350°F, you're ready to mix the ingredients in a bowl.
Start by combining the frozen hash browns, sour cream, and cream of chicken soup. Stir in the shredded cheddar cheese, melted butter, and onion powder.
Make sure everything's well incorporated; you want a smooth mixture without any dry spots. If you'd like, you can add salt and pepper to taste at this stage.
Once you've mixed it all together, the texture should be creamy and cheesy, with the hash browns evenly distributed throughout. This step is essential for ensuring that every bite is packed with flavor.
After mixing, you'll be all set to prepare for the next steps in your delicious Funeral Potatoes.
Step 3. Add Topping Mixture Evenly
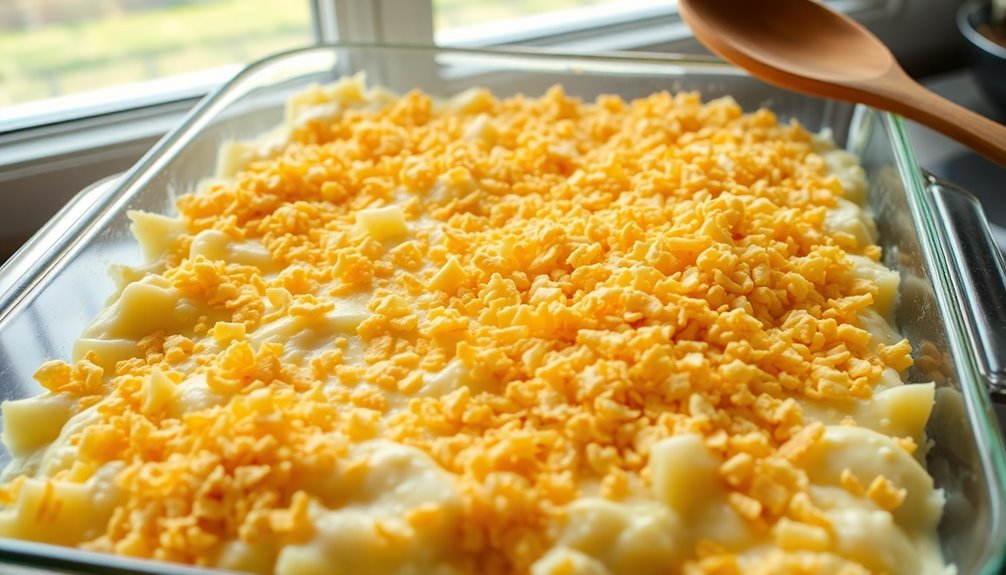
Sprinkle the topping mixture evenly over the creamy hash brown base.
Make sure to cover the entire surface for consistent flavor and texture. You can use a spatula or your hands to gently spread it out, ensuring every bite has that delicious crunch.
If you notice any bare spots, don't hesitate to add a bit more topping. This step's essential, as it creates a delightful contrast to the creamy filling underneath.
Once you've evenly distributed the mixture, take a moment to admire your handiwork. You've transformed your dish into something that looks as good as it tastes!
Now, it's time to prepare for the next step, where the magic of cooking will begin to bring all these flavors together.
Step 4. Bake for 30 Minutes
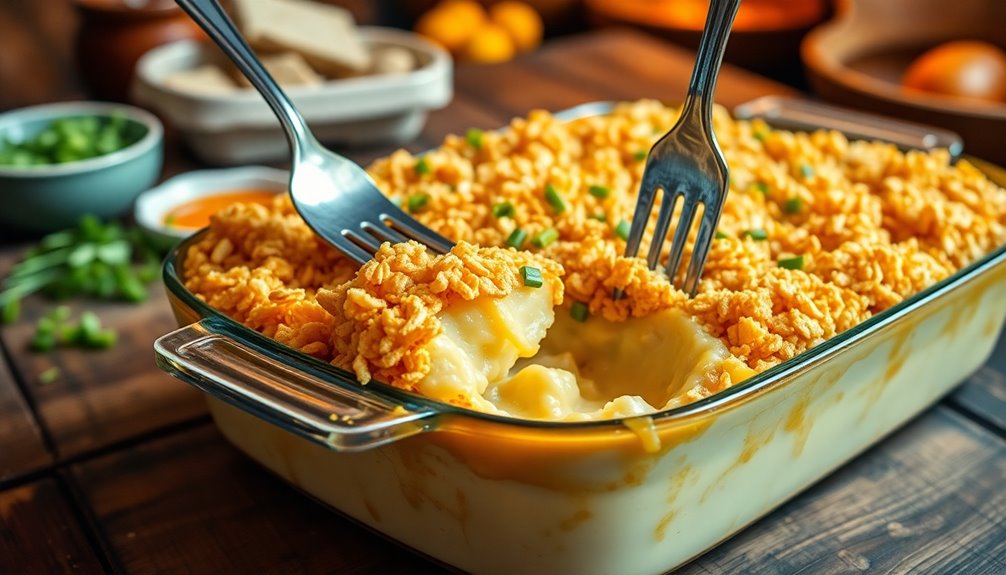
Now that your topping mixture is evenly spread over the creamy hash brown base, it's time to bake.
Preheat your oven to 350°F (175°C) if you haven't done so already.
Place your casserole dish in the oven and set a timer for 30 minutes. As it bakes, the cheese will melt and the edges will bubble, creating that delicious golden crust.
Keep an eye on it, especially toward the end of the baking time, to guarantee it doesn't over-brown.
Once the timer goes off, carefully remove the dish from the oven, letting the aroma fill the room.
Your funeral potatoes should look enticing and ready to serve. Enjoy the anticipation of the creamy, cheesy goodness waiting for you!
Step 5. Let Cool for 10 Minutes
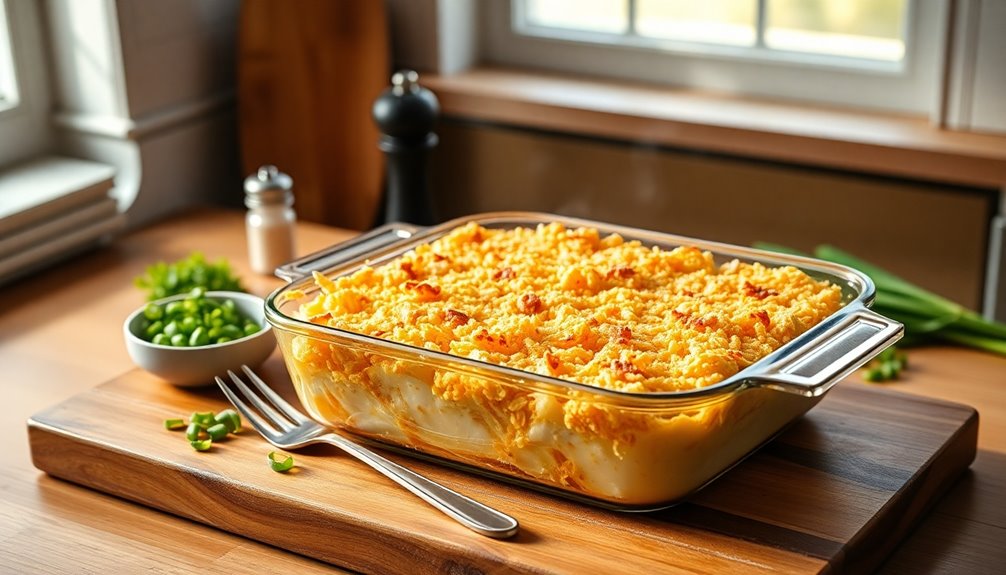
After you take your casserole out of the oven, it's important to let it cool for about 10 minutes.
This cooling period allows the flavors to settle and the texture to firm up, making it easier to serve. If you cut into it right away, you might end up with a soupy mess instead of perfectly portioned squares.
During this time, the cheese will continue to melt slightly, creating a delicious, gooey layer. Plus, letting it cool helps prevent burns when you're dishing it out for your guests.
After the 10 minutes are up, grab a spatula and serve those tasty funeral potatoes with pride. Your patience will pay off with every delicious bite!
Final Thoughts

As you reflect on your experience making funeral potatoes, you'll likely appreciate how this comforting dish brings family and friends together.
This recipe isn't just about the ingredients; it's about the memories created around the table. Whether you're sharing it at a gathering or enjoying it on a quiet night in, each bite evokes warmth and nostalgia.
You might even find yourself experimenting with variations, adding your personal touch to this classic dish. Remember, the joy of sharing food goes beyond taste—it's about connection.
Frequently Asked Questions
Can I Make Funeral Potatoes Ahead of Time?
Yes, you can definitely prepare your dish ahead of time.
Simply make the entire recipe up to the point of baking, then cover and refrigerate it for up to 24 hours.
When you're ready to serve, just pop it in the oven, adding a few extra minutes to the baking time if it's cold.
This way, you can save time and enjoy your gathering without the last-minute rush!
What Can I Substitute for Cornflakes?
If you're looking for alternatives to cornflakes, you've got a few tasty options.
Try crushed potato chips for a salty crunch, or use breadcrumbs mixed with some melted butter for a different texture. You could also consider panko breadcrumbs for extra crispiness.
If you want something healthier, toasted nuts or seeds can add a nice flavor.
Experiment with these substitutes to find the one that suits your dish best!
Are Funeral Potatoes Gluten-Free?
If you're wondering whether a dish is gluten-free, it's vital to check the ingredients.
In many cases, traditional recipes include gluten-containing items. However, you can easily make a gluten-free version by using alternatives like gluten-free bread crumbs or crushed rice cereal instead of regular ones.
Always verify labels to guarantee no hidden gluten sneaks in. With the right substitutions, you can enjoy the dish without any gluten concerns.
Can I Add Meat to the Recipe?
Absolutely, you can add meat to the recipe!
Whether you choose shredded chicken, diced ham, or crumbled bacon, it'll enhance the dish's flavor and make it more filling.
Just be sure to adjust the other ingredients slightly to balance the extra protein.
Once you mix everything together, you'll create a hearty meal that everyone will enjoy.
Don't hesitate to experiment with different meats to find your perfect combination!
How Do I Store Leftovers?
To store leftovers, start by letting them cool down to room temperature.
Then, transfer them into an airtight container or cover the dish tightly with plastic wrap.
Make sure to label it with the date, so you know when you made it.
You can keep it in the fridge for up to three to four days or freeze it for longer storage.
When you're ready to eat, just reheat it thoroughly!