
Imagine you're trying to replicate that perfect sourdough loaf you enjoyed at a local bakery; the one with a crispy crust and a tangy flavor that lingers. You might think it's just about following a recipe, but the nuances of fermentation, ingredient selection, and timing can make all the difference. As you explore the intricacies of sourdough, you'll discover why each step matters and how they contribute to the final product. Understanding these elements could change your approach to baking entirely, leading you to question what makes your own sourdough unique.
Key Takeaways
- Start with 100 g of active sourdough starter, 500 g of high-protein bread flour, 375 g of warm water, and 12 g of salt.
- Mix ingredients, allowing for a 30-minute autolyse before kneading for 10-15 minutes until smooth.
- Let the dough rise in a warm area for 4-6 hours, performing stretch and fold every 30 minutes to strengthen gluten.
- Shape the dough, proof it in a banneton, and optionally cold retard for 12-24 hours to enhance flavor.
- Preheat oven to 450°F (232°C), score the dough, and bake in a Dutch oven for 30-45 minutes until golden brown.
History

Sourdough bread has a rich history that dates back to ancient Egypt around 1500 BC, where bakers accidentally discovered fermentation while working with grain.
This ancient method relied on wild yeast and lactic acid bacteria, long before commercial yeast became available in the 19th century.
The unique flavor profile and texture of sourdough come from its lengthy fermentation process, embraced by various cultures across Europe and the Middle East.
The COVID-19 pandemic sparked a surge in home bakers eager to create their own sourdough, reviving traditional recipes.
Notably, San Francisco sourdough stands out for its distinctive tangy flavor, a result of the unique strains of bacteria and yeast native to the region, making it a beloved classic.
Recipe
Sourdough Recipe
Sourdough bread is a timeless staple that combines simple ingredients to create a flavorful and textured loaf. The process begins with an active sourdough starter, which is a mixture of flour and water that has fermented over time, giving your bread its distinctive taste and rise.
The beauty of sourdough lies not only in its flavor but also in its artisanal quality, allowing bakers to experiment with various techniques, hydration levels, and fermentation times to achieve their desired outcome.
To embark on your sourdough journey, you'll need to commit some time to allow the dough to develop properly. The fermentation process is key, as it enhances the flavor and texture of the bread.
After mixing the ingredients and allowing the dough to rest, you'll engage in a series of stretch and folds to strengthen the gluten structure. With patience and practice, you'll create a beautifully crusty loaf that's perfect for sandwiches, toast, or simply enjoying on its own.
Ingredients:
- 100 g active sourdough starter
- 375 g warm water
- 500 g bread flour
- 12 g fine sea salt
To make the sourdough, start by mixing the active starter with the warm water in a large bowl until well combined. Gradually add the bread flour and fine sea salt, mixing until a rough dough forms.
Let the dough rest for 30 minutes, then perform 4-5 sets of stretch and folds every 30 minutes over the next 2 hours to develop the gluten. After bulk fermentation, gently shape the dough and place it in a floured proofing bowl.
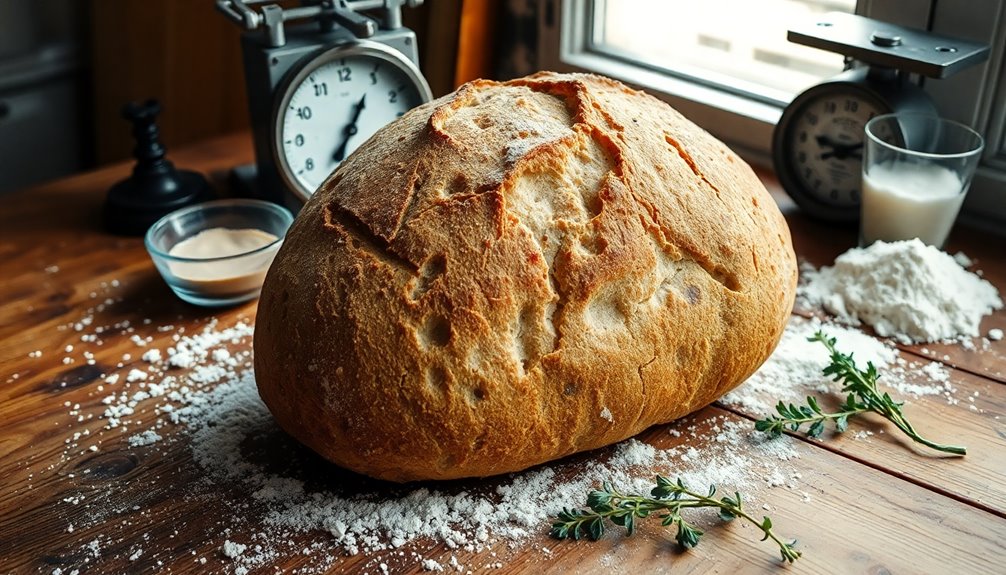
Cover and refrigerate for 12-48 hours, ideally aiming for 24 hours. When ready to bake, preheat your oven and a Dutch oven to 550°F (290°C). Score the top of the dough and bake at 450°F (230°C) for the first 30 minutes covered.
Then, uncover and reduce the temperature to 400°F (200°C) for an additional 10-15 minutes. Once baked, cool the loaf on a wire rack for at least 1 hour before slicing.
For the best results, ensure your sourdough starter is active and bubbly before beginning. The timing of the bulk fermentation and proofing is flexible, so feel free to adjust according to your schedule.
Additionally, using a kitchen scale for measuring your ingredients will help achieve precision and consistency. Keep in mind that the dough may behave differently depending on the temperature and humidity of your environment, so observe its texture and adjust your technique as necessary.
Enjoy the rewarding process of baking your own sourdough!
Cooking Steps

Now that you've got your ingredients ready, it's time to jump into the cooking steps.
Start by feeding your sourdough starter to ensure it's active, then combine the flour and water to create a rough dough.
After that, you'll gently knead the dough and begin the bulk fermentation process to develop that delicious sourdough flavor.
Step 1. Feed Your Sourdough Starter
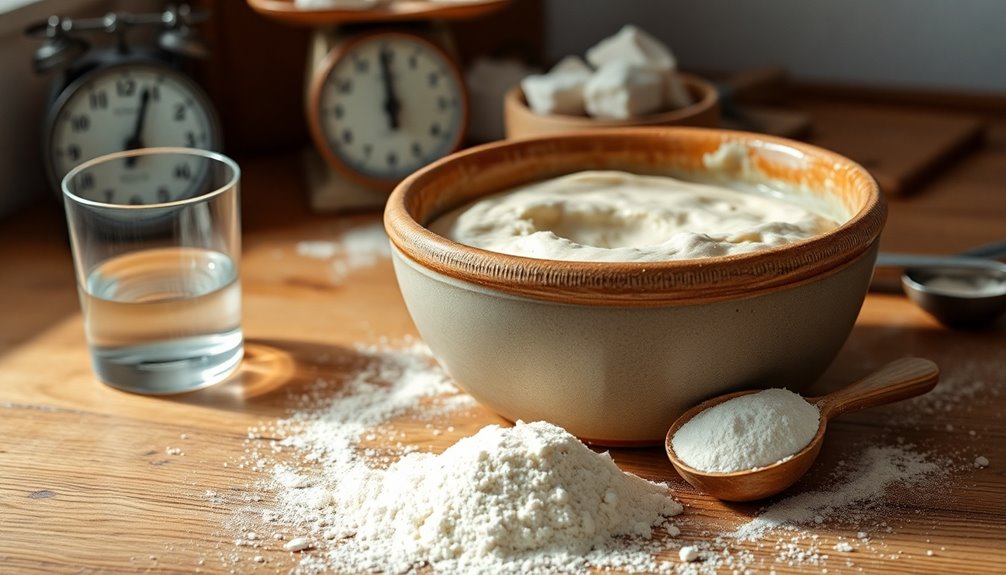
How do you keep your sourdough starter healthy and active?
To feed the starter, mix equal parts of flour and water by weight—typically a 1:1:1 ratio. Use room temperature water (around 75-80°F) to boost yeast activity. Whisk the flour and water together until lump-free and let it rest for about 30 minutes to allow for hydration.
Then, add this mixture back to your existing sourdough starter. After feeding, cover it loosely with a lid or cloth to permit fermentation while preventing contamination. Leave it at room temperature for 4-12 hours until it becomes bubbly and doubles in size.
For optimal performance, aim for regular feedings every 24 hours if kept at room temperature.
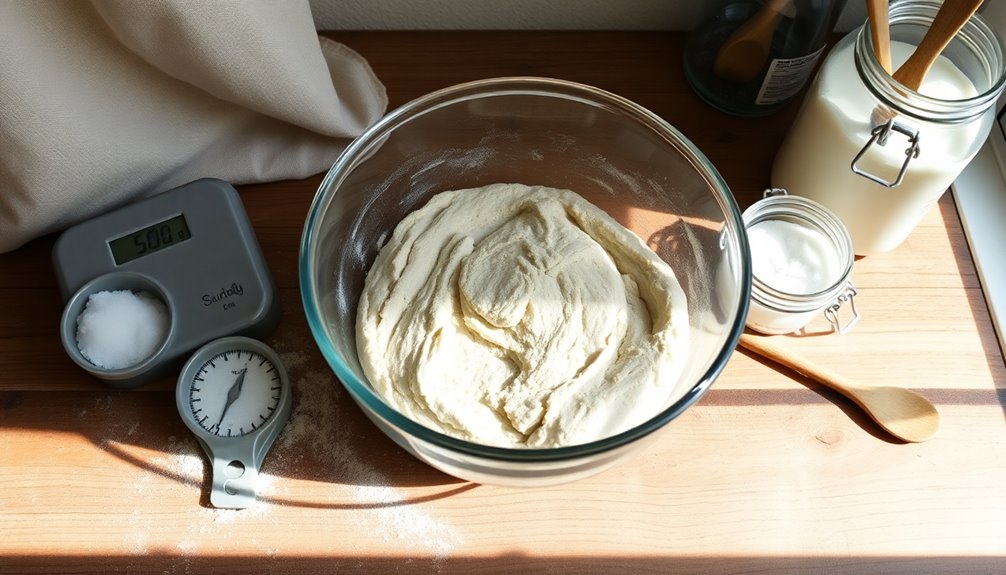
Step 2. Combine Flour and Water

After you've fed your sourdough starter and it's bubbling with activity, it's time to combine flour and water to create the dough.
Start by measuring equal parts of flour and water, typically a 1:1 ratio by weight—like 100g of each. Use filtered or lukewarm water to activate the wild yeasts.
Mix everything together until no dry flour remains, ensuring uniform hydration, which is crucial for gluten development.
Next, let the mixture rest for a 15 to 60-minute autolyse period. This rest period enhances the dough's extensibility and helps with gluten formation.
Once the time's up, incorporate your active sourdough starter and a pinch of salt, mixing until fully integrated to kick off the fermentation process.
Step 3. Knead the Dough Gently
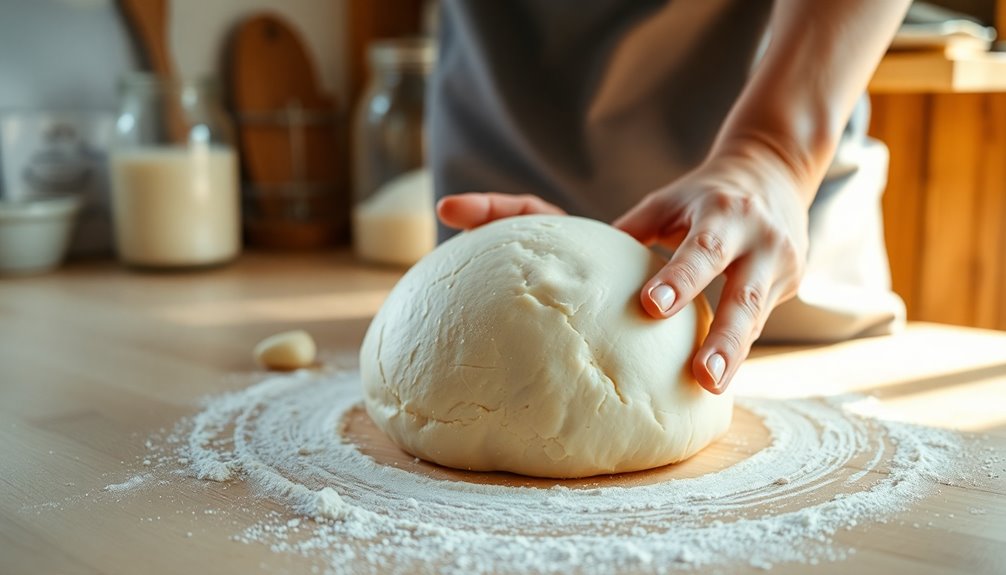
Gently knead the dough to develop its structure without overworking it, which can create a dense loaf. Use your palms to press down and fold the dough over itself. Aim for an elastic dough, which should take about 5-10 minutes of gentle kneading until it springs back when poked.
If you encounter sticky dough, a bench scraper can help manage it and keep your work surface clean. Incorporate small amounts of flour gradually if the dough feels too wet, avoiding drastic changes in hydration.
Step 4. Bulk Fermentation Process
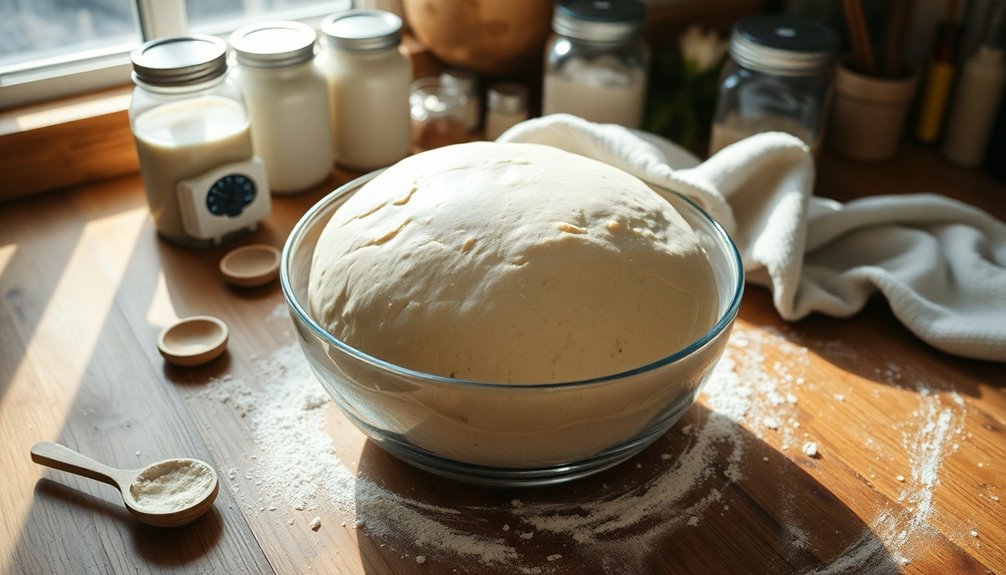
As you embark on the bulk fermentation process, you'll notice it's a crucial stage for developing the dough's flavor and texture. This initial rise lasts 4-6 hours at room temperature, and during this time, your dough should rise, increasing its volume by 50-75%.
To enhance gluten strength, perform stretch and folds every 30 minutes. Look for visual cues like surface bubbles, indicating the fermentation process is on track. Aim for an optimal temperature of 75-80°F (24-26°C) to ensure the dough rises effectively.
Using a digital scale for measuring ingredients helps maintain accuracy, contributing to consistency in your final product. Keep an eye on the volume increase to gauge when it's time to move on to shaping.
Step 5. Shape Dough for Final Rise
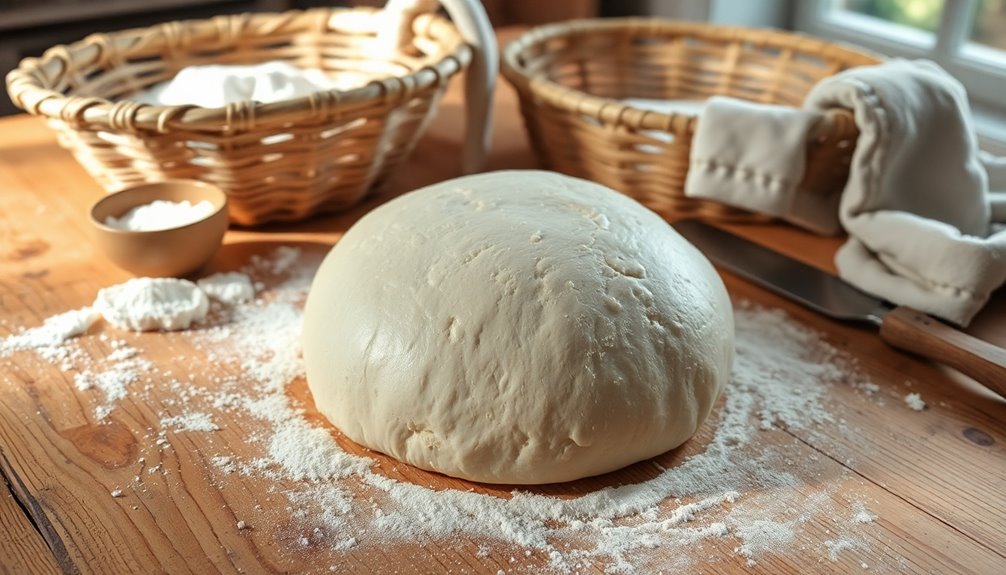
Remove the dough from the bowl and place it on a lightly floured surface to prevent sticking during shaping.
Gently shape the dough by folding it onto itself, creating surface tension that helps maintain its form during the final rise. If you're making multiple loaves, use a bench scraper to divide the dough and shape each portion into a tight ball or oval, depending on your desired final shape.
Next, transfer the shaped dough seam side up into a floured proofing basket to support its structure.
Allow the dough to proof at room temperature for 1-2 hours, or opt for an overnight cold proof to enhance flavor and improve the crumb structure.
Enjoy the process!
Final Thoughts
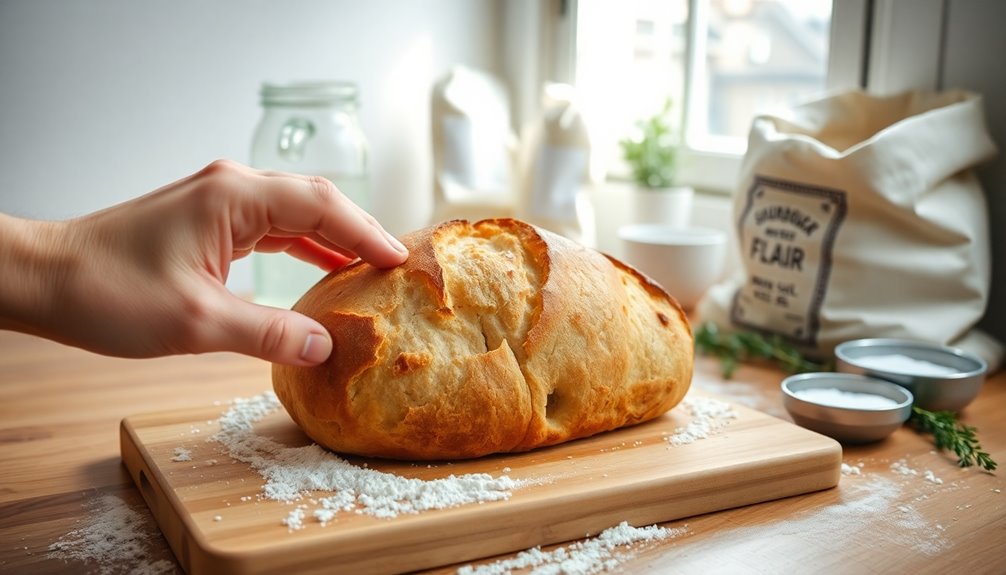
Baking sourdough is a rewarding journey that offers not just delicious bread but also a chance to connect with the art of fermentation.
When you follow a homemade sourdough bread recipe, remember that an active sourdough starter is your best friend. Let it pass the float test before you begin.
During bulk fermentation, take care to adjust the water and flour as needed, especially in humid conditions. Preheat your Dutch oven and bake covered to create steam; this is vital for achieving that perfect crust.
Keep an eye on the internal temperature, and once baked, be patient—cooling the baked sourdough on a wire rack for at least an hour ensures a well-structured crumb.
Enjoy your sourdough recipes!

In the vast and diverse world of coffee, coffee alternatives, and tea, Olivia has found her calling. As an author and a dedicated coffee and tea aficionado, her work for Cappuccino Oracle reflects her profound love and understanding of the intricate complexities found within these beverages. Olivia’s passion for the subject serves as both a catalyst for her creativity and a connection point with her audience.