
You can whip up your own colorful slime with just a few household ingredients! Start by mixing 1 cup of white school glue with 1 cup of water in a bowl. If you want some flair, add food coloring or glitter. Gradually stir in 2-3 tablespoons of contact lens solution and 1 teaspoon of baking soda. Knead the mixture for about 5-10 minutes until you get a smooth, stretchy texture. For the best results, store your slime in an airtight container. It's a fun, creative project, and there's plenty more to discover about customization and variations!
Key Takeaways
- Combine 1 cup of white school glue with 1 cup of water in a mixing bowl for the base.
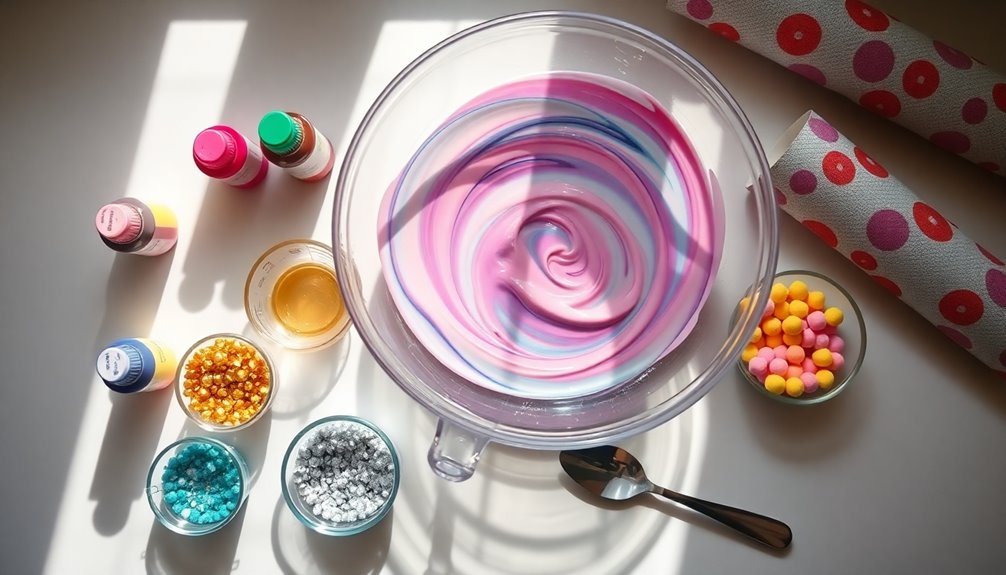
- Add food coloring or glitter to personalize your slime before mixing.
- Gradually mix in 2-3 tablespoons of contact lens solution while stirring continuously.
- Knead the mixture for 5-10 minutes until you achieve a smooth, stretchy texture.
- Store your slime in an airtight container to keep it fresh and ready for play.
Top picks for "slime recipe"
Open Amazon search results for this keyword.
As an affiliate, we earn on qualifying purchases.
History

Slime has a fascinating history that dates back to the 1960s when it was first introduced as a toy by Mattel. You might remember it as a gooey green substance that kids loved to squish and stretch.
Initially marketed as "Slime," it was packaged in a jar and advertised for its fun, messy play. Over the years, this simple toy evolved, inspiring a wave of DIY creations.
By the 1990s, slime became a popular craft project, with countless recipes emerging online. You may have also seen it make a resurgence on social media, enchanting a new generation.
Today, slime isn't just a toy; it's an artistic medium and a sensory experience that continues to entertain and engage people of all ages.
Recipe

Making slime is a fun and creative activity that can be enjoyed by both kids and adults. It's a simple process that allows you to experiment with different colors, textures, and add-ins to create your very own unique slime. The best part is that you can easily make it at home with just a few household ingredients.
Whether you want to create fluffy slime, glitter slime, or even glow-in-the-dark slime, this recipe will provide you with the basic steps to get started.
To begin your slime-making journey, gather your materials and find a clean workspace. It's a good idea to cover your surface with newspaper or a plastic tablecloth to catch any spills. Once you have everything in place, you can plunge into the fun world of slime creation.
This recipe isn't only easy to follow but also allows for endless customization, so feel free to get creative with colors and textures.
Ingredients:
- 1 cup of white school glue
- 1 cup of water
- 1 teaspoon of baking soda
- 2-3 tablespoons of contact lens solution
- Food coloring (optional)
- Glitter or foam beads (optional)
To make the slime, start by mixing the white school glue and water in a bowl until well combined. Next, add the baking soda and stir until fully dissolved.
If you'd like to add color, now is the time to mix in a few drops of food coloring until you achieve your desired shade. Finally, slowly add the contact lens solution while stirring continuously. The mixture will begin to clump together and form slime.
Once it reaches your preferred consistency, knead it with your hands for a smoother texture.
When making slime, it's important to remember that the consistency can vary based on the ingredients used. If your slime is too sticky, you can add a little more contact lens solution until it reaches the right texture.
On the other hand, if it feels too runny, try adding a bit more glue. Also, store your slime in an airtight container to keep it fresh and prevent it from drying out.
Enjoy experimenting and creating different types of slime with various colors and add-ins!
Cooking Steps

To start making your slime, gather all the ingredients you'll need.
Next, mix the glue and water together, adding food coloring if you want a pop of color.
Then, gradually incorporate the borax solution and knead until it becomes smooth.
Step 1. Gather All Ingredients Needed

Before diving into the fun of crafting your own slime, you'll want to gather all the necessary ingredients.
First, pick up some white school glue; it's a classic base for slime. Next, grab a bowl and a mixing spoon to help you combine everything later. You'll also need water to mix with the glue, so have that handy.
For added stretchiness, consider getting some liquid starch or saline solution. If you want to add color, stock up on food coloring or glitter.
Finally, a container for storing your slime is essential when you're done playing.
With all your ingredients assembled, you'll be ready to start creating your slimy masterpiece!
Step 2. Mix Glue and Water

As you prepare to create your slime, start by mixing equal parts of white school glue and water in a bowl.
Grab a measuring cup to guarantee you have the right amounts. Pour the glue into the bowl first, then add the same amount of water.
This mixture will form the base of your slime. Using a spatula or a spoon, stir the glue and water together thoroughly until they're fully combined.
You want a smooth consistency without any lumps. Make certain to scrape the sides of the bowl to incorporate all the glue.
Once it's well mixed, you're ready to move on to the next steps in your slime-making adventure. Enjoy the process and get ready for some fun!
Step 3. Add Food Coloring Optional

Adding food coloring to your slime can transform it into a vibrant creation. If you want to personalize your slime, now's the perfect time to choose a color.
Simply grab your food coloring—gel or liquid works best. Start with one or two drops, but feel free to adjust based on your desired intensity. Mix it into your glue and water mixture thoroughly until you achieve an even color.
If you're feeling adventurous, consider blending different colors for a unique look! Just remember to wear gloves or use a spoon, as food coloring can stain hands and surfaces.
Once you're satisfied with the hue, you can move on to the next step in your slime-making journey. Enjoy your colorful masterpiece!
Step 4. Add Borax Solution Gradually

Once you've mixed the food coloring into your glue and water, it's time to introduce the Borax solution.
Start by slowly adding the solution a little at a time. You want to keep stirring as you pour to guarantee everything blends well.
Watch how the mixture begins to thicken. If it feels too runny, don't hesitate to add a bit more Borax solution, but do it gradually. This way, you can control the slime's consistency.
Remember, you can always add more, but you can't take it out once it's in!
Keep mixing until you achieve a stretchy, gooey texture. Enjoy the transformation as your slime comes to life with each addition!
Step 5. Knead Until Smooth

Get ready to knead your slime until it's smooth and stretchy! After adding the Borax solution, grab your slime and start working it with your hands.
You'll want to fold, press, and squeeze the mixture as you go. The more you knead, the better the texture will become. If it feels sticky at first, don't worry—keep working it, and it'll transform into the perfect consistency.
If it's still too sticky after a few minutes, you can add a tiny bit more Borax solution, but be careful not to overdo it. Knead for about five to ten minutes, or until you're happy with the feel.
Once it's smooth, you're ready to enjoy your newly created slime!
Final Thoughts

As you wrap up your slime-making adventure, it's important to reflect on the fun and creativity this simple recipe offers.
You've explored different textures, colors, and even scents, which can spark your imagination. Whether you made classic slime, glittery varieties, or even fluffy versions, each creation is a proof of your creativity.
Remember, you can customize your slime further by experimenting with add-ins like foam beads or essential oils.
Don't forget to share your creations with friends or family; they'll love seeing what you've made!
Finally, keep in mind the joy of slime-making goes beyond the final product—it's about the memories you create along the way.
Frequently Asked Questions
Is Slime Safe for Children to Play With?
Yes, slime can be safe for children to play with, but it depends on the ingredients used.
You should always check if the materials are non-toxic and suitable for kids. Supervise your children while they play to prevent any accidental ingestion.
If you're making it at home, opt for safe, household ingredients.
Ultimately, with the right precautions, your kids can enjoy hours of fun with slime without worry!
How Can I Store Leftover Slime?
To store leftover slime, you should find an airtight container or a resealable plastic bag.
Make sure it's clean and dry before adding the slime. Then, place the slime inside and seal it tightly to prevent air exposure, which can dry it out.
Store the container in a cool, dry place, avoiding direct sunlight.
When you're ready to play again, simply take it out, and it should be just as fun!
What Happens if Slime Dries Out?
If slime dries out, it'll become hard and lose its stretchy, fun texture.
You might find it crumbles or feels like a solid mass instead of the gooey substance you love.
Once it dries completely, you can't really restore it to its original state.
To prevent this, make sure to store your slime in an airtight container.
Keeping it away from air and moisture helps maintain its playful consistency for longer.
Can I Add Food Coloring to Slime?
Absolutely, you can add food coloring to your slime! It's a fun way to customize it and make it visually appealing.
Just squeeze a few drops of your chosen color into the mixture and knead it until the color's evenly distributed. If you want a more vibrant shade, feel free to add more color gradually.
How Do I Clean up Slime Spills?
When you spill slime, don't panic! First, grab a paper towel or cloth to gently blot the spill, avoiding any rubbing that could spread it.
If it's dried, use a plastic spatula or your fingers to scrape it off. For stubborn residue, warm soapy water works wonders. Just soak the area, then scrub lightly.
Finally, rinse with clean water and dry the surface. You'll have everything cleaned up in no time!