You're about to whip up some delicious Nestlé Toll House cookies, a classic recipe loved for decades. Start by preheating your oven to 375°F. Mix 2 ¼ cups of flour and ½ teaspoon of baking soda. In another bowl, cream together 1 cup of softened unsalted butter, ¾ cup of granulated sugar, and ¾ cup of packed brown sugar. Stir in 2 cups of semi-sweet chocolate chips. Scoop the dough onto ungreased baking sheets, spacing them two inches apart. Bake for 9 to 11 minutes until golden. With these steps, you're on your way to cookie perfection—keep going for more tips and variations!
Key Takeaways
- The classic Nestle Toll House cookie features a buttery dough balanced with semi-sweet chocolate chips, creating an iconic American treat.
- Key ingredients include all-purpose flour, unsalted butter, granulated sugar, brown sugar, baking soda, and chocolate chips, with optional nuts.
- Preheat your oven to 375°F (190°C) and bake cookies for 9 to 11 minutes until golden brown edges form.
- For best results, ensure butter is softened, and consider chilling sticky dough for easier handling before baking.
- Allow cookies to cool on wire racks, enhancing their texture and flavor before enjoying with a glass of milk.
History

The history of the Nestle Toll House cookie begins in the 1930s, when Ruth Wakefield, the owner of the Toll House Inn in Massachusetts, decided to add chocolate to her butter cookie recipe.
She didn't realize that her simple twist would lead to a nationwide sensation. Wakefield's creation featured semi-sweet chocolate chunks, which melted beautifully during baking.
The cookies soon became a favorite among her inn's guests, and word spread quickly. Nestlé took notice and struck a deal with Wakefield to feature her recipe on their chocolate packaging.
This collaboration transformed the cookie into an iconic treat, solidifying its place in American culture.
Today, you can still find the classic Nestle Toll House cookie enjoyed in homes across the country.
Recipe

Nestle Toll House cookies are a classic treat that has delighted cookie lovers for generations. With their perfect balance of sweet chocolate chips and buttery dough, these cookies are perfect for any occasion—from family gatherings to a quiet evening at home. The recipe is simple and requires only a few basic ingredients, making it an ideal choice for both novice and experienced bakers alike.
Whether you enjoy them warm from the oven or cooled with a glass of milk, these cookies are certain to satisfy your sweet tooth. To start your baking adventure, gather your ingredients and preheat your oven to 375°F (190°C). This guarantees that your cookies will bake evenly and come out perfectly golden brown. Following the steps carefully will help you achieve that delightful chewy texture and rich flavor that everyone loves.
So, roll up your sleeves, and let's get baking!
Ingredients:
- 2 1/4 cups all-purpose flour
- 1/2 teaspoon baking soda
- 1 cup unsalted butter, softened
- 3/4 cup granulated sugar
- 3/4 cup packed brown sugar
- 1 teaspoon salt
- 2 teaspoons pure vanilla extract
- 2 large eggs
- 2 cups semi-sweet chocolate chips
- 1 cup chopped nuts (optional)
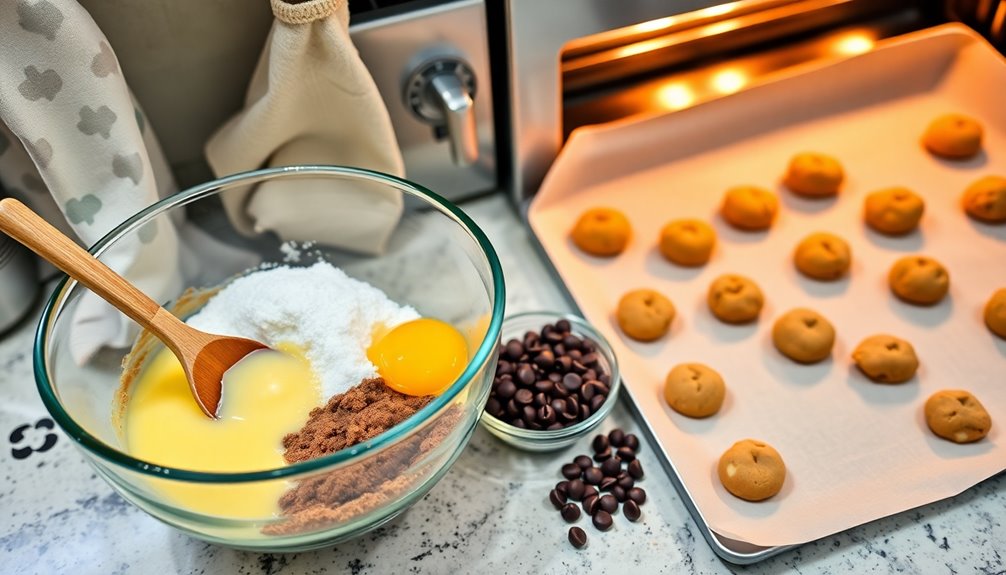
In a large mixing bowl, combine the flour and baking soda; set aside. In another bowl, beat the softened butter, granulated sugar, brown sugar, and salt until creamy.
Add in the vanilla extract and eggs, one at a time, mixing well after each addition. Gradually add the flour mixture to the wet ingredients, stirring until just combined. Fold in the chocolate chips and nuts if desired.
Drop rounded tablespoons of dough onto ungreased baking sheets, spacing them about 2 inches apart. Bake for 9 to 11 minutes, or until the edges are golden brown. Cool on the baking sheets for a few minutes before transferring them to wire racks to cool completely.
For a successful baking experience, make sure your butter is at room temperature to achieve a creamy consistency. Also, if you want to enhance the flavor of your cookies, consider using a mix of chocolate chips—dark, milk, and even white chocolate can add a delightful twist.
If you find the dough too sticky, chilling it in the refrigerator for about 30 minutes can make it easier to handle. Enjoy your homemade Nestle Toll House cookies!
Cooking Steps
To get started on your Nestle Toll House cookies, you'll first need to preheat your oven to 375°F.
Once that's done, mix your dry ingredients together before adding those delicious chocolate chips.
With everything ready, you can scoop the dough onto your baking sheet and get ready to bake!
Step 1. Preheat Oven to 375°F
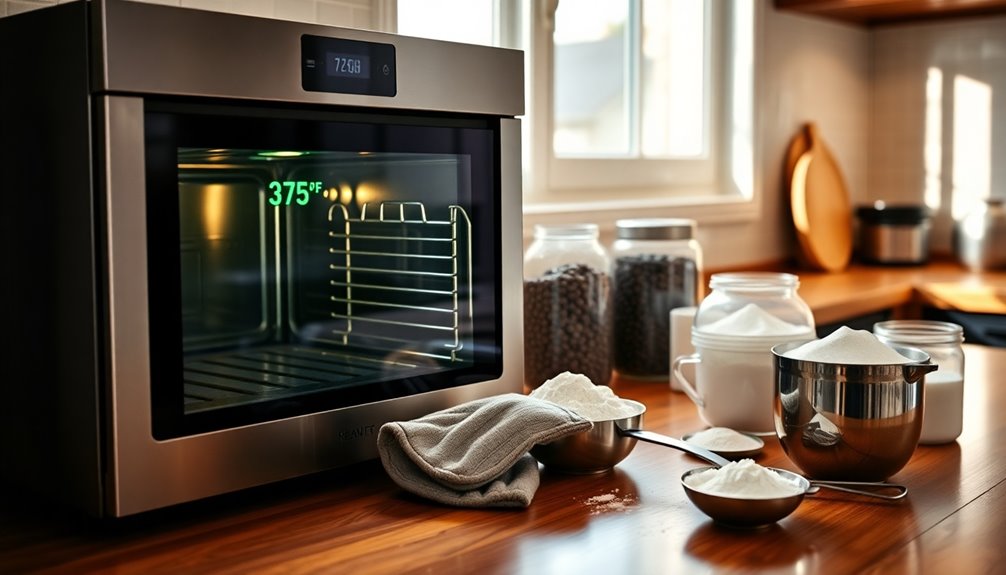
Before you plunge into mixing your ingredients, preheating your oven to 375°F is essential for achieving those perfectly baked Nestle Toll House cookies.
This step guarantees that your cookies bake evenly and develop that golden-brown color you love. To preheat, simply turn your oven dial or press the appropriate button, and wait for it to reach the desired temperature.
You can use this time to gather your other ingredients and tools, making sure you're ready to go once your oven signals it's hot enough.
Step 2. Mix Dry Ingredients Together
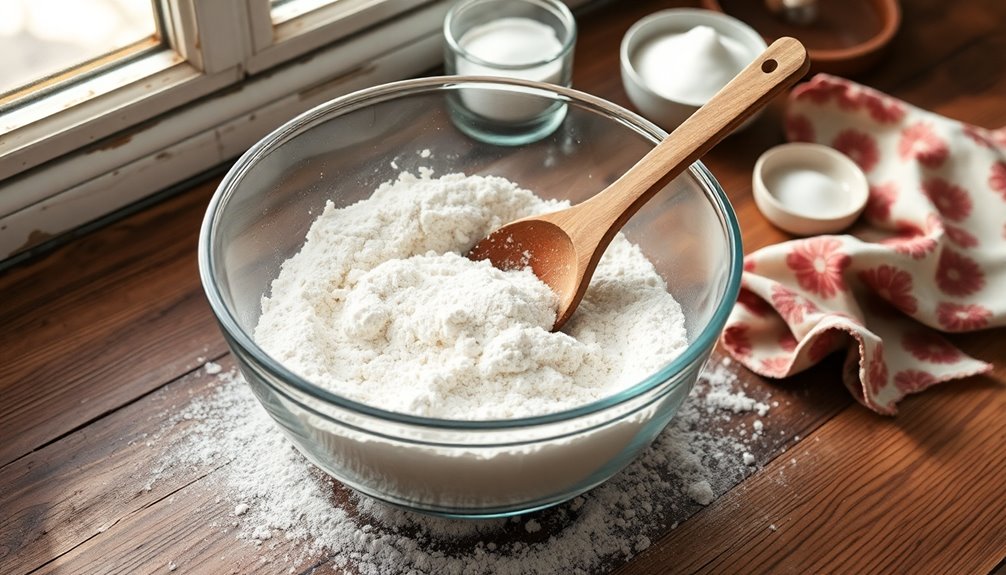
Start by combining your dry ingredients in a mixing bowl. Measure out 2 1/4 cups of all-purpose flour, 1 teaspoon of baking soda, and 1 teaspoon of salt.
Whisk these ingredients together until they're well blended. This step guarantees that the baking soda and salt are evenly distributed throughout the flour, which is vital for achieving that perfect cookie texture.
Take a moment to break up any clumps in the flour to avoid uneven mixing. Once everything's combined, set the bowl aside.
You're now ready to move on to the next step, where you'll be mixing your wet ingredients. Getting the dry mix right sets the foundation for delicious, chewy cookies, so pay attention to these details!
Step 3. Add Chocolate Chips

With your dry ingredients ready, it's time to incorporate the chocolate chips that will give your cookies their signature flavor.
Grab your bag of semi-sweet chocolate chips and pour about two cups into your mixing bowl. Gently fold them into the dough using a spatula, ensuring they're evenly distributed.
This step is essential, as it guarantees every bite is packed with that rich, chocolatey goodness. Be careful not to overmix—just enough to combine the chips without breaking them apart.
Once you see a lovely blend of dough and chocolate, you're set for the next step. The anticipation builds as you prepare to transform this delicious mixture into freshly baked cookies that everyone will love!
Step 4. Scoop Dough Onto Baking Sheet

Now it's time to scoop the dough onto your baking sheet.
Grab a cookie scoop or a tablespoon for uniform cookies. Line your baking sheet with parchment paper to prevent sticking and make cleanup easy.
Take a scoop of dough and release it onto the sheet, leaving about two inches between each mound. This spacing lets the cookies spread without merging into one another.
If you prefer larger cookies, use a bigger scoop, but adjust your baking time accordingly.
Once you've filled the sheet, take a moment to admire your work. You'll soon have delicious cookies ready to enjoy!
Make sure all the dough is evenly distributed for consistent baking results.
Happy scooping!
Step 5. Bake for 9-11 Minutes

As the cookies begin to take shape on the baking sheet, it's time to pop them into the oven.
Preheat your oven to 375°F (190°C) if you haven't already. Carefully slide the baking sheet onto the middle rack and set a timer for 9 minutes.
Keep a close eye on the cookies as they bake; you want them to be golden brown around the edges while still soft in the center. If you prefer a chewier texture, take them out on the earlier side.
Once the timer goes off, check for doneness, and if necessary, let them bake for an additional minute or two.
Afterward, allow the cookies to cool on the baking sheet for a few minutes before transferring them to a wire rack.
Enjoy!
Final Thoughts

While baking Nestle Toll House cookies can be a delightful experience, the joy truly lies in sharing them with friends and family.
The aroma wafting through your kitchen creates anticipation, making each bite even sweeter when enjoyed together.
Don't forget to get everyone involved—whether it's mixing the dough or decorating the cookies, these moments forge lasting memories.
Frequently Asked Questions
Can I Substitute Butter for Margarine in the Recipe?
Yes, you can substitute butter for margarine in most recipes.
Just remember that butter has a richer flavor and creamier texture, so it might slightly alter the final taste.
If you're looking for a healthier option, margarine can work well, but choose one that's high in healthy fats.
Keep in mind that the consistency might differ a bit, so you may need to adjust baking times for the best results.
How Can I Store Leftover Cookies?
To store leftover cookies, you'll want to keep them fresh and tasty. Start by letting them cool completely, then place them in an airtight container.
You can line the container with parchment paper to prevent sticking. If you've got soft cookies, add a slice of bread to help retain moisture.
For longer storage, consider freezing them in a freezer-safe bag. Just remember to let them thaw before enjoying again!
What Is the Best Way to Freeze Cookie Dough?
To freeze cookie dough effectively, start by portioning it into individual balls or scoops.
Place them on a baking sheet lined with parchment paper and freeze until solid.
Once frozen, transfer the dough balls to a resealable plastic bag or airtight container, labeling it with the date.
You can store them for up to three months.
When you're ready to bake, just pop them in the oven right from the freezer—no thawing necessary!
Are There Gluten-Free Options for This Recipe?
Yes, there are gluten-free options for cookie recipes!
You can substitute regular all-purpose flour with a gluten-free flour blend, which often works well in most cookie recipes. Make sure the blend includes xanthan gum, as it helps mimic the texture of traditional flour.
If you're using a specific gluten-free product, check the package for measurements.
You'll enjoy delicious cookies without the gluten, and your friends and family won't even notice the difference!
How Long Do Baked Cookies Last at Room Temperature?
Baked cookies generally last about 3 to 5 days at room temperature if stored properly.
To keep them fresh, you should place them in an airtight container away from direct sunlight and humidity.
If you notice any signs of mold or an off smell, it's best to toss them.
For longer storage, consider freezing cookies, which can extend their shelf life for several months without sacrificing flavor or texture.