To make naan bread at home, start by mixing 2 cups of all-purpose flour, 1 teaspoon of active dry yeast, 1 teaspoon of sugar, and 1 teaspoon of salt. In another bowl, combine 2 tablespoons of yogurt with 1/2 cup of warm water and let the yeast activate. Gradually add this mixture to your dry ingredients and knead until smooth. Let the dough rise for about an hour, then shape it into ovals. Bake in a preheated oven at 500°F for 2-3 minutes until puffed and golden. Your homemade naan's ready to enjoy with tasty dishes! There's more to explore.
Key Takeaways
- Combine 2 cups all-purpose flour, 1 teaspoon yeast, 1 teaspoon sugar, and 1 teaspoon salt in a bowl for the dry ingredients.
- Mix 2 tablespoons yogurt with 1/2 cup warm water to activate the yeast before adding to the dry mixture.
- Knead the dough for 5-10 minutes until smooth, then let it rise in a warm place for 1-2 hours until doubled.
- Shape the risen dough into balls, roll them into ovals, and cook at 500°F (260°C) for 2-3 minutes until puffed and golden.
- Serve warm with toppings like butter, garlic, or alongside curries, stews, and dips for a delightful meal.
History
Naan bread has a rich history that dates back thousands of years, and it's fascinating how it evolved across different cultures.
Originating in Central Asia, this flatbread spread through the Indian subcontinent, adapting to local tastes and cooking methods. You might find it interesting that naan was traditionally baked in clay tandoor ovens, giving it a unique texture and flavor.
Over time, various regions added their own twists, incorporating ingredients like yogurt or garlic. In India, naan became a staple, often served with rich curries and grilled meats.
Today, you can enjoy countless variations, from plain to stuffed, reflecting the diverse culinary heritage it represents. Each bite connects you to a long-standing tradition that transcends time and geography.
Recipe
Naan bread is a delicious, soft, and fluffy Indian flatbread that pairs perfectly with a variety of dishes, from rich curries to aromatic stews. Traditionally cooked in a tandoor, naan can easily be made at home using a skillet or oven. This recipe will guide you through the process of creating your own naan, ensuring that each bite is warm and flavorful.
To achieve the perfect texture, it's important to allow the dough to rise properly and to cook the naan at a high temperature. You can customize your naan by adding garlic, herbs, or even cheese to the dough or as a topping. Once you master this simple recipe, you'll be able to impress your family and friends with homemade naan that tastes just like the ones from your favorite Indian restaurant.
Ingredients:
- 2 cups all-purpose flour
- 1 teaspoon sugar
- 1 teaspoon salt
- 1 teaspoon baking powder
- 2 tablespoons plain yogurt
- 3/4 cup warm water
- 2 tablespoons olive oil or melted butter
- Extra flour for dusting
- Optional: minced garlic, chopped cilantro, or sesame seeds for topping
Instructions:
In a large mixing bowl, combine the flour, sugar, salt, and baking powder. Make a well in the center, then add the yogurt and warm water. Mix until a sticky dough forms.
Knead the dough on a floured surface for about 5-7 minutes until smooth and elastic. Place the dough in a lightly oiled bowl, cover it with a damp cloth, and let it rise in a warm place for about 1-2 hours, or until it has doubled in size.
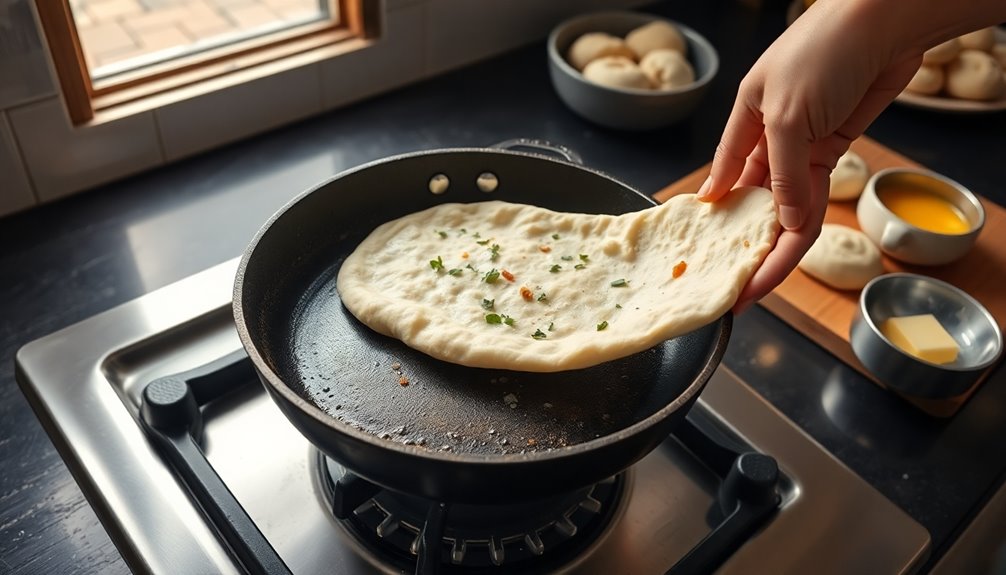
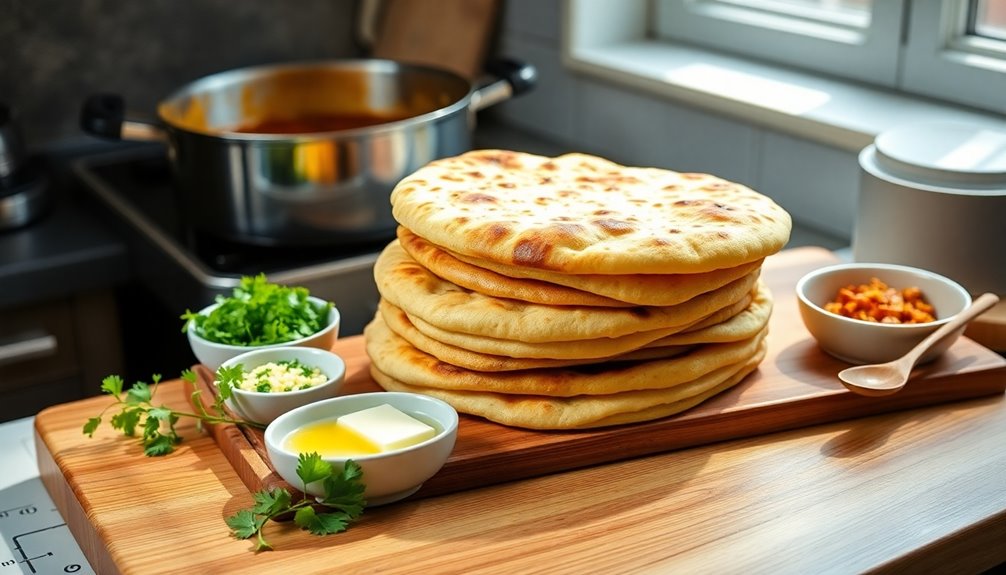
Once risen, punch down the dough and divide it into equal portions. Roll each portion into a ball, then flatten it into an oval or round shape. Heat a skillet over medium-high heat, and cook each naan for about 2-3 minutes on each side, or until bubbles form and the bread is golden brown.
Brush with melted butter or oil, and add toppings as desired.
Extra Tips:
For a more authentic flavor, consider adding a teaspoon of garlic powder or fresh minced garlic to the dough. If you want to achieve a smoky flavor similar to tandoor-cooked naan, you can briefly broil the naan in the oven after cooking on the skillet.
Adjust the thickness of your naan to your preference, but keep in mind that thicker naan will take longer to cook. Serve your naan warm, and enjoy it with your favorite Indian dishes!
Cooking Steps
Now that you have your ingredients ready, it's time to get cooking!
Start by mixing warm water and yeast, then add sugar and flour to create your dough.
Kneading it until smooth is essential before letting it rise for an hour.
Step 1. Mix Warm Water and Yeast
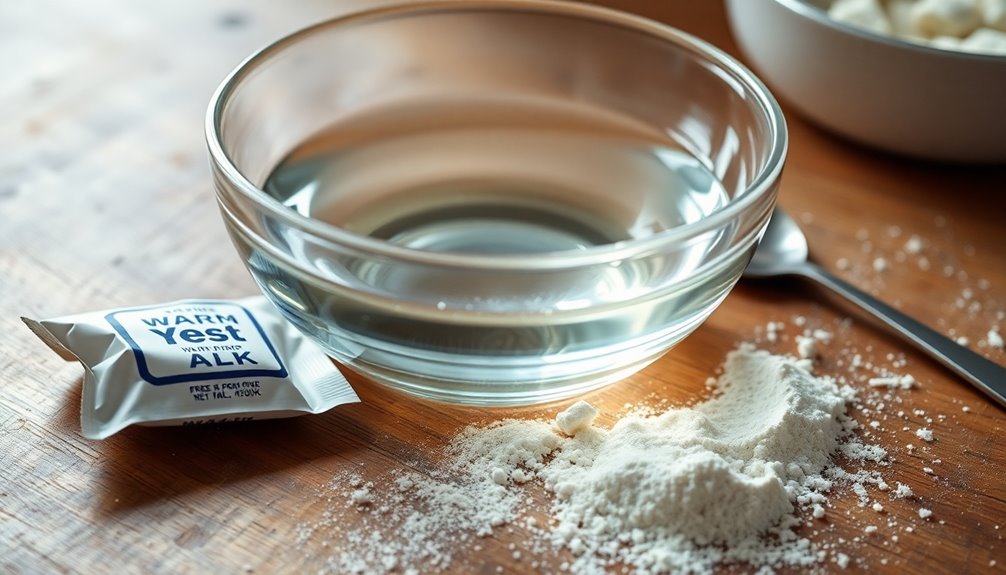
To kick off the process, combine warm water and yeast in a small bowl. Make sure the water's warm but not hot; it should feel cozy to the touch.
Sprinkle the yeast over the surface of the water, ensuring it's evenly distributed. Let this mixture sit for about 5 to 10 minutes until it becomes frothy and bubbly.
This step activates the yeast, which is essential for your naan's light and fluffy texture. Keep an eye on it; if it doesn't froth, the yeast might be inactive. In that case, it's best to start over with fresh yeast.
Once it's ready, you're set to move on to the next step in creating your delicious naan bread!
Step 2. Add Sugar and Flour
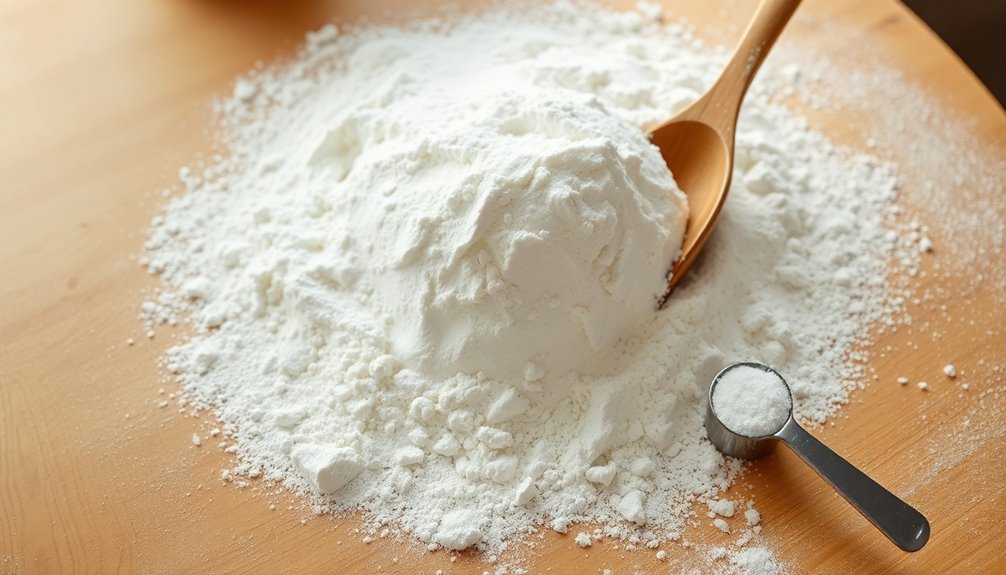
Once your yeast mixture is frothy, you'll want to stir in a tablespoon of sugar, which helps feed the yeast and enhances the naan's flavor.
Next, add three cups of all-purpose flour gradually, mixing it in with a wooden spoon or your hands. This step is essential as it creates the dough's structure.
As you incorporate the flour, the mixture will start to come together. If it feels too sticky, you can sprinkle in a little extra flour until it's manageable.
Keep mixing until you see no dry flour remaining. You're aiming for a soft, elastic dough that's not overly wet.
Interestingly, the process of kneading the dough also helps to develop gluten structure, which is crucial for achieving the perfect naan texture.
Once you've got the right consistency, you're ready to move on to the next step.
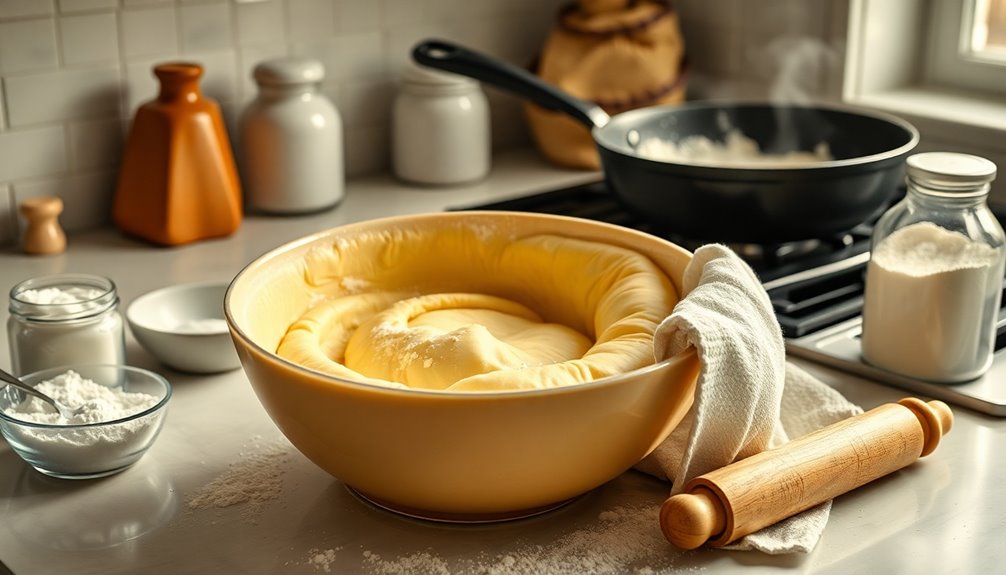
Step 3. Knead Dough Until Smooth
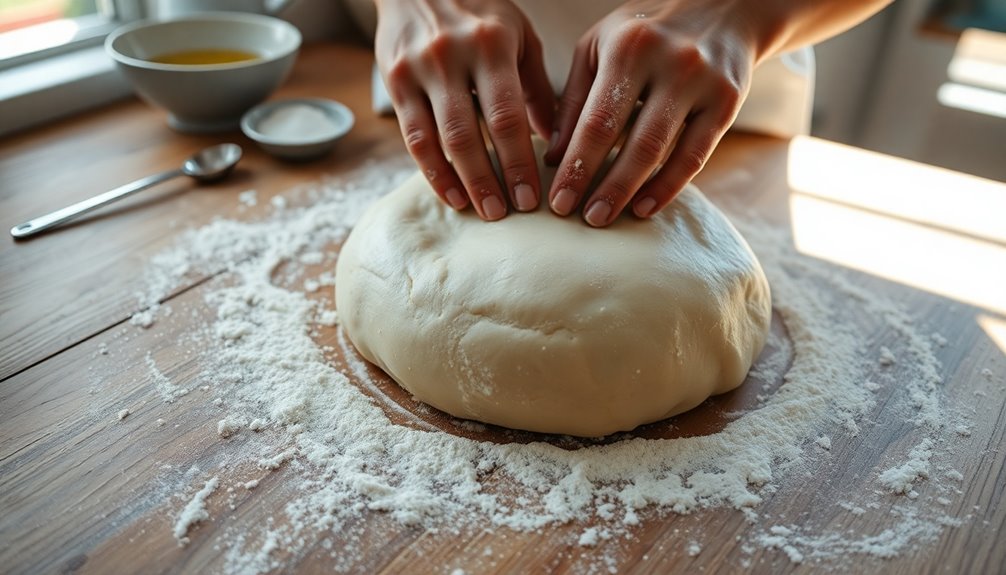
After achieving the right dough consistency, it's time to knead it until smooth. Dust your countertop lightly with flour, then place the dough on the surface.
Using the heel of your hand, push the dough away from you, then fold it back over itself. Rotate the dough a quarter turn and repeat this process.
You'll want to knead for about 8-10 minutes, adding flour as needed to prevent sticking. The dough should become elastic and soft, feeling slightly tacky but not sticky.
To check if it's ready, poke it with your finger; it should spring back gently. Once it's smooth and pliable, you're all set for the next step!
Enjoy the satisfying feel of well-kneaded dough.
Step 4. Let Dough Rise for an Hour
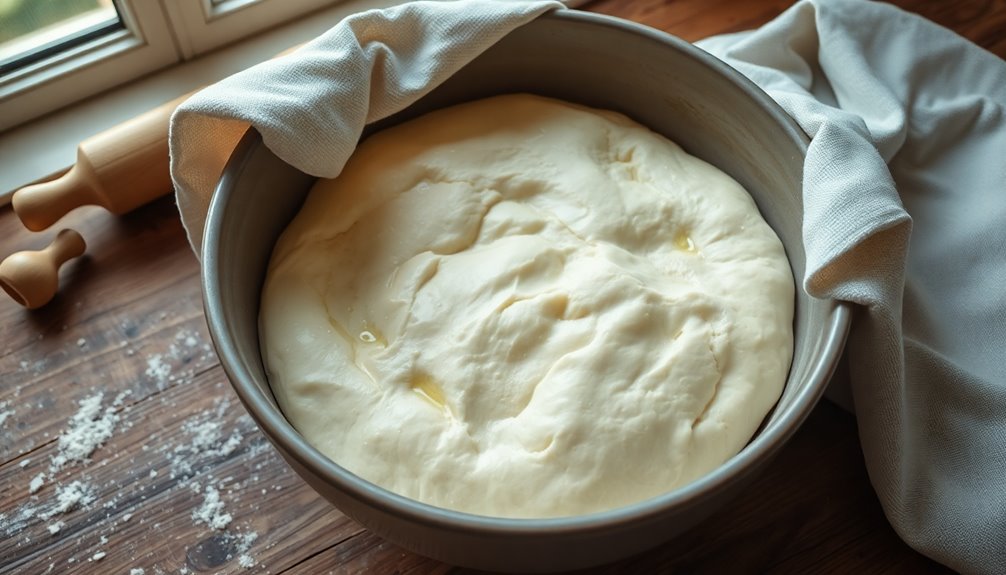
Cover the kneaded dough with a clean, damp cloth and let it rest in a warm, draft-free spot for about an hour.
This resting period is essential as it allows the yeast to work its magic, causing the dough to rise and develop flavor.
You should notice the dough expanding in size, becoming airy and soft.
Make sure the environment is warm enough, as a cooler room can slow down the rising process.
If it's too cold, consider placing the dough near a warm oven or in a sunny spot.
Once the hour is up, check the dough; it should have roughly doubled in size.
You're now ready for the next steps in creating delicious naan bread!
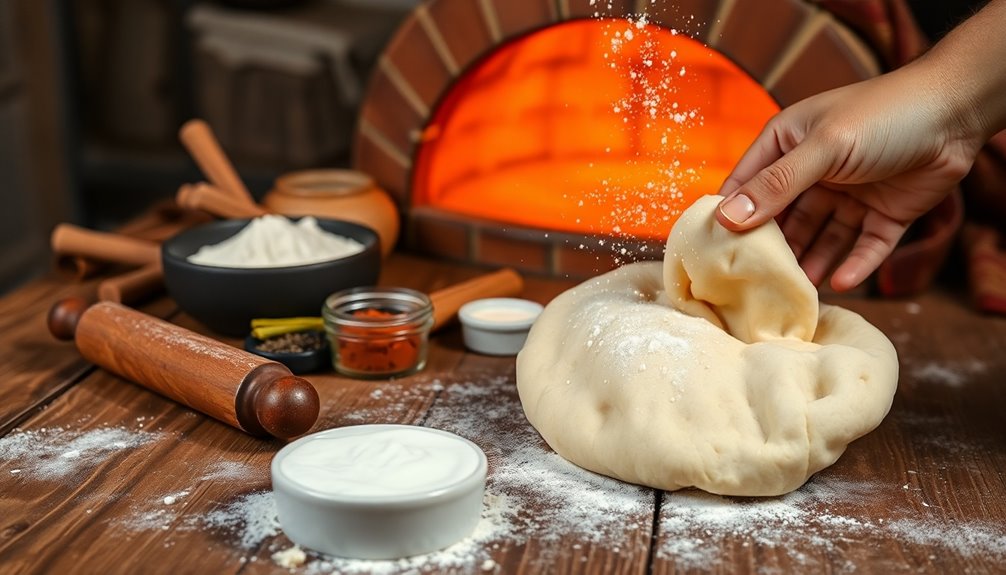
Step 5. Shape Dough Into Balls
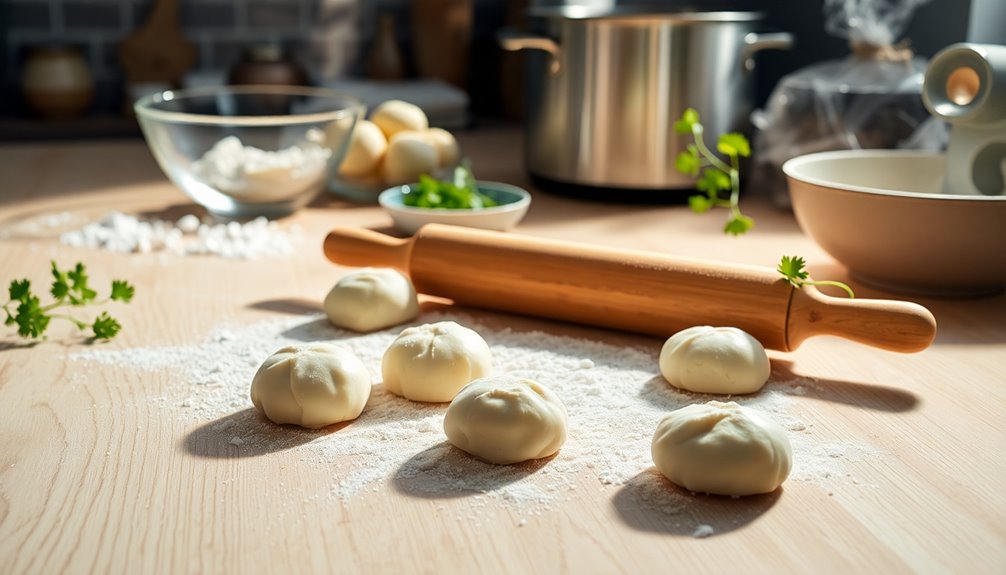
Now that your dough has risen beautifully, it's time to shape it into balls.
Start by lightly dusting your work surface with flour to prevent sticking. Take your dough and gently punch it down to release excess air.
Divide the dough into equal portions, about the size of a golf ball. Roll each piece between your palms to form smooth balls.
Don't worry if they're not perfect; a little rustic charm adds character!
Once shaped, place the balls on a floured baking sheet, leaving space between them to rise again.
Cover them with a clean kitchen towel and let them rest for another 15-20 minutes.
You're one step closer to delicious naan!
Final Thoughts
As you wrap up your naan bread journey, it's clear that mastering this recipe not only enhances your culinary skills but also brings a touch of warmth to your meals.
You've learned to mix, knead, and shape the dough, creating a delightful bread that pairs perfectly with various dishes. Each step, from letting the dough rise to cooking it on a hot surface, contributes to that authentic flavor and texture.
Remember, practice makes perfect, so don't hesitate to experiment with toppings or spices to suit your taste. Share your naan with friends and family; it's sure to impress.
Enjoy the satisfaction of creating something delicious from scratch, and keep this recipe handy for your future gatherings. Happy cooking!
Frequently Asked Questions
Can I Use Whole Wheat Flour Instead of All-Purpose Flour?
Yes, you can use whole wheat flour instead of all-purpose flour.
However, keep in mind that whole wheat flour has a denser texture and a nuttier flavor, which might alter the final product.
You might need to adjust the liquid content, as whole wheat absorbs more moisture.
It's a healthier option, so if you enjoy the taste, go ahead and give it a try!
You might discover a new favorite alternative.
How Can I Store Leftover Naan Bread?
To store leftover naan bread, you've got a couple of options.
First, wrap it tightly in plastic wrap or aluminum foil to keep it fresh. You can also place it in an airtight container.
If you won't eat it within a few days, freeze it for up to a month. Just make sure to separate the pieces with parchment paper to prevent sticking.
When you're ready, reheat it in the oven or on a skillet.
Can Naan Bread Be Frozen for Later Use?
Yes, you can freeze naan bread for later use!
Just make sure it's completely cooled before wrapping it tightly in plastic wrap or aluminum foil.
You can also place it in an airtight container or a resealable plastic bag to prevent freezer burn.
When you're ready to enjoy it, simply thaw it in the fridge or warm it in the oven.
This way, you'll have delicious naan ready whenever you want!
What Are Some Popular Toppings for Naan Bread?
When it comes to toppings for naan bread, you've got plenty of delicious options. You can spread garlic butter for a savory kick, or sprinkle fresh herbs like cilantro for a burst of freshness.
If you're in the mood for something spicy, add a drizzle of chili oil. For a creamy touch, try a dollop of yogurt or tzatziki.
You can even top it with cheese for a gooey, indulgent treat. Enjoy experimenting!
Is Naan Bread Gluten-Free?
Naan bread isn't gluten-free; it's made with wheat flour, which contains gluten.
If you're looking for a gluten-free option, you'll want to explore alternatives like gluten-free flatbreads or make your own using gluten-free flours.
There are many recipes available that can help you achieve a similar texture and taste without the gluten.
Always check labels or ingredients to verify what you're consuming fits your dietary needs.

Arf, an author and an innovative enthusiast of coffee, coffee alternatives, and tea, plays a crucial role as a contributor to the esteemed Cappuccino Oracle platform. Renowned for his curiosity and passion for these captivating beverages, Arf has carved out a unique space for himself in the world of exploration and writing. He realized that coffee, coffee alternatives, and tea are not mere drinks to keep one awake, but universes of flavors and stories waiting to be explored.