
Making a milkshake at home is simple and fun! You'll need 2 cups of vanilla ice cream, 1 cup of milk, and a teaspoon of vanilla extract. Blend them together until smooth and creamy. If you like a thicker shake, add more ice cream; for a thinner one, pour in extra milk. Feel free to get creative with flavors or add toppings like whipped cream or chocolate syrup. For a invigorating twist, chill your glasses beforehand. Enjoy creating your own unique milkshake masterpieces and discover how to elevate your treat game even further!
Key Takeaways
- Combine 2 cups of vanilla ice cream, 1 cup of milk, and 1 tsp of vanilla extract in a blender.
- Blend until smooth; adjust thickness by adding more ice cream or milk as desired.
- Chill glasses in the freezer for 10-15 minutes for a refreshing experience.
- Enhance flavors with optional mix-ins like crushed cookies or chocolate chips.
- Top with whipped cream, chocolate syrup, or cherries for a delicious finish.
Top picks for "milkshake recipe"
Open Amazon search results for this keyword.
As an affiliate, we earn on qualifying purchases.
History
The history of milkshakes dates back to the late 19th century, when they were originally served as a whiskey drink mixed with eggs and cream.
Over time, the drink began to evolve, and by the early 20th century, it shifted into a sweet, non-alcoholic treat. You'd find it made with milk, ice cream, and flavorings like chocolate or vanilla.
The milkshake gained popularity in soda fountains, becoming a staple of American culture. By the 1930s, blenders became common in homes and diners, making it easier to whip up a milkshake.
This delicious drink continued to gain traction, and today, you enjoy countless variations, from classic flavors to trendy concoctions, keeping this delightful history alive with every sip.
Recipe

Milkshakes are a delicious and indulgent treat that can be enjoyed at any time of the year. Whether you're looking to cool down on a hot day or satisfy a sweet craving, a milkshake is the perfect solution.
With endless flavor combinations, you can customize your milkshake to suit your taste preferences. From classic chocolate and vanilla to more adventurous flavors like strawberry-banana or cookies and cream, the options are truly limitless.
Making a milkshake at home is simple and requires just a few ingredients. The key to a perfect milkshake is achieving the right balance of creaminess and flavor. You can use ice cream, milk, and your favorite mix-ins to create a thick and delicious shake.
In this recipe, we'll guide you through the process of making a basic vanilla milkshake, which can be easily modified with your favorite flavors or toppings.
Ingredients:
- 2 cups vanilla ice cream
- 1 cup milk
- 1 teaspoon vanilla extract
- Whipped cream (for topping)
- Chocolate syrup (optional)
- Cherries (optional)
Instructions:
In a blender, combine the vanilla ice cream, milk, and vanilla extract. Blend on high speed until smooth and creamy, ensuring there are no lumps.
If you prefer a thicker milkshake, add more ice cream; for a thinner consistency, add more milk. Once blended to your desired thickness, pour the milkshake into tall glasses and top with whipped cream, a drizzle of chocolate syrup, and a cherry if desired.
Extra Tips:
For an extra special milkshake, consider adding mix-ins like crushed cookies, chocolate chips, or fresh fruit before blending.
You can also experiment with different ice cream flavors and syrups to create unique variations. For a fun presentation, rim the glasses with crushed graham crackers or sprinkles before pouring in the milkshake.
Enjoy your delicious creation!
Cooking Steps
To make your perfect milkshake, you'll want to gather all the ingredients and equipment first.
Once you have everything ready, blend the ingredients thoroughly for that creamy texture.
Finally, don't forget to chill your glasses before serving and add your favorite toppings!
Step 1. Gather Ingredients and Equipment
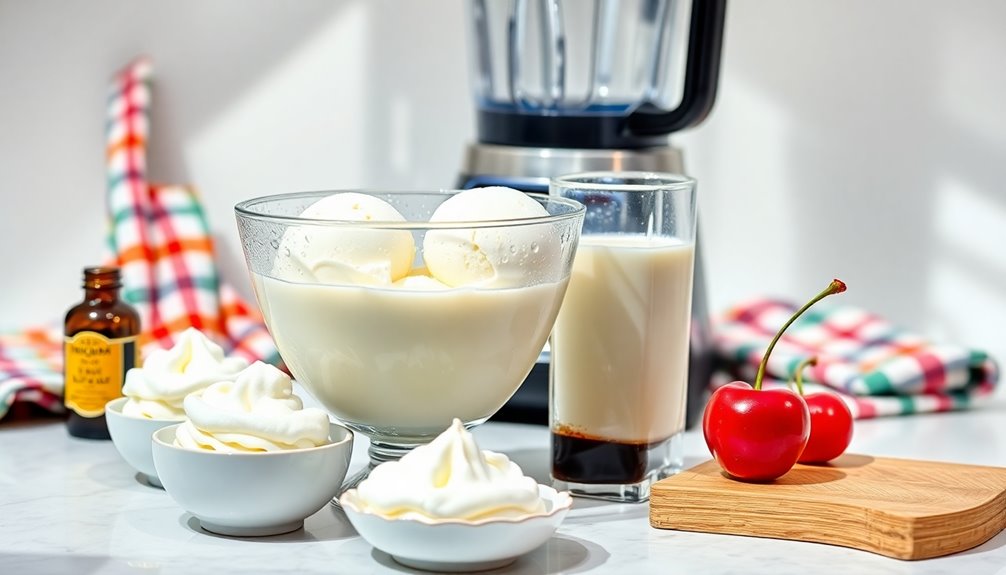
Before diving into the delicious world of milkshakes, you'll want to gather all your ingredients and equipment.
Start with the basics: you'll need ice cream, milk, and any flavorings or mix-ins you prefer, like chocolate syrup or fresh fruit. Choose your favorite ice cream flavor—it can really make or break your milkshake!
Next, grab your equipment: a blender is essential for mixing everything together.
If you want a thicker shake, keep a measuring cup handy to control the milk amount. Don't forget a sturdy straw or a long spoon for enjoying your creation!
Having everything within reach will make the process smoother and more enjoyable. Now you're ready to get blending!
Step 2. Blend Ingredients Thoroughly
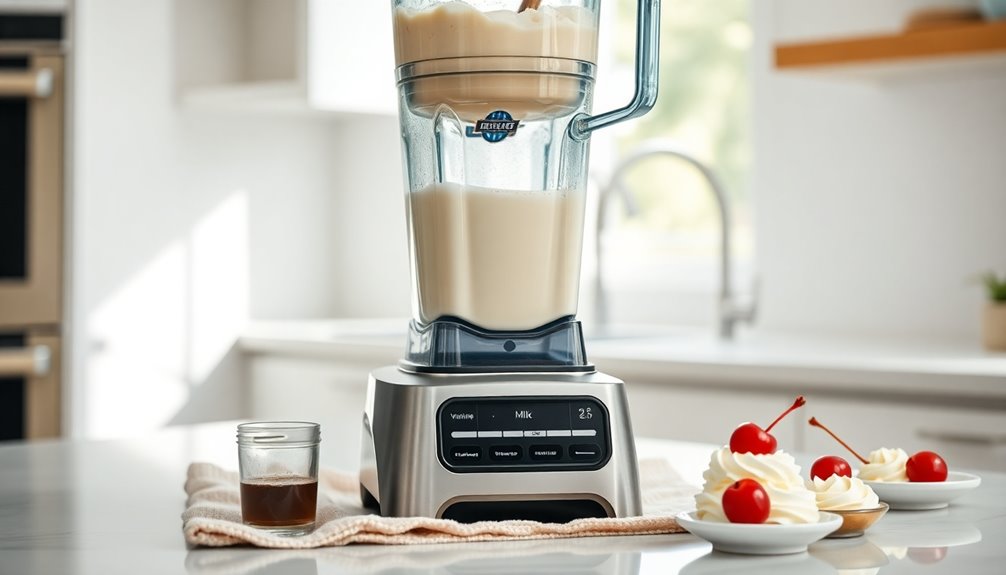
Now that you've got your ingredients and equipment ready, it's time to blend everything together.
Start by pouring your milk into the blender, followed by your ice cream and any flavoring you've chosen. If you're adding extras like chocolate syrup or fruit, toss those in too.
Secure the lid tightly to avoid any spills. Blend on medium speed for about 30 seconds to a minute, or until the mixture is smooth and creamy.
Keep an eye on the consistency; you can add more milk if it's too thick or a bit more ice cream if it's too thin.
Once you're satisfied with the texture, turn off the blender and get ready for the next step in your delicious milkshake creation!
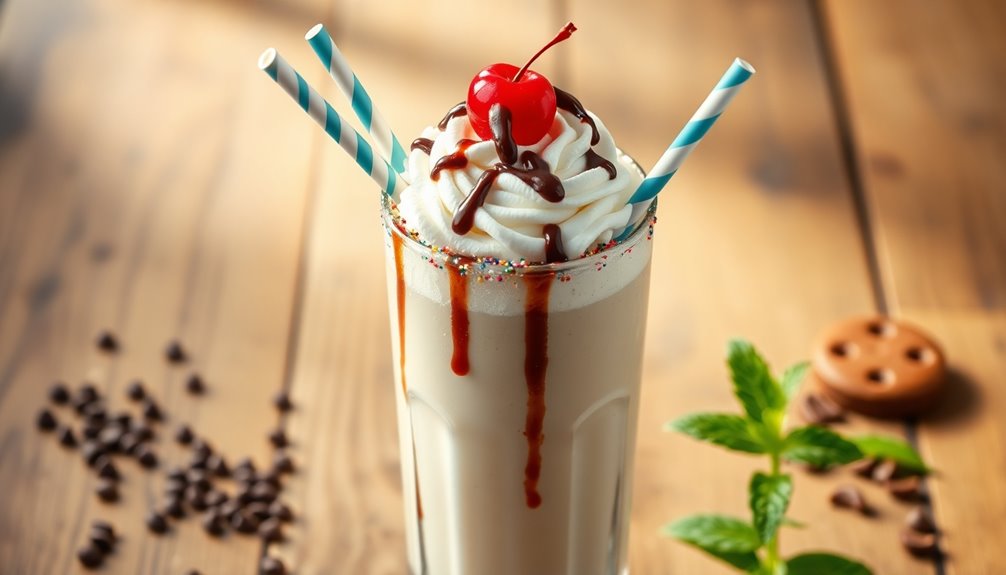
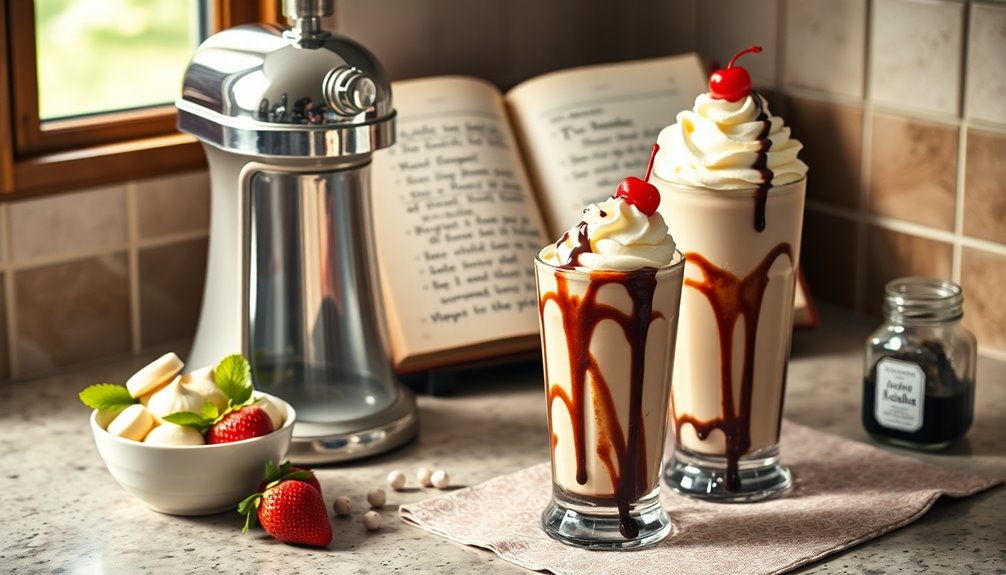
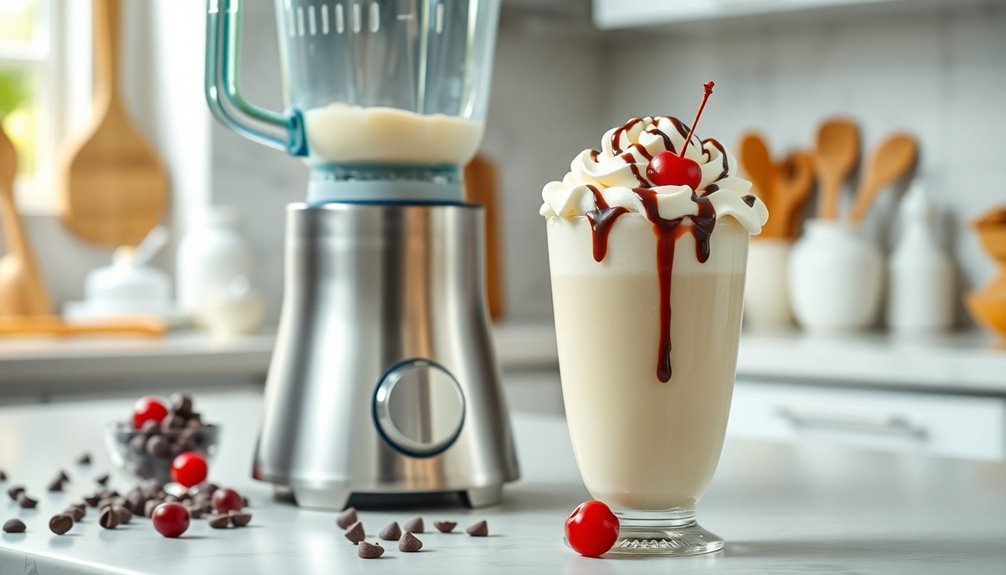
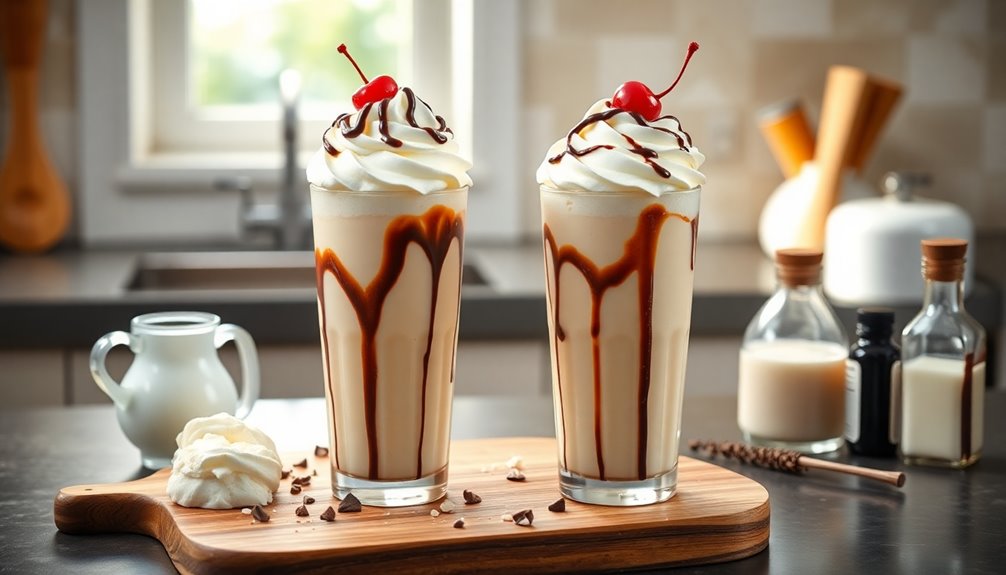
Step 3. Add Toppings and Serve

Once you've blended your milkshake to perfection, it's time to elevate it with toppings that add flavor and flair.
Start by drizzling chocolate or caramel sauce around the inside of your glass, giving it a visually appealing touch.
Next, consider adding whipped cream on top, which creates a delightful contrast in texture. You can sprinkle crushed cookies, nuts, or sprinkles for extra crunch and color.
Fresh fruit, like sliced strawberries or bananas, also makes a delicious addition. If you're feeling adventurous, try a cherry on top or even a mini umbrella for fun.
Finally, serve with a colorful straw, and enjoy your masterpiece! Your milkshake is now ready to impress and satisfy your taste buds.
Step 4. Chill Glasses Before Serving
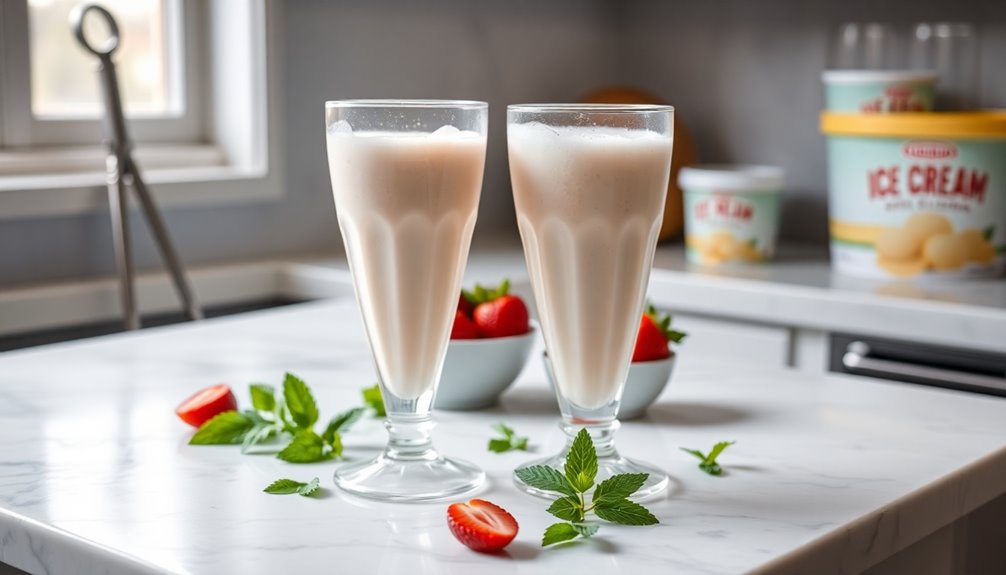
Chilling your glasses enhances the overall experience of enjoying a milkshake, as it helps keep the drink cold and revitalizing.
To chill your glasses, simply pop them in the freezer for about 10 to 15 minutes before serving. If you're short on time, you can fill the glasses with ice water for a quick chill, letting them sit for a few minutes.
Once the glasses are chilled, empty them and pour in your delicious milkshake. The frosty surface not only looks appealing but also adds to the invigorating sensation when you take that first sip.
Step 5. Taste and Adjust Sweetness

As you blend your milkshake to perfection, it's essential to taste and adjust the sweetness to match your preferences.
Start by sampling a small spoonful of the mixture. If it feels a bit bland, don't hesitate to add a bit more sweetener, whether it's sugar, honey, or syrup.
Blend again and taste. Remember, you can always add more, but you can't take it out once it's in, so go slow.
If you've added other flavorings like chocolate or fruit, consider how they interact with the sweetness.
Continue this process until you achieve that delightful balance. Each sip should bring a smile, so take your time to find your perfect level of sweetness before serving.
Enjoy!
Final Thoughts
While you might be tempted to stick with store-bought options, making your own milkshake offers a fun and rewarding experience. You get to choose your favorite ingredients, control the sweetness, and experiment with flavors that suit your taste.
Plus, there's something special about blending your milkshake to perfection and savoring the creamy goodness.
Don't hesitate to get creative! Try adding fruits, cookies, or even a splash of coffee for an extra kick. Remember, the best milkshake is the one you customize to your liking.
Share your creations with friends and family, and enjoy the smiles that follow. So, grab your blender and start mixing! You'll find that homemade milkshakes aren't just a treat but a delightful adventure.
Frequently Asked Questions
Can I Use Non-Dairy Milk Alternatives for Milkshakes?
Absolutely, you can use non-dairy milk alternatives for milkshakes! Options like almond, soy, oat, or coconut milk work great and can add unique flavors.
Just choose a variety that matches your taste preferences. You might find that some alternatives create a creamier texture than others, so experiment to see what you like best.
Don't forget to add your favorite flavors and toppings for a delicious twist on your milkshake experience!
How Can I Thicken My Milkshake Without Ice Cream?
If you want to thicken your shake without ice cream, you've got plenty of options!
Try adding frozen bananas or avocados for a creamy texture. Greek yogurt works wonders too, giving you that rich feel.
You can also use nut butters like almond or peanut butter for thickness and flavor.
Just blend in what you choose until smooth, and you'll have a deliciously thick treat in no time!
What Is the Best Way to Store Leftover Milkshake?
To store leftover milkshake, pour it into an airtight container to keep it fresh.
Make sure to leave a little space at the top, as liquids expand when frozen.
If you're planning to consume it soon, refrigerate it for up to 24 hours.
For longer storage, freeze it, but remember to stir it well after thawing, since it might separate.
Enjoy your delicious treat later without losing its creamy goodness!
Are Milkshakes Safe for Lactose-Intolerant Individuals?
Yes, milkshakes can be safe for lactose-intolerant individuals if you use lactose-free milk or dairy alternatives like almond or oat milk.
These options allow you to enjoy a creamy treat without the discomfort that comes from lactose. You can also get creative by adding flavors like chocolate or fruit to enhance the taste.
Just check the ingredients to verify they fit your dietary needs, and you'll be good to go!
Can I Add Alcohol to My Milkshake for a Grown-Up Version?
Absolutely, you can add alcohol to your milkshake for a grown-up twist!
Just choose a spirit that complements the flavors, like vodka or whiskey for a richer taste. Start with a shot or two, depending on your preference, and blend it in with your other ingredients.
Keep in mind that the alcohol will affect the texture, so adjust your liquid accordingly. Enjoy your boozy creation responsibly!