When you think about making kimchi, you might wonder why this fermented dish has maintained its popularity across generations. You'll begin by soaking napa cabbage in salt, but that's just the start. The real magic lies in the balance of flavors from garlic, ginger, and gochugaru, which transform simple ingredients into something extraordinary. As you pack the spice paste into the cabbage, consider how this age-old recipe connects cultures and kitchens. Curious about the fermentation process and how it can elevate your culinary experience?
Key Takeaways
- Start by soaking 1 large napa cabbage in a brine of 1 cup coarse sea salt for 1-2 hours to draw out moisture.
- Rinse the cabbage thoroughly to remove excess salt before mixing it with a spice paste made from garlic, ginger, fish sauce, and gochugaru.
- Pack the seasoned cabbage tightly into an airtight container to minimize air exposure during fermentation.
- Allow the packed kimchi to ferment at room temperature for 1-5 days, tasting daily to achieve your preferred sourness.
- Transfer the kimchi to the refrigerator to slow fermentation and enhance flavor, with a recommended aging period of at least one week.
History
Though kimchi's vibrant flavors are enjoyed worldwide today, its roots stretch back over 2,000 years to Korea's Three Kingdoms period.
Initially, it was a simple fermented dish focused on preserving vegetables, primarily salted napa cabbage. Over the centuries, kimchi's history evolved as new seasonings like chili pepper, garlic, and ginger were added, especially after the 17th century.
During the Joseon Dynasty, kimchi became a staple, with various types categorized based on vegetables, such as baechu and kkakdugi.
The communal activity of kimjang, where families prepared large batches for winter preservation, is recognized by UNESCO as an Intangible Cultural Heritage.
Today, kimchi reflects not only traditional Korean culture but also the culinary fusion that highlights its global appeal.
Recipe
Kimchi, a staple in Korean cuisine, isn't only a delicious side dish but also a powerhouse of probiotics and nutrients. The fermentation process brings out a depth of flavor that can elevate a variety of meals, from rice bowls to tacos. Making your own kimchi at home allows you to customize the spice levels and ingredients to suit your personal taste.
With just a few key ingredients and some patience, you can create this tangy, spicy condiment that has been enjoyed for generations.
To begin your kimchi journey, you'll need to gather your ingredients and prepare the napa cabbage. The process involves soaking the cabbage in a salty brine to draw out moisture and enhance its flavor, followed by creating a spice paste that will coat the cabbage.
Once the cabbage is thoroughly mixed with the paste and packed into an airtight container, the fermentation process begins, allowing the flavors to meld and develop over time.
Ingredients:
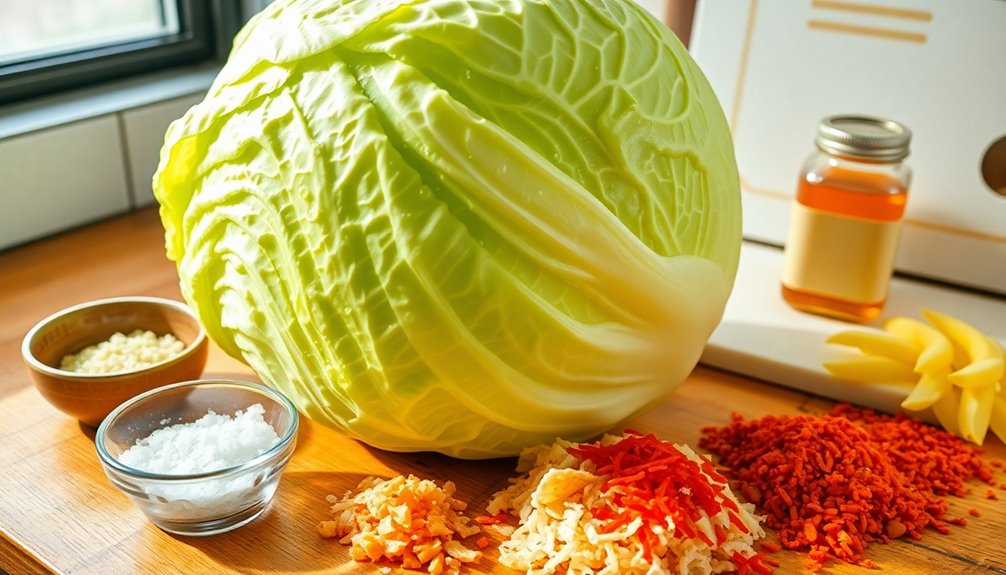
- 1 large napa cabbage
- 1 cup coarse sea salt
- 6 cloves garlic, minced
- 1 inch ginger, minced
- 1 tablespoon sugar
- ½ cup fish sauce
- ½ cup gochugaru (Korean red pepper flakes)
Instructions:
Start by cutting the napa cabbage lengthwise into quarters and then into bite-sized pieces. Dissolve the sea salt in water to create a brine and soak the cabbage in it for about 2 hours, turning occasionally.
After soaking, rinse the cabbage thoroughly to remove excess salt and drain well. In a separate bowl, combine minced garlic, ginger, sugar, fish sauce, and gochugaru to create a spice paste.
Mix the drained cabbage with the spice paste until well coated. Pack the mixture tightly into a clean, airtight container, leaving some space at the top for fermentation. Allow the kimchi to ferment at room temperature for 1-5 days, tasting daily until you reach your desired sourness, then transfer to the refrigerator for storage.
Extra Tips:
When making kimchi, feel free to experiment with additional ingredients like radishes, green onions, or even fruits like pears for added sweetness.
The fermentation time can be adjusted based on your preference for sourness; warmer environments will speed up the fermentation. Always use clean utensils to avoid introducing unwanted bacteria, and remember that properly fermented kimchi can last for several months in the refrigerator, developing richer flavors over time.
Enjoy your homemade kimchi as a side dish, in stews, or as a topping for rice and noodles!
Cooking Steps

To start making your kimchi, you'll first prepare the napa cabbage leaves by soaking them in a salty brine.
Next, you'll add the seasoning mixture evenly and massage it into the cabbage for maximum flavor.
Finally, pack the cabbage tightly into jars to kick off the fermentation process.
Step 1. Prepare Napa Cabbage Leaves
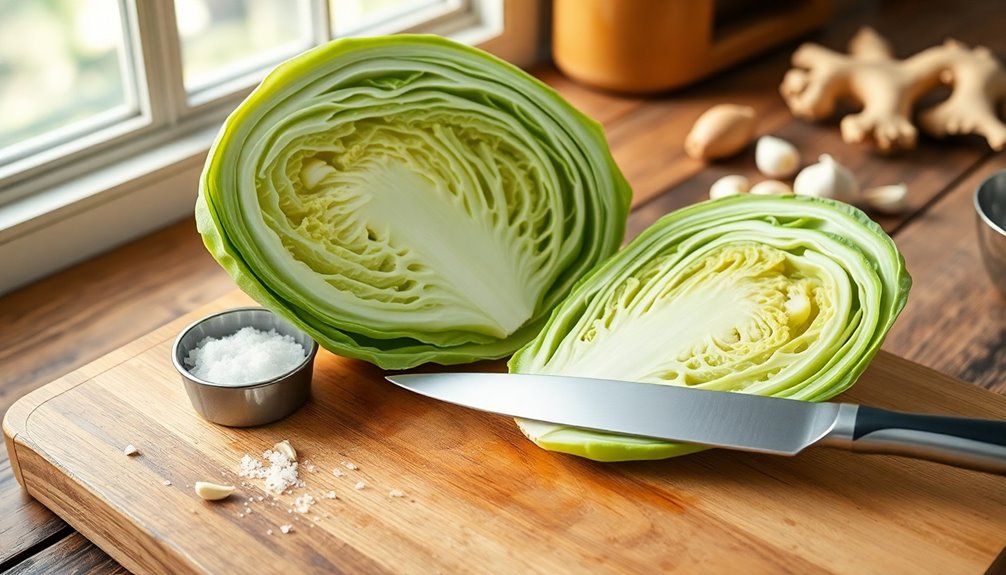
Start by cutting the napa cabbage lengthwise into quarters, removing the core, and slicing it into 2-inch strips for even salting and flavor absorption.
Rinse the cabbage thoroughly under cold water to eliminate any dirt or impurities.
Next, massage coarse sea salt between the cabbage leaves, ensuring even distribution.
Cover the cabbage with water and weigh it down for 1-2 hours to facilitate brining and draw out excess moisture.
After brining, rinse the cabbage multiple times to remove excess salt, then drain it for 15-20 minutes to achieve the right moisture level.
Use the prepared cabbage immediately in your kimchi recipe to ensure optimal freshness and flavor during fermentation, setting the stage for a delicious kimchi paste.
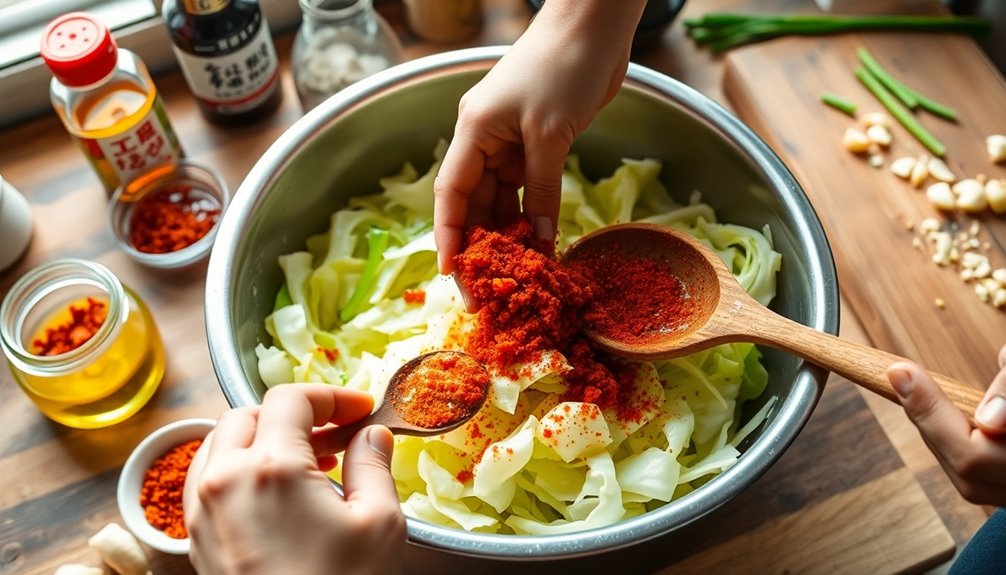
Step 2. Add Seasoning Mixture Evenly
After draining the salted napa cabbage, you'll want to prepare the seasoning mixture by combining gochugaru, minced garlic, grated ginger, fish sauce, and sugar into a flavorful paste.
To achieve a thick and spreadable consistency, mix in a rice flour thickener.
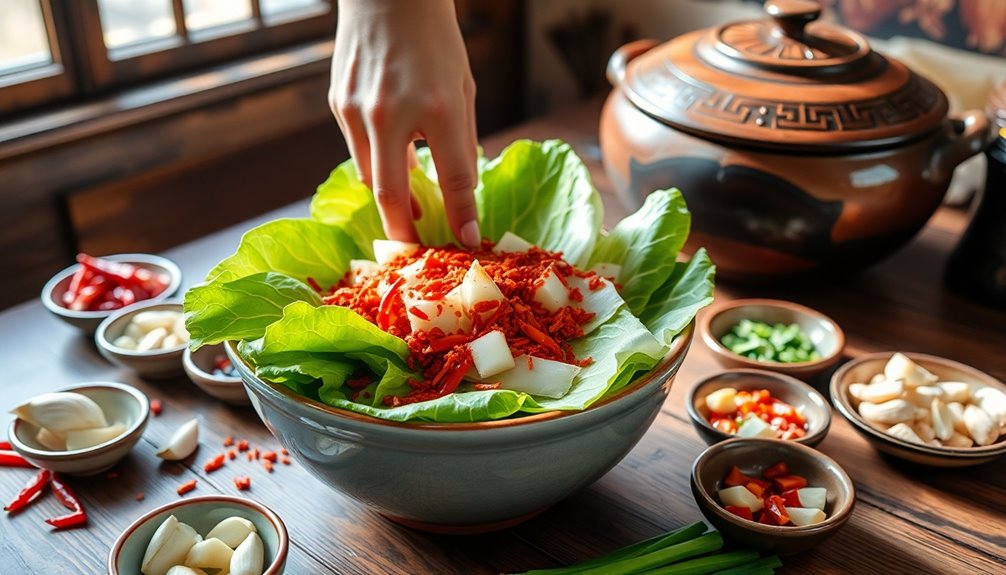
Wearing gloves to protect your skin from the spicy gochugaru, evenly coat each cabbage leaf with the seasoning mixture.
Make sure to massage it into the crevices for maximum flavor absorption.
Once every leaf is well-covered, pack the seasoned cabbage tightly into a clean, airtight container.
This minimizes air pockets, ensuring proper fermentation.
Following these steps is crucial for creating delicious kimchi, enhancing the overall taste and texture of your kimchi recipe.
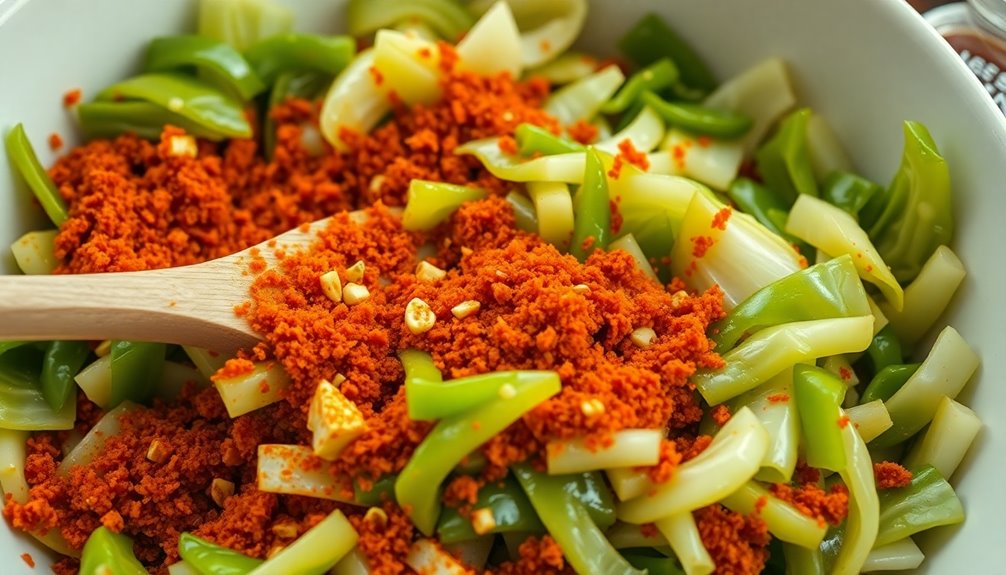
Step 3. Massage Seasoning Into Cabbage
Gently massage the seasoning mixture into each leaf of the napa cabbage, ensuring every part is well-coated for maximum flavor.
Use your hands to work the paste between the cabbage leaves, breaking down the fibers and allowing the flavors to penetrate effectively.
Pay special attention to the thicker parts, applying the seasoning more liberally to avoid any blandness.
Aim for an even coating on each piece of cabbage, ensuring all surfaces are covered for optimal flavor during fermentation.
This thorough massaging not only enhances the taste of your kimchi but also prepares the vegetables for proper fermentation.
Once you've seasoned the cabbage, pack it tightly into an airtight container to minimize air exposure and boost the fermentation process.
Step 4. Pack Cabbage Tightly Into Jars
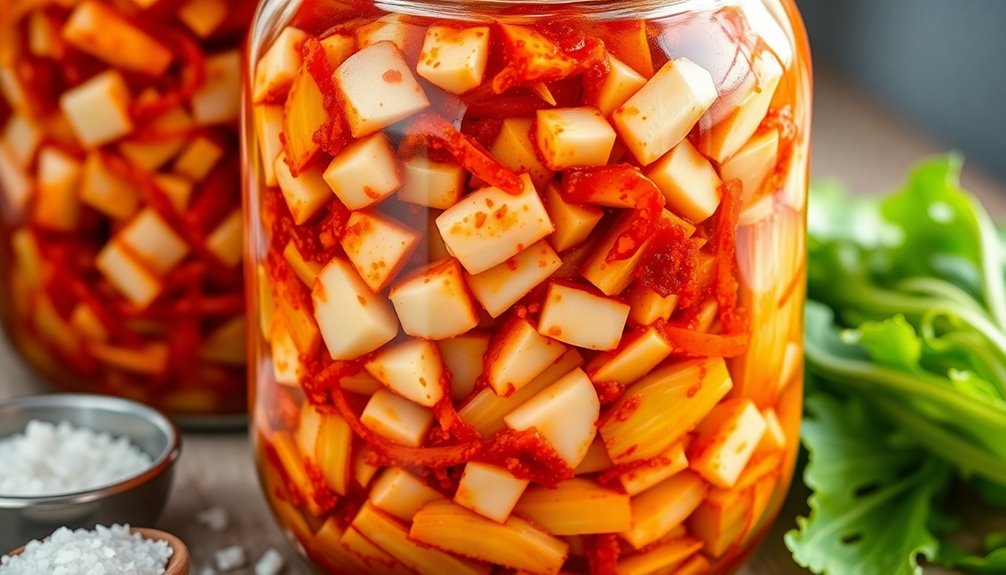
As you pack the seasoned cabbage into jars, it's crucial to compress it tightly to eliminate any air pockets, which can lead to spoilage.
Use a clean utensil to press down firmly, ensuring the cabbage stays submerged in its brine. This helps maintain the anaerobic environment needed for proper fermentation.
Remember to leave about one inch of headspace at the top of each jar to allow for expansion as gases are released.
If you're using multiple jars, evenly distribute the kimchi paste and ingredients for consistent flavor.
Seal the jars with airtight lids, but after 24 hours, consider loosening them slightly to let gases escape and prevent pressure build-up.
Enjoy your kimchi journey!
Step 5. Ferment for 1-2 Weeks
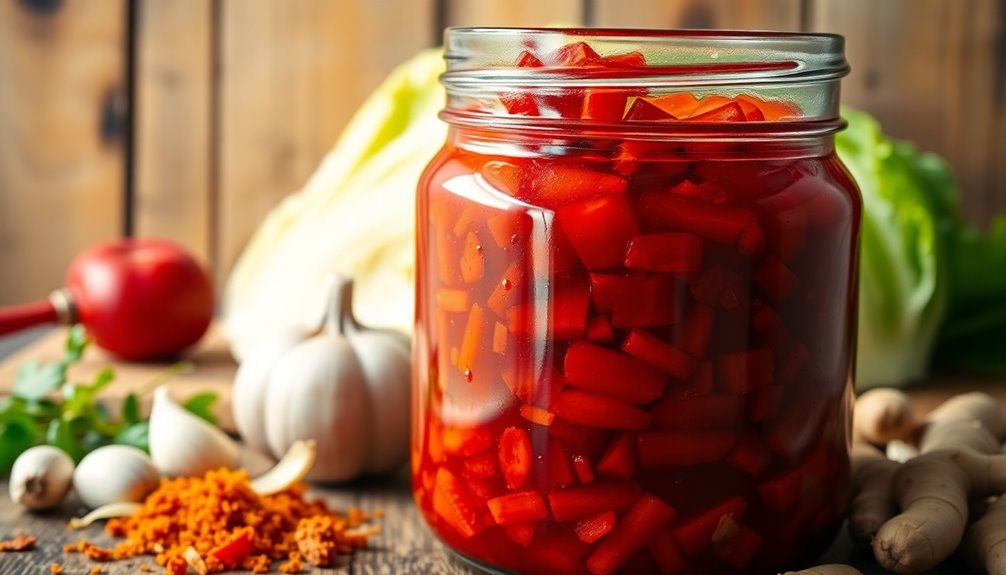
To achieve the perfect balance of tanginess in your kimchi, let it ferment at room temperature for about 1 to 5 days.
During this period, check daily for bubbling, which indicates the fermentation process is active. Taste the kimchi regularly to monitor flavor changes and determine when it reaches your preferred sourness.
For optimal results, ensure the kimchi is submerged in its brine to prevent spoilage. Remember to regularly burp the jar to release trapped gas, especially in the first few days.
Once you're satisfied with the flavor, transfer the kimchi to the refrigerator to slow down fermentation and enhance flavor complexity over the next 1-2 weeks, keeping your kimchi fresh for longer.
Final Thoughts

Creating kimchi is more than just following a recipe; it's an adventure in flavor and creativity. You can customize your kimchi to match your taste preferences, whether that means adjusting spice levels or substituting vegetarian ingredients for fish sauce.
The fermentation process is key to developing its complex flavors, and with proper storage in airtight containers, you can enjoy your kimchi for months.
Don't forget the health benefits—rich in probiotics and essential vitamins, kimchi supports gut health and digestion. Engaging with the community through video tutorials can inspire you to experiment with different recipes and techniques. Additionally, making your own kimchi can be a fun way to encourage creativity and explore new culinary skills.

In the vast and diverse world of coffee, coffee alternatives, and tea, Olivia has found her calling. As an author and a dedicated coffee and tea aficionado, her work for Cappuccino Oracle reflects her profound love and understanding of the intricate complexities found within these beverages. Olivia’s passion for the subject serves as both a catalyst for her creativity and a connection point with her audience.