You can easily whip up delicious homemade English muffins that rival any store-bought version. Start by mixing 2 cups of all-purpose flour, 1 cup of bread flour, 1 ½ teaspoons of salt, and 1 tablespoon of instant yeast in a bowl. Then, combine 1 cup of warm milk with melted butter and stir it into the dry mixture to form a sticky dough. Knead for 5-7 minutes, let it rise until doubled, and shape into rounds. Cook on a skillet for about 7 minutes per side for that perfect golden crust. Stick around, and you'll discover tips to elevate your muffin-making game!
Key Takeaways
- Combine 2 cups all-purpose flour and 1 cup bread flour with 1 ½ teaspoons salt and 1 tablespoon instant yeast in a mixing bowl.
- Mix 1 cup warm milk and melted butter, then add to the dry ingredients to form a sticky dough.
- Knead the dough for 5-7 minutes until smooth and allow it to rise in a greased bowl for about 1 hour.
- Shape the dough into rounds, let them rise for 30 minutes, then cook on a skillet for 7 minutes per side.
- Cool the muffins completely before slicing and enjoy with various toppings like butter, jam, or avocado.
History
The history of the English muffin is as intriguing as its unique texture and flavor. You might find it interesting that this delightful bread originated in England, dating back to the 10th century, when it was known as "toaster cake."
It gained popularity through the efforts of a British immigrant named Samuel Bath Thomas, who brought the recipe to New York City in the 19th century. His method of cooking the muffins on a griddle instead of baking them set them apart.
You might also appreciate how the English muffin became a staple in American breakfasts, especially when slathered with butter or topped with poached eggs. Its distinct nooks and crannies make it perfect for holding toppings, ensuring every bite's delicious.
Recipe
Making English muffins at home is a delightful way to enjoy a warm, toasty breakfast treat. These muffins are characterized by their nooks and crannies, making them perfect for holding butter, jam, or your favorite spreads. With a little patience and the right ingredients, you can create a batch that rivals any store-bought option. The satisfaction of pulling fresh, homemade English muffins from the oven is unparalleled and will surely impress your family and friends.
To achieve that perfect texture, it's important to use a combination of all-purpose flour and bread flour, which gives the muffins a nice chewiness. The dough requires a bit of rising time, but the process is relatively simple. Once you get the hang of it, you can experiment by adding different ingredients like herbs or cheese to create variations that suit your taste. With this recipe, you'll be on your way to enjoying homemade English muffins in no time!
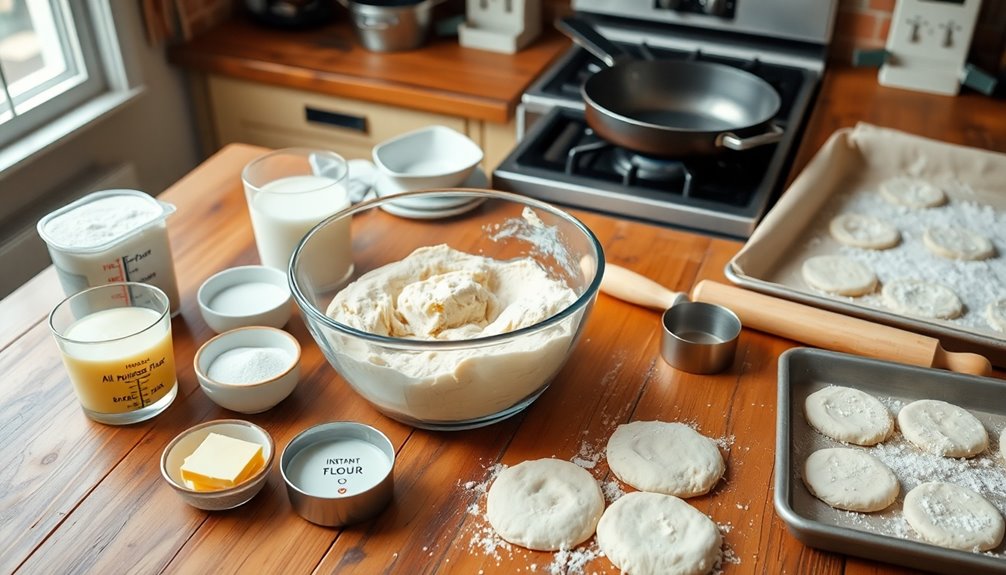
Ingredients:
- 2 cups all-purpose flour
- 1 cup bread flour
- 1 ½ teaspoons salt
- 1 tablespoon sugar
- 1 tablespoon instant yeast
- 1 cup warm milk (about 110°F)
- 2 tablespoons unsalted butter, melted
- Cornmeal for dusting
Cooking Instructions:
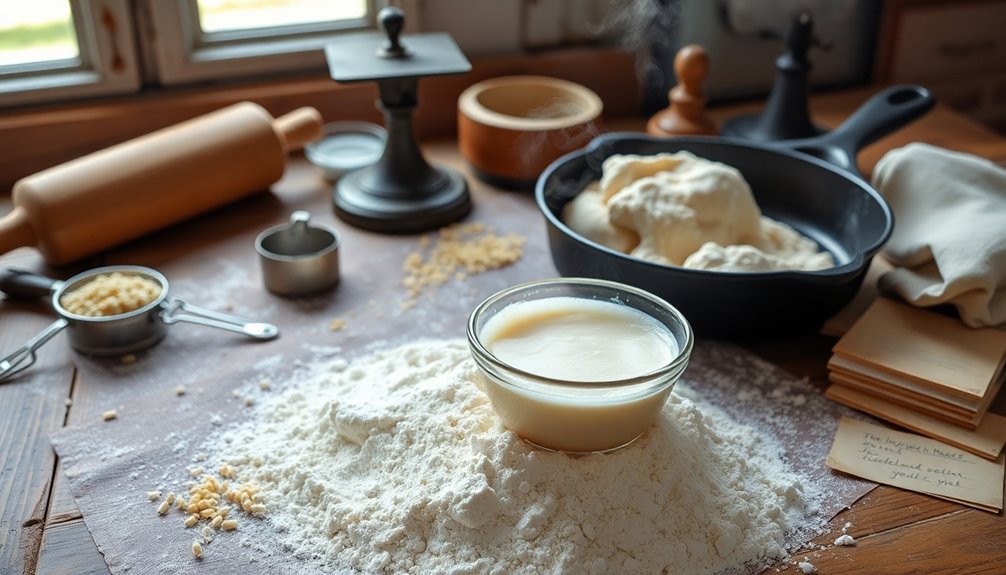
In a large mixing bowl, combine the all-purpose flour, bread flour, salt, sugar, and instant yeast. In a separate bowl, mix the warm milk and melted butter. Gradually add the milk mixture to the dry ingredients, stirring until a sticky dough forms.
Knead the dough on a floured surface for about 5 to 7 minutes until smooth and elastic. Place the dough in a greased bowl, cover it with a damp cloth, and let it rise in a warm area for about 1 hour or until it doubles in size.
After rising, punch down the dough and roll it out to about ¾ inch thick. Cut out rounds using a biscuit cutter, and place them on a baking sheet dusted with cornmeal. Cover and let them rise for another 30 minutes.
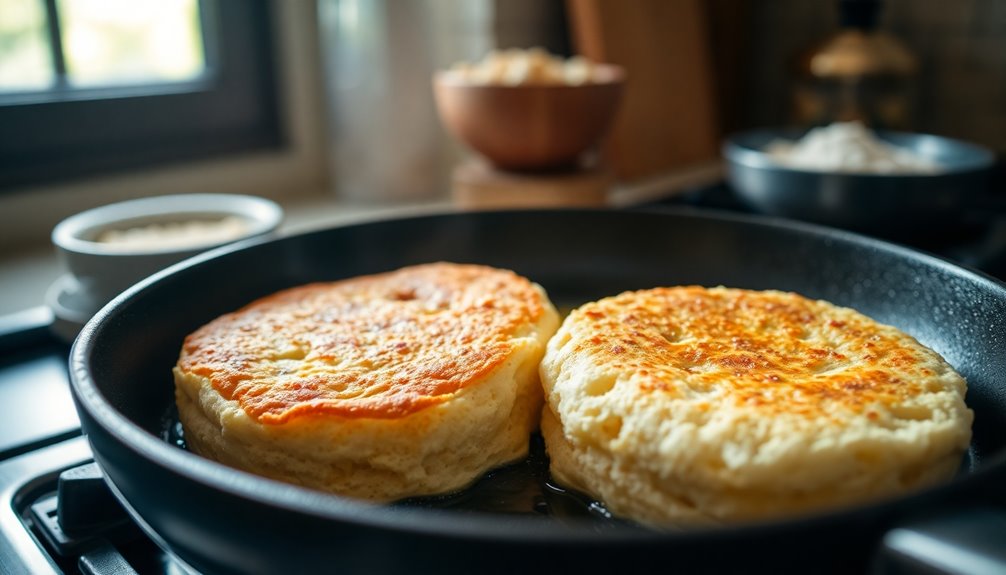
Preheat a skillet over medium-low heat and cook the muffins for about 7 minutes on each side, until golden brown and cooked through.
Extra Tips:
When cooking English muffins, patience is key. Verify your skillet is at the right temperature; too hot will burn the outside while leaving the inside doughy. To test, sprinkle a few drops of water on the skillet—if they dance and evaporate quickly, it's ready.
Also, for best results, let the muffins cool completely before slicing to maintain their structure and avoid tearing. Finally, these muffins freeze beautifully, so make a double batch and store them for a quick breakfast option any day of the week!
Cooking Steps
To make delicious English muffins, you'll start by mixing warm water with yeast.
After that, you'll knead the dough for ten minutes before letting it rise for an hour.
Once it's ready, shape the dough into rounds and cook them on a griddle for that perfect finish.
Step 1. Mix Warm Water and Yeast

Before you immerse yourself in making your English muffins, you'll want to mix warm water and yeast to kickstart the fermentation process.
First, grab a small bowl and pour in about one cup of warm water—ideally between 100°F and 110°F. Sprinkle the yeast over the water, ensuring it's evenly distributed.
Let it sit for about five to ten minutes. You'll know it's ready when the mixture becomes frothy and bubbly, signaling that the yeast is activated.
This step is essential, as it allows the yeast to thrive and will lead to a light, airy texture in your muffins.
Once you've achieved that bubbly goodness, you're ready to move on to the next steps in your English muffin adventure!
Step 2. Knead Dough for Ten Minutes
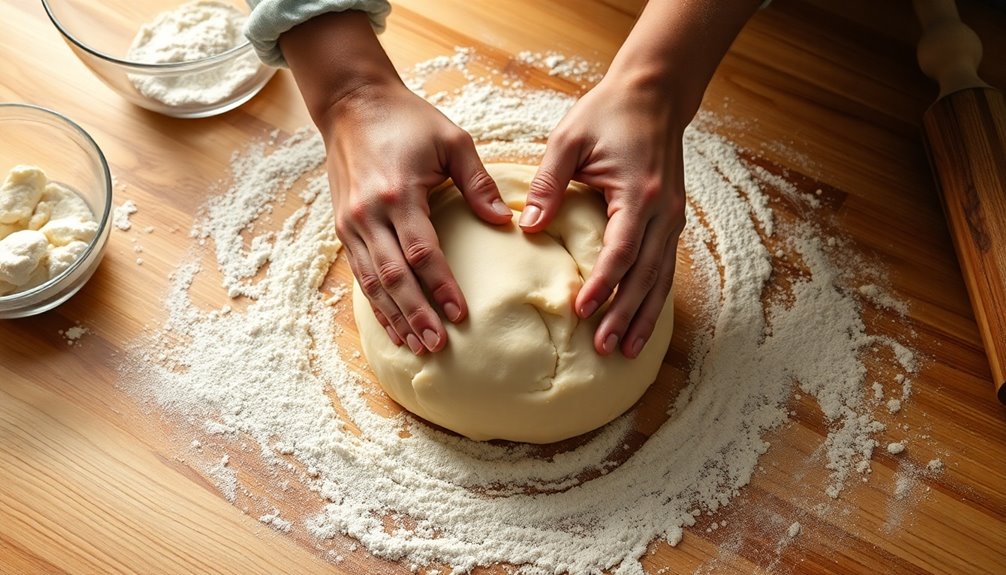
Now that your yeast is activated, it's time to knead the dough for ten minutes.
Start by flouring your work surface lightly to prevent sticking. Turn the dough out onto the surface and press it down with your palms.
Fold one side over to the center, then push it away with the heel of your hand. Rotate the dough a quarter turn and repeat the process.
Keep kneading until the dough is smooth and elastic. If it feels sticky, sprinkle a bit more flour as needed.
This step is essential for developing the gluten, ensuring your muffins have a great texture.
Once you've finished, form the dough into a ball and get ready for the next step!
Step 3. Let Dough Rise for an Hour

After you've kneaded the dough, it's important to let it rise for about an hour. This step allows the yeast to work its magic, creating air pockets that will give your English muffins that delightful texture.
Find a warm, draft-free spot in your kitchen; this will help the dough rise more effectively. You might want to cover the bowl with a damp cloth or plastic wrap to keep the moisture in.
As the dough rises, keep an eye on it; it should double in size. If your kitchen's cooler, it might take a little longer, but don't rush it. Patience is key here.
Once it's risen, you'll be ready for the next exciting step in making your English muffins!
Step 4. Shape Dough Into Rounds
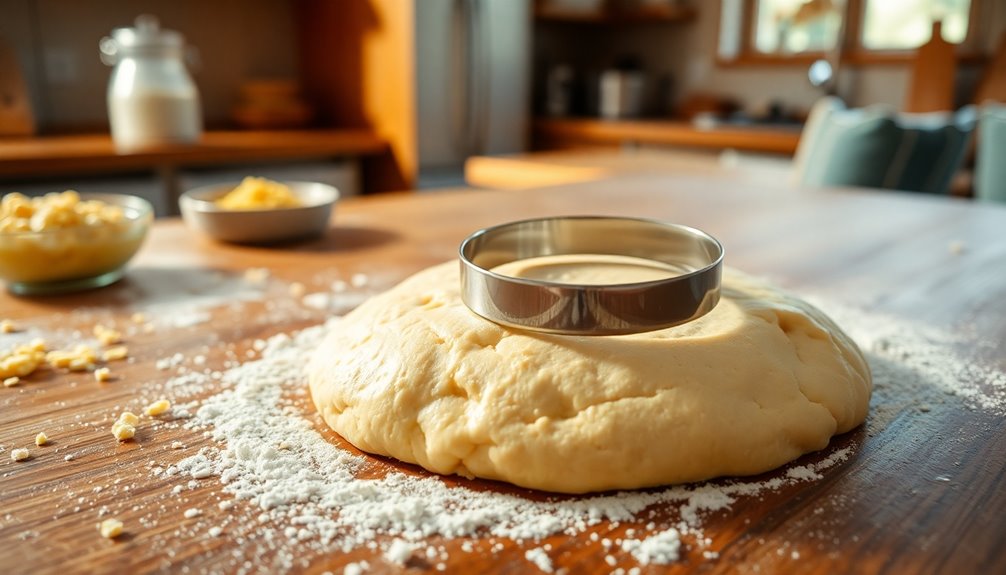
Gently punch down the risen dough to release any trapped air, then turn it out onto a floured surface.
Lightly flour your hands and divide the dough into equal portions, depending on how large you want your muffins. Roll each portion into a ball, tucking the edges underneath to create a smooth top.
Once you've shaped all the dough, flatten each ball gently with your palm to form a round disc about one inch thick. Make sure they're evenly shaped for consistent cooking.
Sprinkle a little flour on top to prevent sticking, then let the rounds rest for about 30 minutes. This resting period allows the dough to relax, ensuring a better texture in your final muffins.
Step 5. Cook on a Griddle
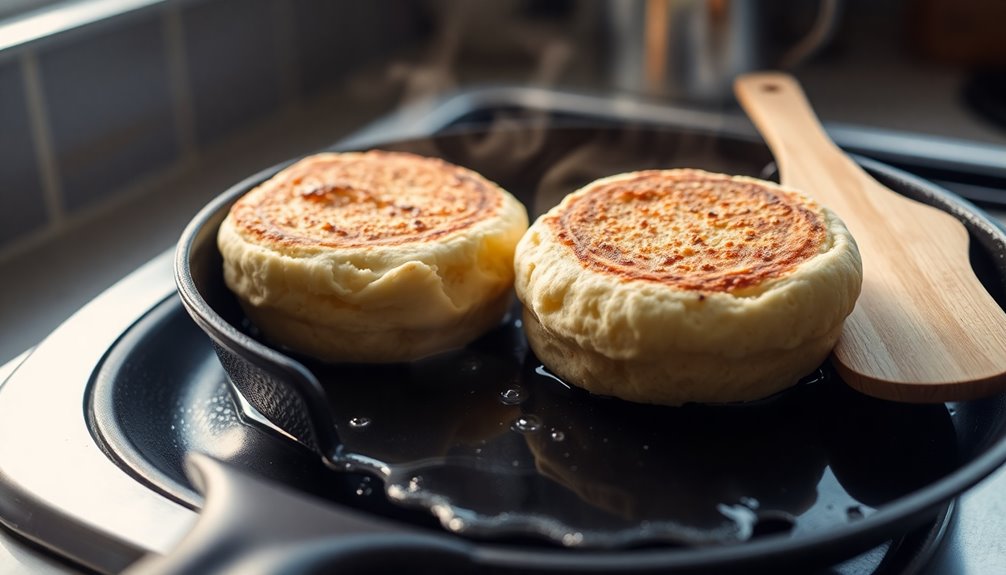
Once your dough rounds have rested, it's time to cook them on the griddle.
Preheat your griddle over medium-low heat; you want it hot but not scorching. Lightly grease the surface with a bit of oil or butter to prevent sticking.
Carefully place the dough rounds on the griddle, giving them enough space to expand. Cook each side for about 5-7 minutes until they're golden brown.
Don't rush this step; a slower cook allows them to rise properly. Once they're nicely browned, flip them and repeat.
After both sides are done, transfer the muffins to a wire rack to cool.
Enjoy your perfectly cooked English muffins fresh or toasted!
Final Thoughts
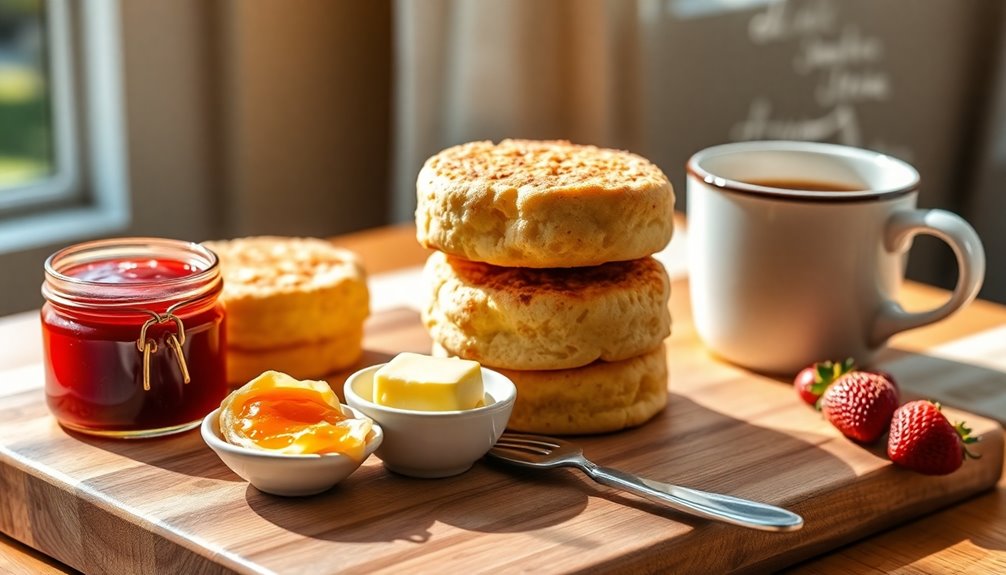
Have you ever tasted the satisfaction of biting into a warm, homemade English muffin? There's nothing quite like it!
Making your own muffins not only elevates your breakfast but also lets you control the ingredients, ensuring freshness and flavor.
As you experiment with various toppings, like butter, jam, or even avocado, you'll discover endless possibilities to suit your cravings.
Frequently Asked Questions
Can I Freeze English Muffins for Later Use?
Yes, you can definitely freeze English muffins for later use!
Just make sure to wrap them tightly in plastic wrap or place them in a freezer bag to prevent freezer burn.
When you're ready to enjoy them, simply take out the desired number of muffins and let them thaw at room temperature or toast them straight from the freezer.
This way, you can always have fresh-tasting muffins ready whenever you want!
What Are the Best Toppings for English Muffins?
When it comes to toppings, you've got plenty of delicious options!
Try spreading butter and a sprinkle of cinnamon sugar for a sweet treat, or go savory with cream cheese and smoked salmon.
Avocado with a squeeze of lemon also makes for a fresh twist.
If you're in the mood for something hearty, search no further than eggs and cheese.
Don't forget to experiment—your taste buds will thank you!
How Do I Store Leftover English Muffins?
To store leftover muffins, you've got a couple of options.
If you're planning to eat them within a few days, just place them in an airtight container at room temperature.
For longer storage, wrap each muffin in plastic wrap and put them in a freezer bag. They'll stay fresh for up to three months this way.
When you're ready to enjoy them, just toast or warm them up!
Are There Gluten-Free Options for English Muffins?
Yes, there are gluten-free options for many foods, including muffins!
You can find gluten-free English muffins made from alternative flours like almond or rice flour at most grocery stores.
If you prefer to make your own, look for gluten-free recipes that use a mix of gluten-free flours and baking powder.
Just remember to check the labels to verify they meet your dietary needs.
Enjoy your gluten-free treats without missing out!
How Do I Know When English Muffins Are Fully Cooked?
You can tell when your muffins are fully cooked by checking their internal temperature. Use a food thermometer; they should reach 200°F (93°C).
If you don't have a thermometer, you can also tap the bottom of the muffin—if it sounds hollow, it's likely done.
Additionally, the tops should be golden brown, and a toothpick inserted in the center should come out clean.
Trust your instincts; practice makes perfect!

Arf, an author and an innovative enthusiast of coffee, coffee alternatives, and tea, plays a crucial role as a contributor to the esteemed Cappuccino Oracle platform. Renowned for his curiosity and passion for these captivating beverages, Arf has carved out a unique space for himself in the world of exploration and writing. He realized that coffee, coffee alternatives, and tea are not mere drinks to keep one awake, but universes of flavors and stories waiting to be explored.