
You might not know that Coffee Cream Walnut Cupcakes actually trace their roots back to the early 20th century, when coffee culture began to gain traction. These delightful treats not only satisfy your sweet tooth but also cater to your caffeine cravings in a unique way. With a rich coffee flavor paired with the crunch of walnuts, they offer a sophisticated twist on traditional cupcakes. Curious about how to make them or perhaps explore their fascinating history? There's much more to uncover about these delightful confections.
Key Takeaways
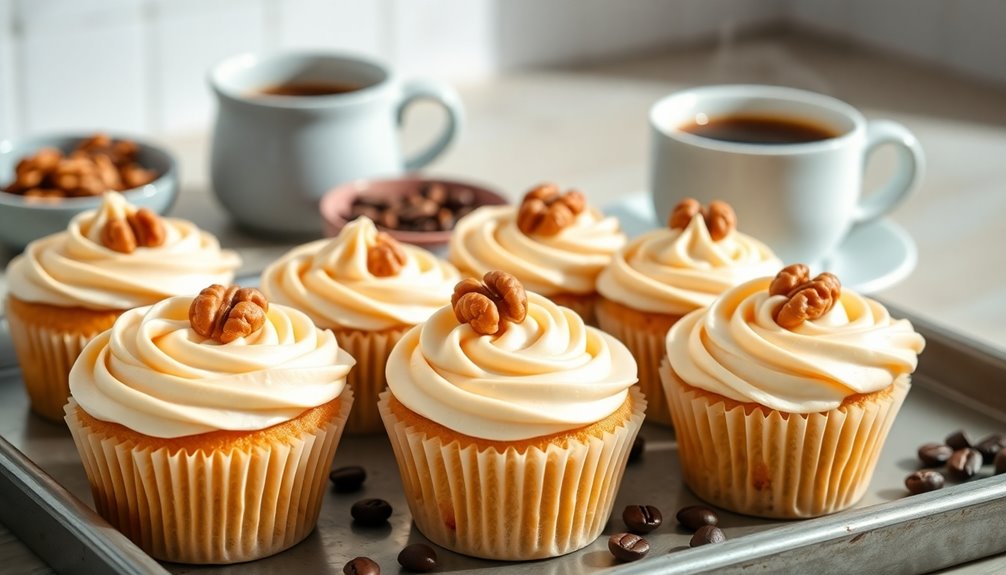
- Coffee cream walnut cupcakes combine rich coffee flavor with nutty walnut crunch, making them a delightful treat for coffee lovers.
- The recipe includes softened butter, sugars, self-raising flour, walnuts, and mascarpone cheese for a creamy icing.
- Bake at 180°C (356°F) for 18-20 minutes until golden, ensuring the cupcakes are springy and fully cooked.
- For best results, use room temperature ingredients and prepare the icing just before serving for freshness.
- Customize the recipe by substituting walnuts with pecans or using gluten-free flour for dietary needs.

Amazon Basics Basket Coffee Filters for 8-12 Cup Coffee Makers, White, 200 Count, Packaging May Vary
- Package Quantity: 200 white basket filters
- Compatibility: Fits 8-12 cup coffee makers
- Filtration Quality: Excellent sediment removal
As an affiliate, we earn on qualifying purchases.
History

When you dive into the history of coffee cream walnut cupcakes, you'll find a fascinating journey through British baking.
The roots of coffee and walnut cupcakes trace back to the early 20th century when coffee gained popularity as a dessert flavor. This delectable combination emerged from the desire to reflect the growing coffee culture in cafes and homes.
Recipes for coffee and walnut cakes began appearing in cookbooks during the 1930s, marking a significant shift in baking trends following World War I.
Over time, this traditional cake evolved into the cupcake form, making it more accessible for gatherings.
Today, coffee and walnut cupcakes are a staple for dessert lovers, celebrated for blending rich, nutty flavors with aromatic coffee notes. Additionally, the rise of coffee culture has influenced modern baking, allowing for innovative twists on classic recipes. Home bakers are increasingly experimenting with shortcuts and convenient methods, leading to the popularity of recipes that are both delicious and easy to prepare. One such example is the microwave coffee walnut cake recipe, which allows dessert enthusiasts to whip up a moist and flavorful cake in just minutes. This has made it easier than ever for busy individuals to enjoy a delightful treat without spending hours in the kitchen.
Recipe

Coffee Cream Walnut Cupcakes
Indulge in the delightful combination of rich coffee and crunchy walnuts with these Coffee Cream Walnut Cupcakes. Perfect for any occasion, these cupcakes offer a moist texture and a creamy icing that will impress your family and friends. The balance of flavors makes them an ideal treat for coffee lovers, while the walnuts add a satisfying crunch to each bite.
Baking these cupcakes is a straightforward process that allows you to enjoy the homemade goodness without too much hassle. As you prepare the batter, you'll find that the warm aroma of coffee fills your kitchen, creating an inviting atmosphere.
Once baked and iced, these cupcakes not only taste amazing but also look beautiful, especially with the decorative walnut half on top.
Ingredients:
- 100g butter, softened
- 150g light brown sugar
- 2 large eggs
- 200g self-raising flour
- 2 tablespoons instant coffee, dissolved in 2 tablespoons hot water
- 100g chopped walnuts
- 250g mascarpone cheese
- 50g sugar
- 1 tablespoon instant coffee, dissolved in 1 tablespoon hot water
- Walnut halves for decoration
Cooking Instructions:
Preheat your oven to 180°C (356°F) and line a cupcake tray with cupcake cases. In a mixing bowl, cream together the softened butter and light brown sugar until fluffy.
Beat in the eggs one at a time, then mix in the dissolved instant coffee. Gradually fold in the self-raising flour and chopped walnuts until a smooth batter forms.
Divide the batter evenly among the cupcake cases and bake for 18-20 minutes, or until the cupcakes are light golden and springy to the touch. Allow them to cool completely on a wire rack before icing.
For the icing, whip together the mascarpone cheese, sugar, and dissolved coffee until creamy, then spread it generously over the cooled cupcakes and top each with a walnut half.
Extra Tips:
For the best flavor, prepare the icing just before serving, as it tastes freshest when made right before use.
If you want to experiment with flavors, consider using chopped pecans instead of walnuts or adding a touch of cocoa powder to the batter for a chocolatey twist. Additionally, enjoy the health benefits of coffee, as it contains antioxidants that combat oxidative stress, making these cupcakes a tasty indulgence with health benefits to boot.
Remember to store any un-iced cupcakes in an airtight container at room temperature for up to 2 days to maintain their freshness. Enjoy your baking!
Cooking Steps

Before you start baking, preheat your oven to 350°F to ensure it's ready for your cupcakes.
Next, mix your dry ingredients thoroughly and fold in the chopped walnuts for that perfect crunch.
Finally, add the coffee mixture gradually, and you're all set to bake these delicious treats for about 20 minutes!
Step 1. Preheat Oven to 350°F

To kick things off, preheat your oven to 350°F (180°C) to ensure it's ready for baking those delicious cupcakes.
While the oven heats up, position the oven shelf in the middle for even heat distribution.
Grab a 12-hole bun tin and line it with fairy cake cases to hold the batter securely.
It's also important to ensure that all your ingredients, including self-raising flour and unsalted butter, are at room temperature.
This step helps achieve a consistent batter texture, making the cupcakes last longer while retaining their moistness.
Once everything's prepped, you're just a mix away from making the cupcakes.
Keep an eye on them while baking for about 18-20 minutes until they're light golden and springy.
Step 2. Mix Dry Ingredients Thoroughly

Start by measuring out your dry ingredients accurately, as precision is key for consistent baking results.
Combine self-raising flour, sugar, and coffee granules in a large mixing bowl. Sift the flour and icing sugar together to aerate them and eliminate any lumps, ensuring a smoother batter.
Don't forget to add a pinch of salt to enhance the flavor. Incorporate baking powder into the mixture, which will help your cupcakes rise perfectly.
It's essential to mix dry ingredients thoroughly; this ensures even distribution of flavors and helps achieve optimal rising during baking. Additionally, the right filter maintenance practices can significantly influence the performance of your air purifier, ensuring a healthier environment while you bake.
Once you've done this, you'll have a solid foundation for your Coffee Cream Walnut Cupcakes.
Now you're ready for the next steps, including folding in your chopped walnuts!
Step 3. Fold in Chopped Walnuts

Gently fold the chopped walnuts into your cupcake batter for a delightful crunch and nutty flavor.
After mixing the main ingredients, add about 100g of roughly chopped walnuts, adjusting based on your preference for nuttiness.
Use a spatula to carefully fold in the walnuts, which helps maintain their texture and prevents them from breaking down further.
Overmixing can lead to a denser cupcake, making them sink or become tough during baking.
So, be mindful not to overbeat the batter after incorporating the walnuts.
This step ensures your coffee cupcakes have just the right amount of nutty goodness and a pleasant texture that complements the rich flavor of the coffee.
Enjoy the delightful outcome!
Step 4. Add Coffee Mixture Gradually

As you prepare the batter, dissolve instant coffee in a small amount of boiling water, ensuring it stays smooth and free of clumps.
After that, allow the coffee mixture to leave to cool slightly.
Next, beat the unsalted butter with the sugar until creamy, then gradually add the coffee mixture.
Mix at a slow speed to ensure it's well incorporated without overworking the batter. This helps achieve an even flavor throughout.
Once fully integrated, you can proceed to fold in other ingredients like flour and walnuts.
Remember, the key to a perfect coffee buttercream is a smooth consistency, so take your time with this step.
Enjoy the rich aroma as your batter comes together!
Step 5. Bake for 20 Minutes

Once you've prepared the batter and filled the cupcake liners, preheat your oven to 180ºC (356ºF) to ensure even baking.
Place your cupcakes in the middle of the oven to promote uniform heat distribution. Bake for 20 minutes, keeping an eye on them. To check for doneness, insert a toothpick into the center; it should come out clean. You want your cupcakes to achieve a light golden color and a springy texture, perfect for coffee lovers.
Once baked, let them cool in the tin for a few minutes before transferring them to a wire rack to cool completely.
Once cool, top with delicious buttercream frosting made with golden caster sugar for an irresistible treat!
Final Thoughts

While you might be tempted to stick with traditional flavors, coffee cream walnut cupcakes offer a delightful twist that's worth exploring. The rich espresso flavor combined with the nutty texture of walnuts creates a unique contrast that elevates your baking.
If you're a beginner, you'll find it easy to make this recipe. Just remember, proper cooling of the cupcakes is crucial to avoid sogginess and ensure you can spread the buttercream onto the cupcakes smoothly.
Icing them fresh before serving maximizes flavor and texture. Plus, you can experiment by substituting walnuts with pecans or using different coffee extracts for a personalized touch.
These cupcakes can even be made gluten free, making them versatile for various dietary needs. Enjoy your baking adventure!