
To make a delicious banana cream pie, start with a pre-made 9-inch pie crust. Slice 4 ripe bananas and layer them in the crust. In a saucepan, mix 2 cups of whole milk, 3/4 cup of sugar, and 1/4 cup of cornstarch. Heat until thickened, then cool and stir in vanilla. Fold in 1 cup of whipped heavy cream for a light texture. Pour this custard over the bananas, chill for 2 to 4 hours, and garnish if you like. It's a delightful dessert that's perfect for any occasion. You might want to discover some helpful tips to elevate your pie even further!
Key Takeaways
- Preheat oven to 350°F and prepare a pre-made 9-inch pie crust for the Banana Cream Pie base.
- Layer 4 sliced ripe bananas in the pie crust for natural sweetness.
- Cook a mixture of 2 cups whole milk, 3/4 cup sugar, and 1/4 cup cornstarch until thickened for the custard filling.
- Fold in 1 cup of whipped cream into the cooled custard before pouring it over the bananas.
- Chill the pie for 2 to 4 hours before serving, garnished with banana slices or chocolate drizzle for presentation.
History
The history of banana cream pie is as sweet and layered as the dessert itself. You might be surprised to learn it dates back to the 19th century, with early recipes emerging in American cookbooks.
As bananas became more accessible, especially after the introduction of the Cavendish variety, the dessert's popularity soared. By the early 1900s, banana cream pie had cemented its status in American cuisine.
You can trace its roots to English cream pies, but the addition of bananas gave it a unique twist. Over the years, variations have emerged, but the classic combination of creamy filling, fresh bananas, and a flaky crust remains beloved.
Recipe
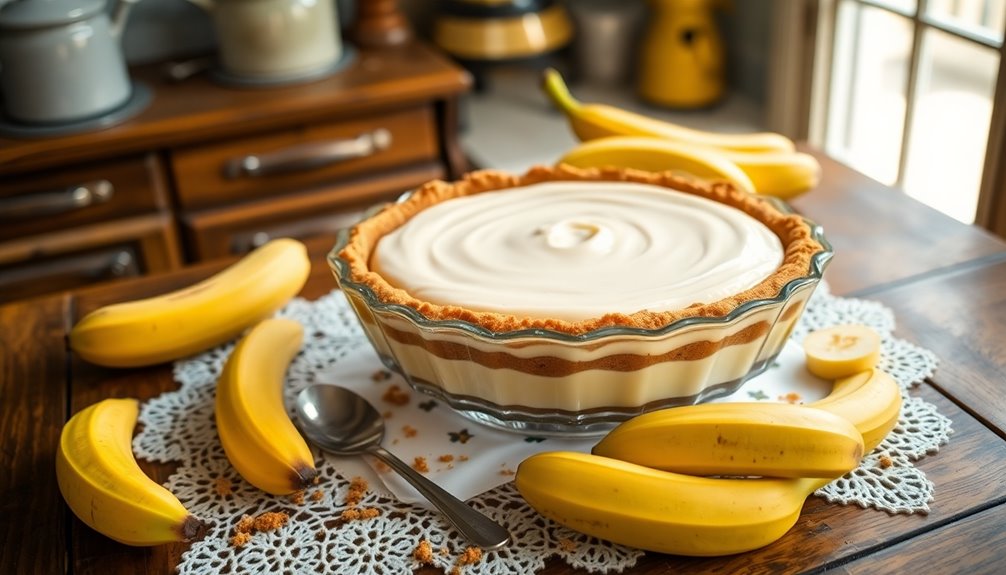
Banana cream pie is a delightful dessert that beautifully combines the sweet and creamy flavors of ripe bananas with a luscious custard filling and a flaky crust. This classic treat is perfect for special occasions or simply to satisfy your sweet tooth. The layers of flavor and texture make every bite a delightful experience, and it's surprisingly simple to prepare at home.
To make your own banana cream pie, you'll need a few basic ingredients, many of which you might already have in your pantry. The key to a successful pie lies in the balance between the creamy custard, fresh bananas, and a perfectly baked crust. This recipe will guide you through each step to guarantee that your pie turns out delicious and impressive.
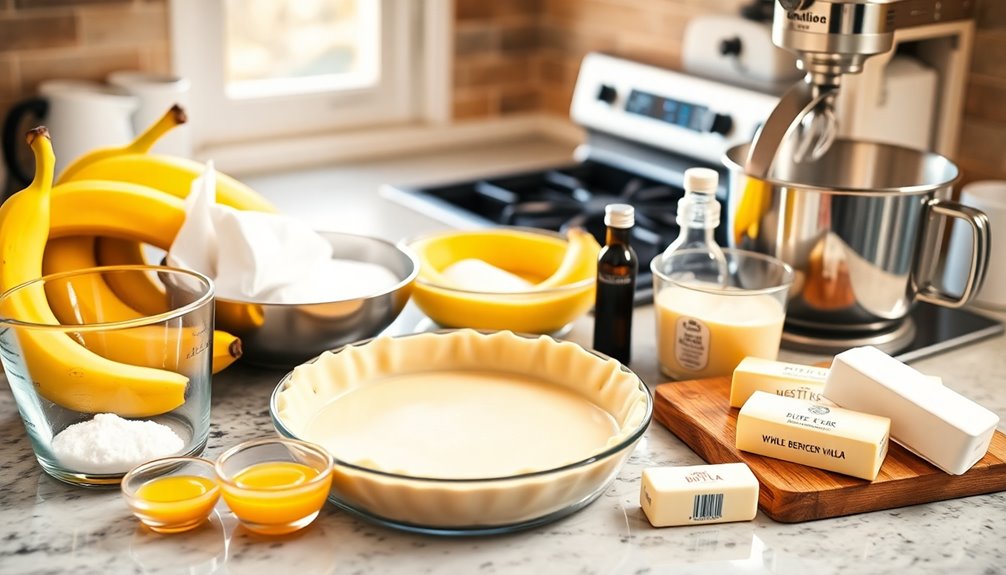
Ingredients:
- 1 pre-made pie crust (9-inch)
- 3 ripe bananas
- 2 cups whole milk
- 3/4 cup granulated sugar
- 1/4 cup cornstarch
- 1/4 teaspoon salt
- 3 large egg yolks
- 2 tablespoons unsalted butter
- 1 teaspoon vanilla extract
- 1 cup heavy whipping cream
- 2 tablespoons powdered sugar
- Optional: banana slices for garnish
To prepare the pie, start by baking the pre-made pie crust according to package instructions until golden brown. Allow it to cool completely.
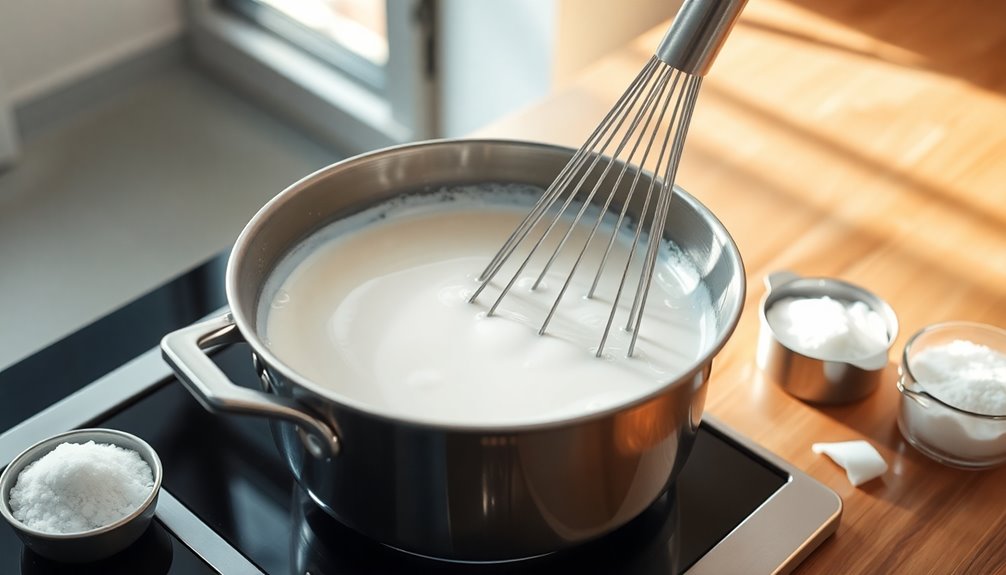
In a medium saucepan, combine the milk, granulated sugar, cornstarch, and salt. Cook over medium heat, whisking constantly until the mixture begins to thicken and bubble.
In a separate bowl, whisk the egg yolks, then gradually add a small amount of the hot milk mixture to temper the yolks. Slowly pour the egg mixture back into the saucepan, stirring continuously until thickened. Remove from heat and stir in the butter and vanilla.
Slice the bananas and layer them on the cooled pie crust, then pour the custard over the bananas. Refrigerate for at least 4 hours or until set.
Before serving, whip the heavy cream with powdered sugar until soft peaks form and spread it over the pie.
For best results, use ripe but firm bananas to prevent them from becoming mushy in the pie. If you want to add an extra layer of flavor, consider adding a sprinkle of cinnamon or nutmeg to the custard mixture.
Additionally, you can make the pie a day ahead of time, allowing the flavors to meld beautifully. Always serve the pie chilled for the best taste and texture, and feel free to garnish with extra banana slices or a drizzle of chocolate for an added touch of elegance.
Cooking Steps
Now that you have the ingredients ready, it's time to start cooking.
First, you'll prepare the pie crust, then mix the banana filling ingredients for a delicious base.
Finally, you'll fold in the whipped cream and top it off with sliced bananas before chilling it to perfection.
Step 1. Prepare the Pie Crust

Start by preheating your oven to 350°F (175°C) to guarantee a perfectly baked pie crust.
Next, in a mixing bowl, combine 1 ½ cups of all-purpose flour, ½ teaspoon of salt, and 1 tablespoon of sugar.
Cut in ½ cup of cold butter until the mixture resembles coarse crumbs. Gradually add ice water, one tablespoon at a time, mixing until the dough holds together.
Once combined, shape the dough into a disc, wrap it in plastic wrap, and chill in the fridge for at least 30 minutes.
After chilling, roll out the dough on a floured surface to fit your pie pan.
Carefully transfer the dough into the pan, trim the excess, and poke holes in the bottom with a fork before baking.
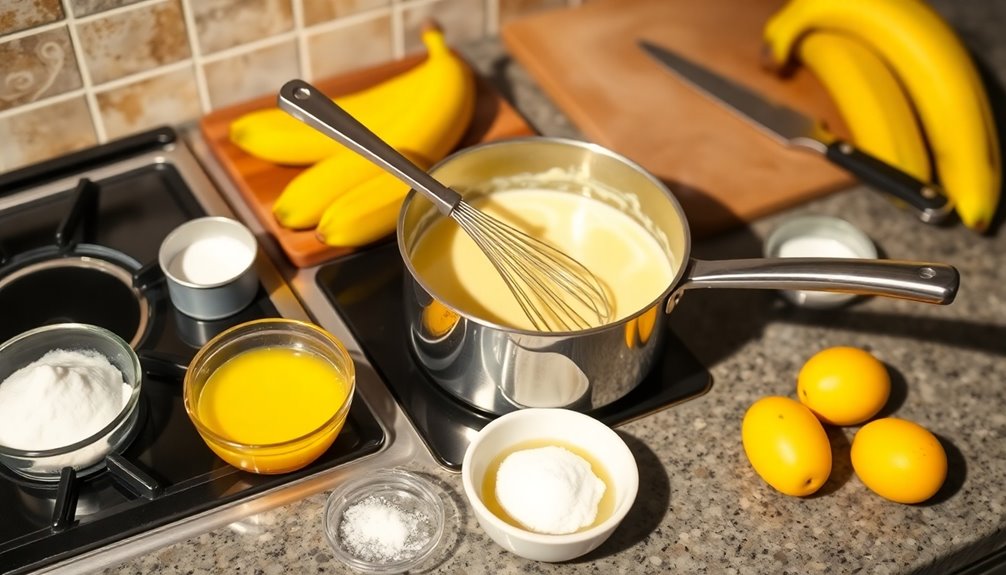
Step 2. Mix Banana Filling Ingredients
To create a delicious banana filling, begin by gathering 1 cup of granulated sugar, 1/3 cup of cornstarch, and a pinch of salt in a medium saucepan. Whisk these dry ingredients together until they're well combined.
Next, slowly add 2 ¾ cups of milk to the mixture while continuously stirring to prevent any lumps from forming. Place the saucepan over medium heat and cook, stirring constantly, until the mixture thickens and bubbles.
Once it reaches a thick, pudding-like consistency, remove it from the heat. Stir in 1 teaspoon of vanilla extract and 3 tablespoons of butter until they're fully incorporated.
Finally, let the filling cool slightly before adding the sliced bananas for that perfect flavor combination.
Step 3. Fold in Whipped Cream
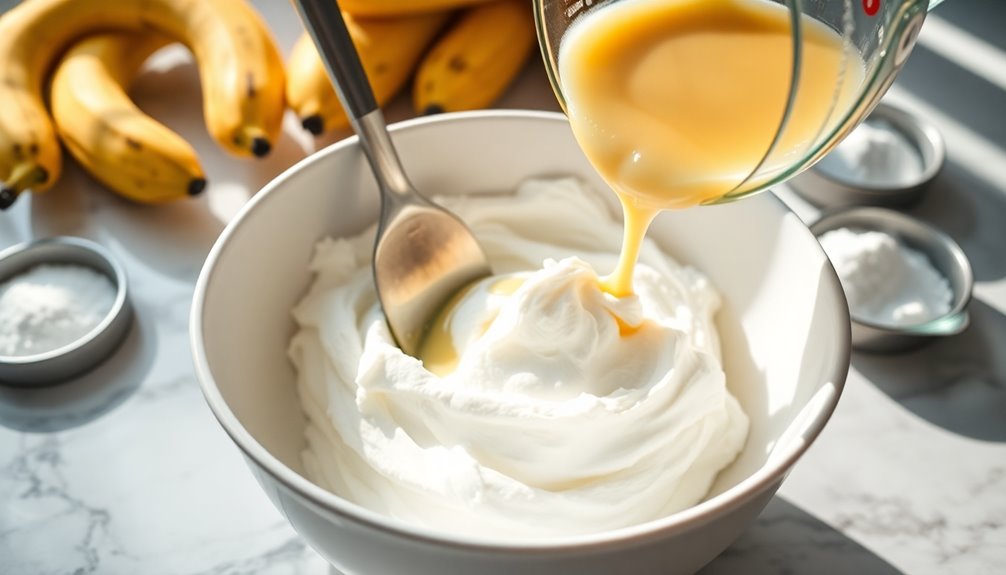
Incorporating whipped cream into your banana filling is the key to achieving that light and fluffy texture. Start by gently folding in the whipped cream with a spatula, using a figure-eight motion.
This technique helps maintain the airiness of the cream while blending it with the banana mixture. Be careful not to overmix; you want to keep as much volume as possible.
Once the cream is integrated, your filling should look smooth and creamy, with a hint of softness. Taste it to confirm the sweetness is to your liking; you can always adjust with a touch more sugar if needed.
Now that you've achieved the perfect consistency, your banana filling is ready for the pie crust.
Step 4. Chill Before Serving

Once your banana filling is ready and poured into the pie crust, it's crucial to let it chill before serving.
Cooling the pie allows the filling to firm up, making it easier to slice and enhancing the overall texture. Cover the pie with plastic wrap or a pie dome to prevent any unwanted odors from the fridge affecting the flavor.
Chill it for at least 2 to 4 hours, or overnight if you have the time. This waiting period not only helps the flavors meld together but also creates that creamy, luscious consistency you crave.
Once it's chilled, you'll be ready to add the finishing touches before serving, ensuring everyone enjoys the perfect slice of banana cream pie.
Step 5. Add Sliced Bananas on Top
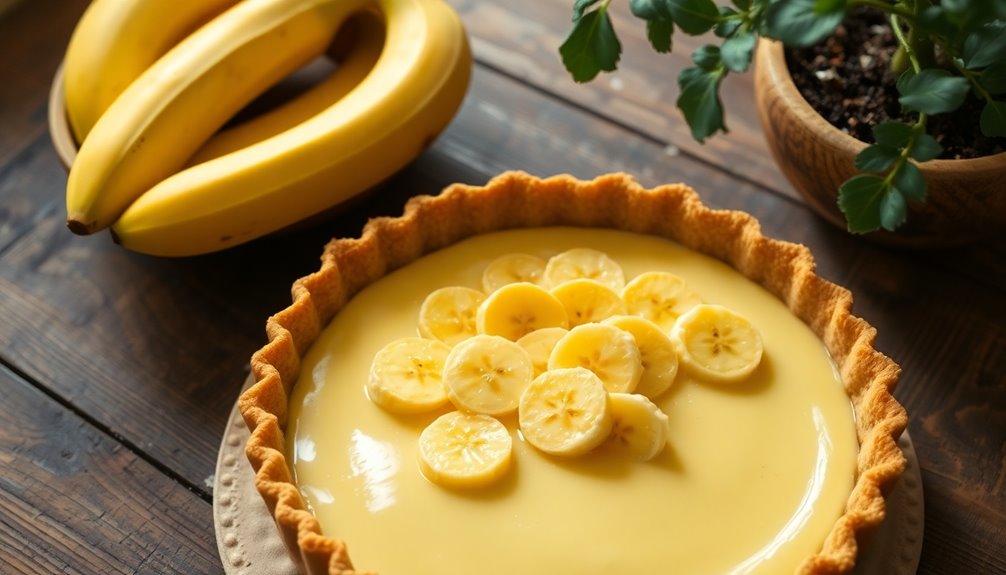
Adding sliced bananas on top of your chilled banana cream pie is a simple yet essential step that elevates its presentation and flavor.
Start by taking ripe bananas and slicing them into even rounds, about a quarter-inch thick. Gently arrange the slices over the surface of the pie, ensuring they're evenly distributed for a beautiful look. You can layer them in a spiral pattern or just scatter them casually—whichever you prefer!
If you want to prevent browning, you can lightly brush the banana slices with lemon juice. This not only keeps them fresh but also adds a subtle tang.
Once you've added the bananas, serve it immediately or chill it for a bit longer before enjoying your delicious creation!
Final Thoughts
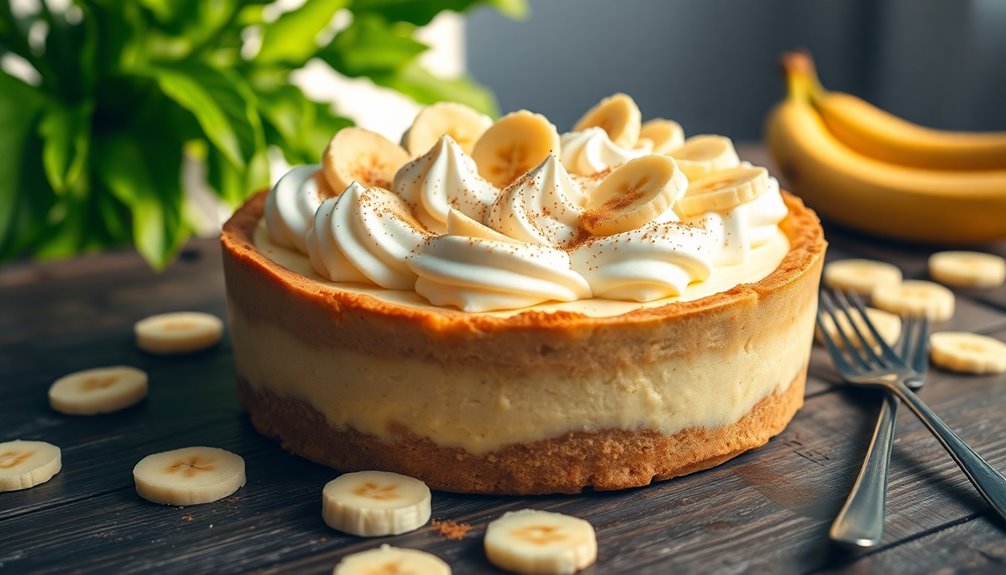
As you wrap up your banana cream pie adventure, it's clear that this dessert isn't just a treat—it's a celebration of flavors and textures.
Each layer, from the creamy filling to the fresh bananas and whipped topping, works together to create a delightful experience.
You've mastered the art of pie-making, and your efforts deserve recognition.
Remember, the joy of baking lies not just in the end result but in the process itself.
Whether you're sharing this pie with friends or enjoying it solo, each bite will remind you of the love and care you put into it.
So go ahead, slice that pie, savor every mouthful, and take pride in your culinary creation.
Happy baking!
Frequently Asked Questions
Can I Use a Store-Bought Crust Instead of Homemade?
Absolutely, you can use a store-bought crust instead of making one from scratch.
It saves you time and effort, allowing you to focus on the filling and toppings instead. Just make sure to choose a crust that complements your dessert.
If you're short on time or not in the mood to bake, store-bought is a great option that still delivers delicious results.
Enjoy the convenience and get right to the good part!
How Do I Store Leftover Banana Cream Pie?
To store leftover pie, cover it tightly with plastic wrap or aluminum foil to keep it fresh.
If you've got a pie dish with a lid, that works great too!
Make sure to refrigerate it promptly, as cream fillings can spoil quickly.
Ideally, you should consume the leftovers within 2-3 days for the best taste and texture.
Just remember to let it sit at room temperature for a few minutes before serving again!
Can I Substitute Bananas With Another Fruit?
Absolutely, you can substitute bananas with another fruit!
Think about using ripe peaches, strawberries, or even mangoes for a unique twist. Just make sure the fruit you choose has a similar texture to bananas to maintain that creamy consistency.
You might need to adjust the sweetness, too, depending on the fruit.
Experimenting with different flavors can lead to a delightful dessert that's all your own.
Enjoy your creative cooking!
How Long Does Banana Cream Pie Last in the Fridge?
If you're wondering how long something lasts in the fridge, it's essential to take into account its ingredients.
Generally, a dessert like this can last about 3 to 4 days when stored properly in an airtight container.
After that, the quality might decline, and you could notice changes in texture or flavor.
Always trust your senses; if it smells off or looks strange, it's better to toss it rather than risk your health.
What Can I Use Instead of Heavy Cream?
If you're looking for alternatives to heavy cream, you've got several options.
You can use full-fat coconut milk for a dairy-free choice, or you might try Greek yogurt for a thicker texture.
If you prefer a lighter option, half-and-half or evaporated milk can work too.
For a vegan substitute, consider blending silken tofu with a bit of plant-based milk.
Each alternative can give your dishes a unique flavor and texture!