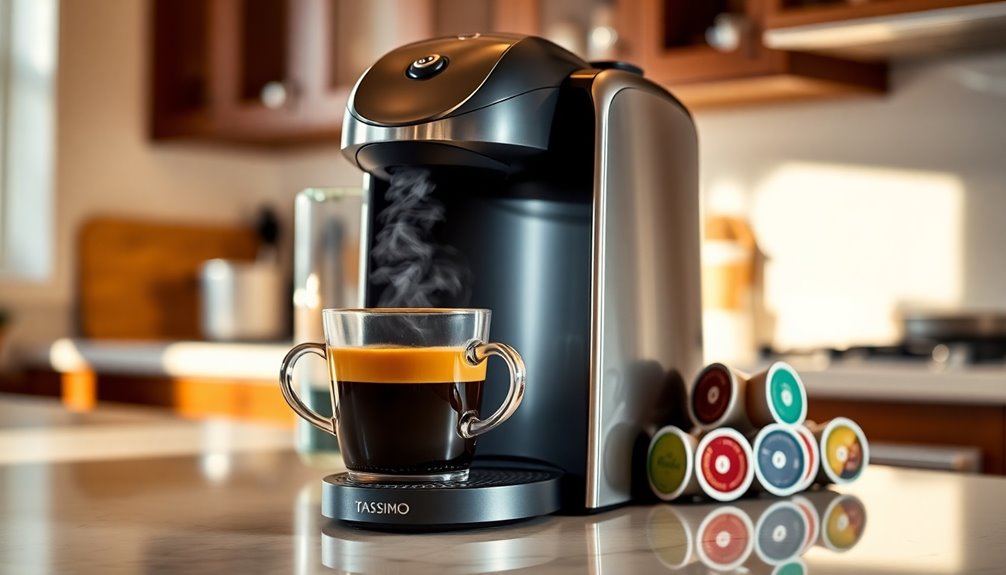
To steam and froth milk for lattes and cappuccinos, start by selecting the right milk—whole or dairy alternatives like oat or soy for better foam. Use a clean, cold pitcher and position the steam wand just below the surface to introduce air gently. Keep the milk temperature around 140-150°F, watching for shiny, velvety microfoam for lattes or frothy bubbles for cappuccinos. Mastering these techniques helps you craft perfect textures—keep exploring for detailed tips.
Key Takeaways
- Use cold, fresh milk and a clean steam wand to achieve optimal frothing and microfoam quality.
- Position the steam wand just below the milk surface to incorporate air and create velvety microfoam.
- Steam until the milk reaches 140-150°F (60-65°C), avoiding overheating to prevent scalding and foam breakdown.
- Adjust the steam wand angle and keep the pitcher at a slight angle for consistent texture and microfoam formation.
- Practice steady hand movements and listen for a slight hissing sound to perfect milk texture and temperature.
Understanding the Basics of Milk Selection
Choosing the right milk is essential for achieving the perfect steamed and frothed milk. Milk composition determines how well it froths, with proteins and fats playing key roles. Whole milk, rich in fat and protein, creates a creamy, stable foam ideal for lattes and cappuccinos. Skim milk, with less fat, produces a lighter, more airy froth but may be less rich in flavor. Dairy alternatives, like almond, soy, or oat milk, vary in protein and fat content, affecting their frothing ability. Some plant-based options froth better than others; for example, oat milk often produces a creamy foam similar to dairy. Additionally, understanding the essential camping gear can enhance your overall experience. The frothed milk texture can be further influenced by the temperature at which the milk is steamed. Milk’s protein content significantly impacts the stability and creaminess of the foam, making it a crucial factor in your selection. By understanding these differences, you can select the best milk for your preferred texture and flavor, ensuring a perfect coffee experience every time.
Preparing Your Equipment for Steaming and Frothing
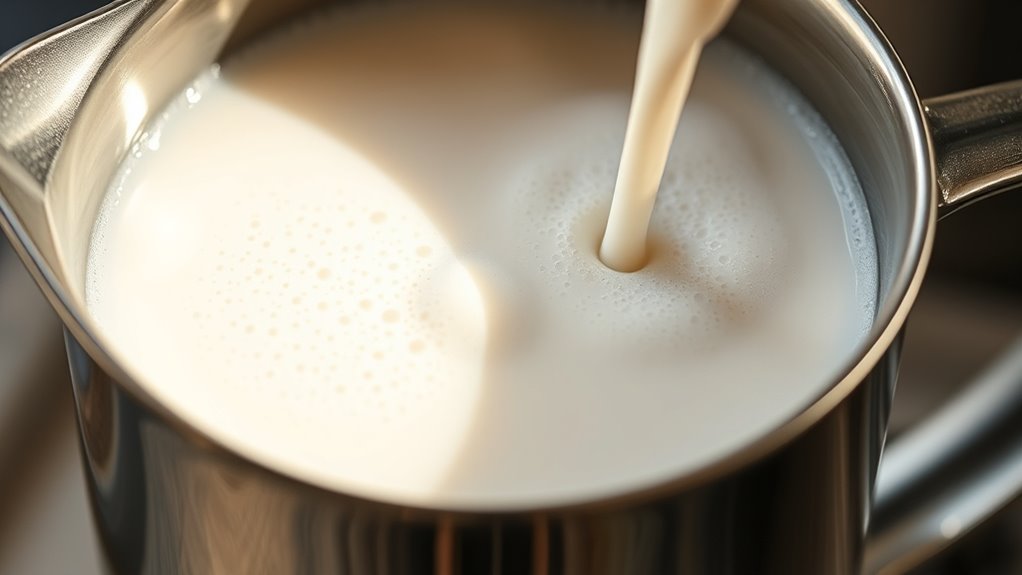
Before you start steaming or frothing, it’s essential to prepare your equipment properly to guarantee the best results. Begin by selecting a clean, cold milk container or steam pitcher. A clean pitcher ensures no residue affects the milk’s texture or flavor. Fill the pitcher to about one-third of its capacity to allow room for milk expansion and proper frothing. Check that your steam wand is clean and free of any milk residue, which can clog it or impair steam flow. Wipe the wand with a damp cloth before use. Make sure your espresso machine is powered on and the steam function is ready. Properly prepared equipment helps you achieve smooth, velvety milk and consistent froth, setting the foundation for a perfect latte or cappuccino. Additionally, verifying that your milk temperature is appropriate before steaming can greatly influence the final texture and flavor. Ensuring your steam wand maintenance is up to date can prevent blockages and maintain optimal performance. Regularly inspecting and cleaning your appliances can also help prevent power consumption issues that might affect your steaming process. Maintaining clean filters and seals can further optimize airflow and steam efficiency, leading to better milk frothing results. Proper calibration of your machine’s temperature controls can also enhance the quality of your steamed milk.
Techniques for Steaming Milk to the Perfect Temperature
Once your equipment is ready, focus on steaming the milk to the right temperature. Many milk frothing myths suggest that hotter milk always equals better foam, but the goal is usually around 140-150°F (60-65°C). Use a thermometer or learn to gauge temperature by feel—your hand should stay on the pitcher without discomfort. Proper temperature control techniques involve steaming steadily and listening for a slight hissing sound, indicating the milk is heating evenly. Avoid overheating, which can scald the milk and ruin flavor. Remember, consistent steaming and monitoring help you achieve perfect milk temperature every time. Additionally, understanding contrast ratio can help you better appreciate how the visual quality of your steamed milk and espresso will turn out in your presentation. Developing steam wand technique can further improve the texture and consistency of your milk, ensuring a smooth, velvety microfoam. Incorporating science of sound principles into your steaming process can also enhance your ability to judge when your milk has reached the ideal temperature and texture.
Creating Smooth Microfoam for Lattes

To create smooth microfoam for lattes, you need to choose the right milk, as it affects the texture and taste. Mastering your steaming technique guarantees you achieve the perfect consistency without large bubbles. Focus on achieving the right texture to make your latte visually appealing and velvety to sip.
Selecting the Right Milk
Have you ever wondered why some lattes have silky, smooth microfoam while others feel frothy or uneven? The key is choosing the right milk. For traditional lattes, whole milk creates rich, creamy microfoam due to its fat content. If you’re vegan or lactose intolerant, dairy alternatives like oat milk, almond milk, or soy milk can also produce good microfoam, but results vary. Non-dairy options with higher protein or fat tend to foam better, so look for barista blends designed for steaming. Avoid very thin or watery plant-based milks, which struggle to develop microfoam. Experiment with different types to find what works best for your taste and steaming technique. Selecting the right milk ensures your latte will have that perfectly smooth, velvety finish. Additionally, choosing a dog-friendly environment for your coffee break can make the experience more enjoyable if you’re out with your pet. Properly monitoring AI behavior can also help maintain safety and quality in automated systems used in cafes and other settings.
Mastering Steaming Technique
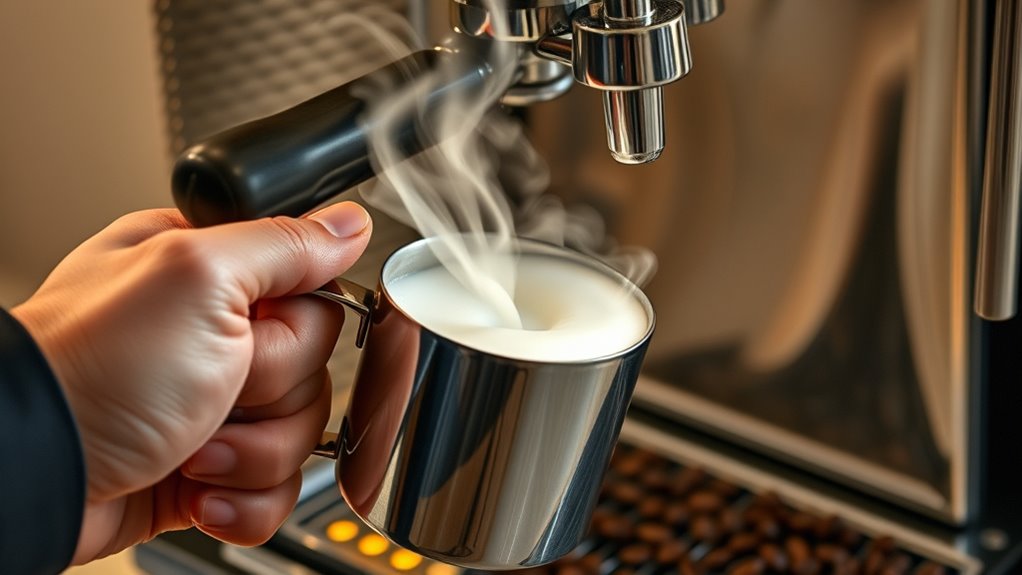
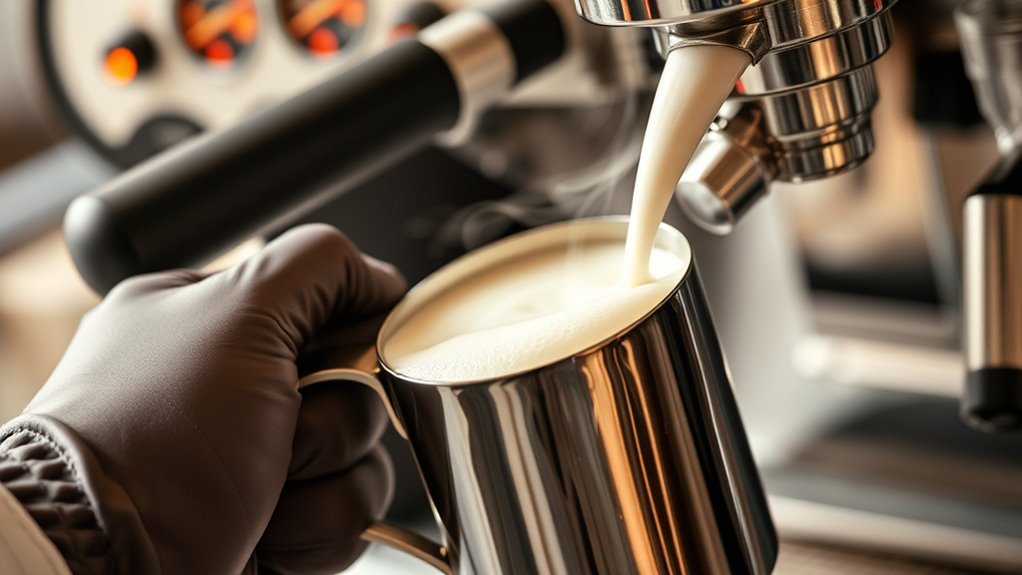
Mastering the steaming technique is essential for creating the silky microfoam that makes a great latte stand out. To achieve this, focus on controlling your steam wand and milk temperature. Here are key tips:
- Position the wand just below the milk surface to introduce air, creating fine bubbles ideal for microfoam.
- Keep the pitcher at an angle and steady, ensuring consistent movement for smooth heating and aeration.
- Listen for a gentle hissing sound and aim for a temperature around 150°F, as this preserves milk protein structure, leading to better latte art.
- Practicing these steps helps develop your skills, producing smooth, velvety microfoam perfect for latte art and enhanced by *superior* milk protein integration. Hackathons can also serve as an excellent environment to learn and refine techniques through collaborative challenges.
- Understanding the importance of AI in Education can inspire innovative ways to improve training methods for baristas, utilizing technology to enhance skill development.
Achieving Perfect Texture
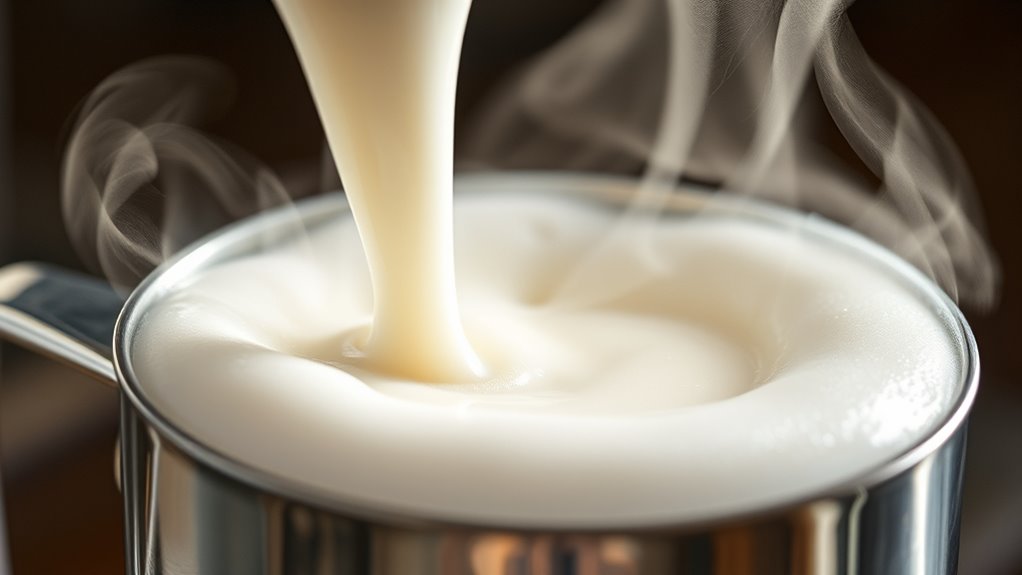
Creating smooth microfoam is essential for a latte’s perfect texture, and achieving it requires attention to detail during steaming. Start by selecting milk with the right composition—full-fat milk creates richer, creamier foam, while skim milk produces lighter bubbles. As you steam, focus on maintaining foam stability by keeping the tip just below the surface to introduce air gradually. This process helps develop a glossy, velvety microfoam without large bubbles. Proper temperature control also plays a role; aim for around 140°F to prevent breakdown of the foam. Consistent steaming techniques ensure the microfoam is silky and uniform, which is key for pouring latte art and delivering a smooth drinking experience. With practice, you’ll master creating microfoam that perfectly complements your espresso.
Achieving Frothy Foam for Cappuccinos
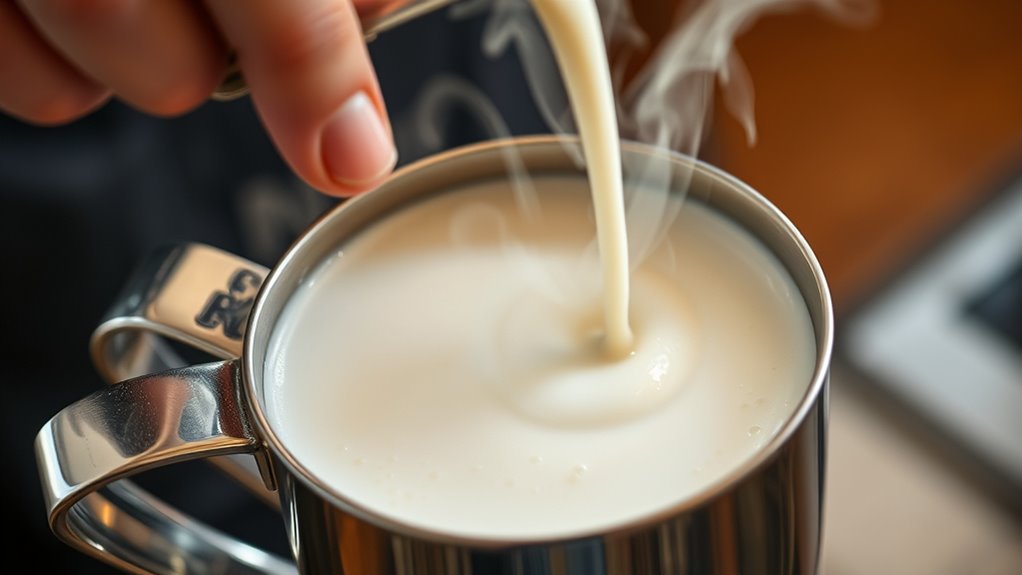
Wondering how to achieve that perfect frothy foam for your cappuccino? Mastering milk frothing techniques is key. Here are three steps to help you get that ideal foam consistency:
- Start with cold milk – it froths better and creates a creamier texture.
- Position the steam wand just below the surface of the milk to introduce air gently.
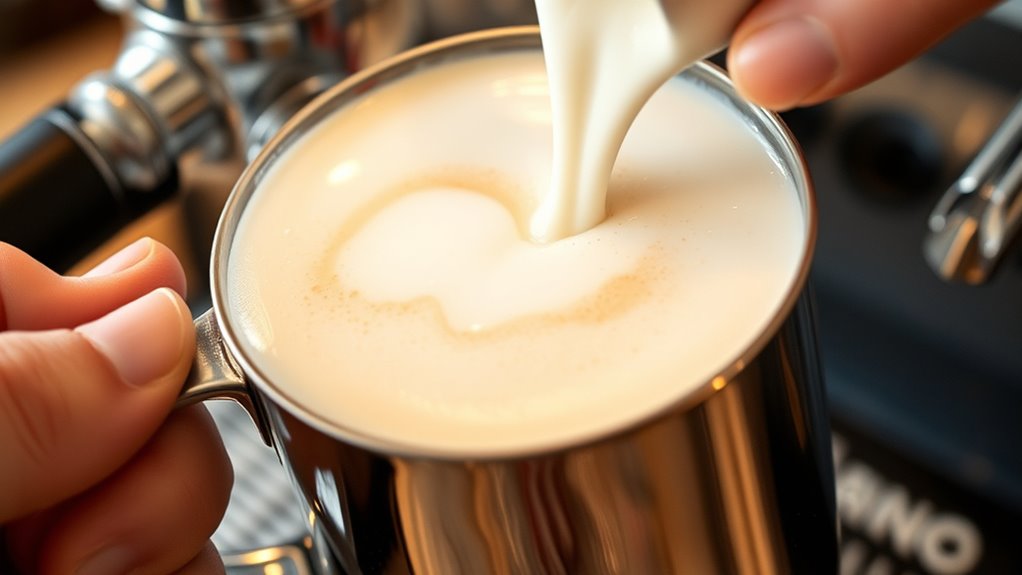
- Adjust the angle and position to create a whirlpool, ensuring even microfoam.
Use these foam consistency tips: aim for a shiny, velvety texture, not too airy or too dense. Practice makes perfect—keep your hand steady and listen for a hissing sound. With time, you’ll produce frothy foam that elevates your cappuccino experience every time.
Common Mistakes and How to Avoid Them
One common mistake is overheating your milk, which can ruin the texture and flavor. You might also struggle to create the right amount of foam, either making it too airy or too flat. To get it right, pay attention to temperature and practice steady, controlled steaming. Being aware of the optimal angles for your machine can also improve your technique and results. Additionally, ensuring your cleaning and maintenance routines are consistent will help maintain the quality of your milk frothing and overall espresso preparation. Regularly calibrating your equipment can further prevent common issues and ensure consistent performance. Properly monitoring temperature during steaming can further prevent overheating and preserve milk quality. Understanding machine features can also assist you in achieving better results and avoiding common mistakes.
Overheating Milk Properly
Overheating milk is a common mistake that can ruin its texture and flavor, so it’s important to monitor the temperature carefully. Proper temperature control prevents scalding and preserves the milk’s sweetness. To avoid overheating:
- Check your milk storage: Always start with cold milk from the fridge, as warmer milk is more prone to overheating.
- Use a thermometer: Aim for around 150°F (65°C). If you don’t have one, listen for a slight hissing sound or feel the jug’s side—if it’s too hot to touch comfortably, it’s too hot.
- Watch the steam: Stop steaming as soon as you see small bubbles form and the milk starts to look shiny. Overheating ruins the texture and flavor.
- Be mindful of the familiarity: Building confidence with your steaming technique can help you better judge when the milk is at the perfect temperature without solely relying on tools.
Achieving Perfect Foam
Achieving perfect foam can be tricky, but avoiding common mistakes makes all the difference. One mistake is not using fresh, cold milk or milk alternatives, which hampers foam quality. Over-foaming can lead to large bubbles, while under-foaming results in flat milk. To improve, focus on proper positioning of the steam wand and steady hand. Also, avoid adding flavor additions too early, which can destabilize the foam. Here’s a quick guide:
| Mistake | How to Avoid |
|---|---|
| Using warm or stale milk | Always start with fresh, cold milk or alternatives |
| Over- or under-foaming | Practice steady wand placement and timing |
| Adding flavor too soon | Add flavor after achieving smooth foam |
| Ignoring milk type | Adjust technique for different milk or alternatives |
Additionally, understanding the benefits of proper milk steaming can help motivate you to perfect your technique. Proper steaming techniques also promote microfoam quality, essential for creating latte art and perfect drinks.
Tips for Practicing and Perfecting Your Milk Texturing Skills
Practicing and refining your milk texturing skills requires patience and deliberate effort. To improve, focus on consistent practice and mindful adjustments. Here are three tips:
- Start simple – master basic milk foam first before attempting milk art or flavor infusions. Maintaining proper emergency preparedness essentials can help you stay calm and focused during practice sessions.
- Observe and adjust – pay attention to your milk’s temperature and texture, tweaking your technique as needed.
- Experiment regularly – try different milk types and steaming techniques to find what creates the best microfoam for latte art. Incorporating texture control techniques can further enhance your ability to produce smooth, velvety milk for various coffee presentations.
Incorporating Flavors and Finishing Touches
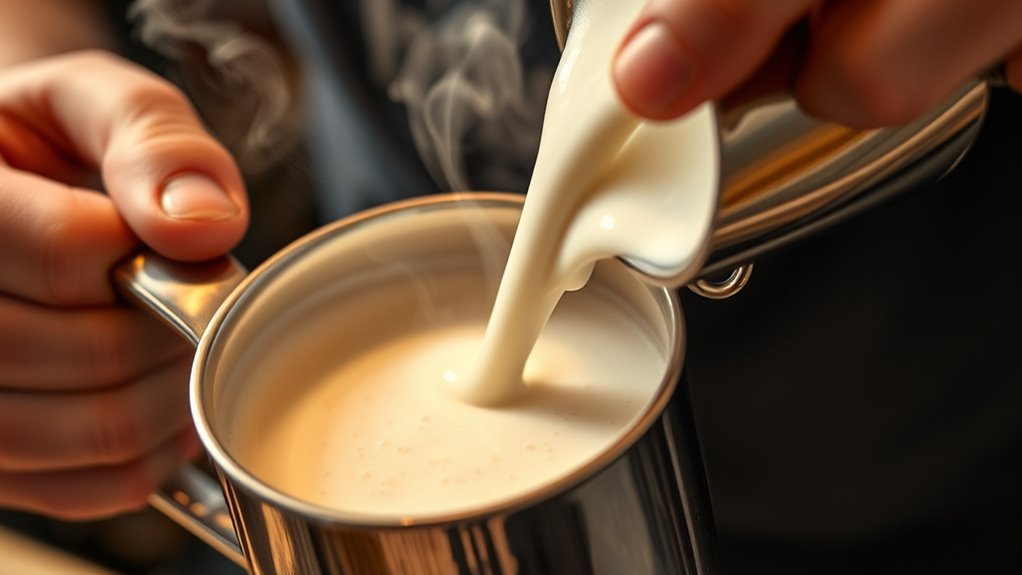
Adding flavors and finishing touches can elevate your milk-based drinks from simple to memorable. You can incorporate flavor infusions by adding syrups, spices, or extracts before steaming the milk, creating a personalized taste experience. Once your drink is prepared, enhance its visual appeal with decorative toppings like whipped cream, cocoa powder, cinnamon, or caramel drizzle. These finishing touches not only make your beverage more attractive but also add layers of flavor. Experiment with different flavor combinations to find what resonates with your palate. Remember, the key is balance—don’t overdo it. A well-placed decorative topping can turn a good latte or cappuccino into a true work of art, impressing both your eyes and your taste buds.
Frequently Asked Questions
Can I Steam Milk Without a Professional Espresso Machine?
Yes, you can steam milk without a professional espresso machine. With home steaming techniques, you’ll learn milk frothing basics like heating milk gently and creating foam using a microwave, stovetop, or a handheld frother. Using a jar with a lid or a French press also works. Practice makes perfect, so experiment to find the right temperature and frothing method that suits your taste.
How Do I Clean the Steaming Wand Properly?
You might think cleaning the steam wand is a hassle, but it’s essential for great milk frothing. To maintain it properly, wipe the wand immediately after use with a damp cloth, then purge steam for a few seconds to clear milk residue. Regular steam wand maintenance prevents clogs and guarantees smooth milk frothing. This simple routine keeps your equipment in top shape and your drinks tasting perfect.
What Alternative Milk Options Work Best for Steaming?
When choosing milk options to steam, plant-based milk like almond, soy, or oat milk often work well because they froth easily and create creamy textures. You might notice a dairy milk comparison showing that whole milk produces the richest froth, but many plant-based options can mimic that with some practice. Experiment to find your favorite, as each type behaves differently when steamed—so try a few to see what suits your taste best.
How Long Does Milk Stay Fresh After Steaming?
Oh, the fleeting magic of freshly steamed milk! It’s a shame, really, how quickly it loses its charm. After steaming, your milk stays fresh only about 15-20 minutes if stored properly, but don’t overthink it—milk storage and freshness preservation are key. To enjoy that rich, creamy texture, best to use it promptly. Otherwise, you risk sacrificing flavor and safety, turning your enjoyments into a gamble.
Is It Possible to Re-Steam Leftover Milk?
Re-steaming leftover milk isn’t recommended because it can affect its texture and taste. If you’ve stored milk properly in the fridge, you can reheat it, but be cautious—reheating may cause it to develop a skin or alter flavor. Always check for spoilage before reheating milk, and avoid re-steaming it multiple times. Proper milk storage helps maintain freshness, making reheating safer and more effective.
Conclusion
With practice, you’ll master steaming and frothing milk to elevate your coffee game. Imagine pouring a perfectly textured cappuccino, the foam just right, and the aroma filling the room. Just like Sarah, who started struggling but now impresses friends with velvety lattes, you too can refine your skills. Keep experimenting, stay patient, and soon you’ll craft cafe-quality drinks that delight every time. Your perfect milk awaits—start steaming and frothing today!