
To understand milk frothing, know that it involves introducing tiny air bubbles into milk, stabilized by proteins and fats, to create a smooth, velvety foam. Temperature plays a key role; ideally, keep it around 140°F to guarantee stable bubbles. Using proper equipment, techniques, and milk types can improve foam quality and latte art. If you want to learn more, you’ll discover how microstructure and physics influence perfect foam every time.
Key Takeaways
- Milk contains proteins and fats that stabilize foam by forming a film around air bubbles during frothing.
- Proper temperature (around 140°F) ensures optimal microstructure for smooth, durable foam.
- Steaming technique, including positioning the wand just below the surface, influences bubble size and foam stability.
- Uniform microstructure and cell size in milk microstructure improve foam longevity and pattern-holding ability.
- Equipment quality and proper cleaning impact foam consistency and the microstructure critical for latte art.
What Is Milk Frothing and Why Is It Important?

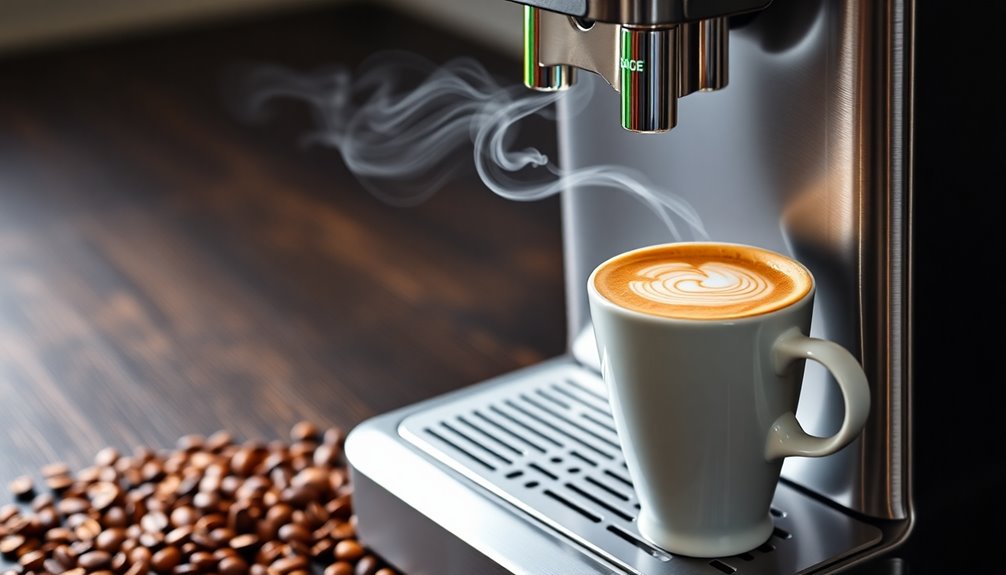
Have you ever wondered what makes a perfectly frothed latte so appealing? It’s all about understanding milk frothing. When you froth milk, you’re introducing air to create a foam with specific qualities. The milk temperature plays a pivotal role because it affects how well the milk froths and how stable the foam becomes. You want the right temperature to achieve ideal froth density—neither too thick nor too airy. A well-frothed milk enhances the flavor and texture of your coffee, making each sip smoother and creamier. Frothing transforms plain milk into a velvety, luxurious topping that elevates your drink. Mastering this process helps you brew better coffee, whether you’re making a latte, cappuccino, or macchiato. Additionally, understanding how to integrate appliance functionality can help you achieve consistent results with your frother or espresso machine.
The Role of Temperature in Milk Frothing
Temperature plays a key role in how well milk froths and how stable the foam remains. When you heat milk to the right temperature, typically between 140°F to 160°F, it promotes appropriate milk temperature for frothing. If the milk is too cold, it won’t froth properly, resulting in thin or weak foam. Conversely, if the milk gets too hot, the frothing consistency can become unstable, causing the foam to collapse quickly. Achieving the ideal temperature ensures the proteins and fats in the milk work together to create a smooth, creamy froth. Monitoring the milk temperature as you froth helps you produce consistent, high-quality foam, essential for a perfect cappuccino or latte art. Proper temperature control is key to mastering milk frothing. Techniques like digital thermometers can help maintain precise temperature levels for optimal results.
Different Types of Milk and Their Frothing Properties
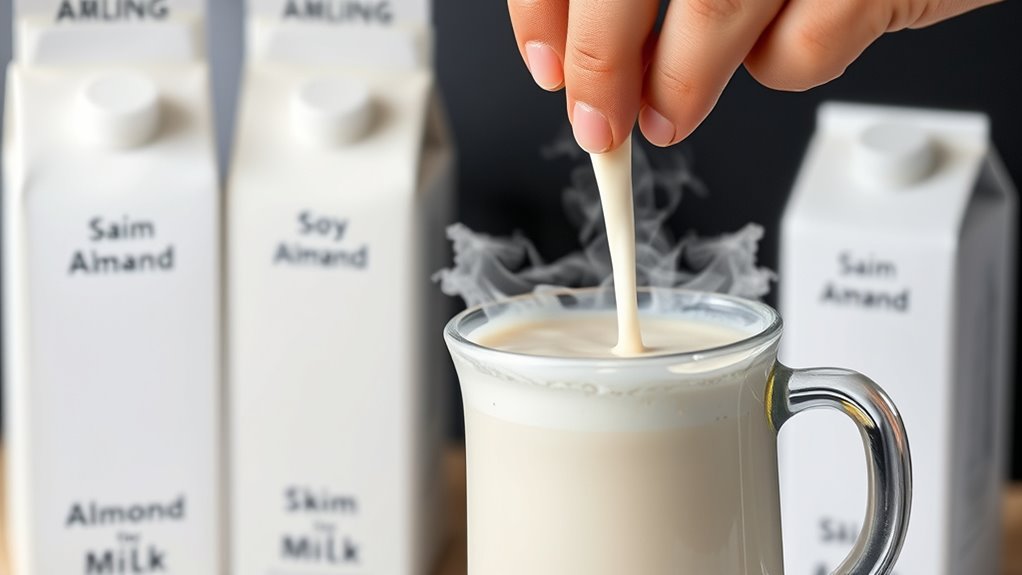
Different types of milk have unique frothing properties because of their fat content and protein levels. High-fat milk creates a creamier, richer foam, while lower-fat options produce lighter bubbles. Understanding these differences helps you choose the best milk for your perfect froth. Additionally, some milks are specially formulated for frothing, enhancing the texture and stability of your foam frothed milk properties.
Milk Fat Content
Understanding how milk fat content influences frothing is essential for achieving the perfect cappuccino or latte. Milk fat, mainly found in milk cream, impacts the texture and stability of your foam. Higher fat levels create a richer, creamier froth with a velvety feel, but they can also make it harder to achieve maximum volume. Milk with lower fat content, like skim or non-fat milk, produces lighter, more airy foam that may lack some richness but is easier to froth consistently. Whole milk strikes a balance, offering good foam stability and a creamy mouthfeel. Knowing the milk fat content helps you choose the right milk type based on your desired froth quality, whether for a luxurious latte or a light cappuccino.
Protein Levels in Milk
Milk protein levels play a significant role in determining how well milk foams, influencing both the stability and texture of the resulting froth. Higher milk protein content, like in whole or skim milk, enhances foam stability, allowing bubbles to hold longer without collapsing. Milk with lower protein levels, such as some plant-based alternatives, often produce less stable foam and a thinner froth. Different types of milk contain varying amounts of milk protein, affecting their frothing properties. For ideal foam, choose milk with a higher protein content, like fresh whole or skim milk, which creates a richer, more durable foam. Understanding these protein levels helps you select the best milk for your desired froth quality, ensuring a smooth, velvety experience every time. Milk composition also influences the overall quality of the froth, making it essential to consider when selecting your milk type.
How Milk Proteins and Fats Contribute to Foam Stability

Your milk’s proteins form a network that traps air, creating stable foam. Fats act as emulsifiers, improving the foam’s texture and preventing it from collapsing. Together, they play a vital role in achieving a perfect, long-lasting froth. Additionally, understanding the best milk types for frothing can help optimize foam quality.
Protein Network Formation
Have you ever wondered what keeps frothy milk stable and velvety? It all comes down to protein network formation. When milk is steamed, proteins unfold and connect, creating a strong, elastic mesh that traps air bubbles. This network stabilizes the foam, making it durable and creamy. Dairy alternatives like almond or soy milk can produce different protein structures, affecting foam quality. They may lack the same network, leading to less stable foam, but sometimes offer better flavor enhancement for certain tastes. Understanding this process helps you control foam texture and longevity. Here’s a quick comparison:
| Milk Type | Protein Network Strength | Foam Stability | Flavor Impact | Suitability for Dairy Alternatives |
|---|---|---|---|---|
| Cow’s Milk | Strong | High | Neutral | Moderate |
| Almond Milk | Weaker | Less stable | Nutty | Better for dairy-free options |
| Soy Milk | Moderate | Good | Bean-like | Widely used |
| Oat Milk | Varies | Moderate | Mild | Popular dairy alternative |
| Coconut Milk | Minimal | Low | Rich, coconut | Less ideal for foam stability |
An understanding of protein network formation also highlights why certain milk types are preferred for specific textures and culinary applications.
Fat’s Emulsifying Role
Fats play a crucial role in stabilizing milk foam by acting as natural emulsifiers. Milk fat surrounds the air bubbles, forming a protective layer that prevents them from collapsing. This process enhances foam stability, making your milk froth more durable and resilient. The presence of milk fat helps maintain a consistent structure, especially in whole milk, which contains higher fat content. As you froth, the fat molecules distribute evenly around the air pockets, reducing surface tension and preventing bubble coalescence. This emulsifying action ensures your foam remains smooth, creamy, and long-lasting. Without sufficient milk fat, foam tends to be less stable and quickly dissipates. So, the fat content in your milk directly influences the quality and longevity of your milk froth. Additionally, AI-driven research is helping scientists better understand how milk composition affects foam stability, leading to improved frothing techniques and product formulations.
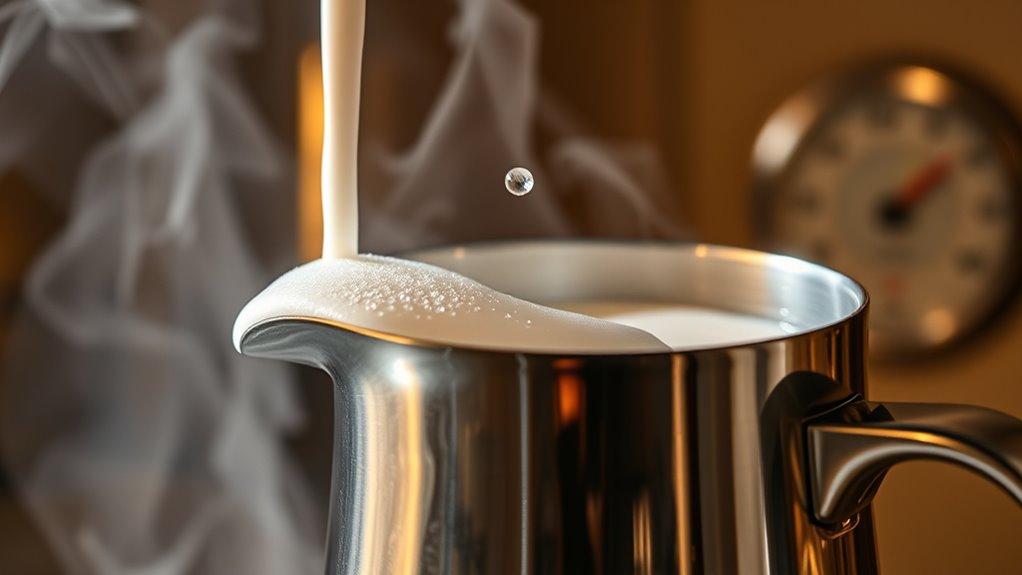
The Physics of Air Incorporation During Frothing
Ever wondered how air gets incorporated into milk during frothing? It all starts with air bubble formation, which occurs when you introduce steam or frothing wand into the milk. As you swirl and agitate the milk, tiny air pockets are trapped, creating bubbles that lead to foam. The physics behind this process involve the rapid expansion and compression of air, causing it to disperse into small, stable bubbles. Foam stabilization depends on the milk’s proteins and fats, which surround the bubbles and prevent them from merging or popping. This delicate balance ensures a smooth, velvety texture. Understanding these forces helps you control the amount and consistency of your milk foam, making your frothing more effective and consistent every time. Additionally, material durability of the frothing equipment can impact the consistency and quality of the foam produced.
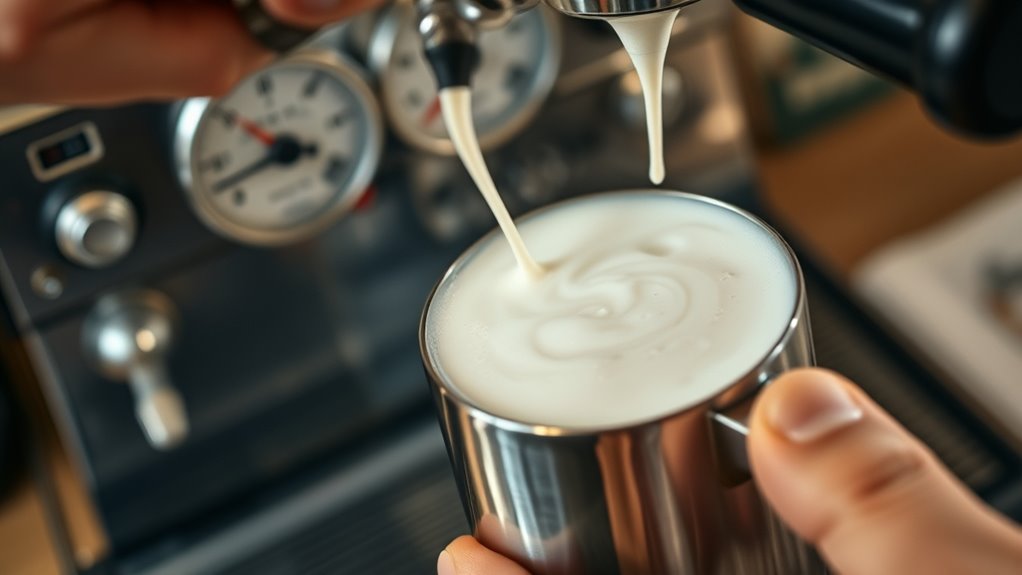
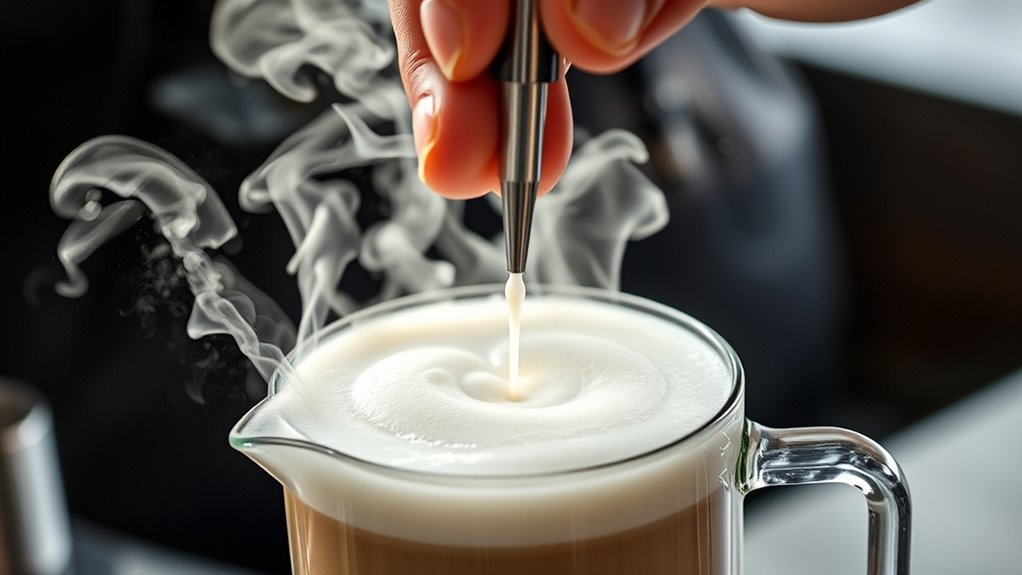
Techniques for Achieving Perfect Milk Foam

Achieving perfect milk foam requires a combination of proper technique and attention to detail. Start by selecting fresh, cold milk or dairy alternatives, as colder liquids create better foam. Use a steam wand or frother, positioning it just below the surface of the milk to introduce air efficiently. Focus on creating a steady, gentle motion to develop a smooth, velvety foam with the right foam density—neither too airy nor too thick. For dairy alternatives, choose options specifically designed for frothing, and adjust your technique accordingly. Keep the milk at the right temperature, around 140°F (60°C), to ensure ideal frothing. Maintaining awareness of home security systems and their effectiveness can help protect your investment in quality equipment. With consistent practice, you’ll master the art of producing high-quality foam suitable for lattes, cappuccinos, or specialty drinks.
Common Mistakes and How to Avoid Them
Even with the best technique, common mistakes can undermine your efforts to create perfect milk foam. One mistake is overheating the milk, which can scorch dairy alternatives or diminish their flavor enhancement. Using the wrong frothing tool or not positioning it correctly can lead to flat or uneven foam. Avoid overcrowding the pitcher, as it hampers proper air incorporation. Skipping steps like cleaning your equipment can result in off-flavors or inconsistent results. Be mindful when choosing dairy alternatives, since some may not froth well or can alter the flavor profile. Additionally, rushing the process can cause large bubbles or a thin texture. To improve, practice patience, maintain proper temperatures, and select the right tools and ingredients suited for your desired flavor and foam consistency. Recognizing the importance of cultural techniques and preferences can also help you adapt your approach for better results.
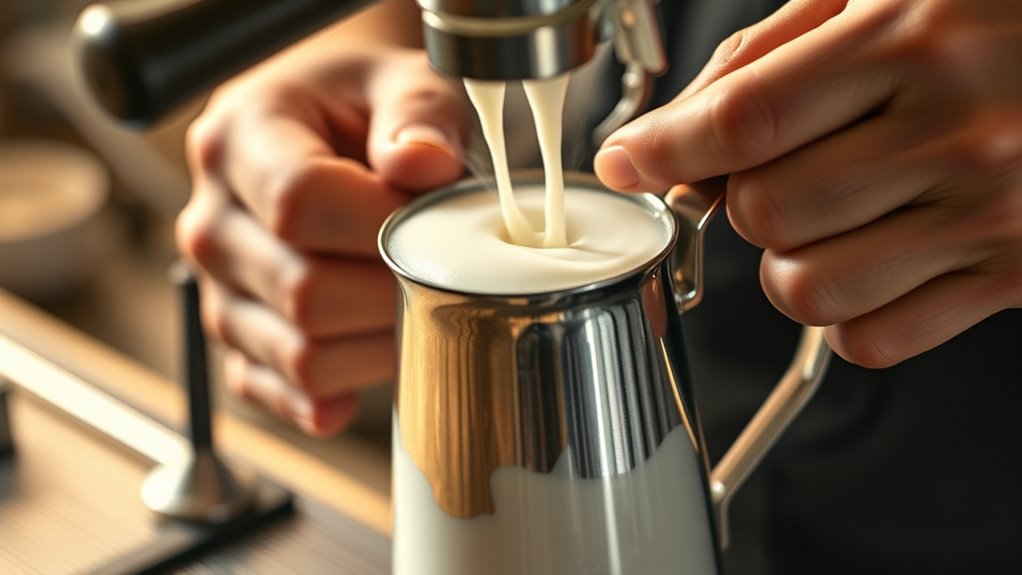
The Impact of Frothing Equipment on Foam Quality
The choice of frothing equipment considerably influences the texture and stability of your milk foam. Different devices, like steam wands, frothers, or automatic machines, produce varying foam qualities. High-quality equipment allows you to apply the right frosting techniques, creating smoother, creamier foam with better microfoam consistency. Proper equipment maintenance is essential; clean your frother regularly to prevent milk residue buildup, which can impair foam quality. Inconsistent results often stem from using worn or poorly maintained tools. Investing in good equipment and staying diligent with maintenance ensures you achieve consistent, professional-looking froth. Remember, even the best frosting techniques won’t deliver excellent foam if your equipment isn’t functioning properly. Your choice and care of the right frothing equipment directly impact the final quality of your milk foam. Additionally, understanding the importance of proper maintenance can help you avoid common issues and extend the lifespan of your frothing tools.
Tips for Consistent Frothing Results at Home
To get consistent frothing results at home, start with cold milk, as it creates better foam. Keep the frothing wand in a steady position and avoid moving it around too much. Also, adjust the frothing speed to find the right balance for smooth, creamy foam every time. Using a thermometer to monitor the milk temperature can help prevent overheating and ensure optimal frothing conditions, especially since the type of milk can influence the final texture filtration technology.
Use Cold Milk
Using cold milk is essential for achieving consistent frothing results at home. When your milk has a lower temperature, it’s easier to create stable, creamy foam because the proteins and fats respond better to the aeration process. Warm milk tends to produce less stable froth and can quickly become overheated, affecting texture and taste. Keep your milk refrigerated until just before frothing to maintain ideal milk temperature. Using cold milk also gives you more control over the frothing process, allowing you to adjust steam or froth duration for the desired foam consistency. Remember, the colder the milk, the better your chances of getting smooth, long-lasting froth every time you make your coffee. Proper temperature control is crucial for achieving the best frothing results.
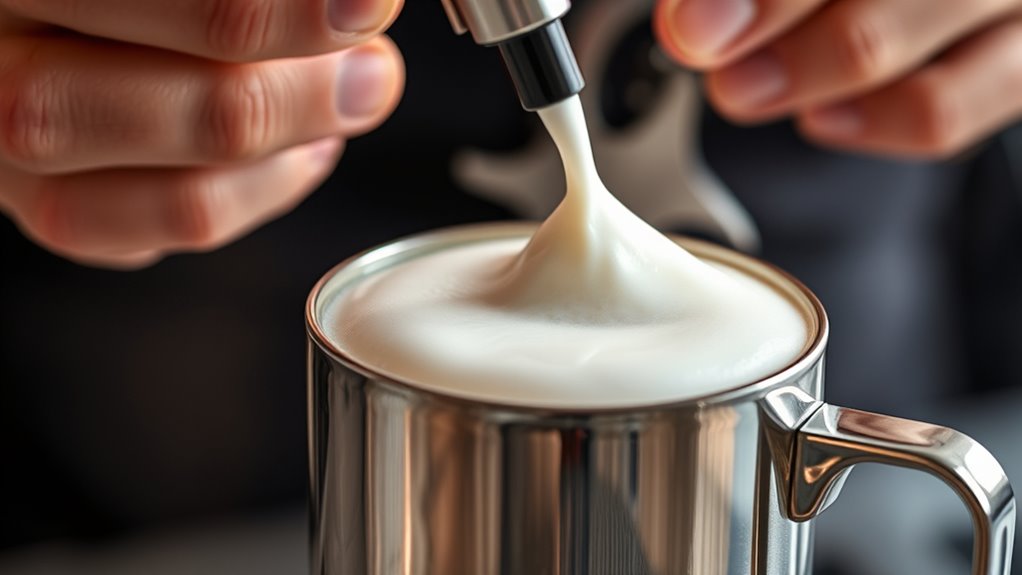
Maintain Steady Position
Maintaining a steady position of the steam wand or milk pitcher is essential for producing consistent froth. When you keep it stable, you guarantee milk stability, preventing uneven heating or turbulence that can disrupt foam texture. Proper positioning allows you to control the microfoam formation, resulting in a smooth, velvety consistency. Use the following guidelines:
| Positioning Tips | Why It Matters | Expected Outcome |
|---|---|---|
| Keep the wand steady | Ensures uniform heat and milk flow | Consistent milk temp and foam texture |
| Maintain a slight angle | Promotes even frothing | Stable microfoam formation |
| Use a firm grip | Prevents wobbling | Better control, uniform foam |
Additionally, selecting appropriate containers can aid in maintaining stability during frothing.
Adjust Frothing Speed
Adjusting the frothing speed is key to achieving the perfect microfoam. If your frothing speed is too fast, the milk may become overly airy, resulting in bubbles that are too large and inconsistent foam density. Conversely, a slower speed allows the milk to heat gradually and creates a denser, creamier foam. Start by setting your frother to a moderate speed, then adjust based on the texture you desire. For thicker, velvety foam, reduce the speed slightly; for lighter, airier foam, increase it. Consistent control over the frothing speed helps you produce uniform microfoam each time. Keep an eye on the foam’s appearance and feel, and tweak the speed as needed to get the foam density just right for your perfect cup. Controlling foam texture is essential for achieving barista-quality froth at home.
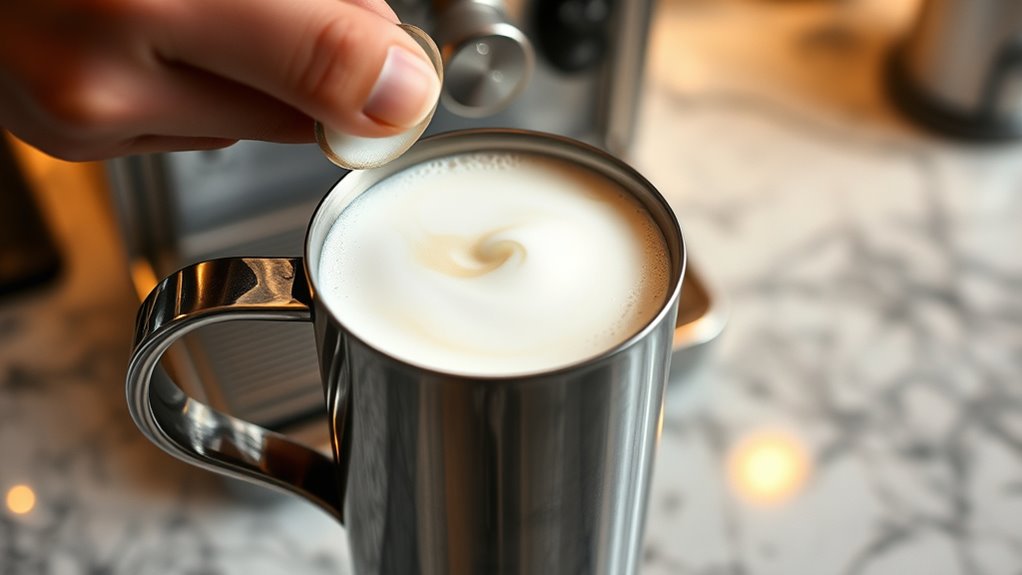
Exploring the Science of Latte Art and Foam Texture

Understanding the science behind latte art and foam texture reveals how milk’s microstructure influences the final presentation. Milk mineral content affects protein stability, which shapes foam quality and allows for intricate designs. Lactose fermentation can alter milk’s acidity, impacting microfoam consistency. When milk is steamed, the proteins and fats create a stable foam that holds shape. Proper microstructure results in smooth, glossy foam perfect for art.
- Milk mineral content strengthens protein networks
- Lactose fermentation influences foam stability
- Microstructure determines the foam’s ability to hold intricate patterns
- Uniform cell size creates smoother, more durable foam
- Proper steaming unlocks ideal milk microstructure for latte art
Frequently Asked Questions
How Does Altitude Affect Milk Frothing Performance?
Altitude effects can make your milk frothing less consistent because lower air pressure changes how steam heats and expands. At higher altitudes, you might find it harder to achieve the same frothing consistency because the reduced pressure affects steam’s behavior. To adapt, you may need to adjust your frothing technique or equipment settings, ensuring your milk still gets the right texture and foam despite altitude challenges.
Can Non-Dairy Milks Be Frothed as Well as Dairy?
You can definitely froth non-dairy milks, but it’s a bit of a balancing act. Plant-based alternatives like soy, oat, or almond milk often foam well, but foam stability varies. Some non-dairy options create a lighter, airy foam, while others may collapse quickly. It’s a case of trial and error to find which plant-based milk works best for your desired froth quality, but don’t throw in the towel—keep experimenting!
What Is the Ideal Pressure for Milk Frothing Devices?
You should aim for an ideal pressure of around 9 bar when frothing milk. Maintaining pressure consistency is vital, so confirm your device is properly calibrated for steady steam delivery. Consistent pressure helps create smooth, velvety foam and prevents over-foaming or under-foaming. Regularly check and calibrate your frothing device to keep the pressure stable, guaranteeing optimal results for both dairy and non-dairy milks.
How Does Milk Freshness Influence Foam Quality?
Think of your milk like a delicate dance partner—freshness makes all the difference. When milk is fresh, its proteins and fats are in prime condition, creating a stable, velvety foam. If milk spoilage occurs, these elements break down, resulting in weak, watery foam. To preserve foam quality, use fresh milk and store it properly, ensuring freshness preservation and that your froth stays rich and creamy every time.
Are There Health Risks Associated With Improperly Frothed Milk?
If you improperly froth milk, you might face health risks like bacterial growth, especially if the milk isn’t fresh or kept at the right temperature. People with milk allergies should be cautious, as allergic reactions can occur regardless of frothing. Always verify your milk is fresh and properly handled to minimize risks. Avoid consuming milk that smells sour or shows signs of spoilage to stay safe.
Conclusion
Now that you understand the science behind milk frothing, you can confidently create perfect foam every time. Some believe that colder milk produces denser foam, but studies show that slightly warmer milk actually stabilizes bubbles better. So, don’t shy away from experimenting with temperature. With the right technique and a bit of science, you’ll master frothing, impress friends, and maybe even start your own latte art journey. Happy frothing!

In the vast and diverse world of coffee, coffee alternatives, and tea, Olivia has found her calling. As an author and a dedicated coffee and tea aficionado, her work for Cappuccino Oracle reflects her profound love and understanding of the intricate complexities found within these beverages. Olivia’s passion for the subject serves as both a catalyst for her creativity and a connection point with her audience.