To master steaming milk for perfect coffee, start with fresh, cold milk for the best flavor and texture. Fill your pitcher with about 250 ml, leaving room for expansion. Position the steam wand just below the surface at a slight angle and introduce air for 1-2 seconds to create microfoam. Aim for a shiny texture, keeping the milk hot but not scalded—140-150°F is ideal. Regular practice is key to refining your skills, so don't hesitate to try different techniques and styles. There's plenty more to explore, ensuring you'll perfect your milk steaming and latte art.
Key Takeaways
- Use fresh, cold milk and fill the pitcher to about 250 ml for optimal steaming results.
- Position the steam wand just below the surface at a slight angle for effective aeration.
- Inject air for 1-2 seconds to create tiny bubbles, aiming for a glossy, paint-like texture.
- Monitor milk temperature, ideally between 140-150°F (60-65°C), for perfect steaming without scalding.
- Clean the steam wand after each use to maintain performance and flavor integrity.
Preparing the Milk
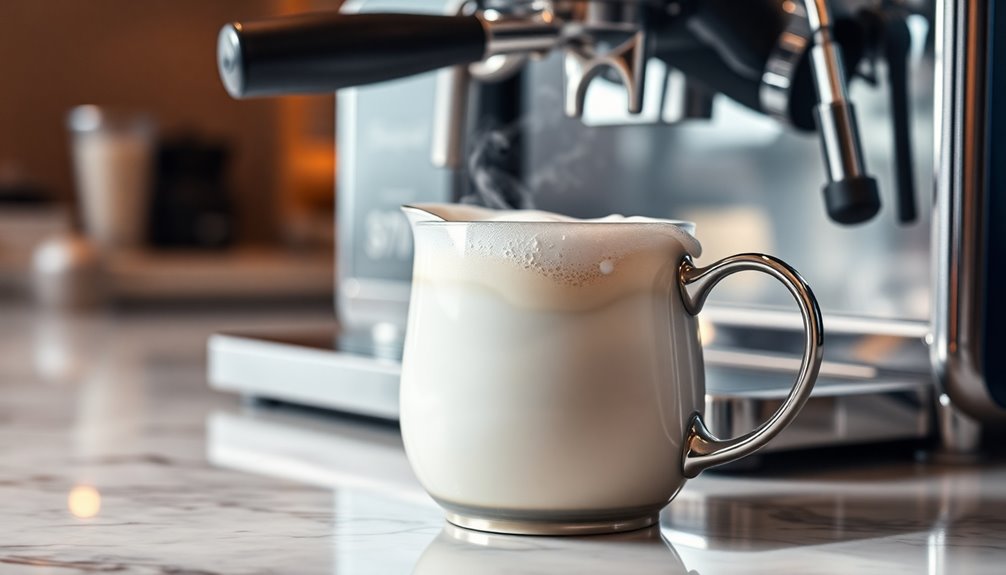
When you're preparing the milk for steaming, it's important to start with fresh, cold milk straight from the refrigerator.
Using high-quality milk not only enhances the flavor but also improves the texture of your steamed milk. Fill your latte pitcher with enough cold milk, leaving space for it to expand as it steams. A metal pitcher designed for steaming is ideal, and make sure it's clean and free of any residue to avoid affecting the taste.
Position the steam wand just below the surface at a slight angle to encourage aeration. This setup helps create that creamy texture you're aiming for while maintaining the right temperature throughout the steaming process. Additionally, ensure to purge the steam wand before starting to remove any excess water that could affect the milk's texture.
Enjoy the perfect steamed milk for your coffee creations!
Purging the Steam Wand

Purging the steam wand is an essential step in maintaining your coffee machine and guaranteeing the best flavor in your beverages.
To start, preheat the boiler to your desired temperature. Then, open the steam valve and run it until empty, catching the steam in an empty vessel to remove any milk residues. Proper maintenance of the steam wand is crucial for ensuring high-quality coffee and enhancing the performance of your machine.
After that, close the valve, unplug the machine, and wipe the wand with a clean, dry cloth.
Regularly purging prevents milk buildup, reducing odors and bacteria, and guarantees the steam wand functions properly.
For deeper cleaning, soak it in a vinegar solution every month or two.
Always check and clear the wand's tip to keep it clog-free, guaranteeing your coffee tastes fresh and delicious.
Positioning the Steam Wand
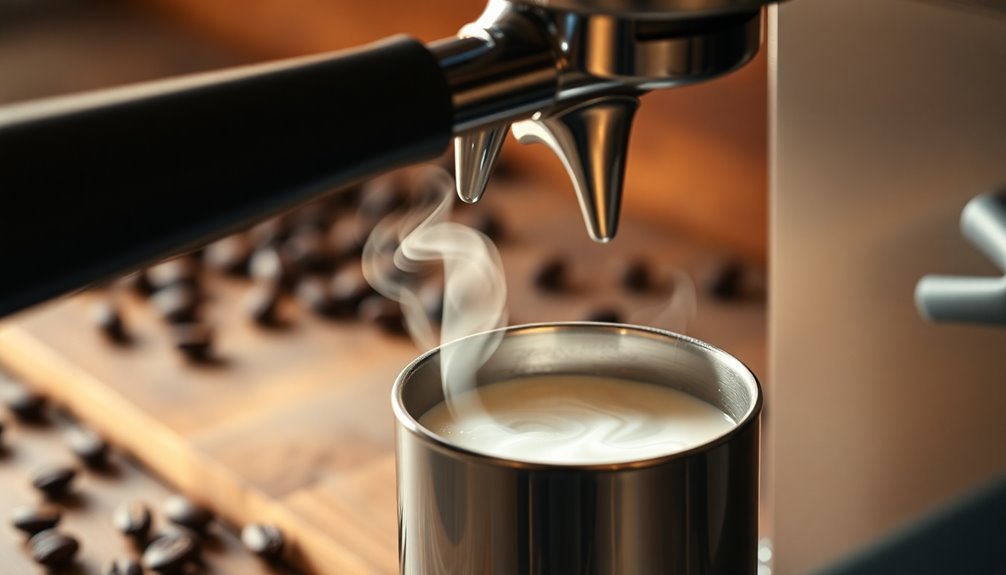
Positioning the steam wand correctly is essential for achieving the perfect milk texture and consistency.
Start by dividing the milk jug into quadrants, placing the wand in the bottom right or left quadrant just off-center to create a vortex. This helps maintain a consistent spin and prevents air from forming a thick layer on top.
For single-hole steam tips, nestle the wand in the spout, angling it downward towards the jug's center. Make sure the tip is just submerged to incorporate air effectively. Properly textured milk should resemble wet paint, ensuring that it enhances the visual appeal and mouthfeel of your beverage.
If you're using a four-hole steam tip, point it straight down.
Experiment with different steam tips to find the best positioning that enhances milk spinning and aeration, leading to creamy, velvety perfection.
Steaming Technique
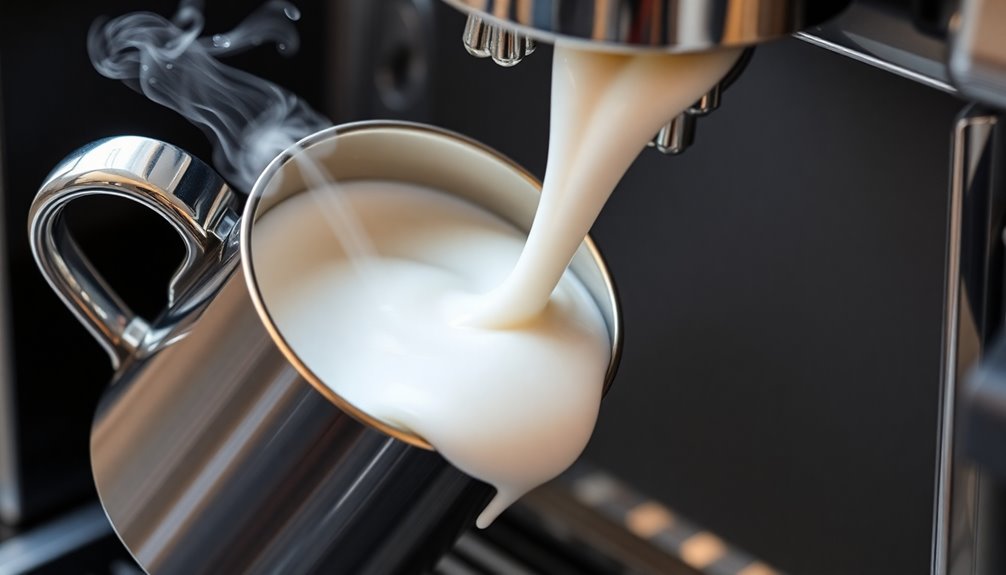
Mastering your steaming technique can dramatically elevate your coffee's quality.
Start by using cold, fresh milk, as this helps achieve that creamy texture you desire. Pour about 250 ml into your jug, making sure you don't overfill. As you begin steaming, inject air to create tiny bubbles, forming a vortex in the milk. Adjust the jug's position to maintain a smooth spin, avoiding chaotic movements that disrupt the flow.
Introduce air gradually to create microfoam, but be careful not to over-aerate. Keep an eye on the milk's consistency; it should feel silky and velvety. Additionally, it's important to monitor the temperature measurement closely to ensure optimal results. Finally, always clean the steam wand after each use to guarantee peak performance for your next steaming session.
Achieving the Right Temperature

Getting the temperature right is essential for perfect milk steaming. Aim for a range between 140-150°F (60-65°C) to guarantee your milk expands and achieves a rich, creamy texture.
If you go above 150°F, you risk burning the milk, resulting in a bitter flavor. Below 140°F, the milk won't froth properly, impacting its ability to blend with espresso.
For lattes, you can push the temperature slightly to 150-160°F (65-70°C). Use a contactless digital thermometer for accurate readings—just hold it 1-2 inches above the milk. Different types of milk may require slight temperature adjustments to achieve optimal results.
The base of the jug should feel hot but still holdable. Regularly checking the temperature helps maintain flavor and quality, guaranteeing your coffee remains a delightful experience.
Creating Microfoam

Creating microfoam is an art that transforms your coffee experience, elevating lattes and cappuccinos from ordinary to extraordinary.
Start with a high-quality espresso machine and a metal steaming pitcher, filling it just below the spout. Position the steam wand slightly below the milk's surface, injecting tiny bubbles to create that sought-after texture. Proper steaming prevents burning of lactose, maintaining sweetness in the final beverage. Additionally, coffee's antioxidants can enhance the overall health benefits of your drink, making it a delightful choice.
Angle the pitcher to create a vortex and use gentle side-to-side movements. Steam the milk until it's warm, ideally between 120-140 degrees F. Aim for small, uniform bubbles to guarantee smooth, creamy microfoam that enhances latte art.
Common Mistakes to Avoid
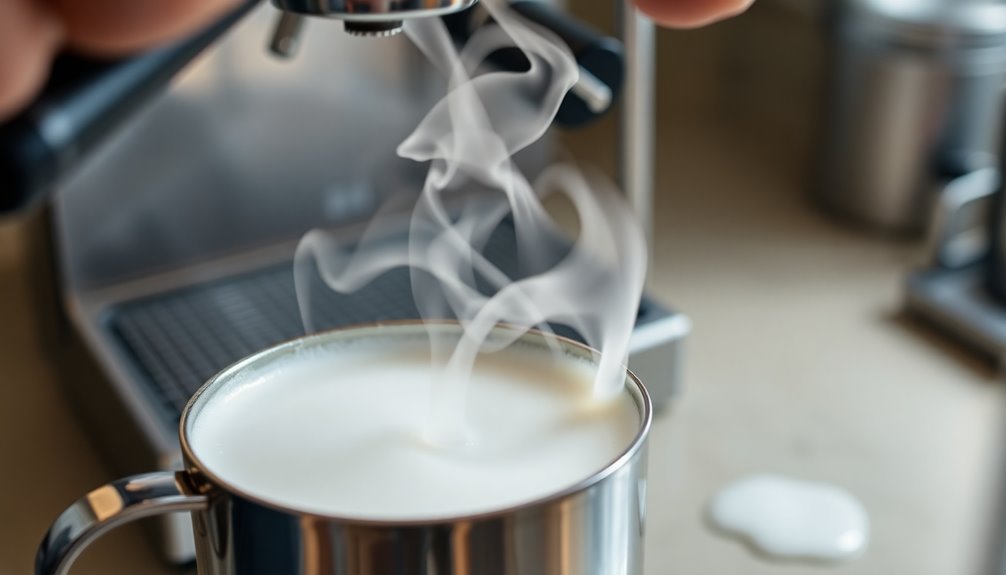
While steaming milk can seem straightforward, many common mistakes can hinder your results and spoil your coffee experience.
First, make sure your steam wand is positioned correctly; being too close introduces too much air, while placing it too deep prevents aeration. Proper positioning of the steam wand is crucial for achieving the right balance between aeration and heating.
Monitor your aeration phase—too little air results in flat milk, while over-aeration can create a mess.
Pay attention to temperature; over-steaming past 155°F can scorch your milk.
Always use fresh, cold milk suited for steaming, as stale or warm milk won't foam properly.
Finally, maintain your equipment—purge the steam wand and clean it after use to avoid contamination.
Practicing Your Skills

Avoiding common mistakes lays the foundation for successful milk steaming, but practice is where you truly hone your skills.
Start by using larger pitchers to gain confidence before moving to smaller ones. Focus on inserting the steam wand just at the milk’s surface to create foam, then plunge it deeper for a smooth vortex. Understanding the ideal steaming temperature is crucial for achieving the desired taste and texture. Next, practice steaming milk in different quantities to develop your skills. Experiment with various types of milk, as each will require different frothing techniques. By practicing regularly, you’ll eventually learn milk frothing techniques that work best for your particular machine and ingredients. Remember, perfecting the art of steaming milk takes time and patience, so keep practicing and don’t get discouraged.
As you practice, pay attention to the temperature, aiming for 55-60°C for the perfect texture. Regularly clean your steam wand and develop a routine that reinforces muscle memory.
Watch tutorials to pick up tips and techniques, and remember that slow, deliberate movements will yield better results, especially when you're ready to explore latte art pouring.
Consistency is key to mastering your skills.
Tips for Perfect Latte Art

To achieve perfect latte art, mastering the interplay of milk texture and pouring technique is essential.
Start with cold, fresh milk and avoid aerating it too much; just 1-2 seconds of air is perfect. Create a glossy, paint-like texture by forming a vortex with the steam wand. Make sure the milk's hot to the touch but not scalding. Additionally, ensure that the ideal espresso extraction time is approximately 25 seconds for optimal flavor and design contrast.
When pouring, keep the steam wand angled and submerged appropriately for aeration and microfoaming. Pour slowly from a few inches above the cup to avoid disturbing the crema.
For bold strokes, slow down your pour; for delicate lines, speed it up. Using a larger cup gives you more time for a successful pour, so choose your equipment wisely for the best results.
Frequently Asked Questions
Can I Use Non-Dairy Milk for Steaming?
Yes, you can definitely use non-dairy milk for steaming!
Oat milk works particularly well due to its creamy texture and ability to create silky microfoam.
Soy milk can be a bit tricky, as it requires careful handling to avoid excessive foaminess.
Almond milk is also an option but may not steam as well as oat milk.
Just remember to control the temperature and incorporate air properly for the best results!
How Do I Clean the Steam Wand After Use?
To clean the steam wand after use, you should wipe it with a damp cloth to remove any milk residue.
Purge the wand by opening the valve for a few seconds before and after steaming.
For a deeper clean, mix water with a coffee cleaning solution, soak the wand, and purge it again.
Don't forget to perform a full backflush of the machine at the end of the day to maintain hygiene.
What Equipment Do I Need for Steaming Milk?
To steam milk, you'll need a few essential pieces of equipment.
First, an espresso machine with a steam wand is vital for achieving that creamy texture. A milk frothing pitcher helps you incorporate air effectively, while a hand-held frother offers a portable option.
You might also consider additional tools like a microwave with a glass jar or an electric milk frother for convenience.
Each of these tools will help you create the perfect steamed milk.
How Do I Store Leftover Steamed Milk?
To store leftover steamed milk, refrigerate it immediately to prevent spoilage—don't wait for it to cool.
Use it within two days and avoid mixing it with unsteamed milk.
When reheating, do so over low heat while stirring continuously to maintain texture.
Remember, you can't freeze steamed milk, and reusing it can pose health risks.
For the best results, measure your milk accurately to minimize waste in the first place.
Can I Steam Milk in a Regular Saucepan?
Yes, you can steam milk in a regular saucepan. Just make sure it's small enough to control splattering.
Heat the milk over low-medium heat to avoid burning, and whisk it vigorously as it warms to incorporate air for that creamy texture.
Keep an eye on the temperature, ideally between 155-165 degrees Fahrenheit.
With the right technique, you'll achieve delicious, steamed milk straight from your stovetop!
Conclusion
Now that you've mastered the art of steaming milk, you're well on your way to crafting perfect coffee drinks at home. Remember to practice your technique, pay attention to temperature, and focus on creating that silky microfoam. Avoid common pitfalls, and soon you'll be impressing friends with your latte art. Keep experimenting and refining your skills, and enjoy the delicious results of your hard work. Your coffee game just got a serious upgrade!


