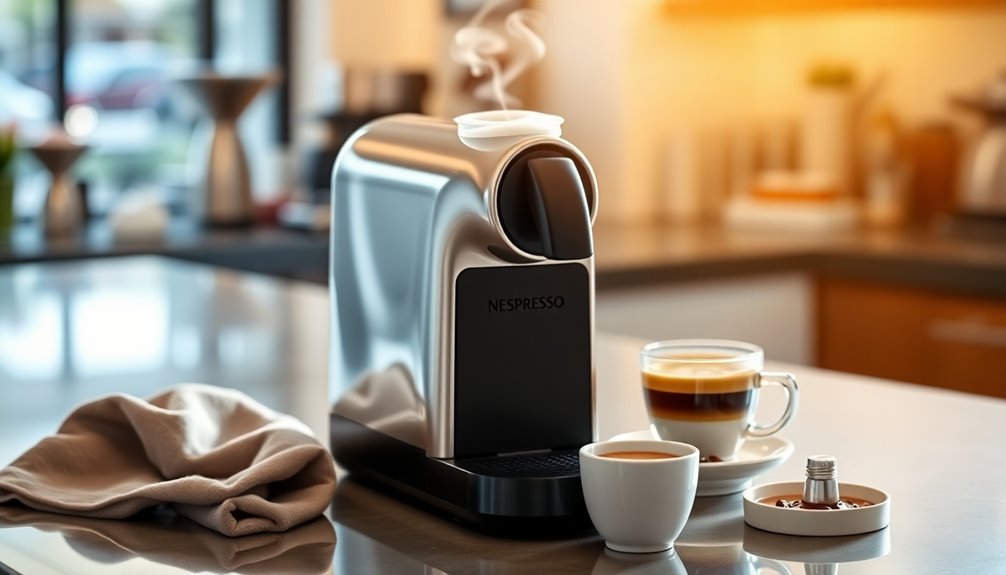
Using a Nespresso Aeroccino is easy and fun. Start by pouring cold, pasteurized milk into the jug, filling it to the lower line for hot froth. Press the button, and in about 15 seconds, you'll have creamy foam ready to enhance your coffee. For cold foam, fill it only to the upper line, and enjoy the results. Experiment with different milk types for varied flavors and textures. Clean your frother after each use, ensuring it remains in great shape. There's plenty more to discover about the Aeroccino to help you master your milk frothing experience.
Key Takeaways
- Fill the Aeroccino jug with cold, pasteurized milk up to the designated indicator line for optimal frothing results.
- For Aeroccino3, press the button to heat and froth the milk, achieving creamy foam in about 15 seconds.
- Use the Barista Milk Frother app to select frothing options for diverse beverages, including both hot and cold milk froth.
- Clean the Aeroccino after each use by rinsing the jug and whisk under running water; avoid using abrasive materials.
- Regularly maintain the Aeroccino by ensuring all components are dry and properly assembled before storing to prevent technical issues.
Overview of Nespresso Aeroccino

The Nespresso Aeroccino is your gateway to effortlessly crafting café-quality beverages at home. This compact milk frother is designed to create both hot and cold creamy foam, elevating your espresso drinks in just moments.
With a simple push of a button, you can achieve light, velvety froth in only 15 seconds for hot milk, or hold the button longer for cold foam. Its impressive max capacity of 8.2 oz for hot milk and 4 oz for froth accommodates various coffee beverage sizes.
Plus, the Aeroccino is compatible with any Nespresso machine, making it a versatile accessory for coffee lovers. Forget bulky cappuccino machines—this sleek design brings the barista experience right into your kitchen, no skills required.
Types of Nespresso Frothers

Nespresso frothers come in three main types, each catering to different preferences and frothing needs.
The Aeroccino3 is perfect for those seeking quick results, allowing you to prepare both hot milk and cold foam with just a button press.
If you want more versatility, the Aeroccino4 offers two types of hot milk froth and cold foam options, along with an ergonomic design for easy handling.
For the adventurous, the Barista Milk Frother pairs with an app, letting you explore a variety of recipes and frothing techniques.
- Aeroccino3: Fast and user-friendly
- Aeroccino4: Versatile with ergonomic design
- Barista Milk Frother: App integration for creativity
- All frothers: Compatible with various milk types
Choosing the Right Milk

When it comes to choosing the right milk for your Nespresso Aeroccino, the type you pick can make a big difference in your drink's texture and flavor.
Whole dairy milk creates a rich, creamy foam, while low-fat or skim milk gives you a lighter option.
If you prefer non-dairy alternatives, options like soy, almond, and oat milk can also froth beautifully—just make sure they're cold for the best results.
Best Milk Types
Choosing the right milk can greatly enhance your frothing experience with the Nespresso Aeroccino. The type of milk you choose affects the texture and richness of your cold milk froth.
Here are some options to take into account:
- Whole milk: Produces thick, creamy foam ideal for lattes and cappuccinos.
- Low-fat and skim milk: Creates lighter froth with larger bubbles for a less rich texture.
- Pasteurized milk: Recommended for stable foam consistency and better results.
- Non-dairy alternatives: Soy, almond, and oat milk can also be frothed; opt for refrigerated versions for best performance.
Experimenting with different milk types lets you customize your beverage experience and discover your perfect frother match!
Non-Dairy Alternatives
If you're looking to explore non-dairy alternatives for frothing, you'll find a range of options that can elevate your coffee experience.
Soy milk is a standout choice, creating a creamy foam similar to whole dairy milk. Just make sure to choose barista-style soy milk for the best frothing results.
Almond milk can also work, but it generally produces a lighter foam with larger bubbles, so testing different brands is essential.
Oat milk provides a rich, creamy texture that froths beautifully and adds natural sweetness to your drink.
When selecting non-dairy alternatives, avoid options with added sugars or stabilizers, as they can hinder foam quality.
Additionally, using raw food diets can enhance your overall health, making your coffee experience even more enjoyable.
Enjoy your frothy creations with these delightful alternatives!
Using Aeroccino3 for Hot Milk

To prepare milk for frothing with the Aeroccino3, fill the jug to the lower indicator line and make sure it's dry and properly positioned on the base.
Once you're set, press the button to start heating and frothing—watch for the red light to know it's working.
In just about 15 seconds, you'll have light, creamy hot foam ready for your coffee.
Preparing Milk for Frothing
For the perfect frothy milk, start by filling your Aeroccino3 to the lower indicator line with cold, pasteurized milk.
Using the right milk is essential for the best results. Remember to:
- Fill the milk frother carefully to avoid spills.
- Use cold, pasteurized milk for ideal froth quality.
- Position the jug correctly in the base for proper heating.
- Press the button to activate the frothing process.
Once you've added the milk and positioned everything correctly, just press the button, and watch as the Aeroccino3 efficiently creates light, creamy foam in about 15 seconds.
It's quick and easy, making your beverage preparation a breeze! Enjoy your delicious frothy milk!
Operating the Aeroccino3
Now that you've prepared your milk for frothing, operating the Aeroccino3 for hot milk is straightforward.
First, fill the jug to the maximum line indicated inside. This guarantees ideal frothing and steaming.
If you're using milk at refrigerated temperature, pour it in and then press the button on the device. The red light will illuminate, indicating that the milk is heating.
In just 15 seconds, you'll have light, creamy foam ready for your favorite beverage.
Once you're done, don't forget to clean the Aeroccino3 after each use. This prevents milk residue buildup, which can affect performance and flavor.
Enjoy your perfectly heated milk with ease!
Using Aeroccino4 for Hot Milk

If you're looking to create perfectly heated milk for your favorite beverages, using the Aeroccino4 is a simple and efficient option.
Start by filling the container to the maximum capacity of 8.2 ounces, ensuring you don't exceed the line for ideal hot milk without froth.
Press the button once, and the red light will show that heating has started, achieving warm milk in about 70 seconds.
Once heated, the Aeroccino4 automatically stops, allowing you to pour the hot milk directly into your drink for a creamy texture.
- Use fresh, cold milk for the best flavor.
- The maximum capacity is 8.2 ounces.
- It heats milk without froth.
- Enjoy your beverages with the perfect cream texture.
Using Barista Milk Frother

While enjoying your favorite coffee drinks, the Barista Milk Frother makes it easy to achieve barista-quality froth at home. Simply pour your milk to the indicated level, choose your frothing option on the app, and hit start for quick results. This frother prepares both hot and cold milk froth, perfect for cappuccinos and lattes.
| Frothing Option | Milk Type | Result |
|---|---|---|
| Hot Froth | Whole Milk | Creamy & Thick |
| Cold Froth | Almond Milk | Light & Airy |
| Hot Froth | Oat Milk | Rich & Velvety |
| Cold Froth | Soy Milk | Smooth & Silky |
| Hot Froth | Skim Milk | Light & Fluffy |
Cleaning is easy, as all parts except the base are dishwasher safe. Enjoy your frothy creations!
Frothing Techniques and Tips

When it comes to frothing, choosing the right milk is key to achieving your desired foam texture.
You'll want to take into account the temperature of your milk as well, since colder milk often leads to better frothing results.
Plus, mastering techniques for latte art can elevate your coffee experience, so let's explore how to perfect your frothing skills.
Optimal Milk Selection
Selecting the right milk is essential for achieving the perfect froth with your Nespresso Aeroccino. Whole dairy milk is your best option for a thick, creamy foam thanks to its higher fat content.
If you prefer non-dairy alternatives, consider soy, almond, or oat milk, but make sure they're refrigerated for ideal frothing.
- Fill the milk to the indicated level on the jug to prevent overflow.
- Experiment with different milk types for unique frothing results.
- Pour the frothed milk immediately after preparation to maintain its quality.
- Remember, low-fat and skim milk produce lighter foam with larger bubbles.
With these tips, you'll enjoy the best frothed milk for your coffee creations!
Frothing Temperature Considerations
To achieve the finest froth with your Nespresso Aeroccino, it's crucial to start with cold, pasteurized milk. The temperature of your milk greatly impacts the foam quality; colder milk creates denser, creamier froth.
Whole milk is your go-to for richness, while low-fat and skim options will yield lighter foam with larger bubbles. If you prefer non-dairy alternatives, soy, almond, and oat milk can be frothed, but results vary based on their formulations.
For best results, fill the frother up to one of the indicated levels and froth for about 15 seconds. Remember to pour immediately after frothing to maintain the ideal texture and temperature, ensuring your coffee drinks taste their best.
Techniques for Latte Art
Creating beautiful latte art is an exciting way to elevate your coffee experience, and with the right techniques, you can make stunning designs that impress.
Start by using cold, fresh whole dairy milk for a thicker, creamier foam. Pour slowly into your espresso at a slight angle, beginning high and lowering as you fill the cup.
Practice various pouring techniques to master your skills:
- Use circular motions for rosettas
- Try a straight pour for hearts
- Experiment with different heights for diverse effects
- Always clean the Aeroccino after use to maintain froth quality
With patience and practice, you'll create delightful latte art that showcases your barista skills! Additionally, using high-performance models can enhance your overall coffee experience by ensuring the best milk frothing quality.
Don't forget the whisk and spring for perfect frothing!
Cleaning the Aeroccino3

Cleaning the Aeroccino3 after each use is essential to prevent milk residue buildup and guarantee peak performance.
Start by rinsing the jug and whisk under running water. Use a non-abrasive cloth to wipe down the jug, making certain no milk remains. Since the whisk and jug aren't dishwasher safe, handwashing is the best method to maintain their integrity.
To thoroughly clean, disassemble the whisk from the jug by gently twisting it to remove any stuck milk particles.
After cleaning, make certain the jug is completely dry before placing it back on the base to avoid electrical issues or mold growth.
For detailed cleaning instructions, consult the user manual to guarantee proper maintenance and longevity of your Aeroccino3.
Cleaning the Aeroccino4

Although maintaining your Aeroccino4 might seem challenging, regular cleaning is essential for ideal performance and hygiene.
Make it a habit to clean the Aeroccino4 after each use to prevent milk residue buildup. All components, except for the base, are dishwasher safe, making cleanup a breeze. For thorough maintenance, handwash with warm water and non-abrasive detergent.
Here are some key cleaning tips:
- Confirm the jug is completely dry before returning it to the base.
- Refer to the manufacturer manual for detailed cleaning instructions.
- Regular cleaning helps avoid technical diagnosis issues down the line.
- Avoid using abrasive materials that could damage the surfaces.
Maintaining the Barista Milk Frother

After taking care of your Aeroccino4, it's time to focus on maintaining the Barista Milk Frother. To guarantee peak performance and hygiene, clean the frother after each use to prevent milk residue buildup.
Most parts, except the base, are dishwasher safe at a maximum temperature of 70℃ for easy maintenance. However, handwashing with warm water and a gentle detergent is recommended for thorough cleaning.
Regularly check the frothing whisk and other components for wear and tear; replace any damaged parts to maintain frothing quality.
Finally, store the Barista Milk Frother in a dry location to prevent moisture accumulation, which can impact its longevity.
Simple maintenance will keep your frother working beautifully for all your milk frothing needs!
Frequently Asked Questions
How Do I Use My Nespresso Aeroccino?
To use your Nespresso Aeroccino, first fill the jug to the appropriate level for your desired outcome—lower for froth, maximum for heated milk. Once you’ve filled the jug, simply press the button on the Aeroccino to start frothing or heating the milk. In just a few seconds, you will have creamy froth or steaming milk ready to enhance your coffee experience. For a seamless process, it’s also helpful to learn how to operate the Nespresso Vertuo, as this machine works perfectly with your prepared aerated milk.
Press the button once for hot froth (red light) or hold it down for cold foam (blue light). For best results, use cold, pasteurized milk.
After each use, rinse the jug and whisk, and make sure everything's dry before placing it back on the base to avoid issues.
Enjoy your creamy creation!
How Do You Make Hot Milk in Nespresso Aeroccino?
Pouring perfectly, you'll fill the Aeroccino jug to the max line with cold, pasteurized milk.
Press the button and watch for the red light; that means it's heating. In about 80 seconds, your milk will transform into a creamy concoction.
Once it's done, pour it right away into your coffee creation for a delightful drink.
Enjoy the smooth texture and rich flavor that elevates your morning routine to a whole new level!
What Are the Two Max Lines in Aeroccino?
The two max lines in the Aeroccino are essential for your frothing and heating tasks.
The lower line indicates the maximum level for frothing milk, which is 4 oz, ensuring you get that perfect foam consistency.
The upper line marks the limit for heating milk without froth, set at 8.2 oz.
Following these lines helps prevent overflow and guarantees excellent results, so always keep an eye on them during use!
How Much Milk Do You Put in a Nespresso Aeroccino?
When you're frothing milk with a Nespresso Aeroccino, you should fill it to the lower indicator line if you want froth.
For heating milk without froth, go up to the maximum line.
Remember, the Aeroccino 3 froths up to 4 oz, while the Aeroccino 4 handles 8.2 oz of hot milk.
Always avoid exceeding these lines to prevent overflow and achieve that perfect frothing consistency you desire!
Conclusion
Using the Nespresso Aeroccino can transform your coffee experience, making every cup feel like a café treat right at home. You'll find that the right milk and frothing technique make all the difference, coincidentally revealing your inner barista. As you experiment with different styles and flavors, you might just stumble upon your new favorite drink. So, embrace the frothing journey, and let your creativity flow with each delightful sip!


