To clean your coffee maker and brewing gear, start by gathering supplies like vinegar, water, a sponge, and a brush. Empty and disassemble the machine, then soak parts in hot soapy water and vinegar solution to remove oils and mineral deposits. Clean the brew basket, carafe, and exterior surfaces thoroughly. Reassemble, run water-only cycles to rinse, and check for residue or odors. Regular cleaning keeps your coffee fresh—if you keep going, you’ll learn all the tips to maintain your machine.
Key Takeaways
- Disassemble removable parts like the brew basket and carafe, then wash with warm, soapy water to remove coffee oils and residue.
- Use a vinegar and water solution to descale the machine by running a brew cycle, followed by multiple rinse cycles.
- Wipe exterior surfaces and buttons with a damp cloth, avoiding abrasive cleaners to prevent damage.
- Check and clean filter areas and hard-to-reach spots with a brush to prevent clogs and stale flavors.
- Perform regular cleaning cycles and weekly maintenance to ensure optimal performance and fresh-tasting coffee.
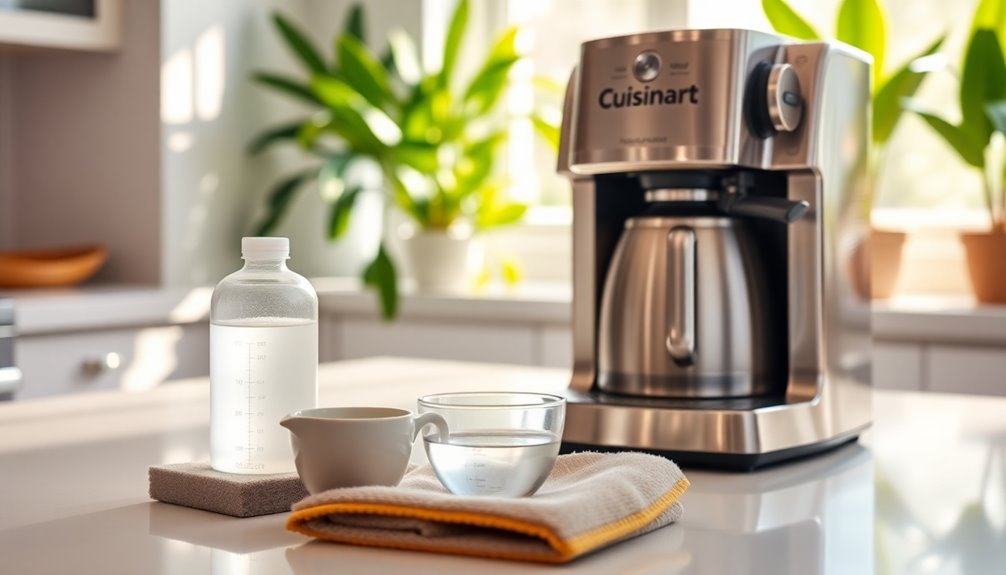
Gathering the Necessary Cleaning Supplies
Before you start cleaning your coffee maker, it’s important to gather all the supplies you’ll need. Start with white vinegar and water for descaling, along with a clean cloth or sponge for wiping down surfaces. You might also want a brush to scrub hard-to-reach areas. Check your coffee storage; if your beans or grounds have oils or residue, clean your grinder or storage container separately to prevent flavor transfer. Ensure your brewing temperature is functioning properly, as it affects how well your coffee maker brews and cleans. Having these supplies ready saves time and helps you perform a thorough clean. Additionally, understanding data privacy challenges can help you maintain healthy habits outside the kitchen, ensuring your overall wellness is supported. Being aware of grocery savings strategies can also help you allocate resources more effectively, making your routine more efficient. Recognizing the importance of spiritual insights can inspire a mindful approach to routine tasks, enhancing your overall well-being. With everything in place, you can confidently proceed to maintain your machine’s peak performance and flavor.
Emptying and Disassembling Your Coffee Maker
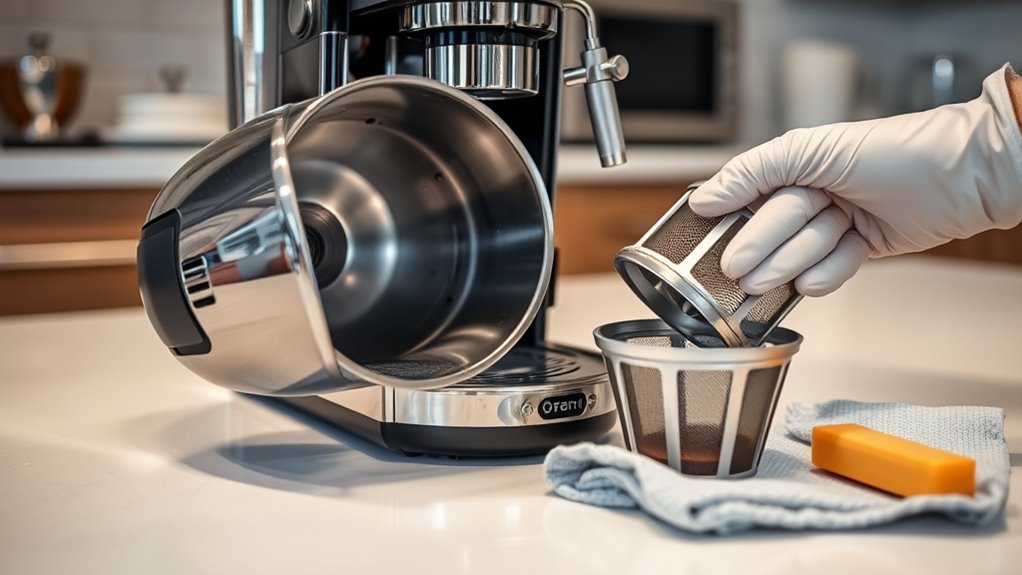
To effectively clean your coffee maker, start by emptying the carafe and removing any used coffee grounds or filters. Discard old grounds and guarantee no residue remains, which can affect brewing temperature and flavor. As you disassemble, check the brew basket and water reservoir; remove any removable parts. When selecting coffee beans, opt for fresh, high-quality beans to prevent buildup and improve taste. Pay attention to how your machine’s components fit together, noting how the brewing temperature influences extraction and residue formation. Carefully separate the parts for cleaning, avoiding forcing anything. Regular disassembly helps maintain ideal brewing conditions and ensures your machine operates efficiently. Proper maintenance also involves understanding how temperature control affects brewing performance and residue buildup. Additionally, being aware of appliance compatibility can help you choose the right cleaning agents and accessories for your specific model. Recognizing the importance of material durability can guide you in selecting cleaning tools that won’t damage your machine. Knowing how Kia Tuning affects vehicle performance can also inspire proper care routines for your car’s components, ensuring longevity and optimal function. Once disassembled, you’re ready for the next cleaning steps to keep your coffee maker in top shape.
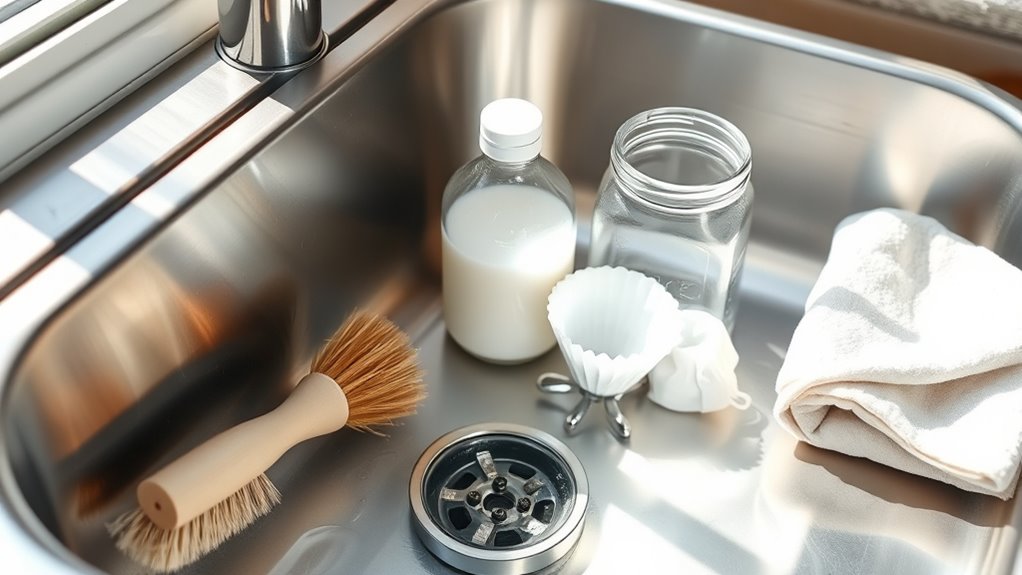
Removing Coffee Oils and Residues From Removable Parts

Since coffee oils and residues can quickly build up and affect the flavor of your brew, it’s important to regularly clean your removable parts. Coffee oil buildup can leave a greasy film and cause bitter tastes. To effectively remove residues, try these residue removal techniques:
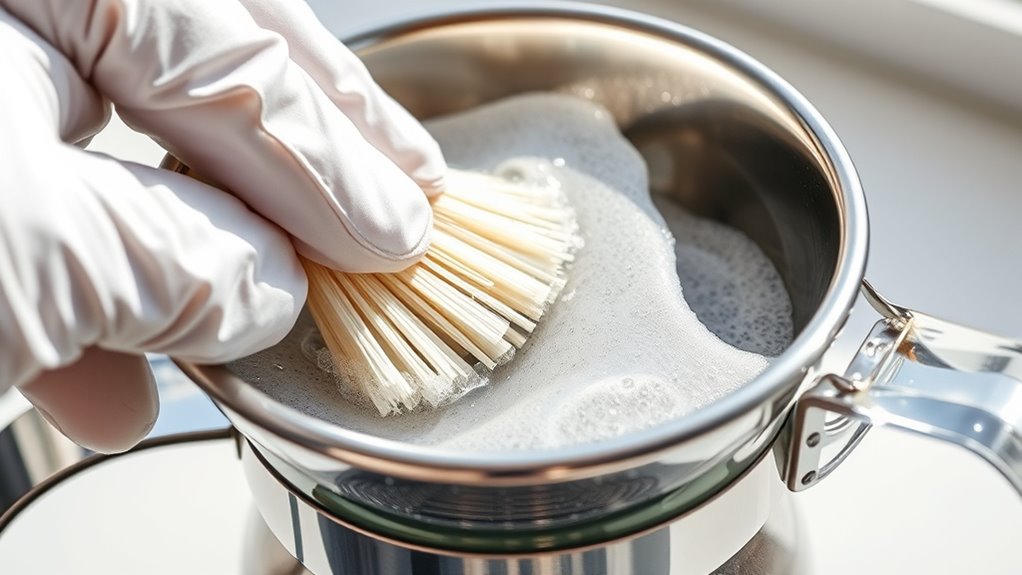
- Soak parts in hot, soapy water to loosen oils
- Use a soft brush or sponge to scrub stubborn buildup
- Rinse thoroughly with clean water
- Dip parts in a vinegar solution for deep cleaning
- Dry completely before reassembling to prevent mold
- Consider using a vacuum cleaner with HEPA filters to help remove fine particles and allergens from surrounding areas, ensuring a cleaner environment for your brewing space. Regular cleaning also aids in maintaining coffee machine performance and longevity. Proper maintenance of brewing gear can prevent the buildup of residues and ensure consistently good-tasting coffee. Visualize your carafe, filter basket, and other components free of greasy layers, shining with cleanliness. Regularly performing these residue removal techniques helps maintain fresh-tasting coffee and keeps your brewing gear in top shape. Additionally, incorporating sound healing science principles can make the cleaning process more mindful and relaxing. Implementing a consistent cleaning routine can also support your brand reputation by ensuring each brew reflects quality and care.
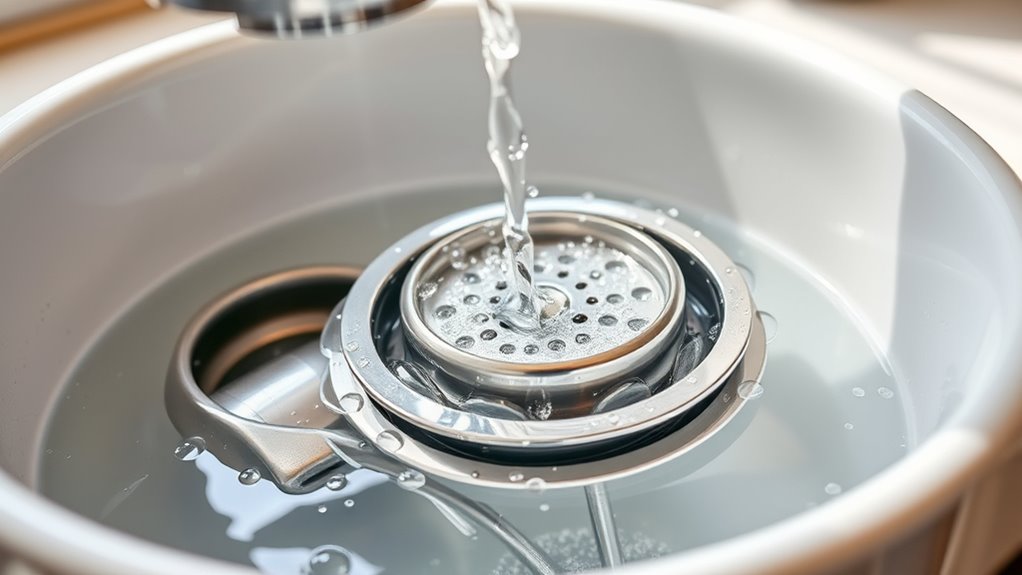
Cleaning the Brew Basket, Carafe, and Filter Area
Regularly cleaning the brew basket, carafe, and filter area guarantees your coffee tastes fresh and your machine functions properly. For drip coffee makers and espresso machines, remove these parts and wash them with warm, soapy water. Rinse thoroughly to remove coffee oils that can cause buildup. A clean brew basket ensures no old residue affects new brews. Use a brush or cloth to scrub the filter area gently, preventing clogs. Keep the carafe spotless to avoid stale flavors. Routine cleaning also supports proper home maintenance, which can extend the lifespan of your appliance and improve overall cleanliness. Additionally, maintaining a consistent cleaning schedule helps prevent the accumulation of mineral deposits and bacterial growth, ensuring your coffee remains safe and delicious. Regular descaling can also help prevent scale buildup, which can impair brewing performance and lead to costly repairs. Incorporating regular cleaning routines aligns with quality assurance practices and ensures your coffee experience remains consistently enjoyable. Proper cleaning techniques also contribute to equipment longevity, helping you get the most out of your coffee brewing gear.
Descaling Your Coffee Maker to Remove Mineral Brits

Mineral buildup, also known as mineral Brits, can clog your coffee maker and negatively impact the flavor of your brew. This occurs when water hardness deposits minerals like calcium and magnesium inside the machine over time. To descale your coffee maker, fill the water reservoir with a mixture of equal parts white vinegar and water. Run a brew cycle, letting the solution flow through every part of the system. Afterward, run two rinse cycles with fresh water to remove vinegar residue. Imagine the mineral buildup loosening and dissolving, revealing smooth, clean components. Visualize:
Regular descaling with vinegar dissolves mineral buildup, restoring your coffee maker’s performance and ensuring a fresh, flavorful brew.
- Crystals dissolving from heating elements
- Mineral deposits breaking free from pipes
- Scale loosening from internal surfaces
- Bubbles lifting mineral residues
- A sparkling, clean machine ready to brew
Additionally, proper descaling helps maintain the efficiency of your air purifier, ensuring it continues to improve your indoor air quality effectively. Regular descaling also prolongs the lifespan of your coffee maker by preventing internal corrosion caused by mineral deposits.
Cleaning the Exterior and Other Non-Removable Parts

To keep your coffee maker looking its best and functioning properly, focus on cleaning the exterior and other non-removable parts regularly. Exterior maintenance involves wiping down the surface with a damp cloth to remove dust, stains, and coffee splashes. Use a mild cleaner or vinegar solution for stubborn spots, but avoid abrasive scrubbers that could damage the finish. Pay special attention to buttons, handles, and the area around the water reservoir, as grime can build up there. Non-removable parts like the control panel and exterior housing should be cleaned gently to prevent moisture damage. Keeping these parts clean not only improves the appliance’s appearance but also helps prevent mold and bacteria buildup, ensuring your coffee maker stays hygienic and in top working condition. Regularly inspecting the exterior surface for dirt and residue can also help identify areas that need more focused cleaning. Additionally, understanding the components of your coffee maker can assist in more effective cleaning and maintenance.
Rinsing and Reassembling Your Equipment
After you’ve finished cleaning the removable parts, it’s important to rinse them thoroughly to remove any residual cleaning solution or debris. Rinsing guarantees no residue affects brewing temperature or coffee stain removal later. As you do this, visualize:
- Clear water flowing over each part
- Bubbles washing away coffee oils and stains
- The steam escaping as you rinse the filter basket
- The shiny surfaces reflecting light
- The dry, clean components ready for reassembly
- Ensuring your equipment is free of contaminants that could impact taste or performance
- Remember to check for any build-up or residue that might interfere with brewing quality, as regular rinsing prevents such issues. Regular rinsing and maintenance also help preserve the performance of your coffee maker and extend its lifespan.
Performing a Test Run to Ensure Proper Cleaning
Start a test run by pouring water into the machine and letting it brew without coffee. Watch closely to see if there are any residues or buildup left behind. If everything looks clear, your cleaning process was successful.
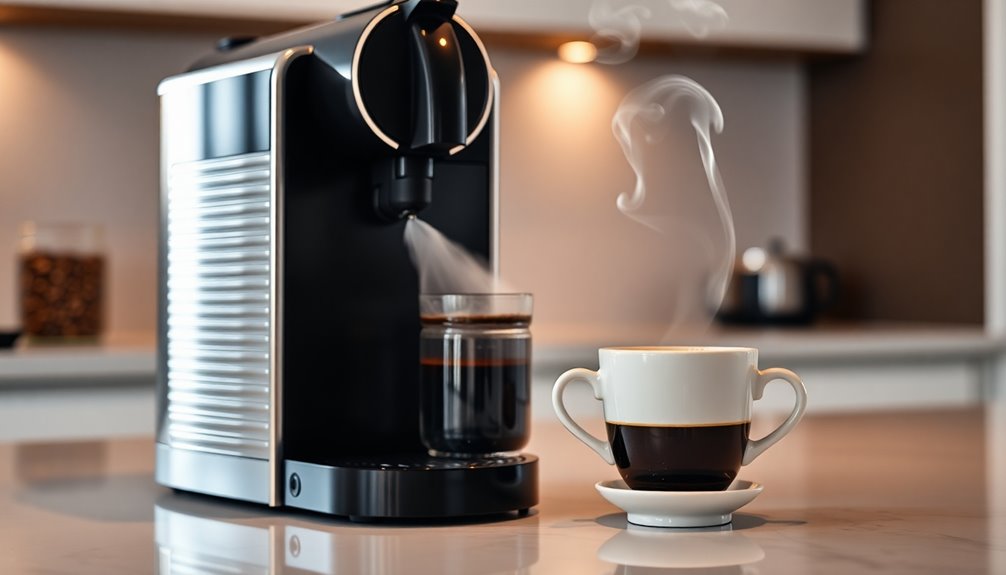
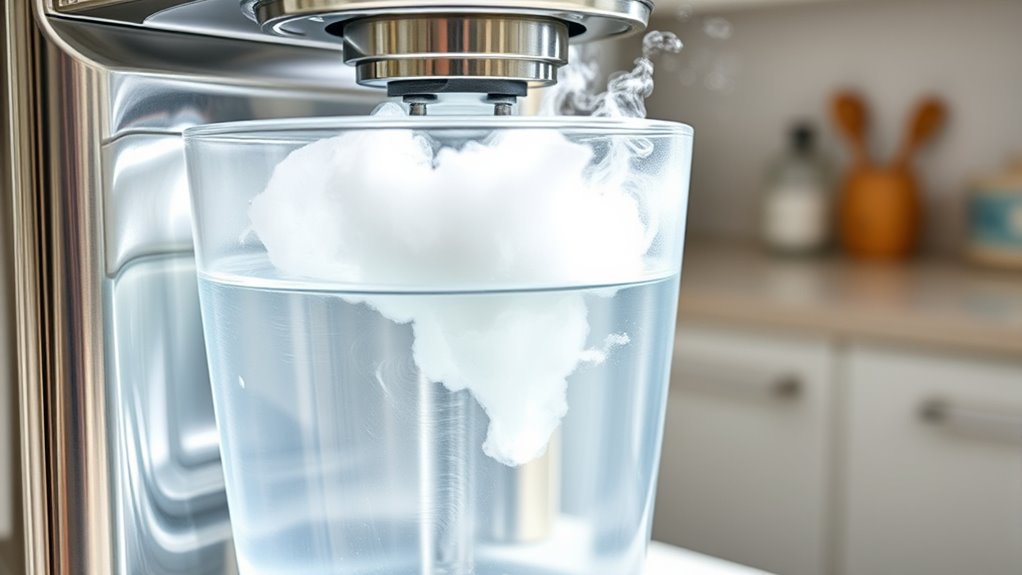
Run Water Only
Running water only through your coffee maker helps guarantee it’s clean and functioning properly. This water-only rinse clears out any remaining residues and helps prevent mineral buildup that can affect flavor and performance. To do this, fill the reservoir with fresh water and run a brewing cycle without coffee grounds. Imagine:
- Clear water flowing smoothly through the brew basket
- Steam rising as water heats up
- Drips dripping into the carafe
- The sound of the machine operating quietly
- The aroma of clean, fresh water filling the air
This process ensures your machine is free of leftover oils and residues, aiding in mineral buildup prevention. Performing a water-only rinsing is a simple yet essential step to keep your coffee maker in top shape and your coffee tasting fresh.
Check for Residues
Once you’ve rinsed your coffee maker with water, it’s important to verify that no residues remain that could affect the taste or performance. Run a quick brew cycle with just water to check for any coffee residue or residue buildup. If you notice a bitter or sour flavor, or if the machine’s performance feels off, it’s a sign that cleaning wasn’t thorough enough. Carefully inspect the filter and brew basket for lingering coffee residue. This test run helps ensure all cleaning agents are flushed out and that no residual oils or minerals are left behind. Address any remaining buildup by cleaning those areas again. Properly checking for residues guarantees your coffee tastes fresh and your machine operates smoothly.
Establishing a Regular Cleaning Schedule
To keep your coffee maker in top shape, you should set weekly reminders to clean it. Tracking how often you clean helps prevent buildup and guarantees it stays fresh. Making this a routine will save you time and improve your coffee’s taste.
Set Weekly Reminders
Setting weekly reminders is essential for maintaining a clean coffee maker and ensuring it functions ideally. Regular cleaning prevents buildup that can affect coffee flavor and brewing temperature. To keep everything running smoothly, imagine these tasks:
- Checking your coffee storage for stale beans or grounds
- Running a cleaning cycle to remove mineral deposits
- Wiping down the carafe and filters
- Ensuring your water reservoir is fresh and free of residue
- Confirming your brewing temperature stays consistent for optimal extraction
Setting reminders helps you stay on top of these chores without forgetting, ensuring your coffee tastes fresh and your machine works efficiently. Consistent cleaning supports proper brewing temperature and keeps your coffee storage in good shape, making each brew enjoyable.
Track Cleaning Frequency
Keeping track of how often you clean your coffee maker helps maintain its performance and prolong its lifespan. Establishing a cleaning schedule ensures you don’t overlook key tasks like cleaning coffee storage and maintaining your grinder. If you notice mineral buildup or stale coffee smells, it’s time to clean more frequently. Regularly monitoring your cleaning habits allows you to adjust based on your usage, whether you brew daily or weekly. Consistent cleaning also supports grinder maintenance, preventing grounds from clogging or developing mold. By tracking your cleaning frequency, you’ll stay ahead of issues that could affect the taste of your coffee and the durability of your equipment. Use a calendar or reminder system to stay organized and keep your coffee gear in top shape.
Frequently Asked Questions
How Often Should I Deep Clean My Coffee Maker?
You should deep clean your coffee maker based on your maintenance schedule and cleaning frequency. Generally, aim to do this every 1 to 3 months, especially if you notice mineral buildup or your coffee tastes off. Regularly following this schedule helps prevent mold and preserves flavor. If you use hard water or brew daily, consider cleaning more often to keep your machine in top shape and ensure great-tasting coffee.
Can I Use Vinegar to Descale My Machine?
Imagine you’re desperate to fix a sluggish coffee maker; can vinegar help? Vinegar effectiveness for descaling is well-known, and many swear by it. You can use vinegar to descale your machine, but it’s not the only option. Alternative descaling methods include commercial descaling solutions or baking soda. Just make certain you run a thorough rinse afterward to prevent any vinegar taste, keeping your coffee tasting fresh and your machine running smoothly.
Are There Specific Cleaning Products for Different Coffee Gear?
You might wonder if different coffee gear needs specific cleaning products. In most cases, specialized cleaning solutions are designed for particular equipment, ensuring effective cleaning without damage. Reusable cleaning pods are a handy option for eco-friendly cleaning, especially in machines that accept them. Always check your manufacturer’s recommendations to choose the right cleaning products, and consider using specialized solutions or reusable pods to keep your coffee gear spotless and functioning well.
How Do I Prevent Mold Buildup in My Coffee Maker?
Think of mold buildup like a sneaky shadow in your kitchen; it can hide if you’re not vigilant. To prevent mold, you need a consistent cleaning schedule, especially for your coffee maker. After each use, rinse and dry all parts thoroughly, and perform deep cleans weekly. Using vinegar or a specialized cleaner helps kill mold spores, ensuring your coffee stays fresh and safe from mold prevention issues.
What Are Signs My Coffee Maker Needs Professional Repair?
If your coffee maker shows signs like consistent machine malfunction or leaking issues, it’s time for professional repair. You might notice strange noises, weak brewing, or water leaking from unexpected spots. These problems often indicate internal damage or worn-out parts. Ignoring them can lead to bigger issues, so don’t hesitate to seek expert help to keep your machine running smoothly and safely.
Conclusion
Think of your coffee maker like a trusty garden tool—when it’s clean, it works smoothly and gives you the best results. Regular cleaning keeps your brew tasting fresh and your machine running like clockwork. Just a little upkeep turns your daily coffee ritual into a breeze, ensuring every cup is as delightful as the first. Keep up with your cleaning schedule, and you’ll always have a barista-quality brew right at home.