To take apart your Nespresso Vertuo machine, start by unplugging it and gathering a T9 or T10 screwdriver, cloth, and a container for parts. Remove the water tank and used capsules, then verify the machine is empty. Carefully detach the outer casings, starting with the back screw, and work your way to the side and front casings. Unscrew the base and access internal components, documenting your steps for reassembly. Clean the capsule area and internal parts before putting everything back together. There's more essential info and tips that can help you through this process effectively.
Key Takeaways
- Unplug the machine, remove the water tank, and empty used capsules before starting disassembly.
- Use a screwdriver to remove outer casings, starting with the top and working down to the base.
- Carefully detach internal components, documenting the order to ensure easier reassembly later.
- Clean the coffee capsule area thoroughly to prevent clogs and ensure all parts are dry before reassembling.
- Reassemble components in reverse order, tightening screws securely, and test the machine for leaks after reassembly.
Preparing the Machine
Before you immerse yourself in disassembling your Nespresso Vertuo machine, it's crucial to prepare it properly.
Start by ensuring the machine is empty. Empty the water tank, open the machine head to eject the used capsule, and clear out the capsule container and drip tray.
After closing the head, turn the handle left until it's in the "LOCKED" position, then unplug the power cord. To remove any remaining liquid, hold the button while plugging the power cord back in, releasing it when the emptying procedure begins. Wait about 30 seconds until the machine shuts off.
Finally, clean key areas like the cup support and pod holder so everything's ready for disassembly, keeping your workspace organized and safe. This preparation is essential to ensure the machine is unplugged before opening the cover, preventing any electrical hazards during disassembly.
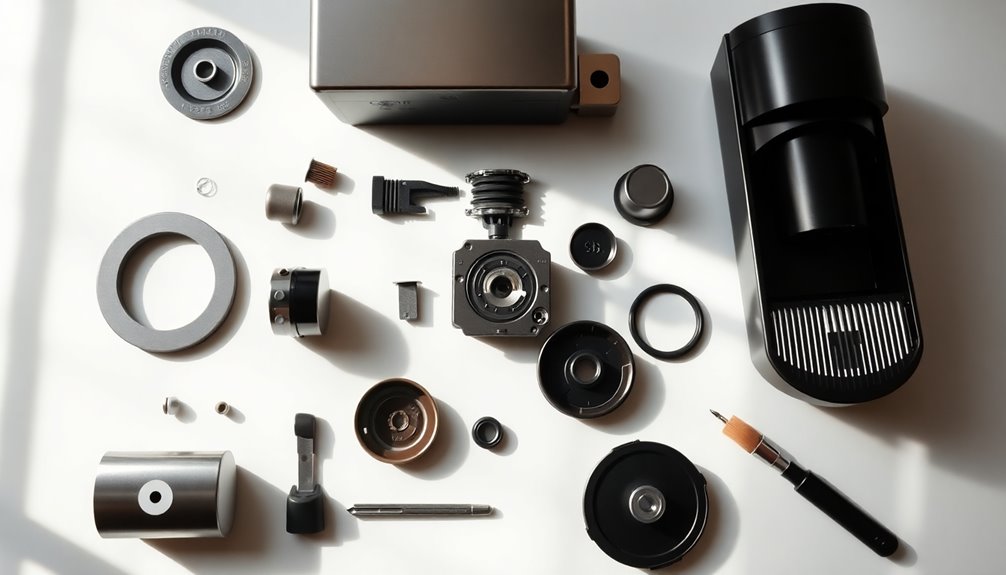
Removing the Outer Casings

As you immerse yourself in removing the outer casings of your Nespresso Vertuo machine, it's essential to approach the task methodically.
Start with the top casing; use a T10 or T9 screwdriver to remove the back screw behind the capsule container. Insert a tool into the gaps to pry it off, then press the top button to release it completely.
Next, move to the side casings, lifting clips carefully while applying downward pressure on catches. Regular maintenance, including cleaning of internal components, can prevent noise issues and prolong machine lifespan.
For the front casing, remove the hinges at the bottom and gently pull to release it from clips.
Finally, identify catches on the bottom casing, apply pressure to release it, and remove any screws or pins.
Handle all parts with care to avoid damage.
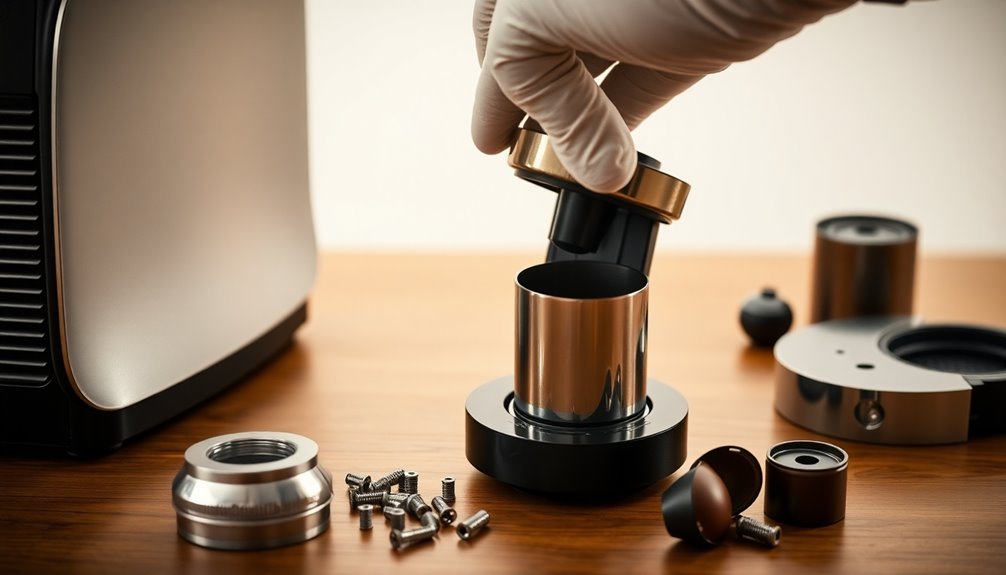
Accessing Internal Components
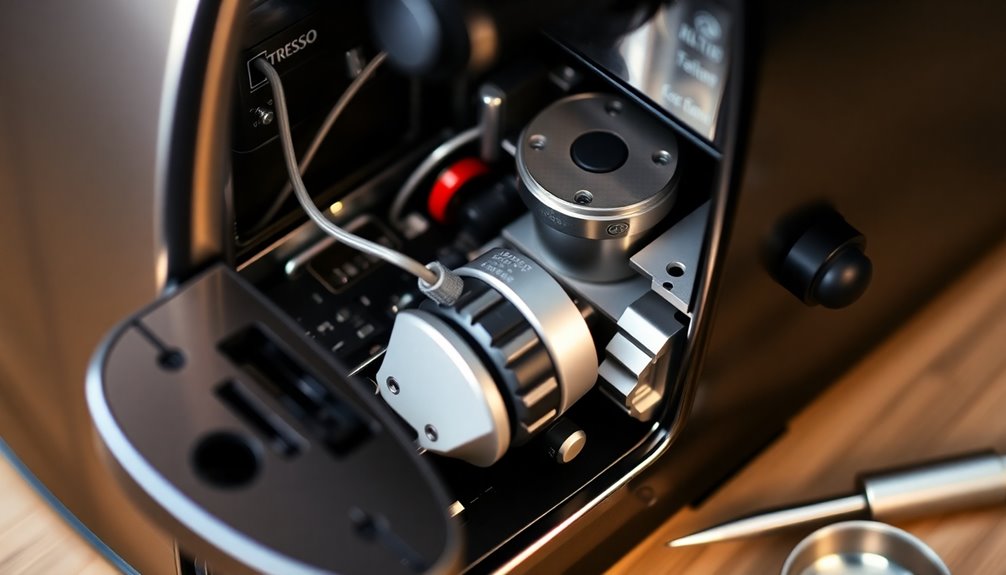
To access the internal components of your Nespresso Vertuo machine, you'll need to take a few careful steps. Start by connecting the machine to power, then use a spatula to pry off the top housing. Once you've removed the top, take out the T9 screws—one on top and two on the sides. Be cautious of springs and the capsule exit mechanism during this process. Additionally, remember that technical support is available if you encounter any issues during disassembly.
Next, remove the bottom part to reach the internal tubes and pump system. Identify the black pipe connecting the water reservoir to the pump. Carefully lever out any catches or clips to avoid damaging components. Finally, disassemble the top part to access the capsule mechanism and motor, noting their placement for reassembly.
Cleaning and Maintenance
Regular cleaning and maintenance of your Nespresso Vertuo machine are essential for peak performance and longevity. Start by ensuring no capsule is inserted. Close the capsule container lid and press the on button three times within two seconds to begin the cleaning cycle. It is also important to conduct a rinse cycle regularly to maintain machine hygiene and enhance coffee flavor consistency. Additionally, keeping the machine free of airborne pollutants can further improve the overall brewing environment.
Place a 20oz container under the spout to catch the water, and let the cycle run for up to five minutes. Discard the water and repeat if needed. Descale your machine every three months or after 300 capsules using a Nespresso Descaling Kit. Clean external components with a microfiber cloth and a vinegar solution.
For daily users, clean every two months and maintain a schedule to keep your machine functioning at its best.
Addressing Common Issues
What should you do when your Nespresso Vertuo machine starts acting up?
First, check for an orange blinking light. This can mean the machine is heating or there's a water flow issue. Make certain the water tank is filled, the head is closed properly, and the cup support is in place. Additionally, if the machine is not functioning correctly, consider that regular descaling may be necessary to maintain optimal performance.
If problems persist, reset the machine by pushing the button five times while the handle's in the "UNLOCKED" position.
If you notice leaks, they might be caused by clogs. Disassemble the machine to clean the internal parts and check the rubber gasket. Regular descaling will also help prevent issues.
Finally, verify the coffee capsule's inserted correctly for smooth coffee preparation.
Reassembling the Machine
Once you've cleaned and checked all the internal components of your Nespresso Vertuo machine, it's time to reassemble it.
Start with the top part—ensure the machine's in the open position, then use a Torx T10 screwdriver to replace the screws at the back of the capsule container.
Align the top housing and press down gently to secure the clips. It's important to ensure that all components are correctly aligned during this process to avoid any future leaks.
Next, position the side panels, ensuring they fit into their grooves. Push them into place with gentle pressure.
Attach the front panel by hinging it from the bottom, checking for proper alignment.
Finally, replace the bottom part, making sure all tabs engage.
Test the machine to confirm everything functions smoothly without gaps or misalignments.
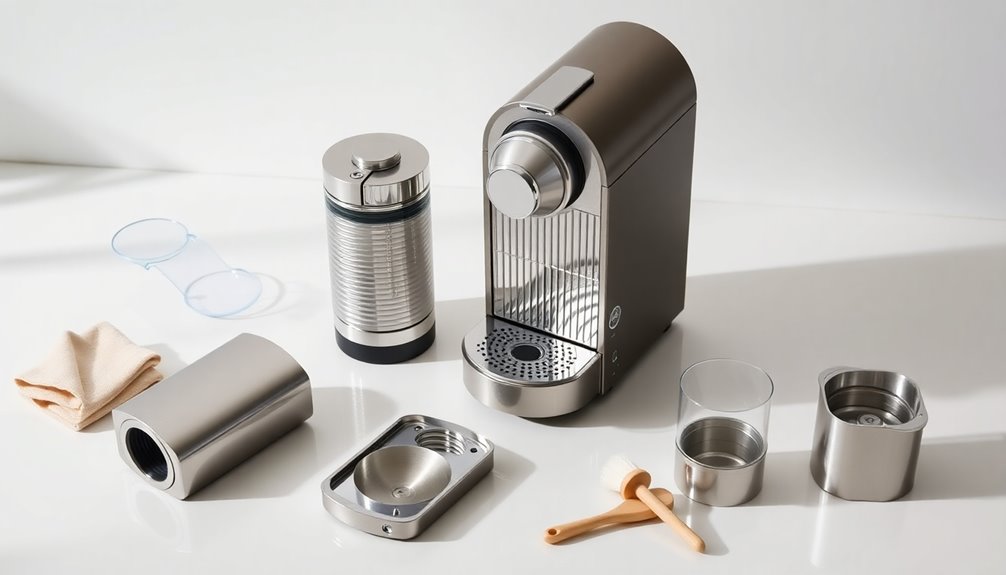
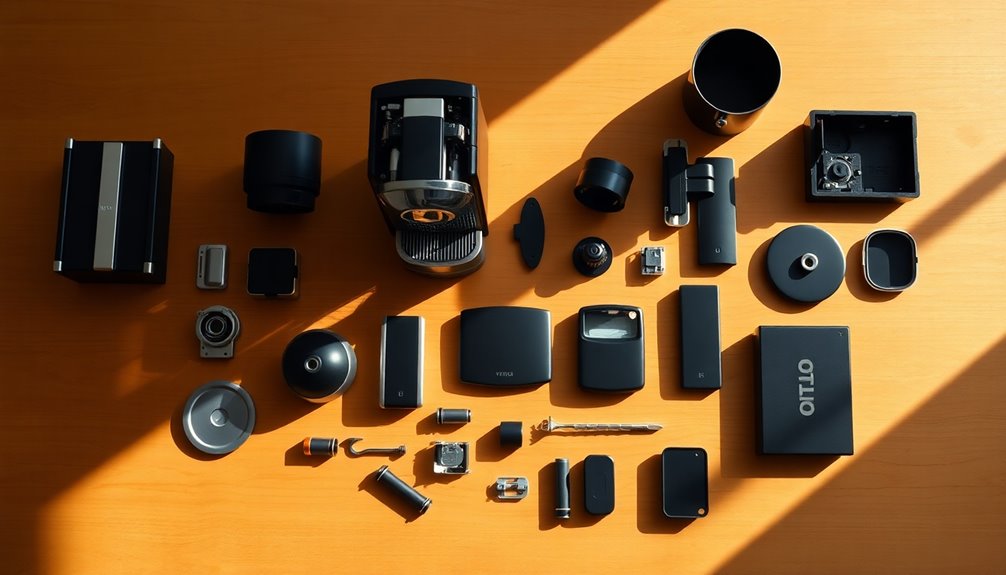
Tools Needed for Disassembly
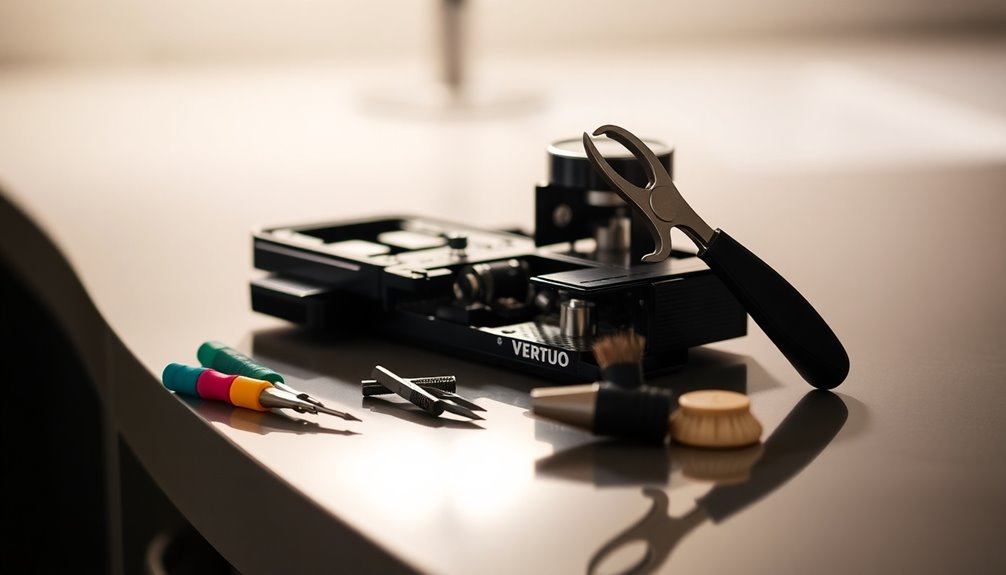
Reassembling your Nespresso Vertuo machine is straightforward, but before you start taking it apart, you'll need the right tools for the job.
First, grab a T10 screwdriver with a hole in the middle and a Philips screwdriver. A spatula or plastic pry tool will help you safely lift components without causing damage. Depending on your model, a T9 screwdriver may also be necessary. For prying and lifting, consider using a metal pry tool. Additionally, a rubber mallet can assist in gently tapping parts into place, while tweezers will help manage small springs. It's also important to remember that regular maintenance can extend your machine's lifespan, so be prepared to clean and descale it during reassembly.
Don't forget cleaning materials like cloths and lubricant to maintain moving parts.
Finally, a towel will protect your hands and surfaces while you work.
Safety Precautions to Consider
Before you plunge into disassembling your Nespresso Vertuo machine, it's crucial to keep safety in mind.
First, make sure the appliance is plugged into a suitable, easily accessible, earthed outlet. Check that it's UL listed and in perfect working condition—never attempt disassembly if it's damaged. Additionally, ensure that you follow all safety instructions to prevent accidents.
Always keep combustibles away from the machine and place it on a noncombustible surface.
During operation, never leave the machine unattended, and always close the lever completely. Avoid inserting fingers into the capsule compartment while it's closing and keep your hands clear of the coffee outlet.
Finally, unplug the machine when not in use and inspect it regularly for any signs of damage or malfunction.
Safety first!
Frequently Asked Questions
Can I Disassemble the Machine Without Voiding the Warranty?
You can't disassemble the machine without risking your warranty.
If you attempt unauthorized repairs or modifications, Nespresso may void your warranty.
It's essential to follow the product instructions carefully to avoid any issues.
Negligence or improper maintenance can also lead to warranty exclusion.
To guarantee your machine remains covered, consider reaching out to Nespresso's authorized service centers for repairs or maintenance instead of tackling it yourself.
They can help you without voiding your warranty.
What Types of Capsules Are Compatible With the Nespresso Vertuo Machine?
The Nespresso Vertuo machine is compatible only with its specific Vertuo pods, which have a unique dome shape and barcode.
These pods come in various cup sizes, from espresso to alto, and offer a range of coffee blends, intensities, and flavors.
Unfortunately, Vertuo pods don't work with Original Line machines.
How Often Should I Perform Maintenance on My Nespresso Machine?
You should perform maintenance on your Nespresso machine every 3-6 months, depending on your usage and water hardness.
If you use it daily, aim for cleaning every two months.
Descale your machine every three months or after 300 pods, whichever comes first.
Regularly clean the brewing chamber, water reservoir, and outer surfaces to keep your machine performing at its best.
Create a schedule or set reminders to help you stay on track with maintenance.
What Should I Do if I Lose a Component During Disassembly?
If you lose a component during disassembly, don't panic.
First, retrace your steps to see if it's nearby. Check your work area and any containers you used for organization.
If it's still missing, consult the machine's manual or look online for a parts list. You might find a replacement online or at a local store.
Keeping small parts contained in the future can help prevent this situation.
Is There a Specific Cleaning Solution Recommended for the Machine?
You don't need a specific cleaning solution for your machine; plain soap and water will do just fine.
Avoid using detergents with chlorine, as they can affect your coffee's taste.
For external cleaning, lemon juice or white vinegar mixed with water works well.
Use mild detergent for the drip tray and dish soap to tackle mineral deposits in the water reservoir.
Regular maintenance keeps your machine in top shape and enhances your coffee experience!
Conclusion
Taking apart your Nespresso Vertuo machine can seem intimidating, but with the right tools and precautions, you can tackle it with confidence. By following the steps outlined in this guide, you'll not only access and clean its internal components but also address common issues that may arise. Remember to reassemble everything carefully to guarantee your machine works perfectly again. Enjoy your freshly brewed coffee, knowing you've given your machine the maintenance it deserves!

Arf, an author and an innovative enthusiast of coffee, coffee alternatives, and tea, plays a crucial role as a contributor to the esteemed Cappuccino Oracle platform. Renowned for his curiosity and passion for these captivating beverages, Arf has carved out a unique space for himself in the world of exploration and writing. He realized that coffee, coffee alternatives, and tea are not mere drinks to keep one awake, but universes of flavors and stories waiting to be explored.