
To make the perfect frothy latte, start with cold, fresh whole milk or a non-dairy alternative. Purge your steam wand and position it just below the milk's surface while angling it for a whirlpool effect. Use full steam power to aerate until the milk reaches 135°F to 150°F. Swirl and tap the pitcher to create silky microfoam. Pour your milk over espresso, and if you want more tips on flavor and presentation, keep exploring the art of lattes!
Key Takeaways
- Start with cold, fresh whole milk for rich flavor and optimal frothing texture, ideally using about 6 ounces per latte.
- Purge the steam wand before frothing and position it just below the milk's surface for effective air incorporation.
- Aim for a steaming temperature between 135°F and 150°F, listening for a steady "kissing" sound during aeration.
- Swirl and tap the pitcher after frothing to eliminate large bubbles and achieve a silky microfoam texture.
- Experiment with flavors and garnishes like spices, fresh fruits, or artistic pouring techniques to enhance your latte presentation.
Essential Preparation for Frothing Milk

To make a great frothy latte, you need to start with essential preparation for frothing milk.
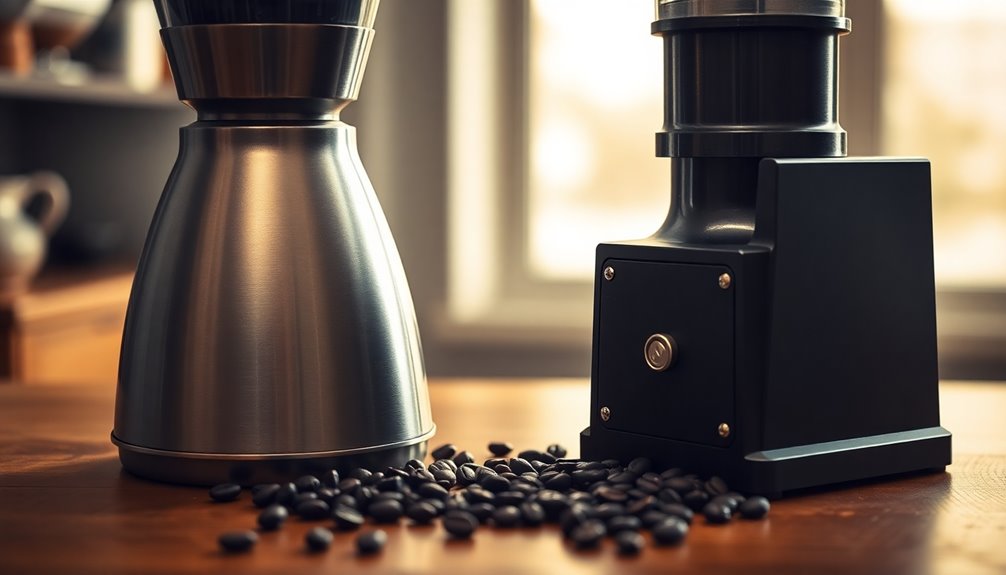
First, gather your equipment: a stainless steel or glass milk jug, an espresso machine with a steam wand, and a thermometer.
Choose the right milk—whole milk froths best due to its fat content, but oat milk is a good dairy-free alternative. It's important to note that milk fat content affects the quality of froth, so be mindful of your milk choice. Additionally, using HEPA filters in your home can help improve air quality, which may enhance your overall experience while enjoying your latte.
Ensure your milk is cold and fresh, as this improves frothing. Use about 6 ounces of milk per latte and store it in the fridge until you're ready.
Before frothing, clean your pitcher and check your espresso machine to ensure it's heated and its steam wand is purged. Additionally, using milk with higher fat content may also impact your cholesterol levels if consumed frequently, so keep that in mind.
This prep sets you up for a delicious, frothy latte!
Mastering the Frothing Technique

Now that you're prepared to froth milk, mastering the frothing technique is the next step to achieving that perfect latte.
Start by selecting whole milk for its creamy texture, or try alternatives like almond or oat milk. Position the steam wand just below the milk's surface to incorporate air effectively. Aim for a temperature between 135°F and 150°F to enhance flavor and texture. Incorporating imagination into your practice can help you visualize the desired outcome and improve your technique. A frothy latte can be a delightful alternative to frozen yogurt, especially on warm days.
Early air incorporation is key for smooth microfoam, ideal for lattes. Use a pitcher that allows room for expansion, and maintain a slight angle for even circulation.
Regularly practice with water and dish soap to refine your skills without wasting milk. Remember, a clean steam wand ensures optimal performance every time. Additionally, a well-structured music production workflow can help streamline your process and ensure consistency in your frothing technique.
Step-by-Step Steaming Process
Mastering the steaming process involves a few key steps that can elevate your latte-making skills.
Start with cold whole milk for a rich flavor, and always purge the steam wand to clear any residue. Ensure that the environment is free from allergens by using an efficient air purifier to enhance your overall experience. Air purifiers can significantly improve indoor air quality, contributing to a healthier home environment.
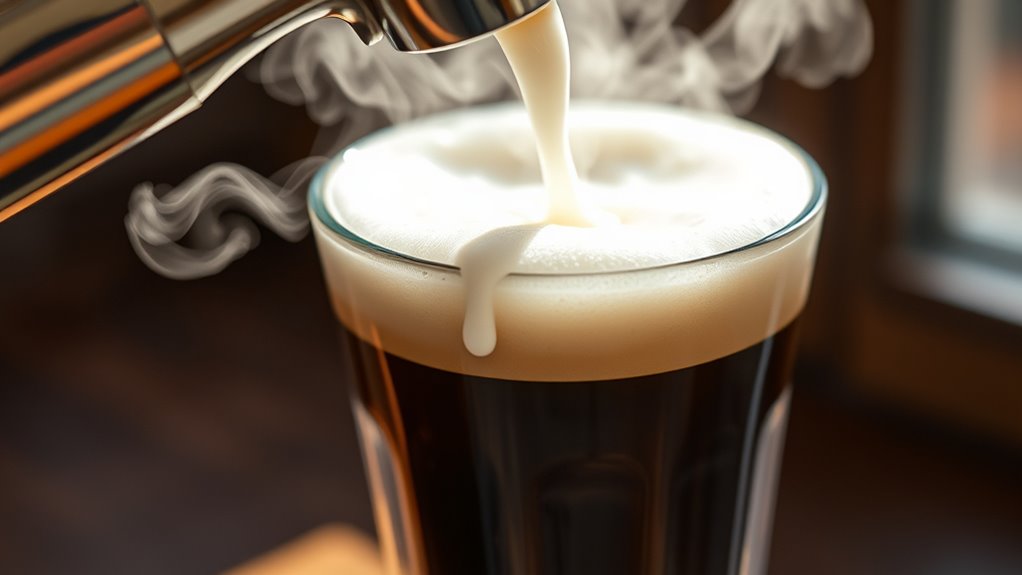
Position the wand halfway submerged in the pitcher, angled to create a whirlpool while briefly introducing air to form microfoam.
Use full steam power, keeping the temperature between 150-155°F (65-68°C) to avoid burning.
Listen for a steady "kissing" sound as you aerate, and stop when the pitcher's too hot to touch.
After steaming, swirl the milk and tap the pitcher to eliminate large bubbles, ensuring a silky texture.
Consistent practice helps you refine your technique and achieve delicious results. Additionally, using specific ingredients can enhance the overall flavor profile of your latte.
Creating Beautiful Latte Art

How can you turn a simple latte into a canvas for creativity? Start by gathering your essential tools: an espresso machine, steam wand, frothing pitcher, and a cup.
Pull a fresh espresso shot with rich crema, and steam your milk until it resembles wet paint. Tilt your cup at a 30–45° angle for pouring. Additionally, nature connection can inspire creativity and help you find new patterns in your latte art. Using carrier oils can also enhance your experience by providing a calming scent through aromatherapy while you brew.
Begin with the basic techniques; pour a symmetrical dot for the foundation, then wiggle your pitcher to create waves. For hearts, pour side to side and finish with a quick straight line.
To achieve a tulip, stack dots in a back-and-forth motion. Remember, practice is key! With time, you'll master the art of latte, transforming each cup into a delightful masterpiece. Additionally, consider experimenting with different milk options to enhance the flavor and texture of your frothy latte.
Understanding Milk Texture and Ratios

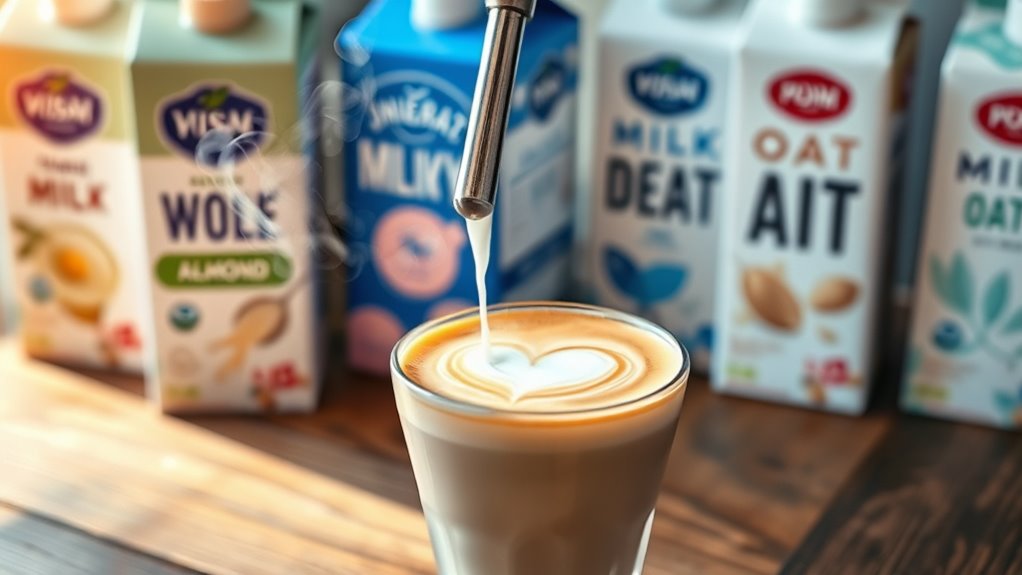
Creating stunning latte art starts with understanding the milk you use, as its texture and ratios significantly impact the final result. Whole milk is your best bet for a rich, creamy texture, while non-dairy alternatives like almond or oat milk can offer unique flavors but may require different frothing techniques.
Pay attention to fat content: higher fat means a creamier latte. For the perfect coffee-to-milk ratio, aim for 1:3 to 1:5, adjusting based on your taste preferences. Additionally, incorporating chia seeds into your diet can enhance digestive health, which may ultimately affect your overall well-being and enjoyment of beverages like lattes. Chia seeds are high in fiber, promoting satiety and helping you maintain a balanced diet. Moreover, the nutrients found in baked kale can contribute to your overall health, enhancing your coffee experience. Experimenting with these ratios helps you find that ideal balance between coffee intensity and milk creaminess.
Final Presentation Tips for Your Latte

What makes your latte truly stand out? The final presentation is key.
Start by tilting your cup at a 30–45° angle; this helps create depth and allows the milk to flow smoothly. Pour from a height of 4-5 inches initially—this prevents the milk from sinking and mixes it well with the espresso. Understanding the mechanics of French press can also provide insights into achieving a creamy texture in your latte. Additionally, using high-quality sound recording techniques can enhance your overall beverage experience by creating a calming atmosphere while you enjoy your drink.
As your cup fills, you can increase your pouring speed. For the perfect design, place the spout above the cup's center, avoiding disruption to the crema.
Finish strong by slowing down the milk flow, raising the pitcher, and ensuring a smooth, shiny surface. Lastly, aim for symmetry and high contrast between the milk and espresso for a visually appealing latte that impresses. Additionally, achieving color accuracy in your latte art can enhance the visual appeal and make your drink truly outstanding.
Choosing the Right Milk for Your Latte
A beautifully presented latte is only part of the equation; the choice of milk plays a significant role in the drink's overall flavor and texture.
Whole milk is a top choice for its rich, creamy texture and stable foam, thanks to its high fat content. If you prefer a lighter option, 2% milk offers a good balance of creaminess without being too heavy.
Whole milk delivers a rich, creamy texture and stable foam, while 2% milk strikes a perfect balance of lightness and creaminess.
Skim milk produces a stiff foam but lacks that indulgent richness. For non-dairy alternatives, options like almond, oat, and soy milk can be used, though they may yield inconsistent froth. Additionally, cultured butter can enhance the flavor of your latte when used in flavored variations. Using eco-friendly materials for your latte cups can also elevate your experience while being mindful of the environment.
Don't forget about Tetra pack milk, which has higher protein, making it ideal for frothing. Additionally, it's important to store milk properly to maintain its freshness and quality. Experiment with different types to find your perfect match.
Common Mistakes to Avoid When Frothing
While frothing milk might seem straightforward, several common mistakes can hinder your quest for the perfect latte.
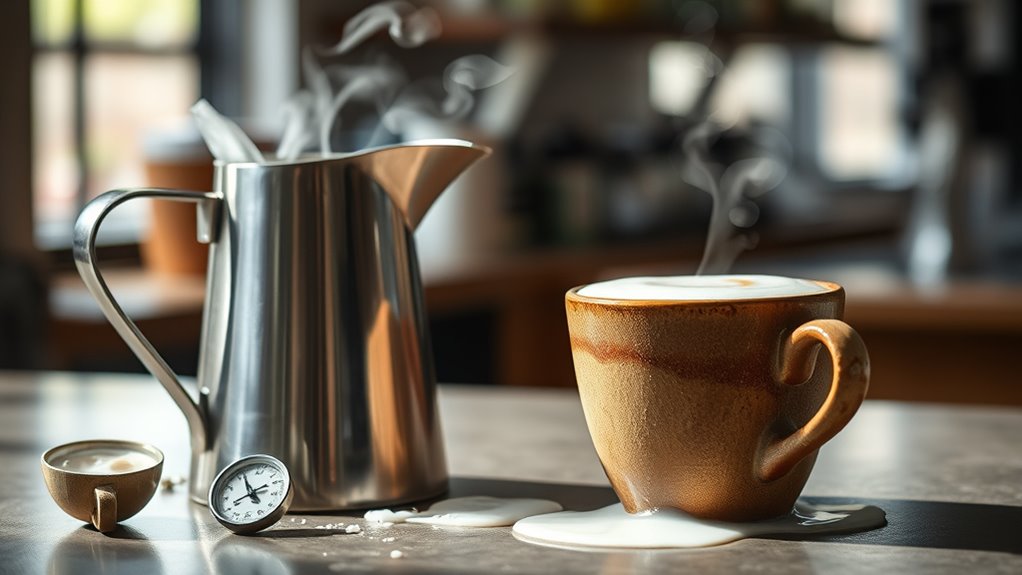
First, pay attention to the steam wand position; too low won't incorporate enough air, while too high will create a mess. Always purge your steam wand before use to avoid water in your milk.
Keep the milk temperature below 65°C to maintain foam stability. Aerate while the milk is still cold for that silky microfoam.
Handle your pitcher properly; keeping it close to the coffee surface prevents the froth from sinking.
Lastly, avoid using ultra-pasteurized milk, as it yields unstable foam.
Enhancing Your Latte With Flavorful Garnishes

Frothing milk is just the beginning of your latte journey; enhancing your drink with flavorful garnishes takes it to another level.
Frothing milk is just the start; adding creative garnishes transforms your latte into a delightful experience.
You can start by adding fresh fruits like sour cherries for tartness or freeze-dried strawberries for a pop of color. A sprinkle of citrus zest can brighten your latte, while dried cranberries offer a sweet-tangy contrast.
Don't forget spices! A dash of cinnamon or nutmeg can warm up your drink, while ginger and cardamom add unique flavors.
For a floral touch, consider rose petals or lavender.
Sweet toppings like whipped cream, caramel sauce, or hot honey can elevate your latte experience.
Experiment with powders like matcha or cocoa to create vibrant, flavorful designs. Enjoy the creative process!
Frequently Asked Questions
Can I Froth Milk Using a Microwave?
Yes, you can froth milk using a microwave! Start by shaking your milk in a sealed container for about 30 seconds to introduce air.
Then, heat it in the microwave for about 30 seconds, ensuring the container is microwave-safe. This process helps stabilize the foam.
Just be careful not to overheat, as it can ruin the texture. Once heated, you can use a frother for that extra frothy touch! Enjoy your creation!
How Do I Clean My Steam Wand Properly?
Did you know that over 70% of espresso machine issues stem from improper steam wand maintenance?
To clean your steam wand properly, wipe it with a damp cloth immediately after use to prevent milk residue buildup.
Purge it by directing steam over the drip tray.
For deeper cleaning, soak the tip in hot water and use a specialized cleaning solution.
Regularly inspect it to ensure there are no blockages affecting performance.
What Type of Pitcher Is Best for Frothing?
When choosing a pitcher for frothing, opt for stainless steel due to its durability and thermal efficiency.
A conical shape with a wider base helps create the perfect froth. Look for a pitcher with a well-designed spout for precise pouring, essential for latte art.
Don't forget to consider the handle's ergonomics for easy handling.
Having different sizes on hand lets you accommodate various drink orders effortlessly while maintaining quality.
How Long Should I Steam the Milk for Lattes?
You should steam the milk for about 30 to 45 seconds, depending on your machine and the desired temperature.
Start by aerating for 3 to 5 seconds, then lower the steam wand to create a whirlpool. Keep an eye on the temperature; aim for 155°F to 165°F.
When you achieve a silky texture, you're ready to pour. Remember, steaming too long can lead to burnt milk, so keep it quick and efficient!
Can I Use Flavored Milk for Frothing?
Absolutely, you can use flavored milk for frothing! Think of it like adding a splash of color to a canvas; it brings a unique twist to your drinks.
Just remember, some flavored milks might froth differently due to added ingredients. Using a steam wand can help you maintain control over texture and temperature.
It may take a little practice, but experimenting with different flavors will lead to delicious results that'll elevate your frothy creations!
Conclusion
Now that you've mastered the art of frothing milk, you're practically a barista wizard! With your perfected latte, you'll have friends lining up at your door, begging for a taste of your frothy masterpiece. Remember, the right milk and technique can turn an ordinary cup into a creamy cloud of caffeinated joy! So go ahead, wow the world with your latte art and become the ultimate coffee connoisseur—because who wouldn't want to sip from a cup of pure magic?

Noah, the Editor-in-Chief at Cappuccino Oracle, plays a pivotal role in shaping the voice and vision of our renowned platform. With an unwavering passion for coffee, coffee alternatives, and tea, Noah leads Cappuccino Oracle towards new horizons in the realm of coffee journalism.
Noah’s upbringing immersed him in the distinct aromas of artisanal coffee roasters, sparking a fascination that continues to fuel his professional journey. He joined Cappuccino Oracle as a senior editor and later assumed the position of Editor-in-Chief. Under his guidance, our platform has flourished into a trusted source for coffee, coffee alternatives, and tea lovers worldwide.