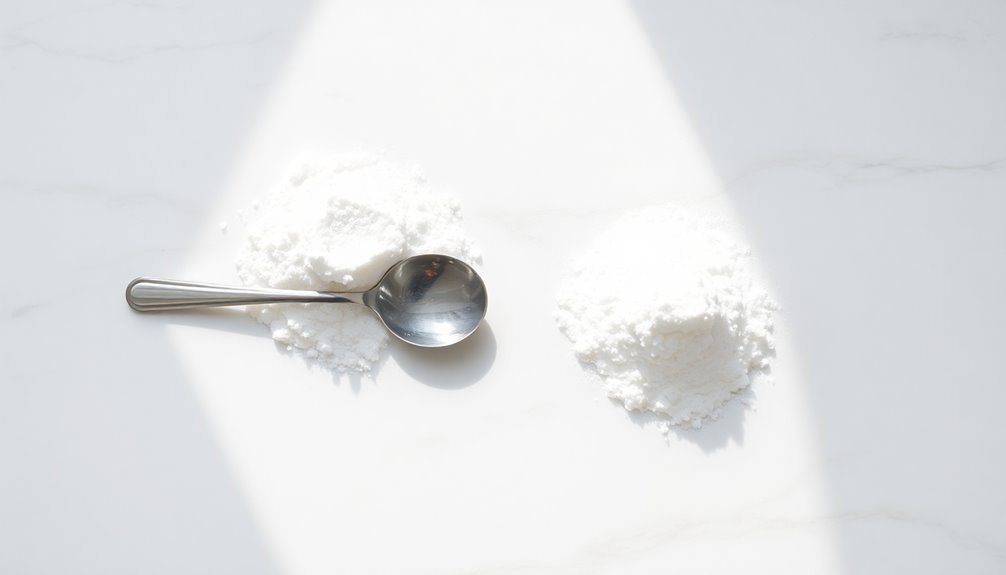

If you're looking to substitute 2 teaspoons of baking powder, you'll need about 2/3 teaspoon of baking soda. Remember, baking soda is much more potent than baking powder, being three times stronger. To activate the baking soda, you'll also need to add an acid, like cream of tartar, vinegar, or lemon juice. Just mix the baking soda with the acid right before using it for the best results. This combination helps create those carbon dioxide bubbles that make your baked goods rise. Want to know more handy tips for baking substitutes? Keep on exploring!
Key Takeaways
- To replace 2 teaspoons of baking powder, use 2/3 teaspoon of baking soda combined with an acid.
- Common acids for activation include cream of tartar, vinegar, and lemon juice.
- For 2 teaspoons of baking powder, mix 2/3 teaspoon baking soda with 1 teaspoon of your chosen acid.
- Baking soda is stronger than baking powder, so precise measurements are crucial for desired results.
- Always combine baking soda with acid just before baking for optimal leavening effects.

Amazon Basics Basket Coffee Filters for 8-12 Cup Coffee Makers, White, 200 Count, Packaging May Vary
- Package Quantity: 200 white basket filters
- Compatibility: Fits 8-12 cup coffee makers
- Filtration Quality: Excellent sediment removal
As an affiliate, we earn on qualifying purchases.
Understanding Leavening Agents

When you immerse yourself in baking, understanding leavening agents like baking soda and baking powder is essential for achieving the perfect rise in your creations.
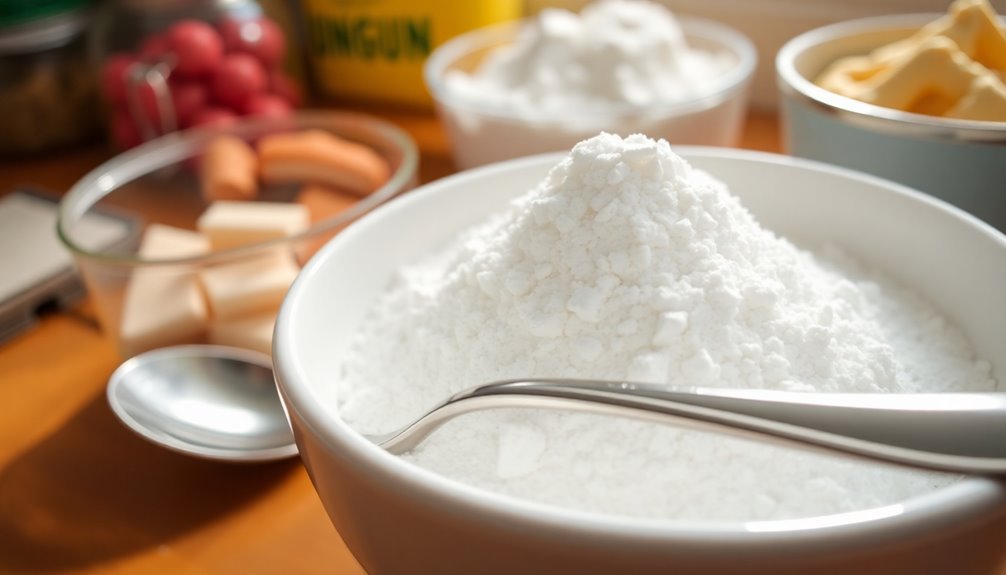
Baking soda is about three times stronger than baking powder, so if you need to substitute, you'll use less baking soda. For instance, to replace 2 teaspoons of baking powder, mix 2/3 teaspoon of baking soda with an acidic ingredient, such as 1 teaspoon of cream of tartar or 1 tablespoon of vinegar or lemon juice. This combination creates bubbles that help your batter rise.
Baking Soda Overview

Baking soda, or sodium bicarbonate, is a key ingredient in many baked goods, known for its powerful leavening properties.
It's a pure alkaline compound that requires an acidic ingredient to activate. When you mix baking soda with moisture and an acid, it produces carbon dioxide bubbles, causing your dough or batter to rise.
In recipes, you'll often see baking soda used in conjunction with ingredients like yogurt or vinegar to enhance leavening and avoid a metallic taste.
If you need to substitute baking powder, remember that 2 teaspoons of baking powder can be replaced with about 2/3 teaspoon of baking soda, as baking soda is three times stronger.
It's especially popular in quick breads, cookies, and pancakes for that perfect lift.
Baking Powder Basics

Leavening agents play an essential role in achieving the right texture in baked goods, and baking powder is a key player in this process.
Baking powder typically contains baking soda, an acid like cream of tartar, and a moisture-absorbing agent, allowing it to activate without needing additional acidic ingredients. Most baking powder is double-acting, releasing carbon dioxide gas in two stages: once when mixed with liquid and again when heated.
For every 1 teaspoon of baking soda, you can substitute about 3 teaspoons of baking powder due to the extra acid. This leavening agent helps create a lighter texture in cakes, muffins, and biscuits, especially when recipes lack sufficient acidic ingredients.
Substituting Baking Powder
Substituting baking powder can be straightforward if you know the right ratios and ingredients. To create a baking powder substitute, you can mix baking soda with an acidic component. Here's a quick guide:
| Baking Powder Substitute | Amount of Baking Soda | Acidic Component |
|---|---|---|
| Cream of Tartar | 2/3 teaspoon | 1 teaspoon of cream of tartar baking |
| Vinegar | 2/3 teaspoon | 1 teaspoon of vinegar |
| Lemon Juice | 2/3 teaspoon | 1 teaspoon of lemon juice |
When you need to use baking soda for baking, always combine it with the acidic component just before use to maximize leavening action. Remember, you may need to adjust flavors if your recipe already includes acidic ingredients.
Calculating Baking Soda Amount

When you need to calculate the right amount of baking soda for your recipe, it's important to remember that it has a much stronger leavening power compared to baking powder.
To substitute 2 teaspoons of baking powder, follow these steps:
- Use about 2/3 teaspoon of baking soda.
- Include an acid in your recipe, like vinegar or yogurt, to activate the baking soda.
- Adjust other ingredients, especially liquid components, to maintain the recipe's moisture balance.
- For accurate measurement, level off the baking soda to avoid an overly alkaline taste.
Tips for Successful Substitution

Successfully swapping baking soda for baking powder can make a big difference in your baking results. When you substitute, remember to mix the baking soda with an acid before adding it to your recipe. This guarantees proper activation and helps maintain the desired flavor and texture. If you're using yogurt or buttermilk, you'll need to adjust the liquid ingredients since they add extra moisture and acidity.
Here's a quick reference:
| Substitute Type | Amount of Baking Soda | Acid Needed |
|---|---|---|
| Baking Powder (2 tsp) | 2/3 tsp | 1 tsp cream of tartar or lemon juice |
| Add Yogurt/Buttermilk | Adjust liquid | N/A |
| Monitor Baking Times | Adjust as needed | N/A |
Keep a close eye on baking times; reactions may vary!
Common Baking Recipes

Understanding how baking soda and baking powder function is key when working with common baking recipes.
Here's a quick guide to help you navigate their use:
- Cakes: Often require baking powder for a light texture.
- Muffins: Use baking powder to achieve a fluffy rise.
- Biscuits: Rely on baking powder for that perfect airy effect.
- Substituting: To substitute 2 teaspoons of baking powder, use 2/3 teaspoon of baking soda and 1 teaspoon of cream of tartar.
Frequently Asked Questions
What Can I Substitute for 2 Teaspoons of Baking Powder?
If you need to substitute 2 teaspoons of baking powder, you've got a few options.
You can mix 2/3 teaspoon of baking soda with 1 teaspoon of cream of tartar.
Alternatively, try 1 teaspoon of baking soda plus 1 tablespoon of vinegar or lemon juice.
If you have self-rising flour, use 1 cup instead, adjusting your liquid and salt.
Just remember to include an acid when using baking soda for proper leavening!
How Much Baking Soda Is 1 Tsp of Baking Powder?
Ever wondered how to make your baked goods rise without baking powder?
To substitute 1 teaspoon of baking powder, you’ll need 1/4 teaspoon of baking soda mixed with 1/2 teaspoon of an acidic ingredient like vinegar or lemon juice. This combination creates a reaction that mimics the leavening effect of baking powder. It’s important to ensure that the acidic ingredient is fresh to achieve the best results. When considering other alternatives, it’s useful to keep in mind the baking soda vs baking powder conversion, as each has distinct properties that can affect the final product.
This combination activates the baking soda, creating carbon dioxide bubbles that help your treats rise.
Just remember, precision is key to achieving that perfect texture and lift in your delicious creations!
How to Make 2 Teaspoons of Baking Powder?
To make 2 teaspoons of baking powder, you'll need to mix 2/3 teaspoon of baking soda with 1½ teaspoons of cream of tartar.
If you prefer a quick alternative, combine 2 teaspoons of lemon juice or vinegar with the baking soda instead.
Always verify your cream of tartar is fresh for the best results.
Mix these ingredients just before using them to maintain their leavening power for your baking recipes.
How Do I Replace Baking Soda With Baking Powder?
Imagine your kitchen as an alchemist's lab, where ordinary ingredients transform into culinary magic.
To replace baking soda with baking powder, you'll need a slightly different approach. For every teaspoon of baking soda, use three teaspoons of baking powder.
If you're using liquid acids like vinegar, mix one teaspoon with a teaspoon of baking soda to achieve the desired rise.
Conclusion
When substituting baking powder, remember that it typically contains about one-third baking soda. So, for 2 teaspoons of baking powder, you'd need roughly ⅔ teaspoon of baking soda combined with an acid. Curiously, about 90% of all baked goods rely on these leavening agents to achieve that perfect rise. By understanding the balance between baking soda and baking powder, you can guarantee your recipes turn out just right every time you bake. Happy baking!