Looking to make a classic cherry pie? You'll need about 2 cups of fresh or frozen pitted cherries, 1 cup of sugar, and 2 tablespoons of cornstarch to thicken it up. Start by preparing your pie crust and chilling it for 30 minutes. Mix the cherries with sugar, cornstarch, and a splash of lemon juice. Bake in a preheated oven at 425°F for 20 minutes for that perfect golden crust. Let it cool for at least 2 hours so the filling firms up nicely. With a few optional tweaks, you can make this pie your own—keep exploring for more tips!
Key Takeaways
- Use 2 cups of fresh or frozen pitted cherries, mixed with 1 cup of sugar and 2 tablespoons of cornstarch for the filling.
- Prepare a flaky pie crust with flour, butter, salt, and ice water; chill for 30 minutes before use.
- Bake the pie at 425°F for 20 minutes until the crust is golden brown and the filling is bubbly.
- Allow the pie to cool for at least 2 hours to thicken the filling and improve slice integrity.
- Serve warm with vanilla ice cream or whipped cream, and consider adding spices like cinnamon for extra flavor.
History
Cherry pie has a rich history that dates back to the early days of American settlers, who brought their pie-making traditions from Europe. As you explore this delightful dessert, you'll find that it quickly became a staple in American kitchens.
The abundance of tart cherries in the United States made it a popular choice among families. Early recipes often combined sweeteners with spices, reflecting the settlers' desire to create comforting, flavorful dishes.
Over time, cherry pie evolved, becoming a symbol of Americana and often featured at gatherings, holidays, and picnics. Its popularity has only grown, with countless regional variations emerging.
Recipe
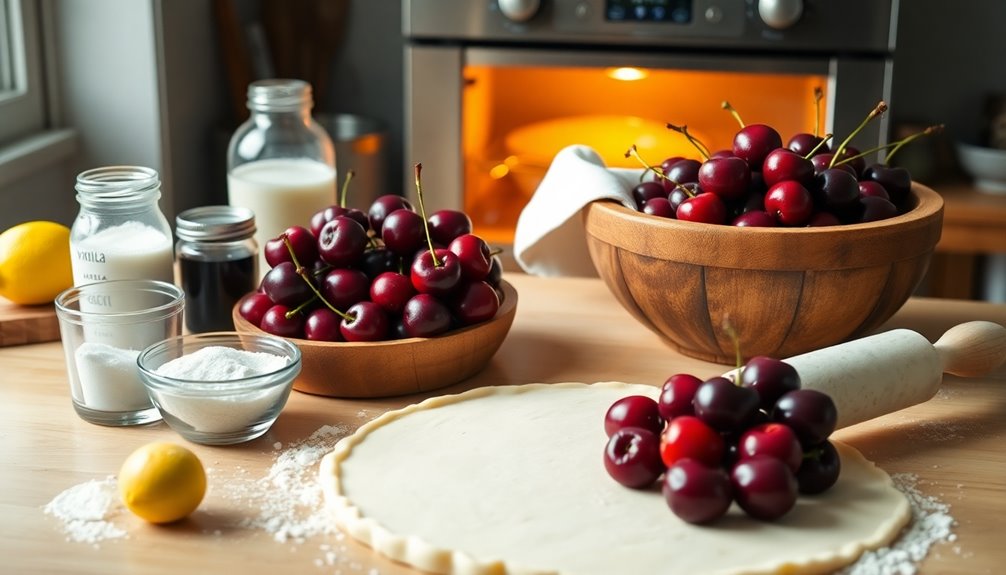
Cherry pie is a classic dessert that combines the sweet-tart flavor of cherries with a flaky, buttery crust. This delightful treat is perfect for any occasion, whether it's a holiday gathering or a simple family dinner. The bright red filling not only looks appealing but also bursts with flavor, making it a favorite among cherry lovers.
Making a cherry pie from scratch allows you to enjoy fresh ingredients and customize the sweetness to your preference. To start, you'll need to select ripe, juicy cherries, which can be either fresh or frozen, depending on the season. If using fresh cherries, be sure to pit them before cooking. The aroma of the cherries baking in the oven will fill your kitchen, creating an inviting atmosphere.
Whether served warm with a scoop of vanilla ice cream or at room temperature, this cherry pie is sure to please everyone.
Ingredients:
- 2 cups fresh or frozen cherries, pitted
- 1 cup granulated sugar
- 2 tablespoons cornstarch
- 1 tablespoon lemon juice
- 1 teaspoon vanilla extract
- 1/4 teaspoon almond extract (optional)
- 1 tablespoon butter, cut into small pieces
- 1 package of pie crusts (or homemade pie crust)
- 1 egg (for egg wash)
- 1 tablespoon milk (for egg wash)
Instructions:
In a large bowl, combine the pitted cherries, granulated sugar, cornstarch, lemon juice, vanilla extract, and almond extract if using. Stir until the cherries are well coated and let the mixture sit for about 15 minutes to allow the juices to release.
Preheat your oven to 425°F (220°C). Roll out one pie crust and fit it into a 9-inch pie pan. Pour the cherry mixture into the crust and dot with small pieces of butter. Cover with the second pie crust, crimp the edges to seal, and cut a few slits in the top crust to allow steam to escape.
Brush the top crust with the egg wash (egg mixed with milk) for a golden finish. Bake in the preheated oven for 35-40 minutes or until the crust is golden brown and the filling is bubbling.
Extra Tips:
To enhance the flavor of your cherry pie, consider adding a pinch of cinnamon or nutmeg to the filling. If you prefer a thicker filling, increase the amount of cornstarch used.
For a beautiful presentation, you can create a lattice crust instead of a full top crust. Allow the pie to cool for at least two hours before slicing to help the filling set. Enjoy your homemade cherry pie with a scoop of ice cream or whipped cream for an extra indulgent treat!
Cooking Steps
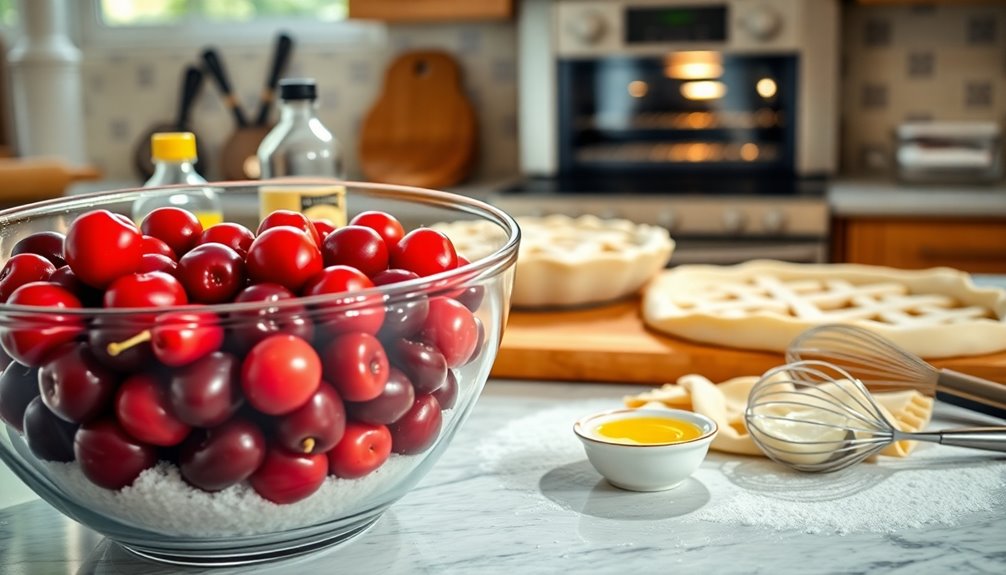
Now that you have your ingredients ready, it's time to start cooking.
First, you'll prepare the pie crust before adding a sweet mixture of cherries and sugar.
Let's get baking!
Step 1. Prepare the Pie Crust
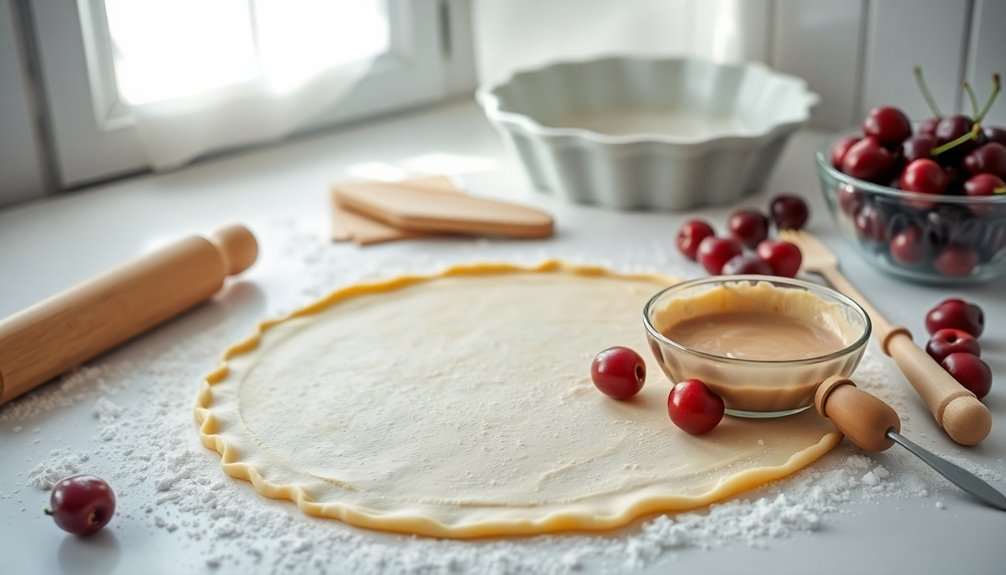
To prepare the pie crust, you'll want to start by gathering your ingredients, which typically include flour, butter, salt, and ice water.
In a large bowl, combine the flour and salt. Then, cut in the cold butter until the mixture resembles coarse crumbs. This step is essential for a flaky crust.
Gradually add ice water, one tablespoon at a time, mixing until the dough holds together. Avoid overworking it, as this can make the crust tough.
Once combined, shape the dough into a disc, wrap it in plastic wrap, and chill in the refrigerator for at least 30 minutes.
This resting time allows the gluten to relax, ensuring a tender, delicious crust for your cherry pie.
Step 2. Add Cherries and Sugar Mixture
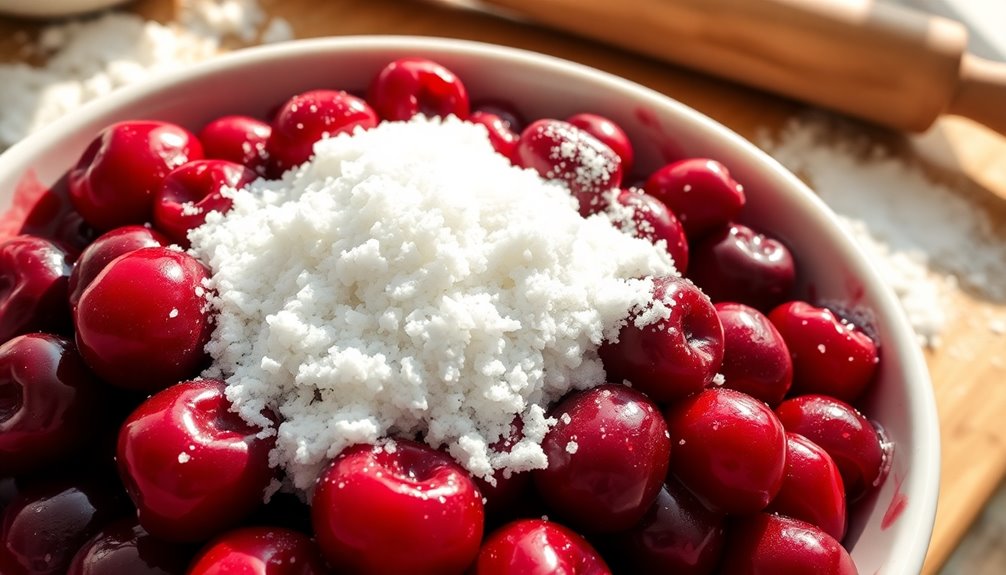
Start by washing and pitting about four cups of fresh cherries, or use frozen cherries if that's what you have on hand.
Once they're ready, place the cherries in a large mixing bowl. Add three-quarters of a cup of granulated sugar and two tablespoons of cornstarch to the cherries.
If you like, sprinkle in a pinch of salt and a teaspoon of vanilla extract for extra flavor.
Gently stir the mixture until the cherries are well coated and the sugar starts to dissolve.
Let it sit for about 10 minutes, allowing the juices to mingle with the sugar, creating a delicious syrup.
This mixture will be the star of your pie, so make sure it's well combined before pouring it into your prepared crust.
Step 3. Bake at 425°F for 20 Minutes
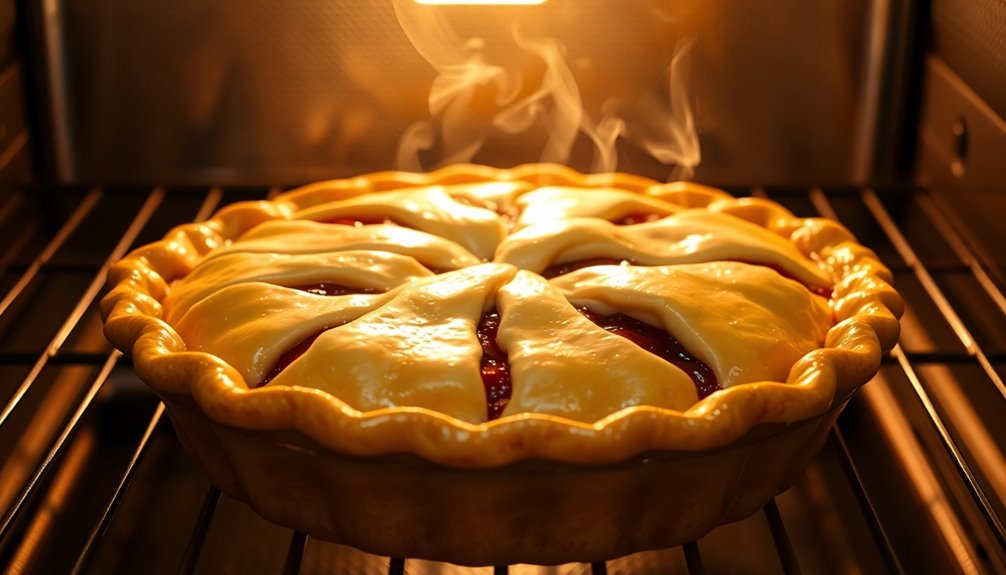
Preheat your oven to 425°F, ensuring it's hot enough for a perfect bake.
Once your oven reaches the desired temperature, carefully place your cherry pie on the center rack. Baking at this high temperature helps create a beautifully golden crust while sealing in the juicy filling.
Set your timer for 20 minutes, keeping an eye on the pie as it bakes. You'll notice the crust start to bubble and turn golden brown, which indicates that it's cooking properly.
If you see the edges browning too quickly, you can cover them with strips of aluminum foil to prevent burning.
After 20 minutes, your pie should be nicely baked, ready for the next step in your cherry pie adventure. Enjoy the aroma!
Step 4. Cool Before Serving
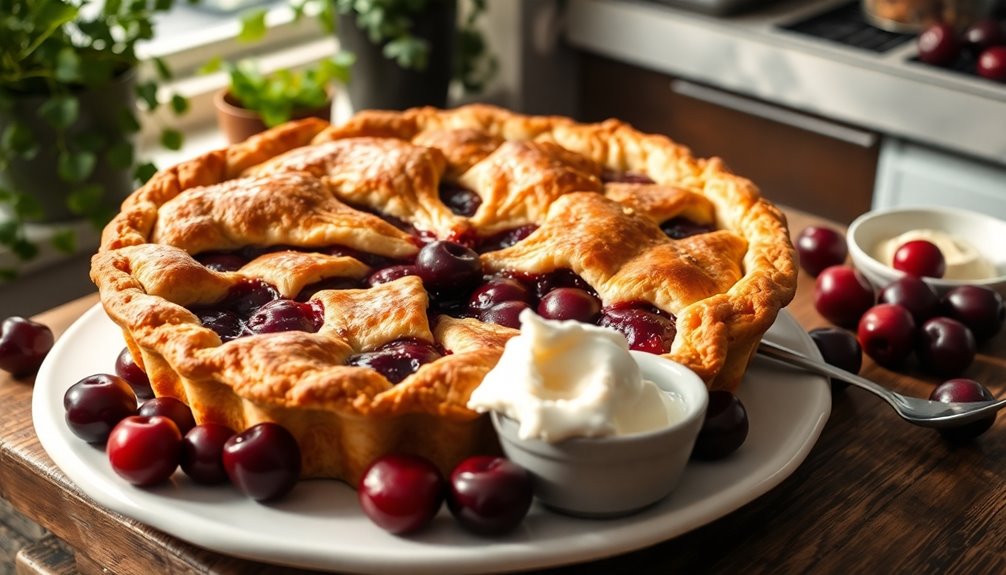
After the timer goes off, take your cherry pie out of the oven and let it cool on a wire rack. This step is essential for achieving the perfect texture.
As the pie cools, the filling will thicken, preventing it from running when you slice into it. Allow it to cool for at least two hours at room temperature.
If you're in a hurry, you can place it in the fridge for about an hour, but be careful not to chill it too long, as that can alter the crust's crispness.
Once it's cooled properly, you'll have a delicious pie ready to enjoy. Patience here pays off, ensuring every bite is as delightful as it should be!
Step 5. Serve With Whipped Cream
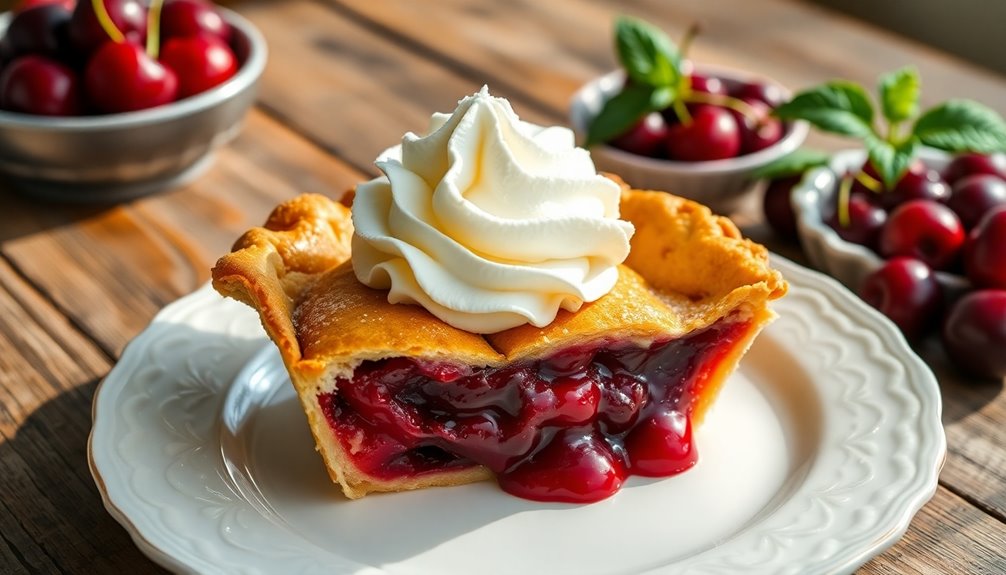
A generous dollop of whipped cream elevates your cherry pie to a whole new level of deliciousness.
Once your pie has cooled, it's time to serve it up! Grab a can of whipped cream or whip some up from scratch for that homemade touch. If you're using canned whipped cream, give it a good shake before dispensing.
Slice your pie into wedges and place a piece on each plate. Then, top it off with that luscious whipped cream.
You can even get creative—drizzle some chocolate sauce or sprinkle a bit of cinnamon over the cream for extra flair. Serve immediately and watch your guests savor every bite of this sweet treat.
Enjoy the delightful combination of flavors and textures!
Final Thoughts
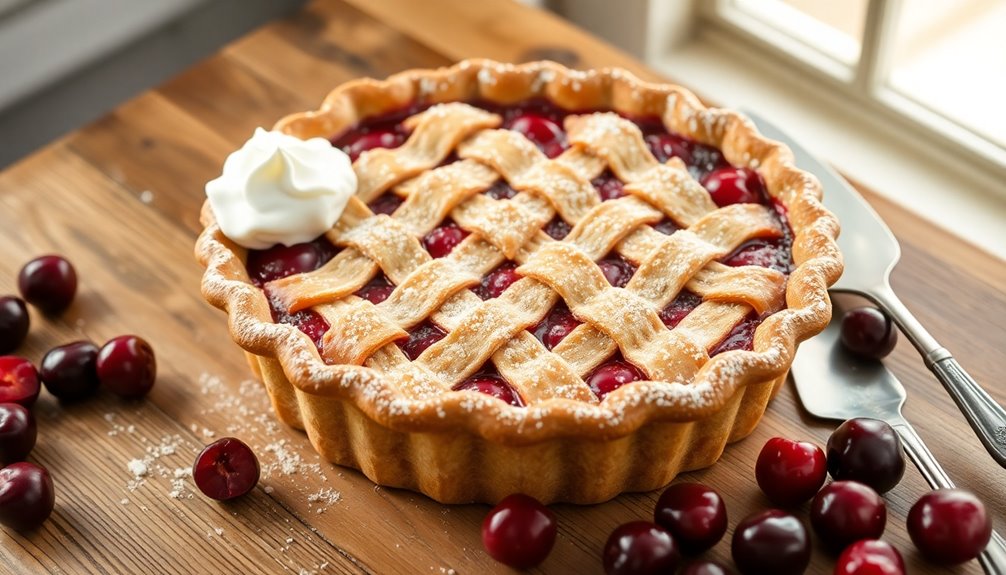
As you savor the delightful taste of your homemade cherry pie, it's clear that the effort you put into making it was well worth it. Each bite brings a burst of sweet and tart flavors that perfectly complements the flaky crust.
You've not only created a delicious dessert but also a cherished memory to share with friends and family. Remember, the key ingredients are love and patience, so don't rush the process.
Whether it's a special occasion or just a weekend treat, your cherry pie is bound to impress. Don't forget to experiment with variations—like adding almond extract or using different types of cherries.
Enjoy every slice, and don't hesitate to share your baking adventures with others! Happy baking!
Frequently Asked Questions
Can I Use Frozen Cherries for the Pie?
Absolutely, you can use frozen cherries for your pie! They're a convenient option and can save you time.
Just remember to thaw them first and drain any excess liquid to prevent a soggy crust.
You might want to adjust the sugar or thickening agents since frozen cherries can be a bit juicier than fresh ones.
With a little tweaking, you'll end up with a delicious pie that everyone will love!
How Do I Prevent a Soggy Bottom Crust?
To prevent a soggy bottom crust, you can take a few simple steps.
First, pre-bake the crust for about 10 minutes before adding your filling; this creates a barrier.
You might also sprinkle some flour or cornstarch on the crust to absorb moisture.
Using a thicker filling can help too.
Ultimately, avoid overfilling the pie, as excess juice can seep into the crust.
With these tips, you'll have a perfectly crisp bottom!
What Type of Cherries Are Best for Pie?
When you're choosing cherries for your pie, tart cherries, like Montmorency, are often the best option. They bring a bright flavor that balances perfectly with sugar.
Sweet cherries, such as Bing, can also work but might make your pie overly sweet. If you want a mix, combining both types can create a deliciously complex taste.
Just remember to adjust your sugar based on the cherries' natural sweetness to achieve the perfect balance!
How Long Does Cherry Pie Last in the Fridge?
Cherry pie can last in the fridge for about 3 to 5 days when stored properly.
Make sure you cover it with plastic wrap or aluminum foil to keep it fresh and prevent it from absorbing any odors.
If you notice any mold or an off smell, it's best to toss it out.
Enjoy your pie while it's still delicious, and don't hesitate to share it with friends or family!
Can I Make Cherry Pie Without Sugar?
Absolutely, you can make a cherry pie without sugar! Instead of using sugar, try natural sweeteners like honey, maple syrup, or agave nectar.
You can also enhance the pie's flavor with spices like cinnamon or vanilla. Just remember to adjust the amount of sweetener to taste, as some are sweeter than sugar.
Don't forget to balance the tartness of the cherries with your chosen alternative, and you'll have a delicious pie!


